

Page 1
Service and support
For information: www.lenco.com
For support: http://l encosupport.zendes k.com
Lenco helpdesk:
Germany 0900-152053 0 (Local charges)
The Netherlands 0900- 23553626 (Local charges + 1c t p/min)
Belgium 02-6200115(Loca l charges)
France 03-81484280( Local charges)
The helpdesk is accessi ble from Monday till Frida y from 9 AM ti ll 6 PM.
When contacting Lenco, you will always be asked for t he model and serial
number of your product. The s erial number can be found on t he back of the
device. Please write do wn the serial number below :
Model:
Serial number:_____ ___________________________
Lenco offers service and wa rranty in accordance to Eu ropean law, which
means that in case of repairs (both during and after th e warranty period)
you should contact your l ocal dealer.
Important note: It is not p ossible to send products that need repairs to
Lenco directly.
Important note: If this u nit is opened or accessed by a non-official
service center in any way, the warranty expires.
This device is not suitab le for professional use. I n case of professional
use, all warranty oblig ations of the manufactur er will be voided.
This sy mb ol indi ca tes tha t th e relev an t elect ri cal pro du ct or bat te ry shou ld n ot be dis po sed of
as gene ra l house ho ld wast e in E urope . To ens ure the cor rect wa st e treat me nt of the p ro duct
and bat te ry, pl ea se disp os e them in a cc ordan ce t o any app li cable l oc al laws o f re quire me nt for
dispo sa l of elec tr ical eq ui pment o r ba tteri es . In so doi ng , you wil l he lp to con se rve nat ur al
resou rc es and im pr ove sta nd ards of e nv ironm en tal pro te ction i n tr eatme nt a nd disp os al of
elect ri cal was te ( Wast e Elect ri cal and E le ctron ic E quipm en t Direc ti ve).
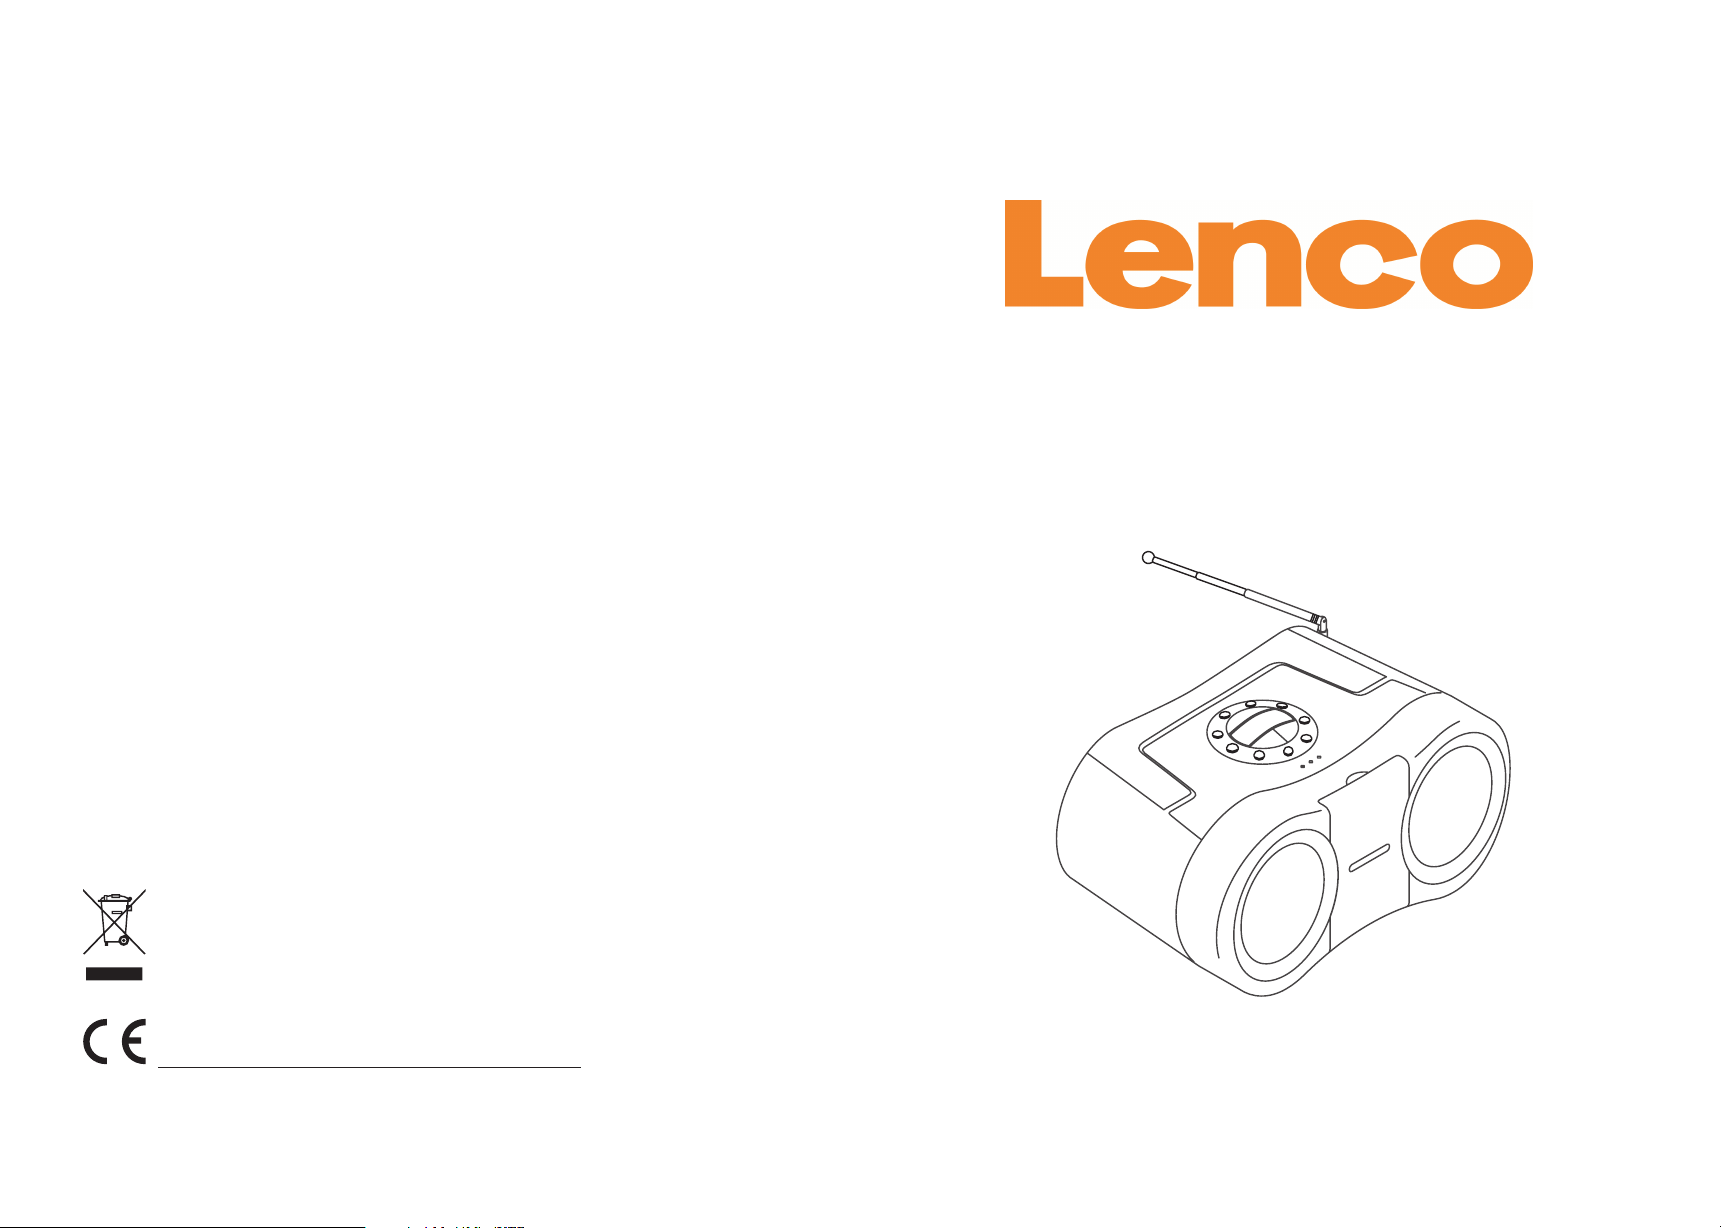
DR-439
User’s Manual
Model:DR-439
Produ ct s with th e CE m arkin g co mply wi th t he EMC Di re ctive ( 20 04/10 8/ EC) and t he L ow
Volta ge Dire ct ive (20 06 /95/E C) i ssued b y th e Commi ss ion of th e Eu ropea n Co mmuni ty.
The dec la ratio n of c onfor mi ty may be c on sulte d at
https :/ /lenc os uppor t. zende sk .com/ fo rums/ 22 41316 1- CE-Do cu ments
®All rights reserved
www.lenco.com
Page 2

CONTEN T
1. PRECA UTIONS… ……………………… ………………………………….…… 01
2. MAINT ENANCE… ……………………… …………………………………….. . 02
3. SPECI FICATION……… ……………………… …………………………….... 02
4. PARTS NAME . ................ ......... .……………… ……………………… ....... 03
5. BUTTON FU NCTION DESC RIPTION.…………….…… ………………….. .04
6.CHOO SE THE POWER SOUR CE.............. ......... ....... ......... ......... ....... .06
6.1.Co nnectin g the AC power cord........ ......... ....... ......... ......... ....... ........ 06
6.2.Us ing the pla yer on batter ies...... ....... ......... ................ ......... ............ 06
7.PLAYING A CD ……….………………………………… …………….……. ..….06
LISTEN ING TO THE RADIO
8. ……………… …...……. ..…………... ..…….….07
8.1. Pre set and sto re the statio n ......... ....... ......... ................ ...………... …07
9.AUX IN O PERATION
...... ...………… ………………... …..…..…….………...0 8
10. TROUBLES HOOTING.. ......... ........... ......... ......... ......... .. ......... ......... ..09
10. TROUBLESHO OTING
Before using the c heck li st please ma ke all th e connecti ons fir st.
If you still have qu setio ns after goi ng thro ugh the chec klist , please consult yo ur
local cus tomer s ervice represen tativ e.
General
Problem
The power is not on
There is no sound
Remedy
Connect the AC power cord to a wall
outlet securely
Make sure the batteries are inserted
correctly and they are fresh
Make sure the sound is not in mute mode
Adjust the volume
Make sure that the CD compartment
is closed
Radio
CD does not play
The sound drips out
CD does not play while the
radio continues to play on
battery power
The sound is weak or has
poor quality
Page 9
Place the CD with the label side up
Take out the CD and leave the CD DOOR
open for about an hour to dry moisture
condensation
Replace the disc(this set will not play
damaged or scratched CDs), or buy a
disc repair polisher to repair it yourself
Clean the CD
Clean the CD, or replace it if the CD is
badly damaged
Place the player in a location free from
vibration
Check if your batteries are fresh
It is normal since the radio uses less
power than the CD player
Replace all the batteries with new ones if
they are weak, or bring the set near a
window, or rotate the set
Page 3

9. AU X IN OPERATION
(1) Press the SOUR CE butt on to switch t o AUX mode .
(2)Open the Door o f MP3/I POD Compar tment .
3
11
(3) Conne cting y our MP3/IPOD devi ce with t he AUX IN jack wh ich loc ates
inside th e Compa rtment.
(4) Turn on th e MP3/I POD Pla yer.
(5) Close t he door a nd adju st the volum e level b y press the Vol ume+ bu tton
/Volume - button .
11
7
***Note ***: In C D mode, if stop or paus e playb ack for abou t 15 minu tes
the un it will auto matic ally turn to s tandb y mode
In AUX mo de, if there i s no exte rnal audio i nputt ing for about 15
minu tes, The unit wi ll auto maticall y turn to s tandby mod e.
1.PRE CA UTIONS
Plea se r ead this manu al c arefully be fo re
It wil l be h el pful to you i f yo u en counter
On Saf et y
·As the l as er b eam used in t he C D player sect io n may be harmfu l to t he e yes, do not
atte mp t to d isassem bl e th e cabinet . Re fe r servici ng t o qu alified p er so nnel only.
·The ap pa ratus shall n ot b e exposed to dr ip ping or splas hi ng and that no ob je cts filled
8
with l iq ui ds,such a s va se s,shall b e pl ac ed on appar at us.
·Shou ld a ny solid obje ct o r liquid fall i nt o the player, un pl ug the player, a nd h ave it
chec ke d by q ualifie d pe rs onnel bef or e operating i t an y further.
·The no rm al function o f th e pr oduct may b e di st urbed by St ro ng E lectro Ma gn et ic
Inte rf er ence. If so , si mp ly reset th e pr od uct to resu me n or mal opera ti on b y followi ng
the in st ru ction man ua l. I n case the fu nc ti on could no t re su me, pleas e us e th e product
in oth er l oc ation.
·Do not c ov ering the ven ti lation.
·No nak ed f lame source s, s uch as lighte d ca ndles, shou ld b e placed on the a pp aratus.
·Batt er y sh all not be ex po se d to excess iv e he at such as su ns hi ne, fire or t he l ik e.
·No obj ec ts filled wit h li quids, such a s va ses, shall be p la ced on the appa ra tus.
·For in do or use only. Th e apparatus s ha ll not be expos ed t o dripping or s pl ashing.
·The ma in s plug is used as t he d isconnect d ev ice, the disc on nect device s sh all remain
read il y op erable.
·Do not o pe n. No user repl ac eable parts i ns ide, refer se rv icing to qual if ied technic ia n.
·Only u se a tt achment s/ ac cessori es s pe cified by t he m an ufactur er.
·Mark in g plate locat ed o n the bottom of a pp li ance.
On Pla ce me nt
·Do not l ea ve the player i n a lo cation near a h ea t source, or in a p la ce subject to d ir ect
sunl ig ht, excessi ve d us t or mechan ic al s hock.
·Do not p la ce the player o n an i nclined or un st able place.
·Do not p la ce anything w it hin 1 inch of the b ac k of the cabine t. The v en ti lation ho le s
must n ot b e co vered for t he p la yer to oper at e pr operly an d pr ol ong the lif e of i ts
comp on en ts.
·If the p la ye r is left in a ca r pa rk ed in the sun , be s ur e to choose a l oc at ion in the ca r
wher e th e pl ayer will n ot b e su bjected t o th e di rect rays o f th e su n.
·Sinc e a st ro ng magnet i s us ed f or the spea ke rs , keep pers on al c redit car ds u si ng
magn et ic c oding or sp ri ng w ound watc he s aw ay from the p la ye r to preven t po ss ible
dama ge f ro m the magne ts .
oper at ing and reser ve i t fo r future re fe re nce.
any op er ational pro bl em.
On Pow er S ou rces
·For ba tt er y operati on , us e 6 size “C” ba tt er ies. We recomme nd a lk aline bat te ri es for
long er l if e.
·When t he b atteries wi ll n ot be used for a fe w we ek s or more, re mo ve t hem to avoi d
dama ge t ha t can be caus ed b y ba ttery lea ka ge o r corrosi on .
·Batt er y sh all not be ex po se d to excess iv e he at such as su ns hi ne ,fire or t he l ik e.
·If the p la ye r is brough t di re ctly from a c ol d to a w arm locat io n, o r is placed i n a ve ry
damp r oo m , mo isture ma y co nd ense on the l en s in side the CD p la ye r section . Sh ou ld
this o cc ur , t he player w il l no t operate p ro pe rly. In t his case, r em ov e the CD and wa it
abou t an h ou r for the moi st ur e to evapor at e.
·To be comp le tely discon ne ct the power in pu t ,the mains pl ug o f apparatus s ha ll be
disc on ne cted from t he m ai ns .As the di sc on nect devi ce s is t he mains pl ug o f ap paratus .
·The ma in s plug of appar at us should not b e ob structed OR s ho uld be easily a cc essed
duri ng i ntended use .
Page 1Page 8
Page 4

Notes on CDs
Power sou rce
AC 230V
DC 9V (6 size ” C” batt eries )
Speaker s
4 ohm
Output power
2X2W RMS
Dimensi ons
360 X 270 X 160
Playabl e disc ty perange
CD/MP3 DISC
Radio Fre quenc y
FM:87.5-108 MH Z
DAB:174 -240M HZ
·Befo re p laying, cle an t he CD with a clea ni ng cloth. Wip e th e CD from the cen te r ou t.
·Do not e xp ose the CD to dir ec t su nlight or h ea t so urces suc h as h ot a ir ducts, n ot l ea ve
it in a ca r pa rk ed in direc t su nl ight as the re c an b e a conside ra bl e rise in tem pe ra ture
insi de t he c ar.
·Do not s ti ck p aper or sti ck er s on the CD, no r sc ra tch the CD.
·Afte r pl ay ing, stor e th e CD i n its case. I f th er e is a scratc h, d ir t or finger pr in ts on the CD,
it may c au se a t racking e rr or o r skippin g.
Scra tc he d Discs
If you r di sc i s badly scr at ch ed, it will n ot p la y. You ma y be a ble to repa ir t he disc if you
buy a di sc p ol isher.
2.MAINTENANCE
Clea ni ng the Lens
If the l en s be comes dir ty, it ma y ca us e a skippin g of s ou nd during C D op er ation.
Clea n wi th a commerci al ly availabl e le ns cleaner an d bl ower.
Clea ni ng the Cabine t
Clea n th e cabinet, pa ne l and control s wi th a soft cloth s li gh tly moist en ed w ith a mild
dete rg ent solutio n. D o not use any typ e of a br asive pad , sc ou ring powd er, o r solvent,
such a s al cohol or benz en e
3.SPECIFICATION
8. LISTEN TO TH E RADIO
In FM mode:
(1)Press SOURCE b utton t o select FM mo de.
(2)Pres s Up butt on /Dow n button to ma nuall y search for freque ncy
14
3
16
(0.05MHz) step b y step.
16
(3)Pres s and hol d the button or to sear ch for th e station automat icall y.
14
press again to sto p searc hing.
(4)Press ST/MON O butto n to select ST or MO NO that y ou want.
(5)Press the Volum e + /Volum e - to adjust yo ur desi red Volume le vel.
8
(6)Press a nd hold t he power button to tu rn the un it to STANDBY mode.
7
1
In DAB mode:
(1)Press SOURCE b utton t o select DAB m ode.
(2)Pres s Up butt on /Dow n button to manu ally sear ch for stat io ns step by st ep.
(3)press a nd hold t he Stop button to ful l scan fr om the lowes t frequ ency to t he
14
3
16
12
highest freque nce for t he stronge st sign al station s and all o f the strongest
stations are sto red.
(4)Press the FF/u p , REW/d own select t he stor ed station after th e full sc an
14
operation..
(5)Press a nd hold t he power button to tu rn the un it to STANDBY mode.
(6)In DAB mode, pr ess INF O button to disp lay the inf ormat io n of the cu rr ent DAB
16
1
13
program.
8.1 Prese t and sto re the st ation your w ant to li sten to
Page 2
In FM/DAB mode:
(1)To store the stat ion you r current li steni ng, Press an d hold th e
Preset/Id3 but ton to ac tivate the P reset f uncti on. The p reset n umber
18
“*” will flash in th e LCD. ( “* ” represen ts Pres et Number 1~ 20)
(2))Press the Albu m + /Albu m - to sele ct the Pres et Numb er you want t o store
4
(3)Press the Pre set/I d3 button to c onfir m your setting.
5
18
(4)Repe at step 1 -3 to pre set other st ation s.
(5)Press the Pre set/I d3 button to r ecall t he preset station . Use the
the Album + /Album - to s elect .
4
(6)Press the Pre set/I d3 button or s elect b utton to listen to th e
18
5
18
12
select stored st ation s.
(7)Press and hol d the reset button fo r about 5 s econds to Sy stem re set mod e.
12
All of the stored DAB a nd FM sta tions will b e delet ed.
Page 7
Page 5

6. CHOOSING THE PO WER SOU RCES
You can use the AC p ower or b atteries(6 size “ C” batt eries) as a po wer sou rce.
6.1 Connecting t he AC po wer cord
Insert one end of th e suppl ied AC power co rd into t he AC jack loca ted at th e
24
22
rear of the player, and the other end to th e wall ou tlet.
6.2 Using the play er on bat teries
Insert 6 size"C" batte ries (not su pplie d) into the ba ttery c ompartment .
21
To use the play er on bat teries, disconn ect and r emove the AC po wer cor d both from
back of the player a nd the wa ll outlet.
Note:
·If the plug of the AC pow er cord d oes not matc h your ou tlet,do no t force i t.
·Replace t he batt eries when the play er stop s operatin g. Repl ace all the ba tteri es
with new ones.Be fore yo u replace th e batte ries, be sur e to take o ut the CD from
the player.
4.PARTS NAME AND LOC ATI ON
Powe r Bu tt on
1
Bass / Re pe at B utton
2
Sour ce B ut to n
3
Albu m+ /P re set+ Button
4
Albu m- /P re set- Button
5
CD Doo r
6
Ante na
19
Preset/ID3
Random Button
Hand le
Button
18
17
Up
Fast Forward Bu tt on
Play/Pause
Stereo/Mono B ut to n
INFO button
Down
Button
Rewind Button
Disp ay
Button
Button
Stop/Select /
Reset Button
16
15
14
13
12
·If the CD does not pla y on batt eries, thi s means t he batteri es are al most used up.
But the radio may co ntinu e to play on the se weak b atteries b ecaus e it uses less
power than the CD pl ayer.
7.PLAYING A CD
(1)Press the Pow er butt on to turn on th e unit.
(2)
Press the CD Door op en Lid to o pen the CD doo r and pla ce a disc in the
CD
compart ment wi th the la bel side up.
(3)
Press SOURCE but ton to se lect DISC mo de.
(4)
Press the PLAY/PAUSE but ton in play mo de to pau se the playback.P ress th e
1
10
3
13
6
PLAY/PAUSE butt on agai n to resume th e playb ack.
(5)
Adjust the volume b y Press t he VOLUME- b utton a nd VOLUME+ b utton
7
8
to your preferen ce.
(6)
Press th e STOP button t o stop the pla yback .
(7)
Press and hold pow er button to turn to th e unit to S TAN DBY mode.
12
1
Volum e- B ut to n
7
Volum e+ B ut to n
8
Spea ke r
9
Headphone Jac k
20
AC POWE R CO RD
24
21
Battery Compa rt me nt
The D oo r of
MP3/IPOD Comp ar tm en t
CD Doo r Op en L id
Vent Holes
AC Jack
11
10
23
22
Page 6
Page 3
Page 6

5. BUTTON FUN CTION D ESCRIPTION
1.Power /Mute bu tton
On the unit off ,shor tly press the
Button to turn on th e unit.
On the unit on,pre ss and ho ld the Butto n to turn o ff t he unit.
On the unit on,pre ss the bu tton to turn t he Mute o n/off.
2.Bass/Repea t butto n
Press the button t o turn th e Bass on/off.
In CD mode:
Press and hold the b utton r epeatedl y to repe at mode:
RPT ONE: to pla y the cur rent song over and ov er.
RPT ALB: to repe atedl y play all the songs at t he same a lbum.
RPT ALL: to repe atedl y play all the s ongs in t he CD.
3.Source butto n
Repeatedly pre ss the bu tton to swit ch to AUX, DAB,FM or DI SC mode .
4. Album + /Preset+ b utton
In CD mode,press t he butt on to select n ext Albu m.
13.P lay/P ause butt on & Ster eo /Mono b utton
In CD mo de,pr es s the but ton to Paus e the pla yback.
In FM mo de,Pres s the but ton to sele ct the St ereo/Mo no mode .
In DAB m ode, pr es s the but ton to disp lay the i nformat ion of th e current D AB
prog rame.
14. Up b utton /Fast For ward bu tt on
In CD mo de,pr es s the but ton to sear ch for th e next trac k step by s tep.
In CD mo de,pr es s and hol d the but to n to play back by fas t forwa rd.
In DAB m ode,p re ss the bu tton to sea rch for t he next sta tion st ep by step.
In FM mo de,pres s the but ton to sear ch for fr equency ( 0.05M Hz) step by s tep.
15.D ispay
16. Do wn/Re wind butt on
In CD mo de,pr es s the but ton to sear ch for th e previou s track s tep by step .
In CD mo de,pr es s and hol d the but to n to play back by fas t backw ard.
In DAB m ode,p re ss the bu tton to sea rch for t he previo us stat ion step by s tep.
In FM mo de,pr ess the but ton to sear ch for fr equency ( 0.05M Hz) step by s tep.
5. Album - /Preset- b utton
In CD mode,press t he butt on to select p revio us Album.
6.CD Door
7.Volume - butto n
8.Volume + butto n
Use the Volu me butt on to adj ust the volu me leve l.
9.Speak er
10.Open b utton
Press the button t o open th e CD Door.
11.MP3/IPO D Compa rtment
This Compar tment i s designed for plac ing you r Audio outpu tting D evice.
There is an Aux In j ack ins ide,whic h is for co nnect ing your Audi o Devic e
when you want to pla yback i n AUX mode.
12.Stop/Sele ct/ Res et button
In CD mode,press t he butt on to stop pla yback .
In DAB mode, press a nd hold t he button to f ull sca n from the low est fre quenc y
highest freque nce for t he stronge st sign al station s and all o f the
to the
stations are sto red.
stronge st
In DAB /FM mod e, p ress an d hold the bu tton to S ystem Res et.
Page 4
17.H andle
18.P reset /ID3 butt on & Rand om b utton
In CD mo de, pre ss t he butt on to displ ay the ID 3 informa tion
( file n ame,t it le.ar tist,al bum) of t he curren t playb ack song.
In CD mo de, pre ss a nd hold t he button t o activ ate the RAN DOM pla yback fun ction .
In DAB /FM mode, press a nd hold the b utton t o activat e the PRO GRAM
func tion to p re set the s tation yo ur want t o listen to .
In DAB /FM mode, Af ter pre set the sta tion, p ress the bu tton to r ecall the p reset
stat ions.
19.A ntena
20.H eadph one Jack
21.B atter y Compart ment
22.A C jack
23.Ve nt Hole s
24.A C Power C ord.
Page 5
 Loading...