

La Crosse Technology WS-7032U User Manual
WS-7032U
Wireless 433 MHz
Miniature Weather Station
Instruction Manual

TABLE OF CONTENTS
Topic Page
Inventory of Contents/Additional
Equipment
Quick set-up guide 4-5
Battery installation 6-7
Features:
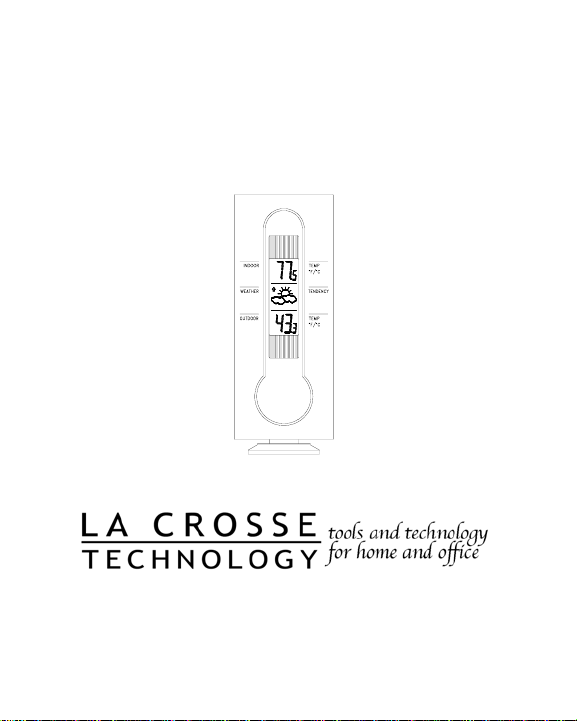
Indoor temperature 8
Weather Forecast icons & tendency
arrows
Outdoor temperature 10
Mounting 11-13
Troubleshooting 14
Maintenance and Care instructions 15
Specifications 16
Warranty 17-18
3
8-10
2

INVENTORY OF CONTENTS
1. WS-7032U—Weather Station.
2. TX6U—Remote Temperature Sensor.
3. Three each, ½” Philips screws.
4. One strip double-sided adhesive tape.
ADDITIONAL EQUIPMENT
5. Instruction manual & Warranty card.
1. Two fresh AAA 1.5V batteries (for weather
station).
2. Two fresh AA 1.5V batteries (for remote
sensor)
3. One Philips screwdriver.
3

QUICK SET-UP GUIDE
Hint: Use good quality Alkaline Batteries and
avoid rechargeable batteries.
1. Have the indoor station and outdoor
remote 3 to 5 apart.
2. Batteries should be out of both units for
10 minutes.
3. Place the batteries into the outdoor
remote first then into the indoor station.
(All outdoor remotes must be started
before the indoor station)
4. DO NOT PRESS ANY BUTTONS
FOR 10 MINUTES.
In this time the display and sensor will start to talk to
each other and the display will show both the indoor
temperature and an outdoor temperature. If the
station does not display both temperatures after the
10 minutes please retry the set up as stated above.
After both indoor and outdoor temperatures are
displayed for 10 minutes you can place your sensor
outdoors and set your time.
4

The remote sensor should be placed in a dry, shaded
area. The remote sensor has a range of 80 feet. Any
walls that the signal will have to pass through will
reduce distance. An outdoor wall or window will
have 20 to 30 feet of resistance and an interior wall
will have 10 to 20 feet of resistance. Your distance
plus resistance should not exceed 80 ft. in a straight
line.
NOTE: Fog and mist will not harm your remote
sensor but direct rain must be avoided.
5
B
DETAILED SET-UP GUIDE
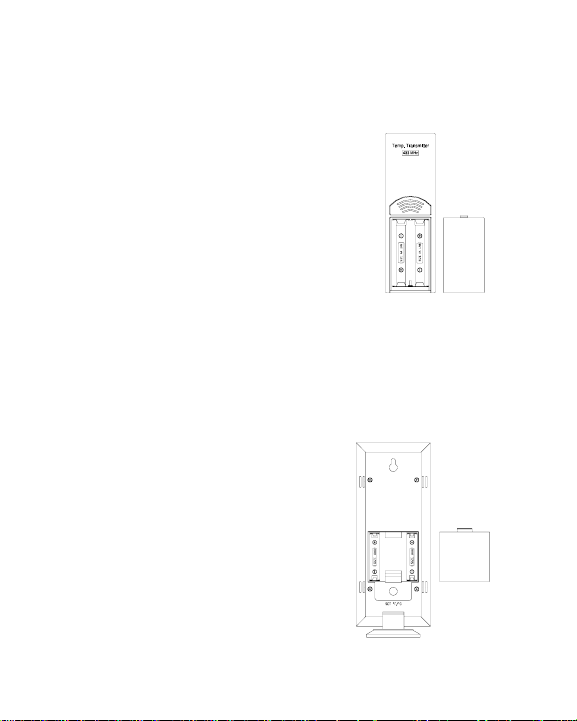
I. BATTERY INSTALLATION
A. REMOTE TEMPERATURE SENSOR
1. Remove the battery
cover. Place your thumb
over the two air-vent
slots on the face of the
Remote Temperature
Sensor, push down
gently and slide the
battery cover down and
off.
2. Observing the correct
polarity, install 2 AA batteries. The batteries
will fit tightly (to avoid start-up problems make
sure that they do not spring free during
installation).
3. Replace the battery cover.
B. WEATHER TEMPERATURE STATION
1. Remove the battery
cover. Pull up and
out from the slot
located in the
central position of
the battery cover.
2. Observing the
correct polarity,
install 2 AAA
6
attery
Cover
 Loading...