

Kyocera TASKalfa 250, TASKalfa300, TASKalfa400, TASKalfa500ci SERVICEBULLETINS 2H7 026

Service Bulletin
SB Number:
Subject:
SB 2H7-026
Instructions when performing installation or maintenance
Model: TASKalfa250ci/300ci/400ci/500ci
Contents of
changes
Item 1 details Subject
Please note the following when setting up the machine or when performing maintenance:
1. Perform the colour registration adjustment and auto halftone adjustment after installing the
machine.
2. Avoid hot-swapping of the connection wire between the DP and the machine.
3. Remove the transfer unit, before removing the developer unit when replacing the parts.
Perform the colour registration adjustment and auto halftone adjustment after installing the
machine.
Phenomena
1. The colour registration may be shifted.
2. Colour variation may occur.
Creation Date: 10/12/2009
Causes
1. Vibration during transit from the set-up point or dealer site to the user site.
2. Floor levelness of the installed place of the user site.
3. Temperature and humidity at the installed place of the user site.
4. Improper paper type has been used.
Solutions
1. Colour registration adjustment procedure
1.1. Press the (system menu) key to select (adjustment/maintenance) on the touch screen.
Press (color calibration), then (next) and (execute).
1.2. Press (system menu) key to select (adjustment/maintenance) on the touch screen.
Press (colour registration), then (next), (chart) and (print).
In case the color shift is observed, press (registration), then (next) to change each
adjustment value according to the color registration shift and press (execute).
2. Auto halftone adjustment procedure
2.1. Select the maintenance mode U410.
2.2. Select (continuous adjustment), then (start) key to print the PG test pattern.
2.3. Place the PG test pattern on the contact glass* and then A4 size paper stack
(20 sheets) on it.
Press (start) key after closing the original cover.
2.4. “print’ appears when scanning for the automatic adjustment is complete.
Press (start) key to print the next PG test pattern.
2.5. Repeat the procedures of 2.3 and 2.4 3 times.
2.6. After the 3rd scanning for the automatic adjustment, conrm “ALL COMP” appears
at “result” on the touch panel and then press the (stop) key.
*Ensure that the PG test pattern is aligned along with the scale, and avoid any shifting when
placing it.
KMIS Service Department, Kyocera Mita Europe 8967 / SB 2H7-026
Page 1 of 2
Item 2 details Subject
hot-swapping of the connection wire between the DP and the machine.
Phenomenon
Service call error C9080 (communication problem between DP and CIS) may occur.
Cause
The 24V fuse on the low voltage power supply may be burnt, due to hot-swapping of the
connection cable between the DP and the machine.
Solution
Do not remove the connection cable between the DP and the machine, when the main switch is
set to ON.
Service Bulletin
Item 3 details Subject
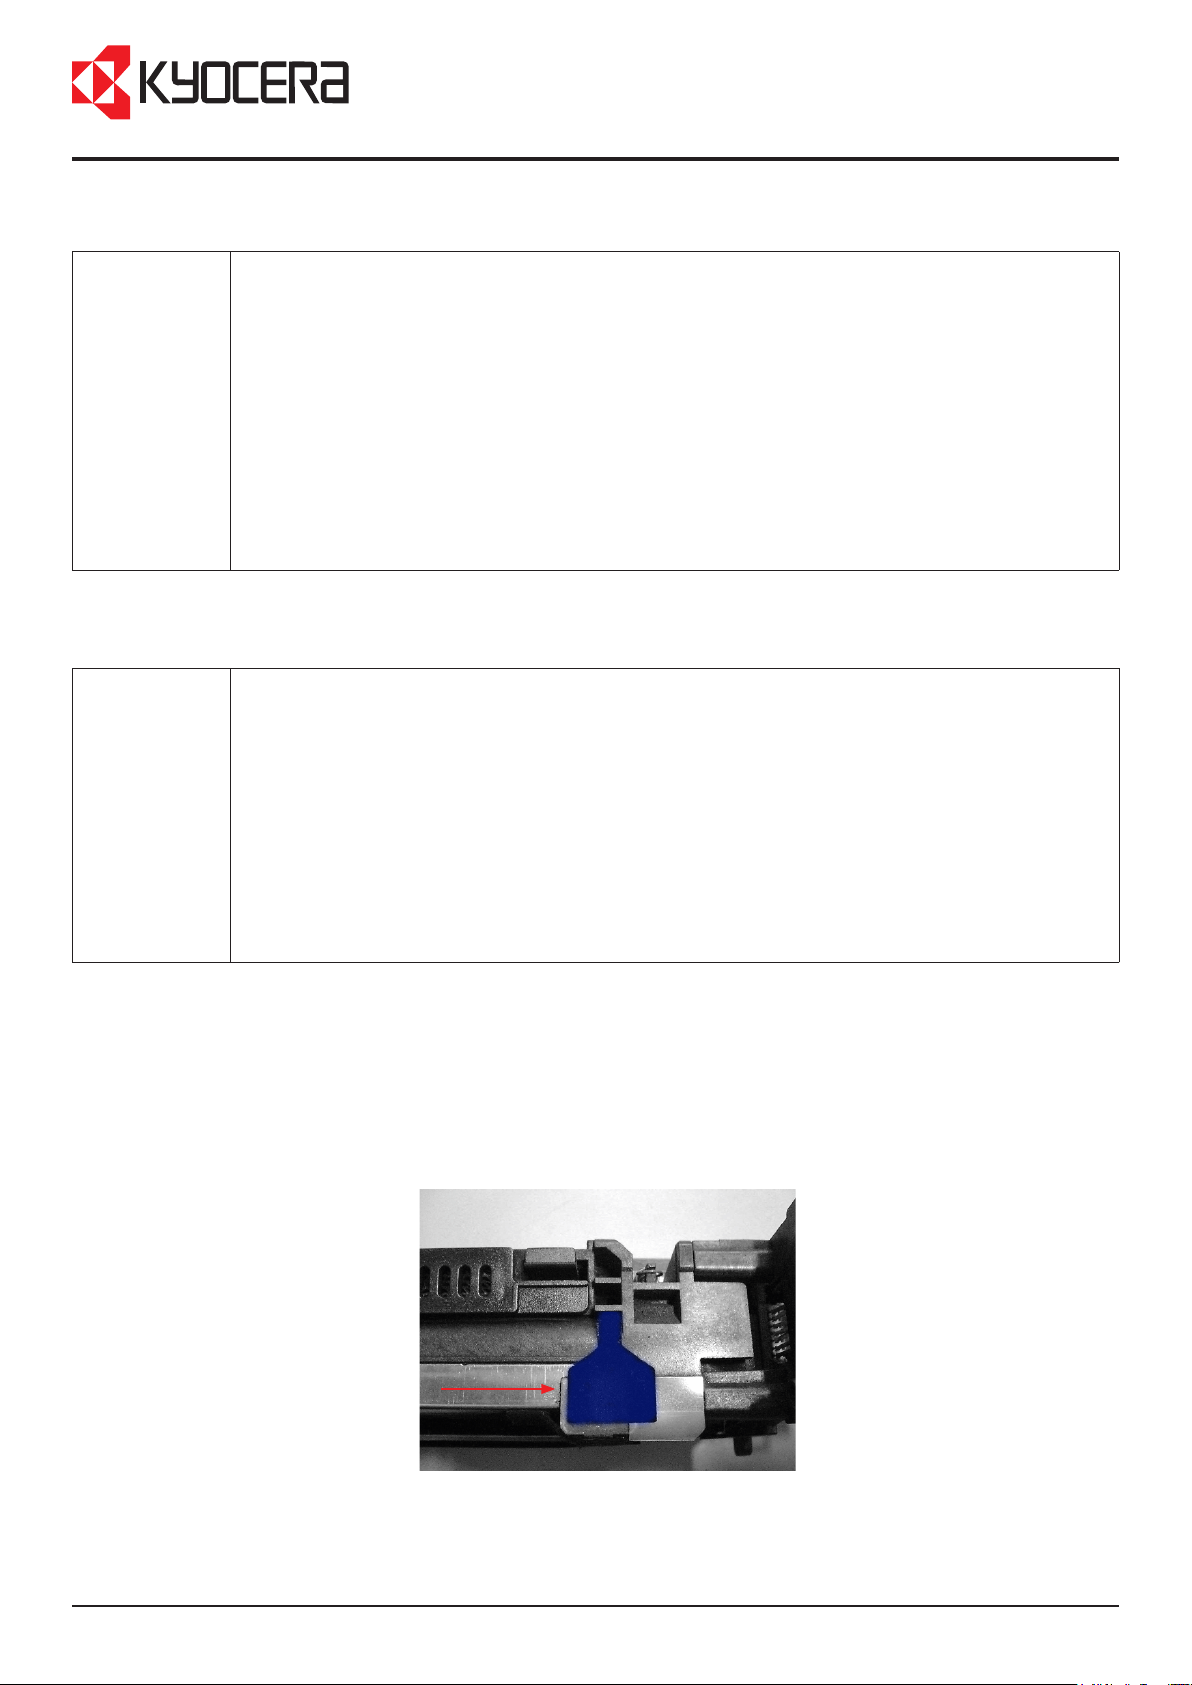
Remove the transfer unit, before removing the developer unit when replacing the parts.
Phenomenon
The transfer belt has been scratched.
Cause
When removing the developer unit, the seal on top of the developer unit may damage the transfer
belt.
Solution
Remove or pull the transfer unit away from the machine, before removing the developer unit.
Top of the developer unit.
The seal on the developer unit may damage the
transfer belt.
KMIS Service Department, Kyocera Mita Europe 8967 / SB 2H7-026
Page 2 of 2
 Loading...