

Korg Trinity plus, Trinity pro, Trinity proX, Trinity Update Manual

Update Guide
Manuel de la mise à jour
ERGÄNZUNG ZUM PROGRAMMIERHANDBUCH
o[W Abv¥KCh
1JGFE
Update Guide
In conjunction with the
the following additions and changes to the Parameter Guide.
TRINITY series
operating system update, please make
On page 101 change the first line of “5–1f: Track” to read as follows.
Selects the track whose musical data you wish to record or edit (or which will be
the copy destination).
On page 101 change the first line of “5–1g: Start Measure/End Measure”
to read as follows.
Specify the range of measures to be recorded or edited (or which will be the
copy destination).
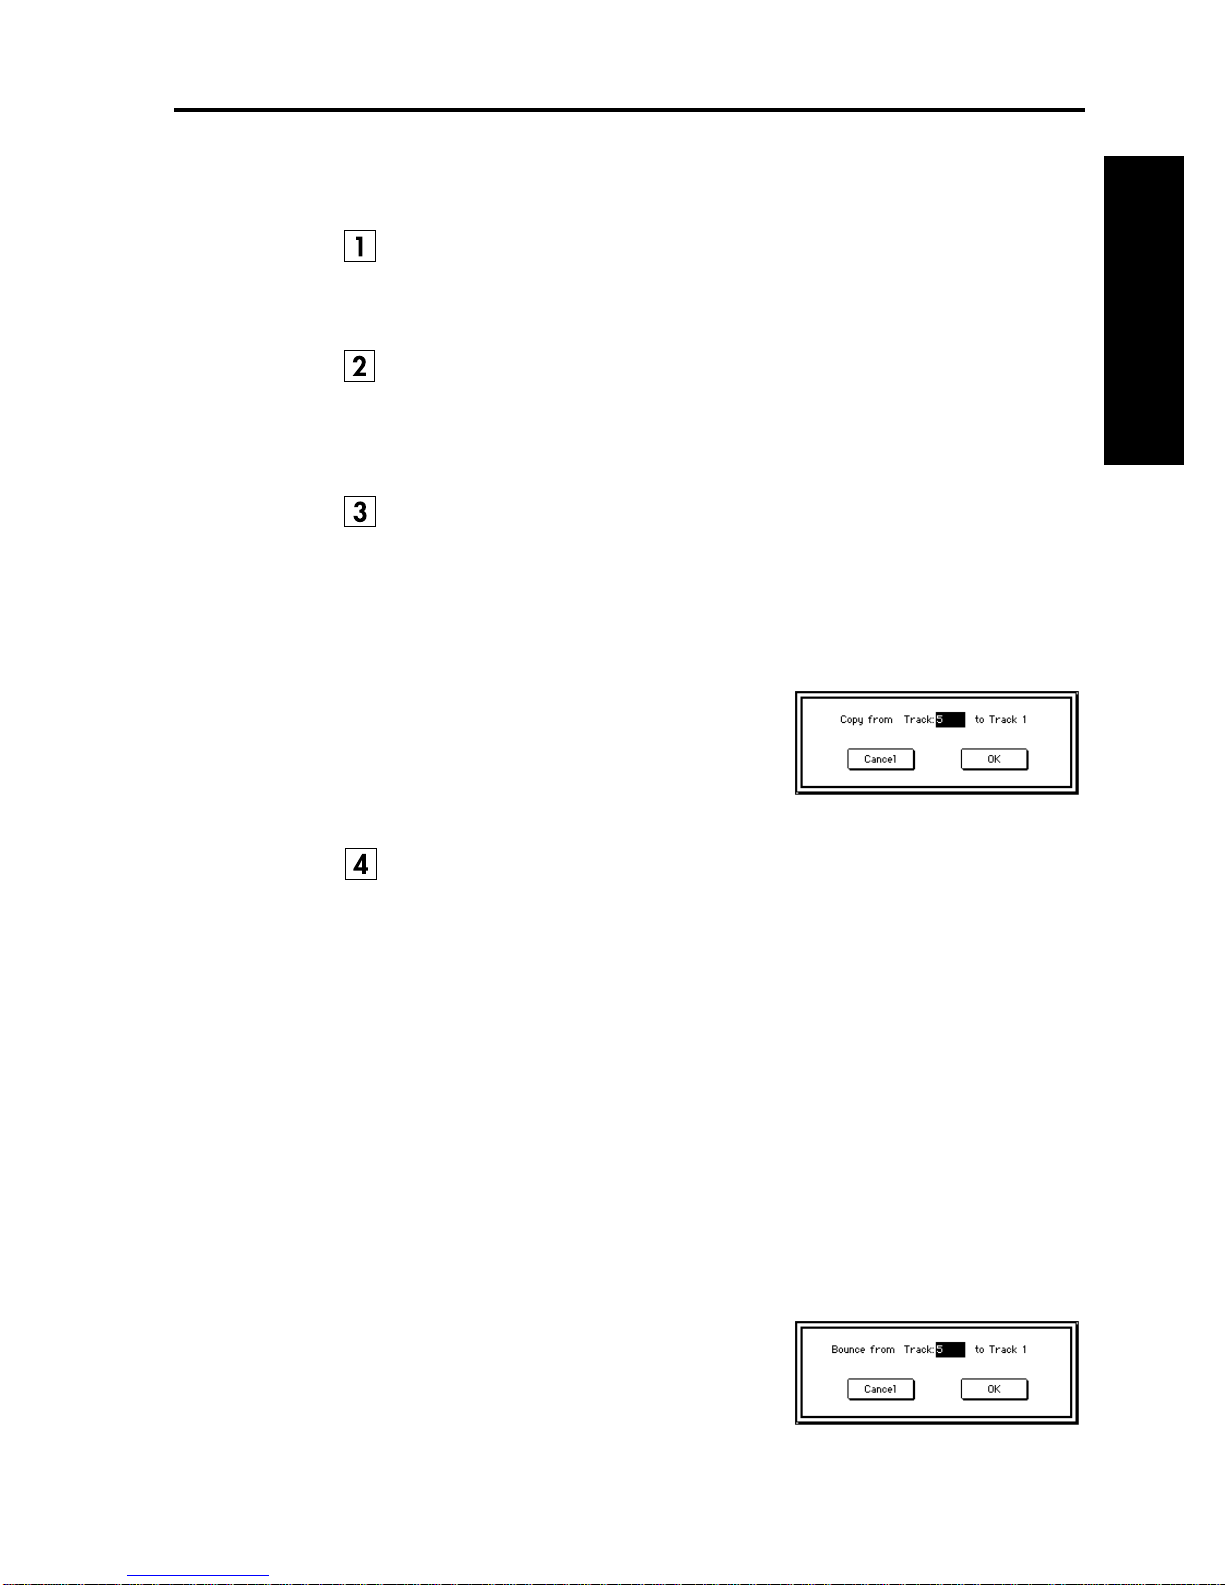
On page 107 change “5–1E: Copy Track” to read as follows.
The musical data of the track specified in the dialog box will be copied to the
track specified in the tab 1 page.
Be aware that when you execute the Copy Track command, the musical data
that was in the copy destination track will be lost.
1
In the tab 1 page, specify the copy destination track.
2
When this command is selected, the dialog
box shown at right will appear.
3
Specify the copy source track.
4
To execute the Copy Track command, press
the
OK button
ing, press the
. To cancel without execut-
Cancel button
.
Update Guide
On page 107 change “5–1F: Bounce Track” to read as follows.
All musical data of the track specified in the tab 1 page and the track specified in
the dialog box will be combined and placed in the track specified in the tab 1
page.
Be aware that when you execute the Bounce Track command, the data will be
affected as follows:
• The combined musical data will be placed in the track specified in the tab 1
page, and all musical data of the track specified in the dialog box will be
erased.
• Track settings (program and MIDI channel, etc.) will be those of the bounce
destination track.
• If the track specified in the tab 1 page and the track specified in the dialog box
contain identical control data in the identical location, incorrect operation
may occur following the execution of this command. Before bouncing, use
“5–1C: Event Edit” or “5–1M: Erase Control Data” etc. to erase the control
data from one of the tracks.
1
In the tab 1 page, specify the bound destination track.
2
When this command is selected, the dialog
box shown at right will appear.
3
Specify the bounce source track.
4
To execute the Bounce Track command,
press the
executing, press the
OK button
. To cancel without
Cancel button
.
1
Update Guide
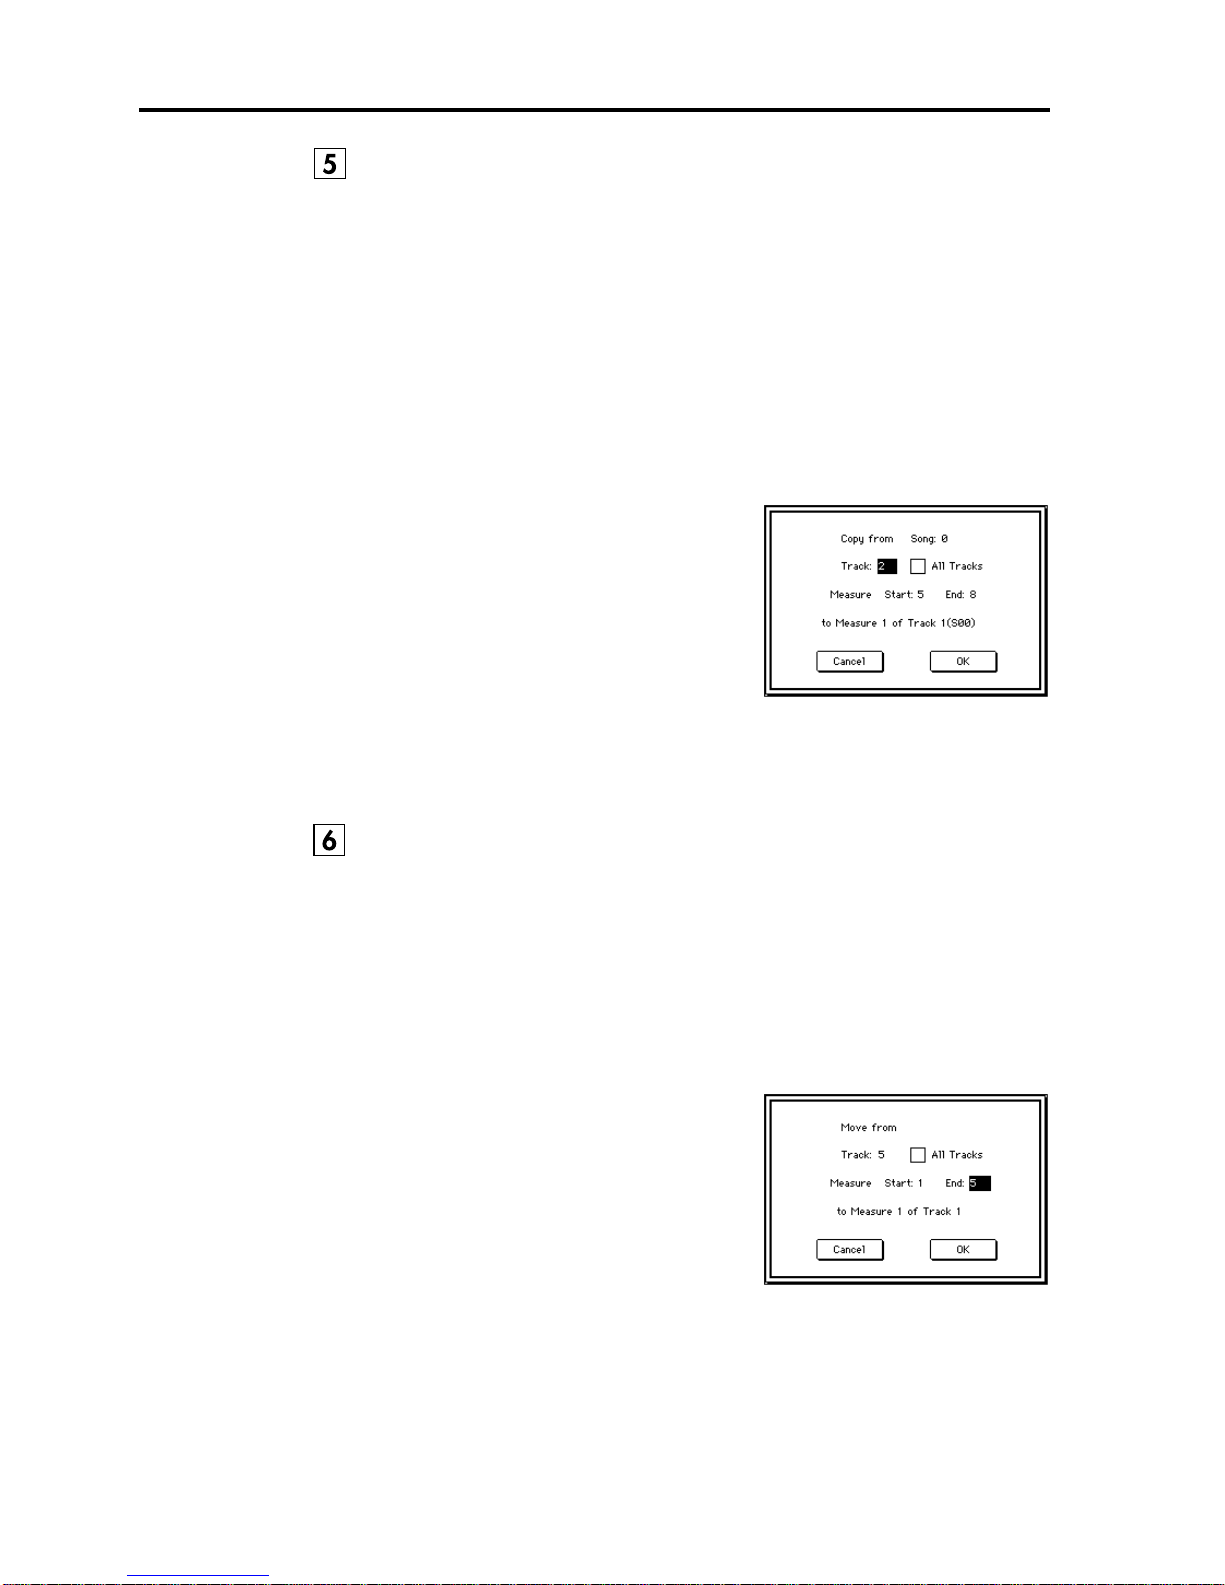
On page 109, change “5–1J: Copy Measure” to read as follows.
Measures of musical data from the track specified in the dialog box will be copied to the measures that were specified in the tab 1 page.
When the Copy Measure operation is executed, musical data will be copied to
the measures specified in the tab 1 page, allowing you to easily create repetitive
musical sections such as refrains within a song. Be aware than when the Copy
Measure operation is executed, the musical data will change as follows:
• If measures containing no musical data are copied, the copy destination measures will be blank.
• Musical data in the copy destination will be erased, and overwritten by the
data that is copied.
• Musical data that is copied will playback according to the time signature of
the copy destination.
1
In the tab 1 page, specify the copy destination track and Start Measure.
2
When this command is selected, the dialog
box shown at right will appear.
3
Specify the copy source track. If you wish
to copy the musical data of all tracks
including the master track,
Tracks.
4
Specify the desired first and last measure of
the copy source track.
5
To execute the Copy Measure command, press the
without executing, press the
check
All
Cancel button
OK button
.
. To cancel
On page 110, change “5–1K: Move Measure” to read as follows.
Measures of musical data in the track specified in the dialog box will be moved
to the measure specified in the tab 1 page.
Be aware that when the Move Measure operation is executed, the musical data
will change as follows:
• Data following the move source measures will be moved forward to fill the
gap.
• Data following the move destination will be moved backward to make room.
1
In the tab 1 page, specify the track and Start Measure of the move destination.
2
When this command is selected, the dialog
box shown at right will appear.
3
Specify the move source track. If you wish
to move the musical data of all tracks
including the master track,
Tracks.
4
Specify the desired first and last measure of
the move source track.
5
To execute the Move Measure command,
press the
executing, press the
OK button
Cancel button
check
All
. To cancel without
.
2
 Loading...