

Kohler KT9544BN Installation Manual

Installation Guide
Bath Fill Trim
K–T954
M product numbers are for Mexico (i.e. K-12345M)
Los números de productos seguidos de
M corresponden a México (Ej.
K-12345M)
Français, page“ Français-1”
Español, página“ Español-1”
1009676-2-B
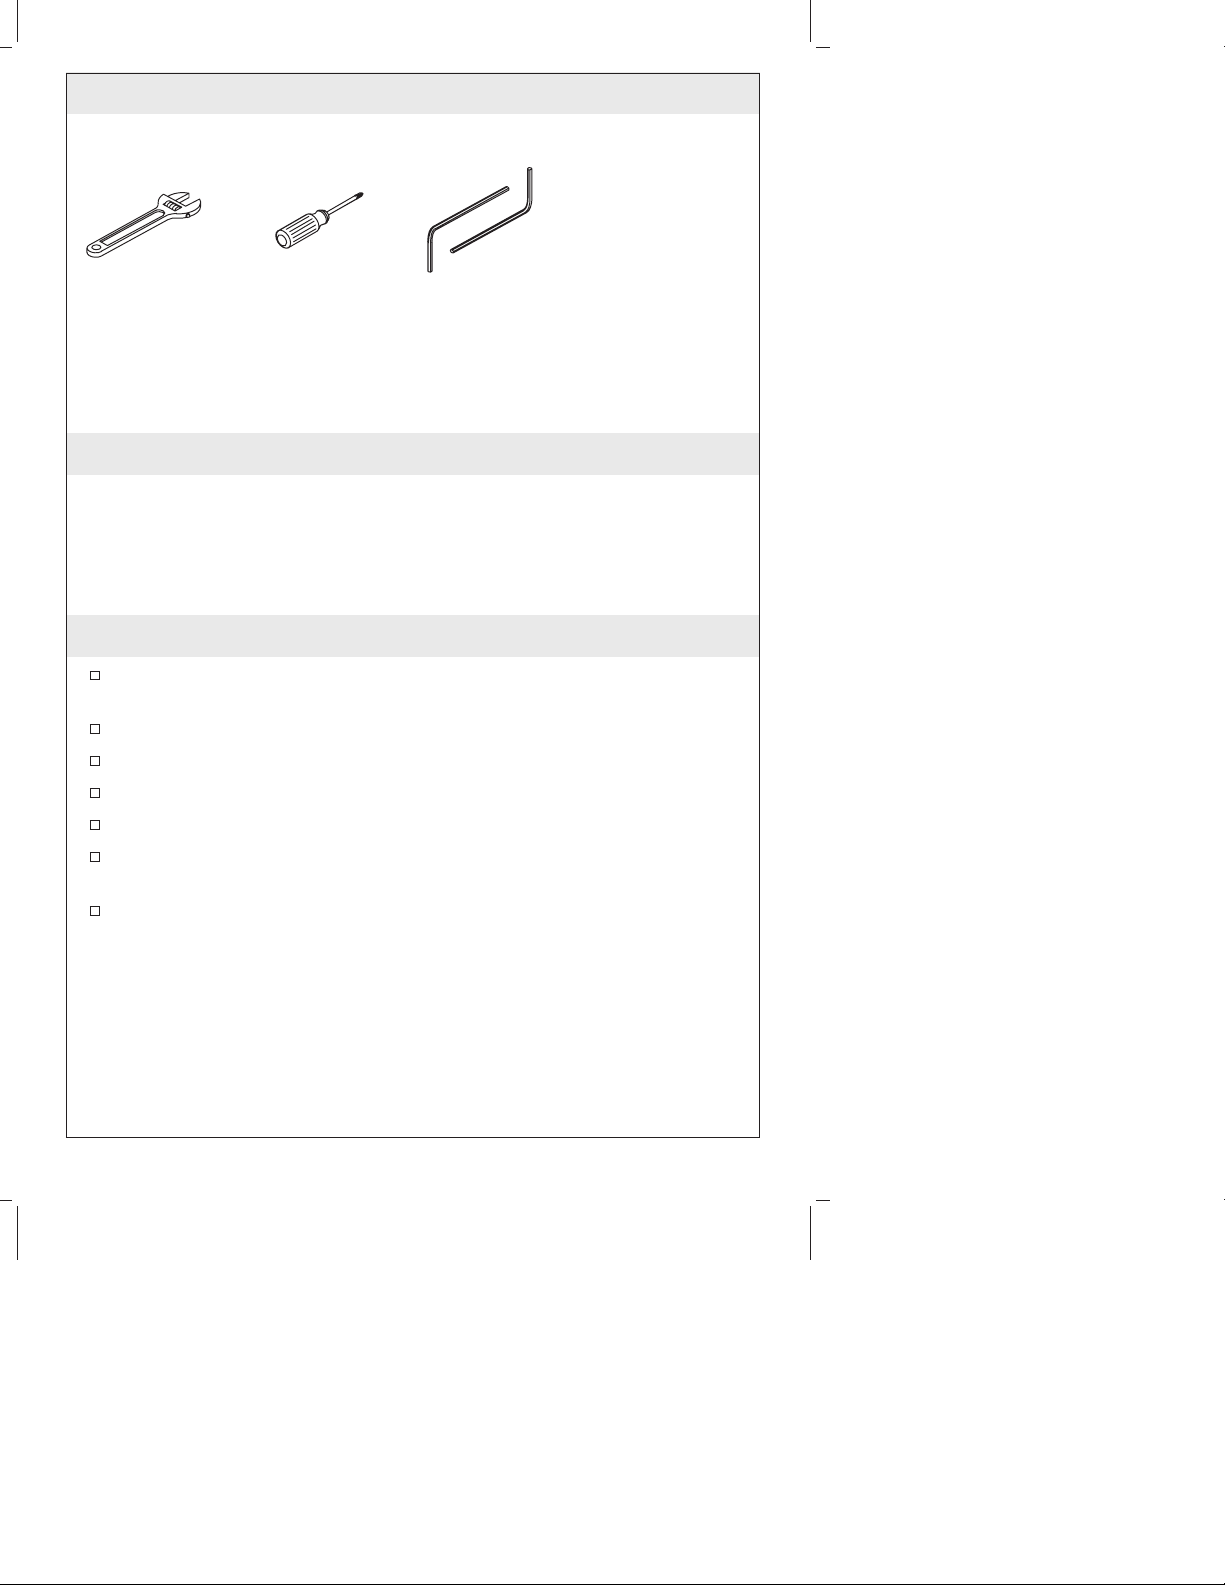
Tools and Materials
Plus:
• Rags
Adjustable
Wrench
Phillips
Screwdriver
Hex
Wrench
Thank You For Choosing Kohler Company
We appreciate your commitment to Kohler quality. Please take a few
minutes to review this manual before you start installation. If you
encounter any installation or performance problems, please don’t
hesitate to contact us. Our phone numbers and website are listed on
the back cover. Thanks again for choosing Kohler Company.
Before You Begin
The valve is sold separately. Please read the instructions packed
with the valve for installation procedures.
Please read all instructions before you begin.
Shut off the main water supply.
Observe all local plumbing and building codes.
Complete the finished deck material before installing.
Before installation, unpack the new faucet trim and inspect it for
damage. Return it to the carton until installation.
Kohler Co. reserves the right to make revisions in the design of
faucets without notice, as specified in the Price Book.
1009676-2-B 2 Kohler Co.
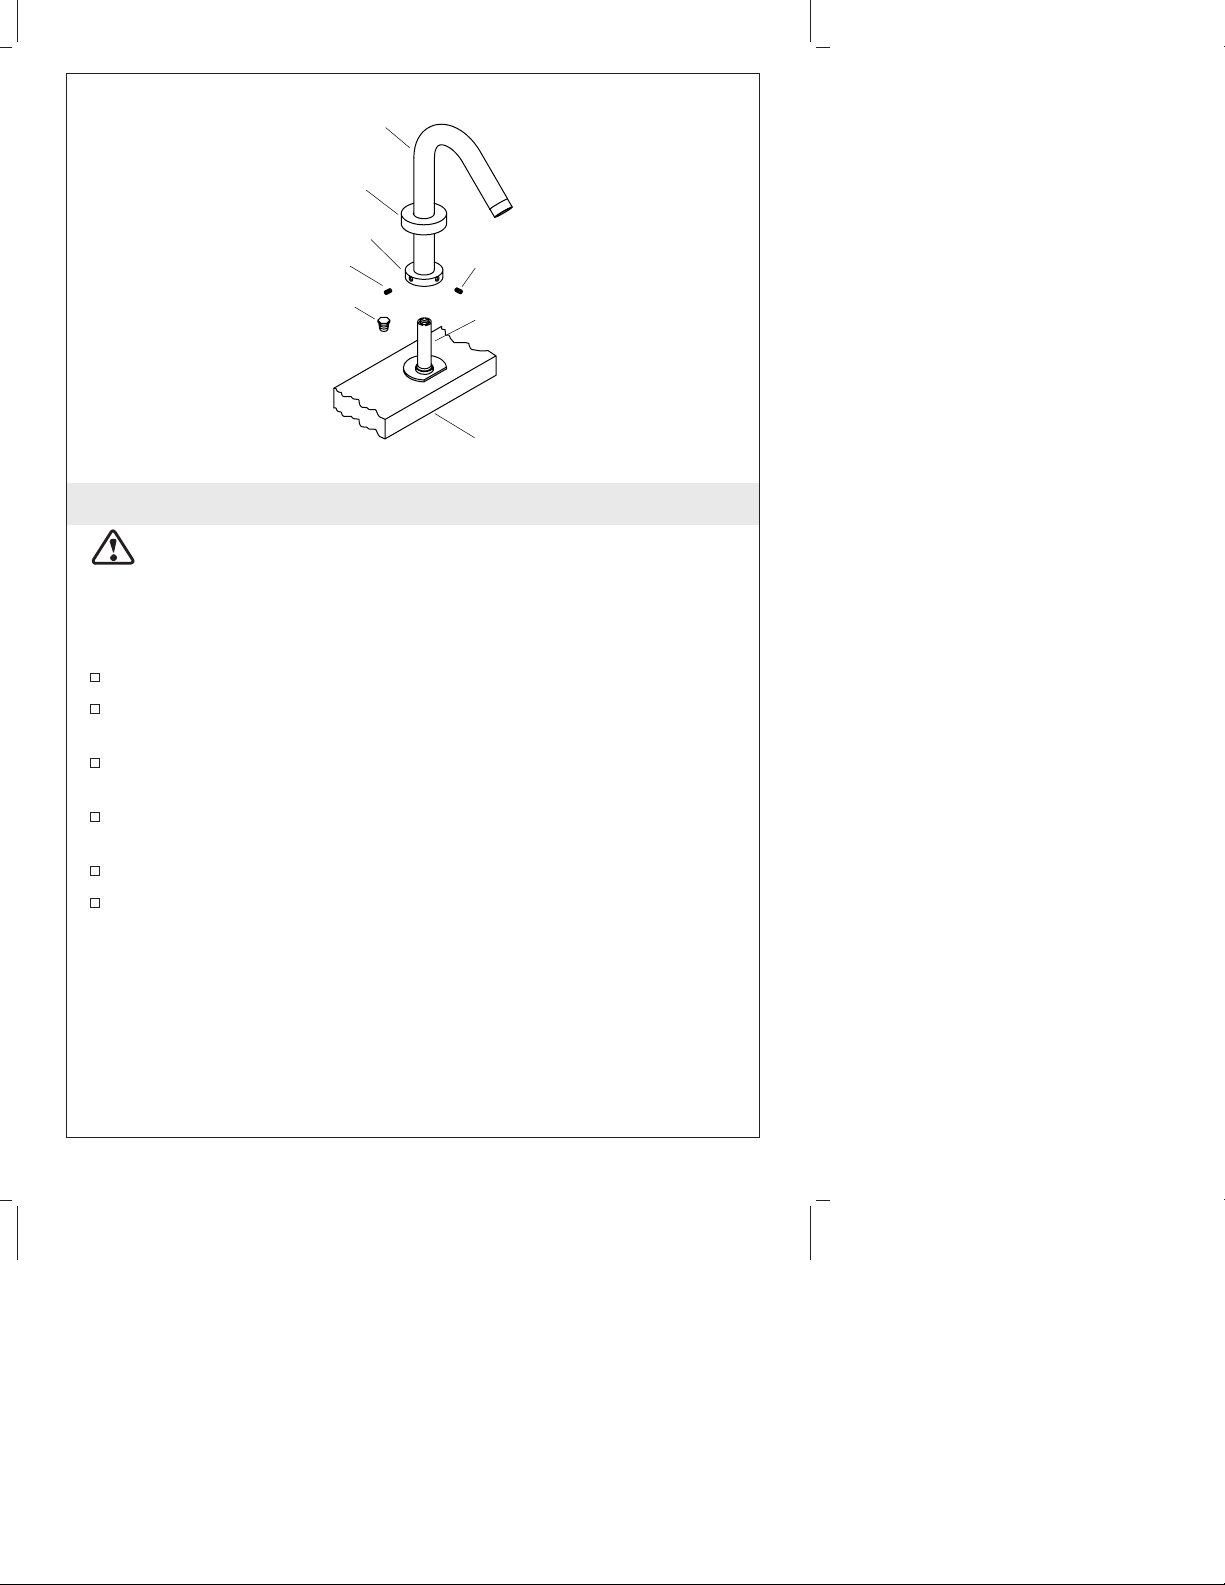
Spout
Escutcheon
Base
Setscrew
Pipe Plug
Setscrew
Supply
Tube
Finished
Deck
1. Install the Spout
CAUTION: Risk of personal injury. Lines may be pressurized.
Do not lean over the pipe plug when turning or removing the
plug.
IMPORTANT! Keep the spout supply tube clean above the finished
deck to avoid damage to the O-ring seal.
Remove the plaster guards.
Remove the pipe plug from the supply stem, using a rag to
prevent spray as the plug is removed.
Back the setscrews off at the base of the spout until they are clear
of the supply tube.
Position the spout on the supply tube, and carefully press down
until the spout contacts the finished deck.
Align the spout as desired, and tighten the setscrews.
Slide the escutcheon down the spout until it is flush with the
finished deck.
Kohler Co. 3 1009676-2-B
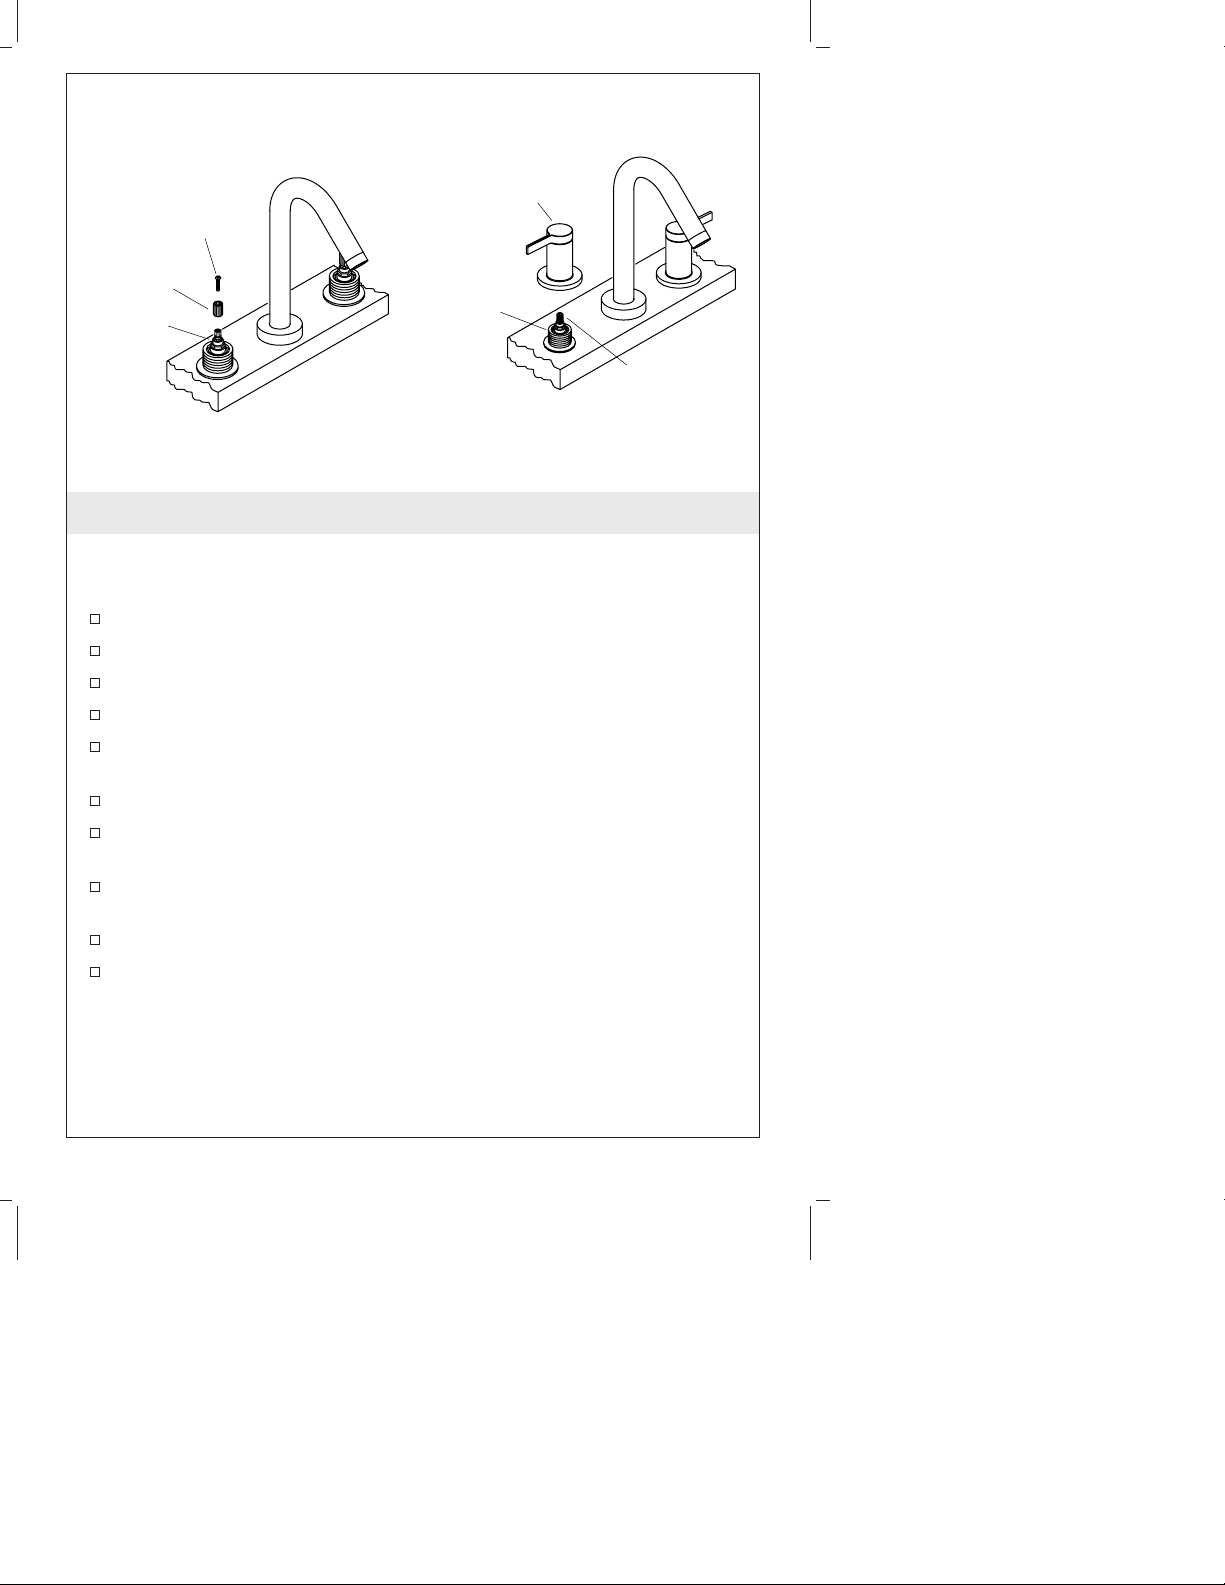
Handle
Screw
Stem
Extension
Valve
Valve
Body
Stem
Extension
2. Install the Handles
NOTE: If the handle assembly does not reach the finished deck
when it is fully tightened, replace the long stem extensions with the
short plastic extensions.
Install a long stem extension onto each valve.
Secure the stem extensions with the provided screws.
Close the valves (hot = clockwise, cold = counterclockwise).
Thread a handle assembly onto each valve.
Confirm that the splines on the stem extension and skirt are
engaged.
Orient the handles so they point away from the spout.
Adjust the handles so the levers point away from the spout when
closed.
To adjust the alignment, remove the handle assembly and
reposition the stem extension on the stem.
Reinstall the handle assembly.
Repeat until the desired alignment is achieved.
1009676-2-B 4 Kohler Co.
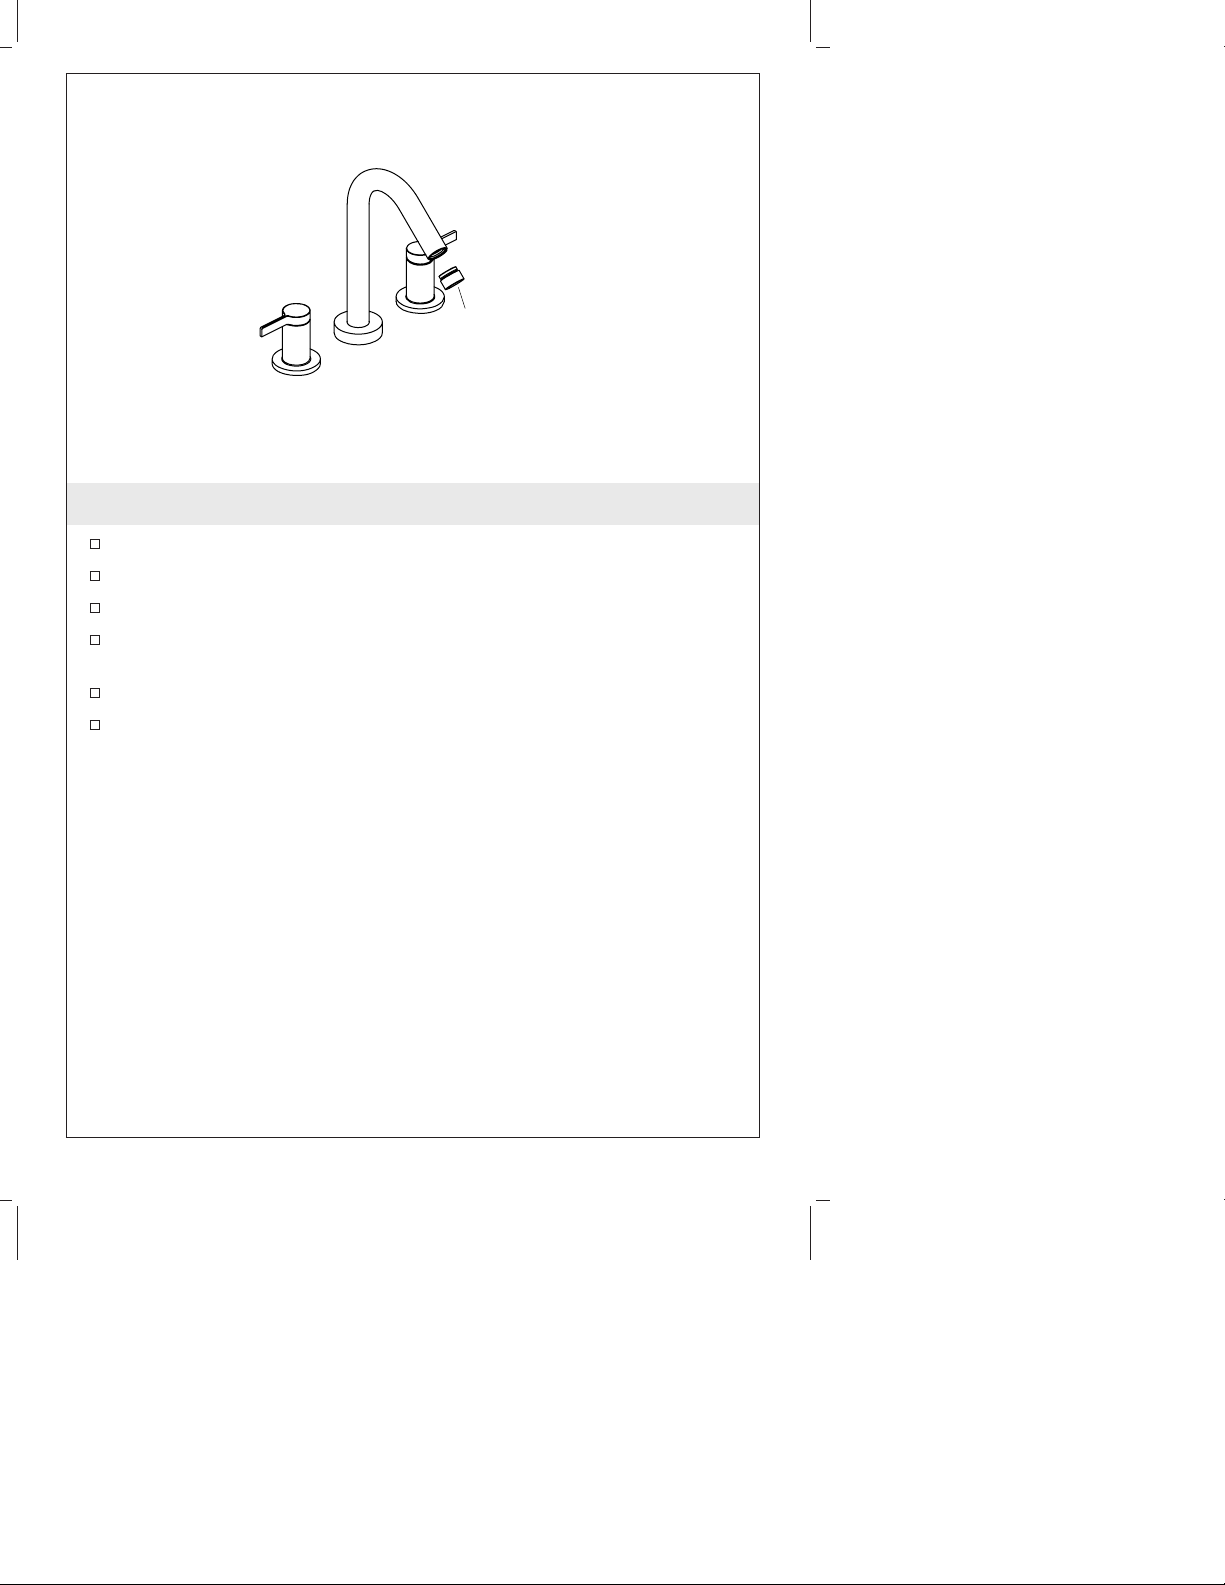
Aerator
3. Complete the Installation
Turn off the water (hot = clockwise, cold = counterclockwise).
Remove the aerator assembly.
Turn on the main water supply and check for leaks.
Turn on the hot and cold valves and run water through the spout
to remove debris. Check for leaks.
Turn off the hot and cold valves.
Reinstall the aerator assembly.
Kohler Co. 5 1009676-2-B
 Loading...