

Page 1

Release Notes
Leaf Capture
Software
Version 11.1 Windows
Internal 739-00490A-EN Rev A
Page 2

Copyright
© Kodak 2008. All rights reserved. Kodak, Leaf, the Leaf logo, and Aptus are trademarks of Kodak.
This document is also distributed in Adobe Systems Incorporated's PDF (Portable Document Format). You
may reproduce the document from the PDF file for internal use. Copies produced from the PDF file must
be reproduced in whole.
Trademarks
Kodak and Leaf are trademarks of Kodak.
Adobe, Acrobat, Adobe Illustrator, Distiller, Photoshop, PostScript, and PageMaker are trademarks of
Adobe Systems Incorporated.
Apple, iMac, Power Macintosh, Mac OS, AppleShare, AppleTalk, TrueType, ImageWriter, and LaserWriter
are registered trademarks of Apple Computer, Inc. Macintosh is a trademark of Apple Computer, Inc.,
registered in the U.S.A. and other countries.
FCC Compliance
Any Kodak equipment referred to in this document complies with the requirements in part 15 of the FCC
Rules for a Class A digital device. Operation of the Kodak equipment in a residential area may cause
unacceptable interference to radio and TV reception, requiring the operator to take whatever steps are
necessary to correct the interference.
Equipment Recycling
In the European Union, this symbol indicates that when the last user wishes to discard this
product, it must be sent to appropriate facilities for recovery and recycling.
Limitation of Liability
The product, software or services are being provided on an “as is” and “as available” basis. Except as may
be stated specifically in your contract, Kodak expressly disclaims all warranties of any kind, whether
express or implied, including, but not limited to, any implied warranties of merchantability, fitness for a
particular purpose and non-infringement.
You understand and agree that, except as may be stated specifically in your contract, Kodak shall not be
liable for any direct, indirect, incidental, special, consequential or exemplary damages, including but not
limited to, damages for loss of profits, goodwill, use, data or other intangible losses (even if Kodak has
been advised of the possibility of such damages), resulting from: (i) the use or the inability to use the
product or software; (ii) the cost of procurement of substitute goods and services resulting from any
products, goods, data, software, information or services purchased; (iii) unauthorized access to or
alteration of your products, software or data; (iv) statements or conduct of any third party; (v) any other
matter relating to the product, software, or services.
The text and drawings herein are for illustration and reference only. The specifications on which they are
based are subject to change. Kodak may, at any time and without notice, make changes to this document.
Kodak assumes no liability for technical or editorial errors or omissions made herein, and shall not be liable
for incidental, consequential, indirect, or special damages, including, without limitation, loss of use, loss or
alteration of data, delays, or lost profits or savings arising from the use of this document.
http://www.leaf-photography.com
Internal 739-00490A-EN
Revised 3 August 2008
Contact your local Kodak representative or refer to http://www.kodak.com/go/recycle for
additional information on the collection and recovery programs available for this product.
Page 3

Contents
Introduction.......................................................................................................................................................1
Minimum System Requirements....................................................................................................................... 1
Recommended System Configuration..............................................................................................................1
Leaf Product Compatibility................................................................................................................................ 2
Leaf Capture Installation................................................................................................................................... 3
Main Features...................................................................................................................................................9
Known Issues .................................................................................................................................................14
Firmware.........................................................................................................................................................15
Page 4
Leaf Capture version 11.1 Windows
Release Notes
Introduction
Leaf® Capture is an image capture and processing workflow application that has
been designed to help you to make the most of the images you take with your
Leaf products.
The intuitive Leaf Capture user interface guides you through the image capture
workflow. Since you can use it to check and perfect your images while you shoot,
Leaf Capture serves as the ideal match for high-volume productions on tight
deadlines, such as catalog and fashion shoots. Leaf Capture enables you to
produce outstanding quality images with fine details and accurate colors. Since
the software is focused on professional photographic requirements, it supports
editing and managing of files in both tethered and portable shooting modes.
Minimum System Requirements
This version of Leaf Capture software supports Windows® XP Professional
Service Pack 2 only.
Note: You must have Administration privileges on your computer in order to
install and use the Leaf Capture software.
Recommended System Configuration
The recommended system configuration for running the Leaf Capture software is
the Dell OptiPlex
Module Description
Base OptiPlex 755 MT E-Smart Core 2 Duo E4500
Microsoft Operating System Windows XP Professional SP2
Memory 2.0GB 800MHz NON-ECC DDRII Memory (2*1GB)
Hard Drive 2*250GB (7,200rpm) Raid 1 SATA 3.0Gb/s Hard Drive
™
755 MiniTower:
(2.20Ghz/800MHz/2MB)
With Media & VC Label - English
1
Page 5

Leaf Capture version 11.1 Windows
Release Notes
The following FireWire board is recommended for use with your Leaf Aptus:
• LaCie® FireWire 400 PCI card (LaCie p/n 107355). Go to
for more information.
The following FireWire board is recommended for use with your Leaf Aptus, Leaf
Aptus S, and Leaf AFi:
• FireboardBlue-e™ 1394a PCI-express adapter (Unibrain P/N: 1203).
Go to
www.unibrain.com for more information.
Leaf Product Compatibility
This version of the Leaf Capture software supports the following Leaf products:
• Leaf AFi 7 • Leaf Aptus™ 75S
• Leaf AFi 6 • Leaf Aptus 65S
• Leaf AFi 5 • Leaf Aptus 54S
• Leaf Aptus 75
www.lacie.com
2
• Leaf Aptus 65
• Leaf Aptus 22
• Leaf Aptus 17
Page 6
Leaf Capture version 11.1 Windows
Release Notes
Leaf Capture Installation
Note: You must have Administration privileges on your computer in order to
install and use the Leaf Capture software.
Note: Your imaging module must not be connected to the computer during the
installation.
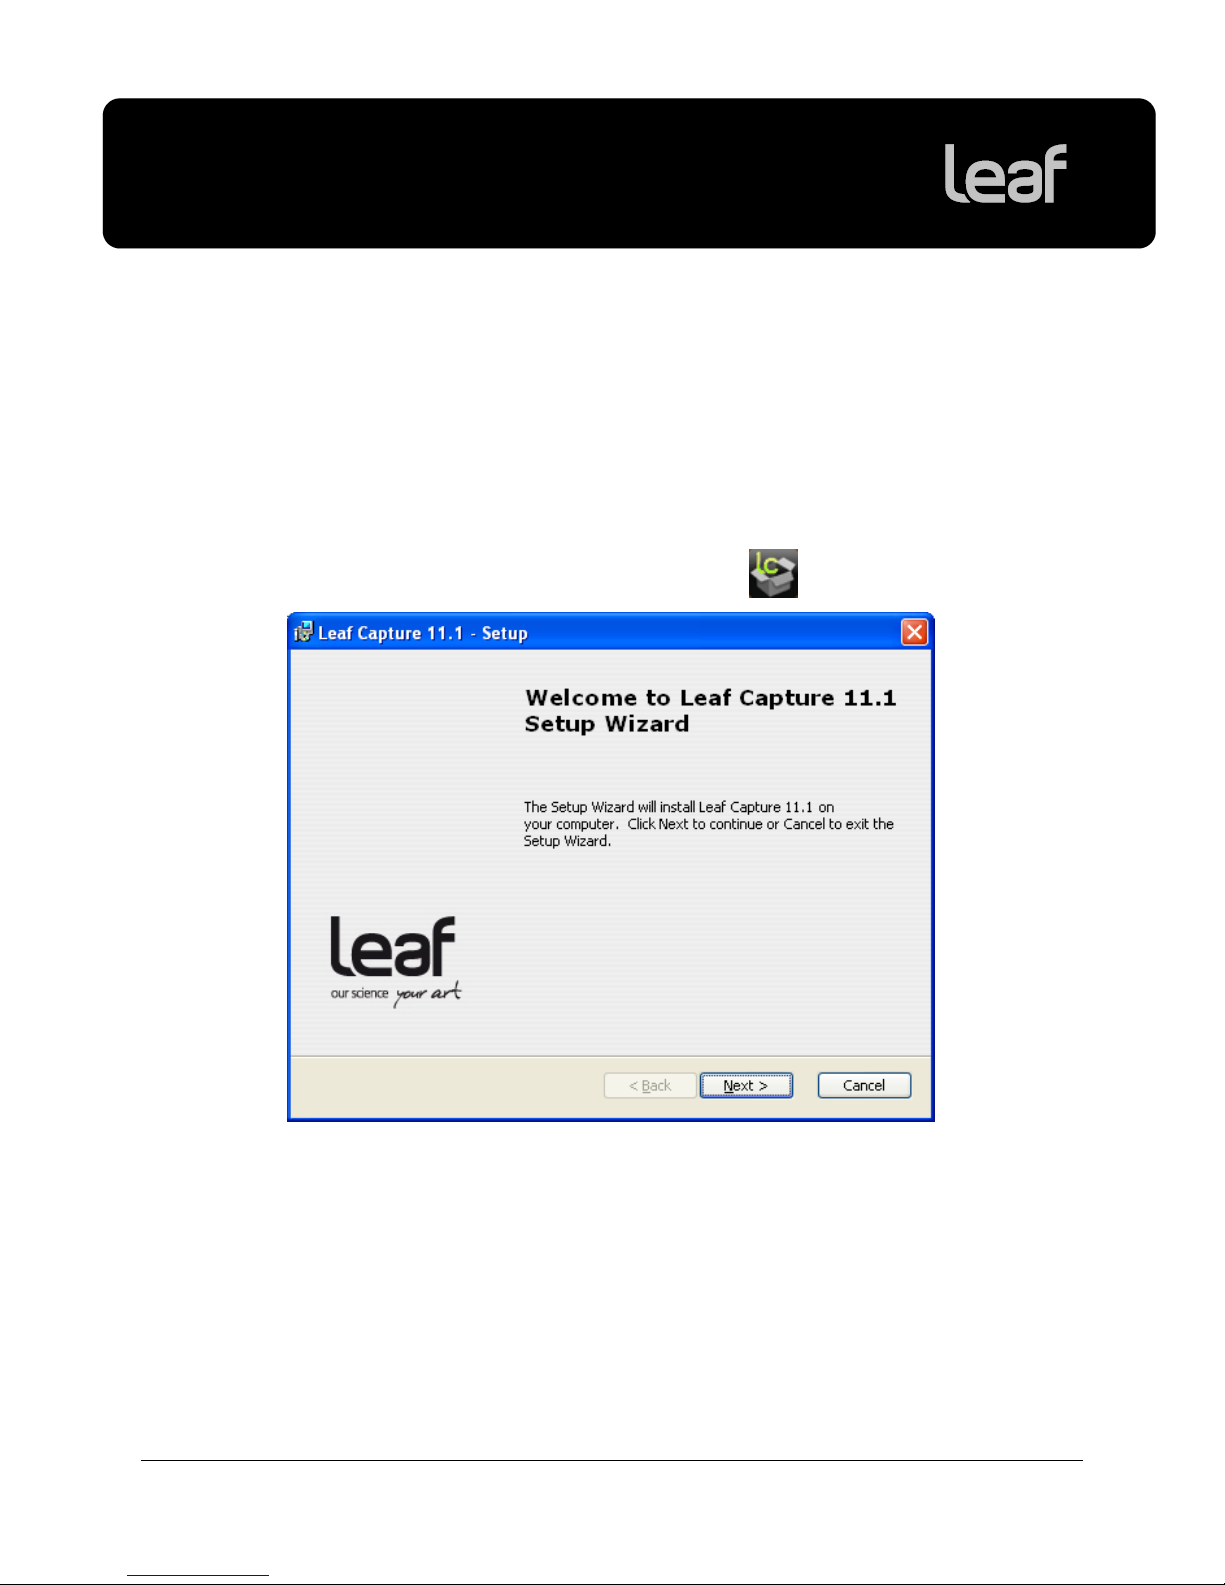
Installing Leaf Capture 11.1 Windows
1. Double-click the Leaf Capture Installer icon .
3
Page 7

Leaf Capture version 11.1 Windows
Release Notes
2. Click Next.
3. Browse to the desired installation folder and click Next.
4
Page 8

Leaf Capture version 11.1 Windows
Release Notes
4. Click Next.
5. Select I accept the terms in the License Agreement and click Next.
5
Page 9

Leaf Capture version 11.1 Windows
Release Notes
6. Click Install.
7. If this is the first time you are connecting your Leaf imaging module to your
computer, clear the Launch Leaf Capture 11.1 check box.
After installation, you must perform the Device Driver Installation Wizard and
only then start the software.
6
Page 10

Leaf Capture version 11.1 Windows
Release Notes
8. Click Finish.
The Leaf Capture software is installed.
The following notice appears in your web browser:
9. If you use Windows XP, download the Windows XP update to enhance the
FireWire transfer speed and your performance when shooting tethered.
10. Connect your imaging module to your computer.
If this is the first time you are connecting your imaging module to your computer,
follow the Device Driver Installation wizard.
7
Page 11

Leaf Capture version 11.1 Windows
Release Notes
Device Driver Installation Wizard
The first time that you connect your imaging module to the computer, the Device
Driver Installation Wizard appears:
1. Click Next.
2. Click Finish.
Your computer will now work successfully with your imaging module.
3. Start the Leaf Capture software, and click Connect to connect to the imaging
module.
8
Page 12

Leaf Capture version 11.1 Windows
Release Notes
Main Features
Compare View
The new compare view enables you to evaluate your images and to find your
best shot in a series by comparing them to one another. Use compare view to
compare two images or a selection of images.
When you compare two images, one is the master image and the second is the
candidate, as indicated by a green frame. The master image is fixed, but the
candidate image is dynamic, and changes as you select other images or flip
through the images in the folder. If you find a candidate image that you prefer to
the master image, you can use the new Set candidate as master button to set
the candidate as the master image, and continue flipping though the images in
the folder by holding down ALT and using the arrow keys.
Compare view has the same functionality as all other views. You can select and
remove images that you wish to compare as a group or one by one using the
familiar selection keys. You can open as many images as you want to compare.
Each image has full preview functionality, meaning that you can compare images
using the Leaf Capture tools—for example, by checking the focus of each image
using the loupe tool.
9
Page 13

Leaf Capture version 11.1 Windows
Release Notes
Comparing two images
Compare two images to find your best shot in a series using a process of
elimination.
1. Click
to open compare view.
Compare view becomes the view mode in the image area. The preview pane
is the area where you compare your images. There is also a thumbnails strip
which displays all of the images in your folder, as with other views. The
thumbnails are displayed horizontal or vertical according to the last selected
preview with horizontal or vertical thumbnails view.
Tip: Press the tab key to toggle the compare view size between the regular
image area size and the size of the entire workspace.
2. Select two images for comparison by holding down cmd, and then clicking
the desired images in the thumbnails strip.
The selected images appear in the preview area in an arrangement that
optimizes their display size. The first image that you select is the candidate
image, and has a green frame. The second image that you click is the
master image, and has a black frame.
3. Compare and evaluate your images.
4. To toggle between the candidate and master images, click the master image
(the image in the black frame) in the preview pane.
The selected image becomes the candidate image and has a green frame;
the second image becomes the master image and has a black frame.
5. You can replace the candidate image in one of the following ways:
¾ To select a specific image from the thumbnails, hold down
the desired image. The selected image replaces the candidate image in
the preview pane.
¾ To flip through the images in your folder, hold down
arrow keys. As you flip through the images in the folder, the selected
image replaces the candidate image in the preview pane.
10
ALT, and click
ALT, and use the
Page 14

Leaf Capture version 11.1 Windows
Release Notes
As you flip through the images in the folder, compare them to the master image.
If you find an image that you like better than the master image, you can set it as
the master image. It then replaces the master image, and you can continue to
flip through the images in the folder.
¾ To set the candidate image as the master image, click
.
The candidate image is set as the master image. The new candidate image is
then the next consecutive image in the folder.
Comparing multiple images
To add an image to the compare pane:
1. Hold down
2. Continuing to hold down
in order to add them to the preview area for comparison.
To remove an image in the compare pane:
1. Hold down
thumbnails strip.
2. Continuing to hold down the
want to remove from the preview area.
To replace an image in a multiple selection:
CMD, and click the desired image in the thumbnails strip.
CMD, continue to click as many images as you want
CMD, and click the desired image in the preview pane or
CMD, continue to click as many images as you
When comparing multiple images, you can replace one image in the preview
pane.
1. In the preview pane, click the image that you want to replace.
The image has a green frame.
2. Do one of the following:
¾ To select a specific image from the thumbnails, hold down
click the desired image.
¾ To flip through images, hold down
The image is replaced by the selected image, or by each image as you flip
through the images in the folder.
11
ALT, and
ALT, and use the arrow keys.
Page 15

Leaf Capture version 11.1 Windows
Release Notes
To refresh the layout:
After you remove images from the preview pane, you can refresh the layout so
that the images are reordered in series in the preview pane.
¾ From the View menu, select Compare Actions > Refresh Layout.
The images appear in the preview pane in an arrangement that optimizes their
display size.
Create Custom Lens Calibration Files Wizard
Shooting images with wide angle lenses and exploiting large format camera
movements often results in lens fall-off and color distortion. To correct this,
create a lens calibration file and load it in the imaging module for shots you take
when shooting tethered. For more information on the Create Custom Lens
Calibration Files wizard, and on loading a custom lens calibration file, refer to the
Leaf Capture help system.
Note: The wizard recommends that the peak of your histogram falls between
+1.8 and +2.3 f-stops. It should read that the right hand side of your histogram
should fall between +1.0 and +2.3 f-stops.
In some cases, you are instructed to "request a falloff correction of less than 0
percent". This should read as "not more than 0 percent".
Apply Lens Calibration to Your Images
When you shoot images with wide angle lenses, you typically take a diffused
lens calibration shot with each camera and lens setup during scene capture.
You can correct the cast effect in your shots after the shoot by applying the
diffused lens calibration shot to your images through processing to create new
raw files. Process two or more images together, setting one file as the lens
calibration file. For more information on applying lens calibration to your images,
refer to the help system.
For more information on cast effects in wide angle photography and the
suggested workflow for taking wide angle shots, refer to the Custom Gain
Adjuster documentation on the web:
https://www.leaf-photography.com/ShowFaqs.asp?MenuID=373&ParentMenuID=355
Note: When creating a custom lens calibration file, ensure that the right hand
side of the diffuse shot histogram falls between +1.0 and +2.3 f-stops.
Flag Behavior
Flag behavior in multiple selections has been improved in this version of the Leaf
Capture software. You can now flag a single image in a group of selected
images. For more information on flag behavior, refer to the help system.
12
Page 16

Leaf Capture version 11.1 Windows
Release Notes
Firmware Update
This version of the Leaf Capture software automatically updates the Leaf AFi
camera and Leaf imaging module firmware if necessary.
JPEG Preview
You can now set the size of the JPEG preview to 2560 x 1600 (height x width)
pixels.
Other Features
In addition, the Leaf Capture 11.1 Windows version contains the following
features:
• Live View
• Layout Overlay
• Grid Overlay
• Color Temperature Slider
• Leaf WiView
• Auto-Save Flags
• Leaf Capture Preferences
• Collapsible Sections in the Shoot Panel
• File Numbering Separator
• Shooting Compressed Images When Tethered
• Easy-to-Access ISO Setting
13
Page 17

Leaf Capture version 11.1 Windows
Release Notes
Known Issues
This section lists known problems in the Leaf Capture software and imaging
module. When a problem listed here is resolved, the solution is described in the
Fixed Issues section of the release notes for the next version of the Leaf Capture
software.
Processing During Shoot Burst
In order to maximize your shooting speed, it is recommended that you do not
process your images while shooting.
Shooting Compressed
When shooting compressed, some images may not compress. After shooting,
verify that your files are compressed by checking the file size.
Tip: Compress any uncompressed files by processing to Leaf Mos format and
selecting Save Compressed in the settings.
Performing Lens Calibration
In some cases, when applying lens calibration to an image and saving the image
compressed, an error message is received.
Workaround: Restart the Leaf Capture software.
14
Page 18

Leaf Capture version 11.1 Windows
Release Notes
Firmware
This version of Leaf Capture is released with firmware version 2.0.9 for your Leaf
AFi camera system.
Version 2.0.9 improvements:
• Accurate reading of Variogon 60-140
• Improved autofocus recognition of more complex targets
• New softkey option
• Lock controls
• Accurate aperture reading of MF lenses
• Improved synchronization of TTL flash
For a history of firmware versions, go to
www.leaf-photography.com.
15
 Loading...