

Page 1
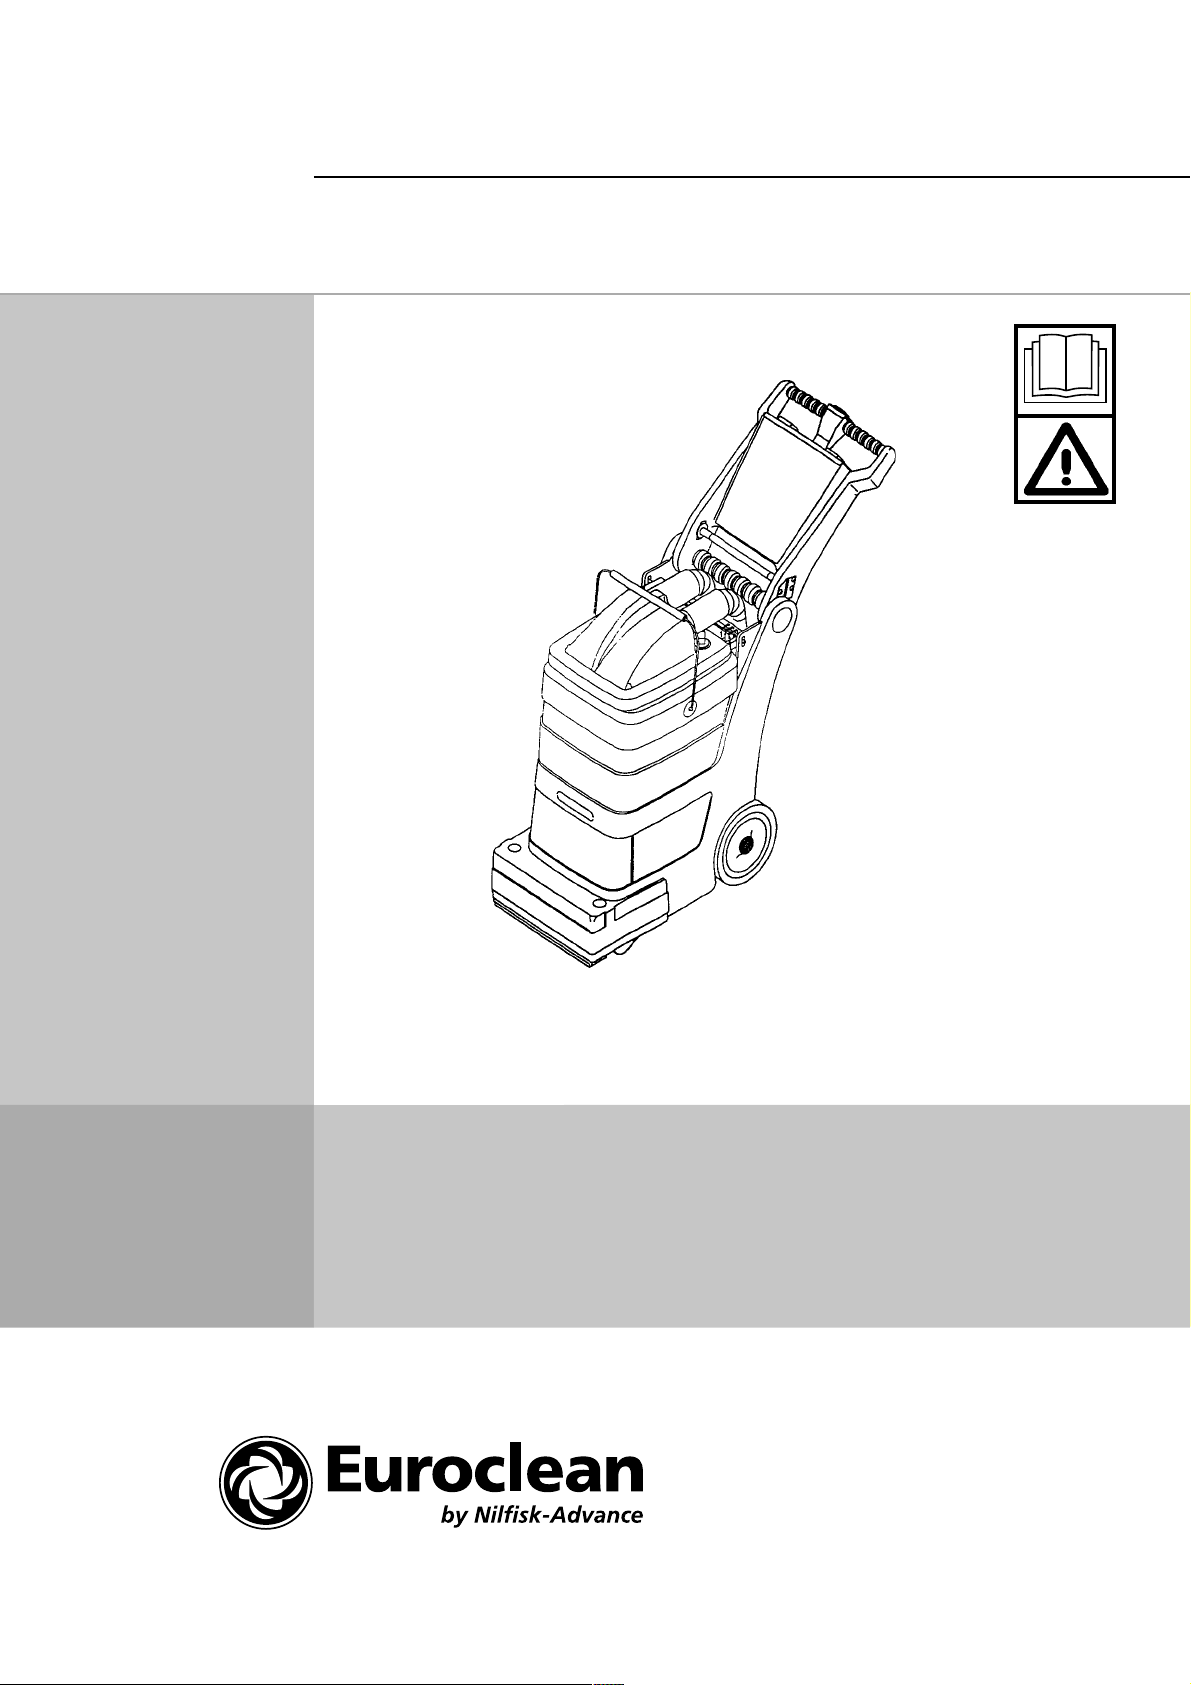
EC 12
OPERATOR MANUAL
Euroclean MODEL EC 12
2/01 Form Number 56041509
Page 2

FIGURE 1
FIGURE 2
APLICACI”N DE
LIMPIEZA
Alfombra Limpieza normal
(con soluciÛn)
Alfombra RecuperaciÛn
doble (sin soluciÛn)
Suelo duro Limpieza normal
(con soluciÛn y
vacÌo)
Suelo duro Fregado doble (sin
vacÌo ni soluciÛn)
Instrumentos
accesorios
opcionales
FIGURE 3
FIGURE 5
V¡LVULA DE
CONTROL DE
SOLUCI”N
CARPET
(ALFOMBRA)ON(ENCENDIDO)
CARPET
(SUELO)
CARPET ON OFF
INTERRUPTO-
R DE LA
(APAGADO)
FLOOR
FLOOR OFF ON OFF
INTERRUPTO-
BOMBA
OFF
CEPILLO
ON ON CARPET
DE ALFOMBRAS/
R DEL
ON CARPET
ON CARPET
INTERRUPTOR
TAPIZADOS
(VACÕO)
UPHOLSTERY
(TAPIZADO)
RESULTADO
DEL
INTERRUPTO-
R DE
ACTIVACI”N
Pone en
marcha el
motor del
cepillo y el
flujo de
soluciÛn.
Pone en
marcha el
motor del
cepillo.
Pone en
marcha el
motor del
cepillo y el
flujo de
soluciÛn.
Pone en
marcha el
motor del
cepillo.
No se usa.
CLEANING
APPLICATION
Carpet Normal cleaning
(with solution flow)
Carpet Double-recovery
(no solution flow)
Hard Floor Normal cleaning
(with solution flow
and vacuum)
Hard Floor Double-Scrubbing
(no vacuum or
solution flow)
Optional accessory
tools
FIGURE 4
SOLUTION
CONTROL
VALVE
CARPET ON ON CARPET
CARPET OFF ON CARPET
FLOOR ON ON CARPET
FLOOR OFF ON OFF
CARPET ON OFF UPHOLSTERY Not used.
PUMP
SWITCH
BRUSH
SWITCH
CARPET AND
UPHOLSTERY
SWITCH
(VACUUM)
ACTIVATE
SWITCH
RESULT
Starts brush
motor, and
solution flow.
Starts brush
motor.
Starts brush
motor, and
solution flow.
Starts brush
motor.
2 - FORM NO. 56041509 / EC 12
Page 3
IMPORTANT SAFETY INSTRUCTIONS
This machine is only suitable for commercial use, for example in hotels, schools, hospitals, factories, shops and offices other than
normal residential housekeeping purposes.
When using an electrical appliance, basic precautions should always be followed, including the following:
Read all instructions before using.
WARNING!
To reduce the risk of fire, electric shock, or injury:
Failure to follow these safety instructions could result in damage to the machine, damage to property, or bodily injury.
• Fire and explosion can occur when this machine is operated in areas where flammable solids, liquids, dusts or gasses are present.
Do not use this machine in these areas. Use only with nonflammable floor cleaners and floor finishing products.
• Do not leave the machine unattended when it is plugged in. Turn off all switches and unplug the electrical cord when not in use
and before servicing.
• Do not allow to be used by untrained personnel. Close attention is necessary when used near children.
• Avoid electrical shock, do not handle the plug or machine with wet hands. To unplug the cord, grasp the plug. Do not pull on the
cord.
• Do not use extension cords or outlets with inadequate current carrying capacity. Do not use with a damaged cord or plug. Connect
the machine only to a properly grounded outlet (refer to GROUNDING INSTRUCTIONS). Avoid damaging cord (closing doors
on cord, pulling around sharp edges or corners, hot surfaces, or running machine over cord).
• This machine creates suction and contains a revolving brush roll. Keep hair, loose clothing, fingers, and all other parts of the body
away from openings and moving parts. Do not insert any object into any of the openings in the machine.
• Do not pick up anything that is burning or smoking, such as cigarettes, matches, or hot ashes.
• Do not use the machine to pick up flammable or combustible liquids such as gasoline.
CAUTION!
• For commercial use only.
• Check the rating plate to see if the voltage agrees within 10% of the voltage available.
• Do not allow water and foam to leak from machine or enter the vacuum tube on the recovery tank. If this happens, immediately
shut off the vacuum motor, unplug the machine. Contact an authorized service center.
• Use machine only as described in this manual. Use only manufacturer’s recommended attachments.
• If the machine is not working as it should, has been dropped, damaged, or left outdoors, return it to a service center before using.
• Never operate entire machine on stairs, use optional attachments.
SAVE THESE INSTRUCTIONS
FORM NO. 56041509 / EC 12 - 3
Page 4

IMPORTANTES PRECAUCIONES DE SEGURIDAD
Esta máquina es sólo para uso comercial, por ejemplo en hoteles, escuelas, hospitales, fábricas, tiendas y oficinas, y no está
destinada a uso doméstico.
Siempre que utilice aparatos eléctricos, conviene tomar las siguientes precauciones de seguridad:
Lea todas las instrucciones antes de usar el aparato.
¡ADVERTENCIA!
Para evitar riesgos de incendio, choques eléctricos o heridas:
De no seguir estas instrucciones de seguridad se pueden producir lesiones personales, daños materiales o daños en la máquina.
• Se pueden producir incendios y explosiones cuando se opera en zonas donde haya presentes sólidos, líquidos, polvos o gases
inflamables. No use esta máquina en dichas áreas. Use sólo con limpiadores de suelos ininflamables y productos de acabado
para suelos.
• No deje la máquina desatendida cuando esté enchufada. Ponga todos los interruptores en la posición de apagado y desenchufe
el cordón de alimentación cuando no se use y antes de efectuar el servicio de la máquina.
• No deje que sea utilizada por personal que no esté capacitado. Se debe prestar mucha atención cuando se utilice en las
proximidades de niños.
• Evite las descargas eléctricas. No manipule el enchufe o la máquina con las manos mojadas. Agarre el enchufe para
desenchufarla. No tire del cordón.
• No use cordones de alargamiento o tomacorrientes con una capacidad de corriente inadecuada. No la use con un cordón o un
enchufe dañado. Conecte la máquina solamente a un tomacorrientes bien conectado a tierra (consulte las INSTRUCCIONES
DE PUESTA A TIERRA). Trate de no dañar el cordón (cerrando puertas y dejando el cordón aprisionado, tirando contra bordes
puntiagudos o esquinas, superficies calientes o haciendo pasar la máquina por encima del cordón).
• Esta máquina crea succión y contiene un cepillo giratorio en forma de rodillo. No acerque a las aberturas y a las piezas móviles
de la máquina el cabello, ropas holgadas, los dedos y otras partes del cuerpo. No introduzca ningún objeto en ninguna abertura
de la máquina.
• No recoja nada que esté ardiendo o echando humo, como cigarrillos, cerillas o cenizas calientes.
• No use la máquina para recoger líquidos inflamables o combustibles tales como gasolina.
¡PRECAUCION!
• Para uso comercial solamente.
• Compruebe la placa de identificación para ver si el voltaje concuerda con el voltaje disponible ±10%.
• No deje que gotee agua o espuma de la máquina ni introduzca el tubo de vacío en el tanque de recuperación. Si ocurre esto,
apague inmediatamente el motor de vacío y desenchufe la máquina. Póngase en contacto con un centro de servicio autorizado.
• Use la m‡quina solamente segœn se describe en este manual. Use solamente los accesorios recomendados por el fabricante.
• Si la máquina no funciona de la forma debida, se ha dejado caer, se ha dañado o se ha dejado a la intemperie, envíela a un centro
de servicio antes de volver a usarla.
• No haga funcionar nunca la máquina completa en escaleras. Use accesorios opcionales para ello.
GUARDE ESTAS INSTRUCCIONES
4 - FORM NO. 56041509 / EC 12
Page 5

120VAC GROUNDING INSTRUCTIONS
This appliance must be grounded. If it should electrically malfunction, grounding provides a path of least resistance for electric current to reduce the risk of electric
shock. This appliance is equipped with a cord having an equipment-grounding conductor and grounding plug. The plug must be plugged into an appropriate outlet
that is properly installed and grounded in accordance with all local codes and ordinances.
DANGER!
Improper connection of the equipment-grounding conductor can result in a risk of electric shock. Check with a qualified electrician
or service person if you are in doubt as to whether the outlet is properly grounded. Do not modify the plug provided with the appliance.
If it will not fit the outlet, have a proper outlet installed by a qualified electrician.
This appliance is for use on a nominal 120-volt circuit, and has a grounding plug that looks like the plug illustrated in Figure 1 below. A temporary adapter illustrated
in Figures 2 and 3 may be used to connect this plug to a 2-pole receptacle as shown in Figure 2 if a properly grounded outlet is not available. The temporary adapter
should be used only until a properly grounded outlet (Figure 1) can be installed by a qualified electrician. The green-colored rigid ear, tab, or the like extending
from the adapter must be connected to a permanent ground such as a properly grounded outlet box cover. Whenever the adapter is used, it must be held in place
by a metal screw. Grounding adapters are not approved for use in Canada.
Replace the plug if the grounding pin is damaged or broken.
The Green (or Green/Yellow) wire in the cord is the grounding wire. When replacing a plug, this wire must be attached to the grounding pin only.
Extension cords connected to this machine should be 12 gauge, three-wire cords with three-prong plugs and outlets. DO NOT use extension cords more than
50 feet (15 m) long.
PLEASE NOTE: FOR NORTH AMERICA ONLY
120VAC INTRUCCIONES PARA HACER LA TOMA A TIERRA
Este aparato deberá ser conectado a tierra. En caso de malfuncionamiento o de desperfectos, la toma a tierra proporciona una vía de menor resistencia de la
corriente eléctrica para reducir el riesgo de choques eléctricos. Esta unidad viene equipada con un cordón con conductores para toma a tierra y con un enchufe
con toma a tierra. Ese enchufe deberá ser enchufado a un receptáculo en buen estado con instalación a tierra según los códigos y ordenanzas de la zona.
¡PELIGRO !
Si el conductor a tierra no está instalado correctamente pueden producirse riegos de choques eléctricos. En caso de duda, consulte
con un electricista o personal de servicio autorizados. No modifique el cordón provisto con el aparato. Si no calza en el receptáculo,
llame a un electricista calificado para que coloque un receptáculo adecuado.
Este aparato se usa con un circuito de 120-voltios nominales, y tiene un enchufe con toma a tierra tal como se muestra en la figura 1, a continuación. Se puede
usar un adaptador provisorio tal como se ve en las figuras 2 y 3 en caso de disponerse de un receptáculo sin toma a tierra como en la figura 2. Dicho adaptador
provisorio se usará solamente hasta que un electricista calificado instale un receptáculo con la toma a tierra correspondondiente (figura 1). La lengüeta de conexión
de color verde que sale del adaptador deberá ser conectada a una toma a tierra permanente como, por ejemplo, la caja del receptáculo con toma a tierra. Siempre
que se use el adaptador, hay que sostenerlo en su lugar con un tornillo de metal.
Sustituya el enchufe si la patilla de tierra está dañada o rota.
El hilo verde (o verde/amarillo) del cordón es el hilo de tierra. Cuando sustituya el enchufe, este hilo sólo debe ir conectado a la patilla de tierra.
Los cables alargadores conectados a esta máquina deben ser del calibre 12, trifilares, con tres patillas y tomas de pared adecuadas. NO UTILICE cables
alargadores de más de 15 m.
ATENCIÓN : PARA AMÉRICA DE NORTE SOLAMENTE.
FORM NO. 56041509 / EC 12 - 5
Page 6

INTRODUCTION
This manual will help you get the most from your EC 12. Read it thoroughly
before operating the machine.
This product is intended for commercial use only.
PARTS AND SERVICE
Repairs, when required, should be performed by your Authorized Euroclean
Service Center, who employs factory trained service personnel, and maintains
an inventory of Euroclean original replacement parts and accessories.
Call the EUROCLEAN DEALER named below for repair parts or service. Please
specify the Model and Serial Number when discussing your machine.
NAME PLATE
The Model Number and Serial Number of your machine are shown on the
Nameplate on the machine. This information is needed when ordering repair
parts for the machine. Use the space below to note the Model Number and Serial
Number of your machine for future reference.
MODEL NUMBER
SERIAL NUMBER
UNCRATE THE MACHINE
When the machine is delivered, carefully inspect the shipping carton and the
machine for damage. If damage is evident, save the shipping carton so that it
can be inspected. Contact the Euroclean Customer Service Department
immediately to file a freight damage claim.
PREPARATION
Before each use, check the solution filter (Figure 1), lint filter (Figure 2), and spray
nozzles (Figure 3) for lodged debris.
ADDING SOLUTION
WARNING!
DISCONNECT THE POWER CORD FROM THE ELECTRICAL
OUTLET BEFORE ADDING SOLUTION.
Fill with clean solution to the level indicator, approximately 3 gallons ( 11.4 l).
CAUTION!
Solution temperature must not exceed 120°F (49°C). Use nonfoaming chemicals only and be sure to use the correct dilution
ratios.
OPERATION
CLEANING CARPET AND HARD FLOOR
Prepare machine (Figure 4).
Pull the machine backwards to clean. If dispensing solution, release the
“ACTIVATE” switch six inches before the end of the cleaning pass. Overlap
cleaning passes for complete coverage. Empty recovered dirty solution into a
waste drain, rinse tank, refill with properly diluted clean solution and repeat until
area is completed.
CAUTION!
Do not allow water or foam to overflow and enter the vacuum tube
on the recovery tank. If this happens immediately shut off the
vacuum motor, unplug the machine and contact an authorized
service center.
CLEANING UPHOLSTERY
(Optional upholstery tool required)
Refer to the chart below to achieve machine performance to match application.
CAUTION!
Locate and read the recommended fabric cleaning instruction
label. If fabric requires dry cleaning DO NOT clean with this
machine.
Before cleaning, test fabric for colorfastness. In an inconspicuous spot, rub the
area with a solution dampened clean white terry towel.
If color does not transfer to towel, the fabric should be safe to clean. Should the
color transfer to the towel, DO NOT continue.
Prepare machine. Connect upholstery attachment to machine. Solution fitting
is on the lower back side of machine. The solution recovery hose connects to
the clear lid inlet without the lint filter.
Depress upholstery tool trigger to apply solution while pulling tool with overlapping paths. Run tool over cleaned area a second time without spraying solution
to recover as much solution as possible. Empty recovered dirty solution into a
waste drain, rinse tank, refill with properly diluted clean solution and repeat until
cleaning is completed.
CLEAN UP AND STORAGE
Store the machine in a cool dry place. Wind the extension cord in a circle and
hang on the cord hook provided on the machine. Be sure not to wind the cord
tighter than necessary.
Avoid prolonged exposure of machine to freezing temperatures during storage
or transporting.
MAINTENANCE
CONTROLS
PUMP SWITCH
This is the power switch for the pump.
BRUSH MOTOR SWITCH
This is the power switch for the brush drive motor.
CARPET/UPHOLSTERY SWITCH
The position of this switch is customizes what functions the machine provides for
that type of cleaning.
ACTIVATE BRUSH/SPRAY
The function of this switch is determined by the position of the other control
switches.
CIRCUIT BREAKER
This circuit breaker keeps the brush motor from becoming overloaded.
6 - FORM NO. 56041509 / EC 12
WARNING!
BEFORE ANY SERVICING, AVOID POSSIBLE INJURY OR
ELECTRIC SHOCK BY DISCONNECTING THE POWER CORD
FROM THE ELECTRICAL OUTLET.
Reduce the build up of chemical residue by running 8 ounces of vinegar for every
gallon of water through the machine once a week. Be sure the vinegar solution
sprays into an appropriate tub or drain. When finished, run clean water through
the machine.
CAUTION!
Do not use vinegar solution on carpet.
Spray the solution quick disconnect fitting with silicone lubricant to prevent
sticking.
Page 7

TROUBLESHOOTING
Problem
The unit does not operate.
The vacuum motor does not operate.
The vacuum motor operates but the
machine does not remove enough
water from the carpet or is leaving
water “streaks” on the carpet.
Cause
The unit is not connected to an suitable, grounded
electrical outlet.
The fuse/circuit breaker protecting the electrical
outlet is open.
The vacuum motor switch is in “off” position.
The vacuum motor, vacuum motor switch and/or
vacuum motor wiring circuit is defective.
The vacuum hoses are loose or disconnected and/
or damaged.
The vacuum air passages are obstructed.
Air is leaking around recovery tank lid.
Solution
Confirm that the unit is connected to a suitable,
grounded electrical outlet.
Reset the fuse/circuit breaker. If the fuse/circuit
breaker opens a second time, contact the dealer
from which the machine was purchased or an authorized service station for repair.
Turn the vacuum motor switch to “on” position.
Contact the dealer from which the machine was
purchased or an authorized service station for repair.
Make sure the ends of the vacuum hoses are are
securely installed. Inspect the vacuum hoses and
replace if damaged.
Unplug the unit from the power supply. Remove any
debris from the suction nozzle, vacuum hose and
tank lid filter cap.
Make sure lid is correctly installed in recess on top
of recovery tank. Inspect gasket on edge of tank lid
and replace if damaged.
The brush drive motor does not operate.
The circuit breaker protecting the brush
drive motor continually opens (“trips”)
during operation.
The recovery tank is full.
The spray nozzle is obstructed, damaged or worn.
Defective vacuum motor.
The brush drive motor switch is in “off” position.
The circuit breaker protecting the brush drive motor
is open (“tripped”).
The brush drive motor, brush drive motor switch
and/or brush drive motor wiring circuit is defective.
Debris is preventing the brush roll from rotating.
Empty the recovery tank.
Clean the spray nozzle using vinegar and water
solution (see “Maintenance”). Inspect spray nozzle
and replace if damaged or worn.
Contact the dealer from which the machine was
purchased or an authorized service station for repair.
Turn the brush drive motor switch to “on” position.
Unplug the unit from the power supply. Remove any
debris which may be preventing the brush roll from
rotating. Adjust brush height before restarting unit
(see “MAINTENANCE”). If the circuit breaker opens
a second time, contact the dealer from which the
machine was purchased or an authorized service
station for repair.
Contact the dealer from which the machine was
purchased or an authorized service station for repair.
Unplug the unit from the power supply. Remove any
debris which may be preventing the brush roll from
rotating.
The brush drive motor, brush drive motor switch
and/or brush drive motor wiring circuit is defective.
Contact the dealer from which the machine was
purchased or an authorized service station for repair.
FORM NO. 56041509 / EC 12 - 7
Page 8

INTRODUCCIÓN
Este manual le ayudará a obtener el máximo rendimiento de su EC 12. Léalo
por completo antes de poner en funcionamiento la máquina.
Este producto sólo está destinado a uso profesional.
PIEZAS Y SERVICIO
Las reparaciones, cuando sean necesarias, deben ser realizadas por el Centro
de Servicio Autorizado de Euroclean, que emplea personal entrenado en fábrica
y mantiene un inventario de accesorios y piezas de repuestos originales de
Euroclean. Llame al REPRESENTANTE DE EUROCLEAN que se indica más
abajo para obtener piezas de repuesto y servicio. Al referirse a su máquina,
indique el modelo y número de serie.
PLACA DE DATOS NOMINALES
El número de modelo y el número de serie de su máquina se muestran en la
placa de datos nominales que está fijada a la máquina. Esta información es
necesaria para pedir piezas de repuesto para la máquina. Utilice el espacio
reservado para anotar el número de modelo y el número de serie de su máquina
para futuras consultas.
NÚMERO DE MODELO
NÚMERO DE SERIE
DESEMBALAJE DE LA MÁQUINA
Cuando le entreguen la máquina, inspeccione cuidadosamente el cartón de
embalaje y la máquina para comprobar que no existen daños. Si existen daños
evidentes, guarde el cartón para que se pueda inspeccionar. Contacte
inmediatamente con el Departamento de Servicio al Cliente de Euroclean para
cumplimentar una reclamación por daños durante el transporte.
PREPARACIÓN
Antes de usar la máquina, compruebe el filtro de solución (Figura 1), el filtro de
fibras (Figura 2) y la boquilla de rociado (Figura 3) para ver si tienen partículas
atascadas.
ADICIÓN DE SOLUCIÓN
ADVERTENCIA!
DESCONECTE EL CORDÓN DE ALIMENTACIÓN DEL
TOMACORRIENTES ELÉCTRICO ANTES DE AGREGAR
SOLUCIÓN.
Llene de solución limpia hasta el indicador de nivel, aproximadamente 3 galones
(11,4 litros).
PRECAUCIÓN!
La temperatura de la solución no debe exceder de 120°F (49°C).
Use solamente productos químicos que no formen espuma y
asegúrese de usar las relaciones de dilución correctas.
CONTROLES
INTERRUPTOR DE LA BOMBA
Éste es el interruptor de alimentación para la bomba.
INTERRUPTOR DEL MOTOR DEL CEPILLO
Éste es el interruptor de alimentación del motor del cepillo.
INTERRUPTOR PARA ALFOMBRAS/TAPIZADOS
La posición de este interruptor adapta las funciones de la máquina para ese tipo
de limpieza.
ACTIVAR CEPILLO/ROCIADOR
La función de este interruptor viene determinada por la posición de los otros
interruptores de control.
DISYUNTOR
Este disyuntor impide la sobrecarga del motor del cepillo.
OPERACIÓN
LIMPIEZA DE ALFOMBRAS Y SUELOS DUROS
Prepare la máquina (Figura 5).
Tire de la máquina hacia atrás para limpiar. Si se distribuye solución, suelte el
interruptor de “ACTIVACIÓN” unos 15 cm antes del final de cada pasada de
limpieza. Solape las pasadas de limpieza para lograr una cobertura completa.
Vacíe la solución sucia recuperada en un desagüe de aguas negras, enjuague
el tanque, rellene con solución limpia bien diluida y repita esto hasta completar
el área.
PRECAUCIÓN!
No deje que rebose agua o espuma ni que entre en el tubo de
vacío en el tanque de recuperación. Si ocurre esto, apague
inmediatamente el motor de vacío, desenchufe la máquina y
póngase en contacto con un centro de servicio autorizado.
LIMPIEZA DE TAPIZADOS
(Se requiere usar el instrumento opcional para tapizados)
Consulte la tabla siguiente para lograr un rendimiento de la máquina que
corresponda a la aplicación.
PRECAUCIÓN!
Localice y lea la etiqueta de instrucciones de limpieza de telas.
Si la tela necesita una limpieza en seco NO LA LIMPIE con esta
máquina.
Antes de limpiar, pruebe la solidez del color. Frote en un lugar poco aparente
con una toalla de esponja humedecida de color blanco.
Si el color no se transfiere a la toalla, se puede limpiar la tela. Si se transfiere
a la toalla, NO SIGA ADELANTE.
Prepare la máquina. Conecte a la máquina el accesorio para tapizados. El
accesorio de solución está en el lado trasero inferior de la máquina. El tubo de
recuperación de solución está conectado a la entrada de la tapa transparente
sin el filtro de fibras.
Apriete el gatillo de tapizado para aplicar solución mientras tira del instrumento
solapando las pasadas. Pase el instrumento sobre la zona limpiada por
segunda vez sin solución de rociado para recuperar tanta solución como sea
posible. Vacíe la solución sucia recuperada en un desagüe de aguas negras,
enjuague el tanque, rellene de solución limpia bien diluida y repita esto hasta
completar la limpieza.
LIMPIEZA Y ALMACENAMIENTO
Guarde la máquina en un lugar frío y seco. Enrolle el cordón de alargamiento
en círculo y cuelgue el rollo en el gancho del cordón suministrado con la
máquina. Asegúrese de no enrollar el cordón de forma más fuerte que la
necesaria.
Evite una exposición prolongada de la máquina a temperaturas de congelación
durante el almacenamiento o el transporte.
MANTENIMIENTO
ADVERTENCIA!
ANTES DE EFECTUAR EL SERVICIO, EVITE POSIBLES
LESIONES O DESCARGAS ELÉCTRICAS DESCONECTANDO
EL CORDÓN DE ALIMENTACIÓN DE LA TOMA DE CORRIENTE
ELÉCTRICA.
Diminuya la acumulación de residuos químicos echando 8 onzas de vinagre por
galón de agua (relación 1:16) una vez a la semana. Asegúrese de rociar la
solución de vinagre en un recipiente o desagüe adecuado. Una vez acabado
esto, haga circular agua limpia por la máquina.
PRECAUCIÓN!
No use soluciones de vinagre en alfombras.
Rocíe la conexión rápida de solución con lubricante de silicona para impedir que
se quede adherido.
8 - FORM NO. 56041509 / EC 12
Page 9

LOCALIZACIÓN DE AVERÍAS
Problema
La unidad no funciona.
El motor de vacío no f unciona.
El motor de vacío funciona pero la máquina no
elimina una cantidad suficiente de agua de la moqueta
o deja manchas de agua en la misma.
Causa
La unidad no está conectada a un enchufe eléctrico
apropiado con toma de tierra.
El fusible/disyuntor que protege al enchufe está
abierto.
El interruptor del motor de vacío está en la posición
“off”.
El motor de vacío, el interruptor del motor de vacío y/
o el circuito de cableado del motor de vacío están
defectuosos.
Las mangueras de vac’o est‡n sueltas o
desconectadas y/o dañadas.
Los conductos de aire de vacío están obstruidos.
Hay una fuga de aire alrededor de la tapa del tanque
de recuperación.
Solución
Confirme si la unidad está conectada a un enchufe
eléctrico apropiado con toma de tierra.
Reposicione el fusible/disyuntor. Si el fusible/disyuntor
se abre una segunda vez, póngase en contacto con el
distribuidor donde compró la máquina o con un servicio
autorizado para repararla.
Ponga el interruptor del motor de vacío en la posición
“on”.
Póngase en contacto con el distribuidor donde compró
la máquina o con un servicio autorizado para repararla.
Cerciórese de que los extremos de las mangueras de
vac’o estén bien instalados. Inspeccione las
mangueras de vacío y sustitúyalas si están dañadas.
Desenchufe la unidad de la fuente de alimentación.
Quite cualquier fragmento que haya en la boquilla de
aspiración, la manguera de vac’o y el filtro de la tapa
del tanque.
Cerciórese de que la tapa esté correctamente instalada
en el receptáculo de la parte superior del tanque de
recuperación. Inspeccione la empaquetadura del
borde de la tapa del tanque y sustitœyala si está
dañada.
El motor de los cepillos no funciona.
El disyuntor que protege al motor de los cepillos se
abre continuamente (se dispara) durante el
funcionamiento.
El tanque de recuperación está lleno.
La boquilla de rociado está obstruida, dañada o
desgastada.
El motor de vacío está defectuoso.
El interruptor del motor de los cepillos está en la
posición “off”.
El disyuntor de protección del motor de los cepillos
está abierto (disparado).
El motor de los cepillos, el interruptor del motor de los
cepillos y/o el circuito de cableado del motor de los
cepillos están defectuosos.
Unos fragmentos están impidiendo que gire el rodillo
de los cepillos.
Vacíe el tanque de recuperación.
Limpie la boquilla de rociado con una solución de
vinagre y agua (vea la sección de “Mantenimiento”).
Inspeccione la boquilla de rociado y sustitúyala si está
dañada o desgastada.
Póngase en contacto con el distribuidor donde compró
la máquina o con un servicio autorizado para repararla.
Ponga el motor de los cepillos en la posición “on”.
Desenchufe la unidad de la fuente de alimentación.
Quite cualquier fragmento que pueda impedir la
rotación del los cepillos de rodillo. Ajuste la altura del
cepillo antes de volver a poner en marcha la unidad
(vea “Mantenimiento”). Si el disyuntor se abre una
segunda vez póngase en contacto con el distribuidor
donde compró la máquina o con un servicio autorizado
para repararla.
Póngase en contacto con el distribuidor donde compró
la máquina o con un servicio autorizado para repararla.
Desenchufe la unidad de la fuente de alimentación.
Quite cualquier fragmento que impida el giro del
rodillo de los cepillos.
El motor de los cepillos, el interruptor del motor de los
cepillos y/o el circuito de cableado del motor de los
cepillos están defectuosos.
Póngase en contacto con el distribuidor donde compró
la máquina o con un servicio autorizado para repararla.
FORM NO. 56041509 / EC 12 - 9
Page 10

© 2001 Printed in USA
1151 Bryn Mawr Ave.
Itasca, IL 60143
Telephone: (630) 773-2111 or (800) 545-HEPA
Telefax: (630) 773-2859
 Loading...