

Page 1
S-TYPE
Quick Guide
Welcome to your new Jaguar
S-TYPE vehicle. We hope this
Quick Guide improves your
comfort and convenience.
Please note that it is essential to
refer to the S-TYPE Handbooks
for complete operating and safety
information.
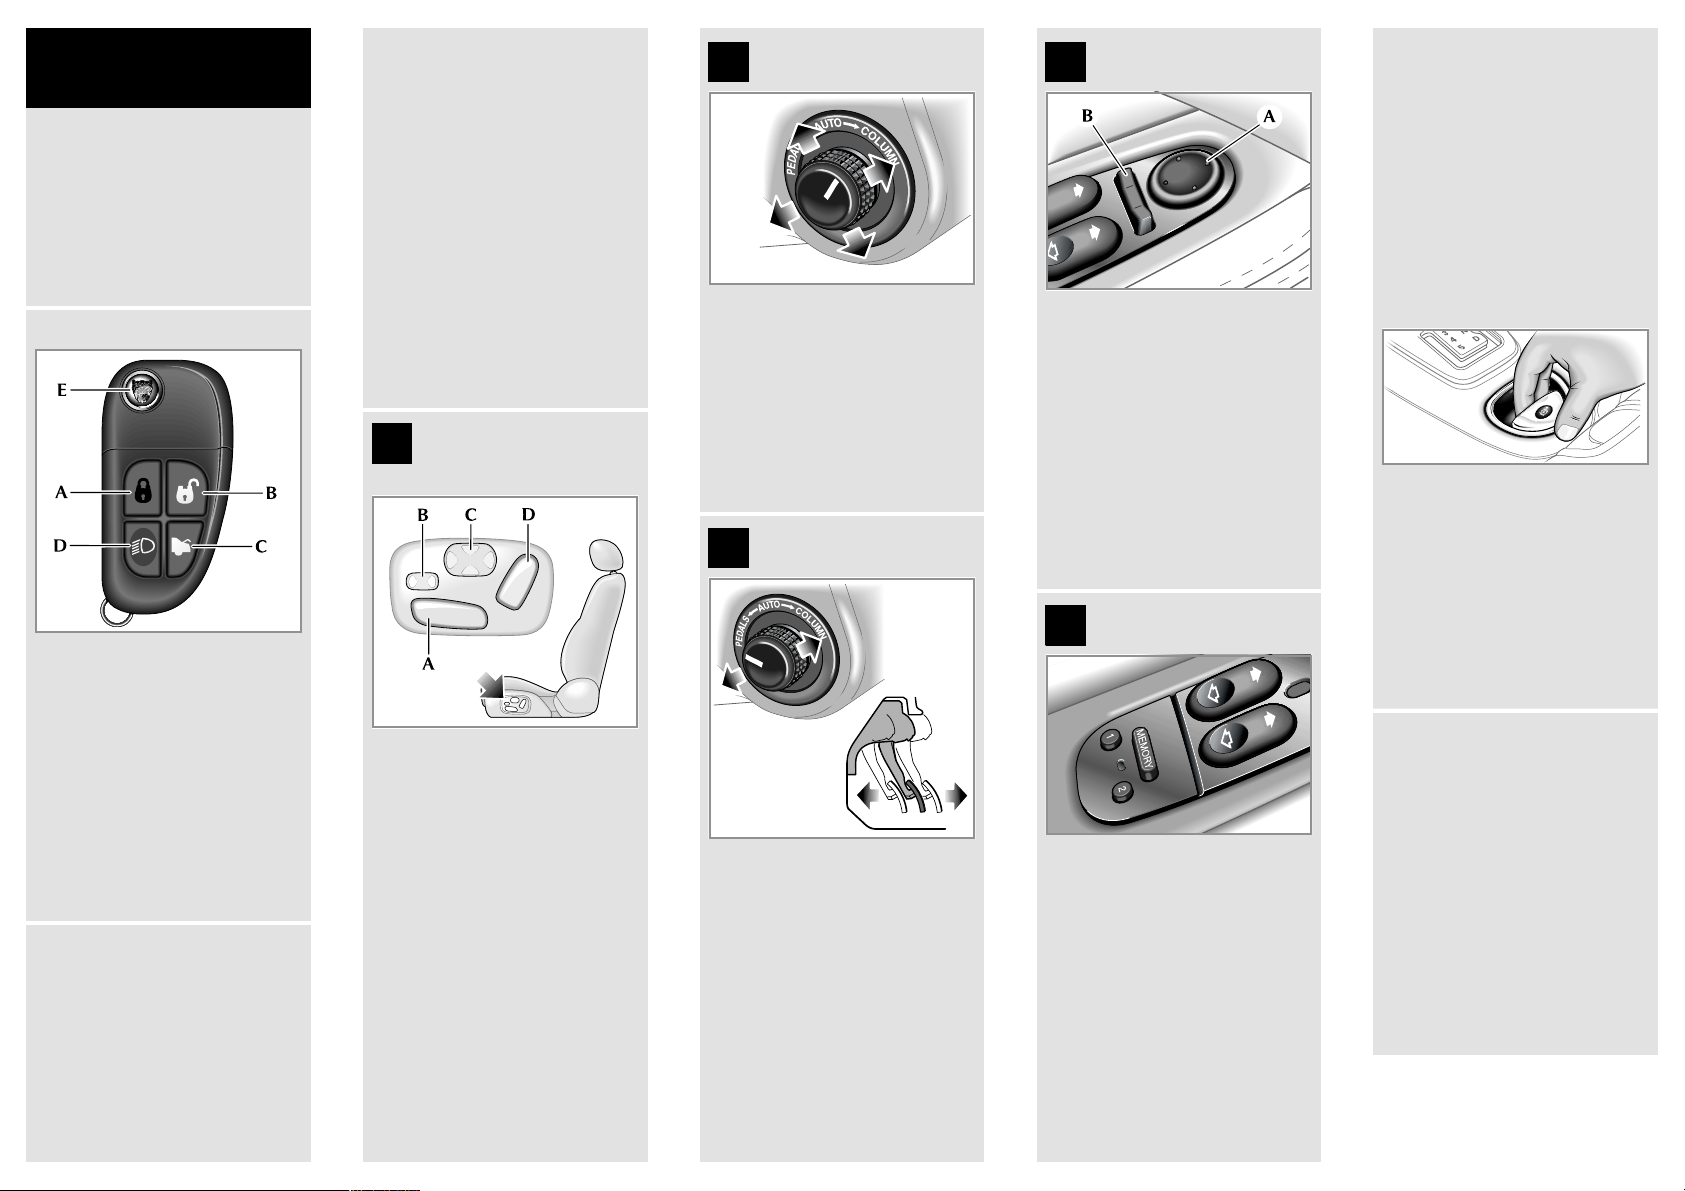
KEY-RING TRANSMITTER
A. Locks and arms the vehicle.
B. Unlocks and disarms the
vehicle.
C. Releases the luggage
compartment lock.
D. One press switches on the
headlamps for 25 seconds.
Three presses starts the
panic alarm.
E. Key release.
See Driver’s Handbook, Section 2.
FRONT SEAT BELTMINDER
Driver and front passenger
seat belt audible warning chimes
when seat belts are not
fastened – see Driver’s Handbook,
Section 4.
Note: Not all countries have
audible chimes.
SETTING A COMFORTABLE
DRIVING POSITION
It is advisable to first move the
driver’s seat to the correct
position in relation to the pedals,
gear selector and front and side
vision before adjusting the
steering column, mirrors and
seat belt.
Tip: Preferred positions for seats,
steering column, pedals and
exterior mirror can all be stored
in MEMORY.
Key-ring transmitters can be set
for separate MEMORY settings.
See Driver’s Handbook, Section 3.
SEAT AND HEADREST
1
ADJUSTMENT
(where fitted)
A. Adjusts the seat fore and aft
position and cushion height
and front tilt.
B. Adjusts the seat cushion
extension (if fitted).
C. Controls lumbar support in
the lower backrest.
D. Adjusts the seat-back angle
(recline) and headrest height.
See Driver’s Handbook, Section 3.
STEERING COLUMN
2
ADJUSTMENT
Select COLUMN (or AUTO) and
move the switch to adjust the
steering column until a
comfortable position is obtained.
For entry/exit mode rotate the
switch to AUTO. This will not
activate if PEDALS or COLUMN
is selected.
See Driver’s Handbook, Section 3.
PEDAL ADJUSTMENT
3
(where fitted)
Rotat e the switch on the left-hand
side of the steering column
to PEDALS and move the switch
fore and aft until a comfortable
position is obtained.
Note: Any adjustment to the
pedals is inhibited when cruise
control is activated.
See Driver’s Handbook, Section 3.
EXTERIOR MIRROR
4
ADJUSTMENT
A. Adjusts the exterior mirror.
B. Select the left-hand or right-
hand exterior mirror before
adjustment.
Power foldback (where fitted):
Set button (B) to the centre
position, briefly press the rear of
button (A). To return the mirrors
to their normal driving position
briefly press the rear of button (A)
again.
See Driver’s Handbook, Section 3.
SETTING MEMORY
5
(where fitted)
1. Adjust your seat, steering
column, pedals and exterior
mirror to your preferred
position.
2. Press MEMORY and the red
tell-tale will illuminate for
5seconds.
3. Press either 1 or 2 to store
into the desired memory
location while LED is
illuminated. A short
acceptance tone is given.
See Driver’s Handbook, Section 3.
ELECTRIC PARKBRAKE
Auto Transmission:
The parkbrake is automatically
released when the gear selector is
moved from P or by pressing the
accelerator pedal when in gear.
Manual transmission:
The parkbrake is only released via
the parkbrake switch.
Tip: The parkbrake automatically
applies when the ignition key is
removed.
To apply parkbrake: Pull the
parkbrake switch up and release.
The warning light on the
instrument cluster will illuminate.
To release parkbrake:
The ignition switch must be in
position II, apply the footbrake
and push the parkbrake switch
down.
See Driver’s Handbook, Section 4.
GEARSHIFT INTERLOCK
If the gear selector is placed back
into P and the brake pedal
remains depressed, the gear
selector will lock in the
P position. The following action
is required to move the gear
selector: Remove the foot from
the brake pedal and hand from
selector; press the brake pedal
again; select the gear required.
Note: ‘J’-Gate P light flashes to
indicate above action required.
See Driver’s Handbook, Section 4.
Publication Part No.
JJM 18 20 16/30
Published by Technical Service and Communications
Jaguar Cars Limited
August 2002
Page 2
EXTERIOR LIGHTING
Tip: For AUTOLAMPS function
rotate the switch (A)
to AUTO (B) –
see Driver’s Handbook, Section 4.
RAIN SENSITIVE WIPERS
(where fitted)
Tip: For the rain sensitive wiper
function move the right-hand stalk
switch to position (B) and rotate
the rotary collar (A) to AUTO –
see Driver’s Handbook, Section 4.
The rotary collar (A) is for
selecting AUTO (rain sensitive
wiper operation) or intermittent
wipe delay speeds.
Note: If the wipers are switched
on in AUTO for more than
20 seconds and AUTOLAMPS
has been selected, then the
exterior lights will be switch ed on.
Caution: Ensure that AUTO is
not selected when entering a
car wash or damage to the
wiper blades/arms can occur.
TRIP COMPUTER
Tip: Press and hold the
RESET button for 3 seconds to
reset trip – see Driver’s Handbook,
Section 4.
Message can also be hidden by
one press of the RESET button.
Pressing the TRIP button on the
end of the left column stalk
switch cycles through the
displayed data.
AIR CONDITIONING SYSTEM
See Driver’s Handbook, Section 5.
• Optimum temperature
control and comfort is
achieved by selecting AUTO.
•Operate withA/C on
throughout the year to reduce
the risk of misting.
• A/C operates automatically
in DEFROST and partial
screen modes to maximize
screen clearance. A/C cannot
be switched off in DEFROST.
• Recirc is automatically
cancelled in DEFROST and in
partial screen modes as it
contributes to misting.
Recirc cannot be selected
in DEFROST.
• It is normal for condensate
puddles to occur under the
vehicle, particularly in
hot/humid conditions.
SETTING THE CLOCK
Non Touch-screen: To adjust
the clock use the Audio System
control buttons as follows:
1. Press and hold MODE until
TA VOLUME is displayed.
2. Repeatedly press MODE until
CLOCK SET is displayed.
3. To select 12 or 24 hour format
press SEEK.
4. Press MODE to continue.
5. If 12 hour selected use # to
denote AM or PM.
6. Use key pad to enter time in
four digit format.
7. To ex i t, pre ss an d ho l d MODE
until display reverts to audio
mode.
See Audio Handbook, Section 2.
Touch-screen:
1. Press MENU on touch-screen
control panel.
2. Touch ‘System Setup’ on the
MENU screen.
3. Touch ‘Set Clock’ on the
SYSTEM SETUP screen.
Clock adjustment is made by
touching the hour or minute,
up or down arrow button.
See Driver’s Handbook, Section 1.
FUEL FILLER FLAP
Tip: The fuel filler flap is located
on the RIGHT-HAND side of your
vehicle – see Driver’s Handbook,
Section 4.
Press the filler flap release switch
to release the fuel filler flap.
Caution: Only use ‘Premium
Unleaded’ gasoline.
FUEL FILLER CAP SECURING
Tip: Incorrect closure of the fuel
filler cap may result in check
engine lamp (malfunction
indicator lamp) illumination.
After refuelling, refit the fuel filler
cap in to the filler neck, twist the
filler cap clockwise until it clicks
and close the flap, which
automatically locks shut.
See Driver’s Handbook, Section 4.
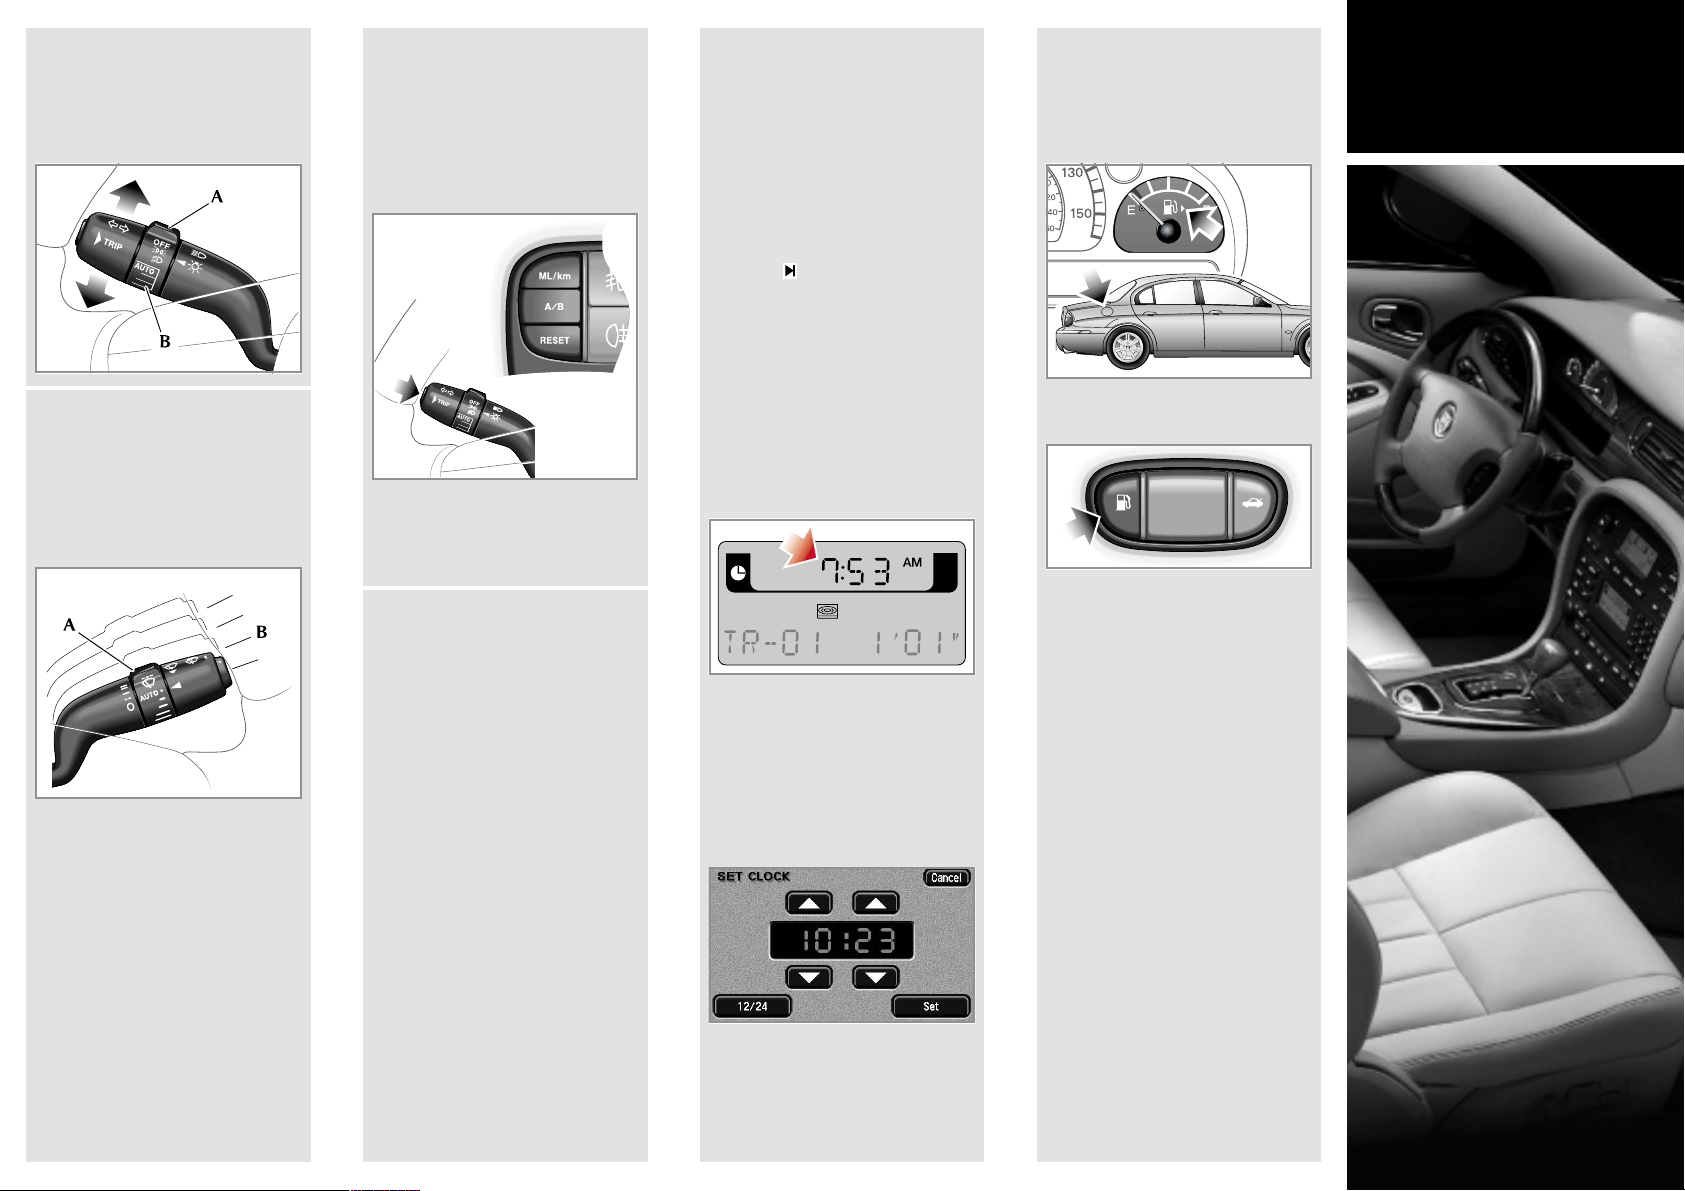
S-TYPE
Quick Guide
 Loading...