

Page 1
USER’S GUIDE
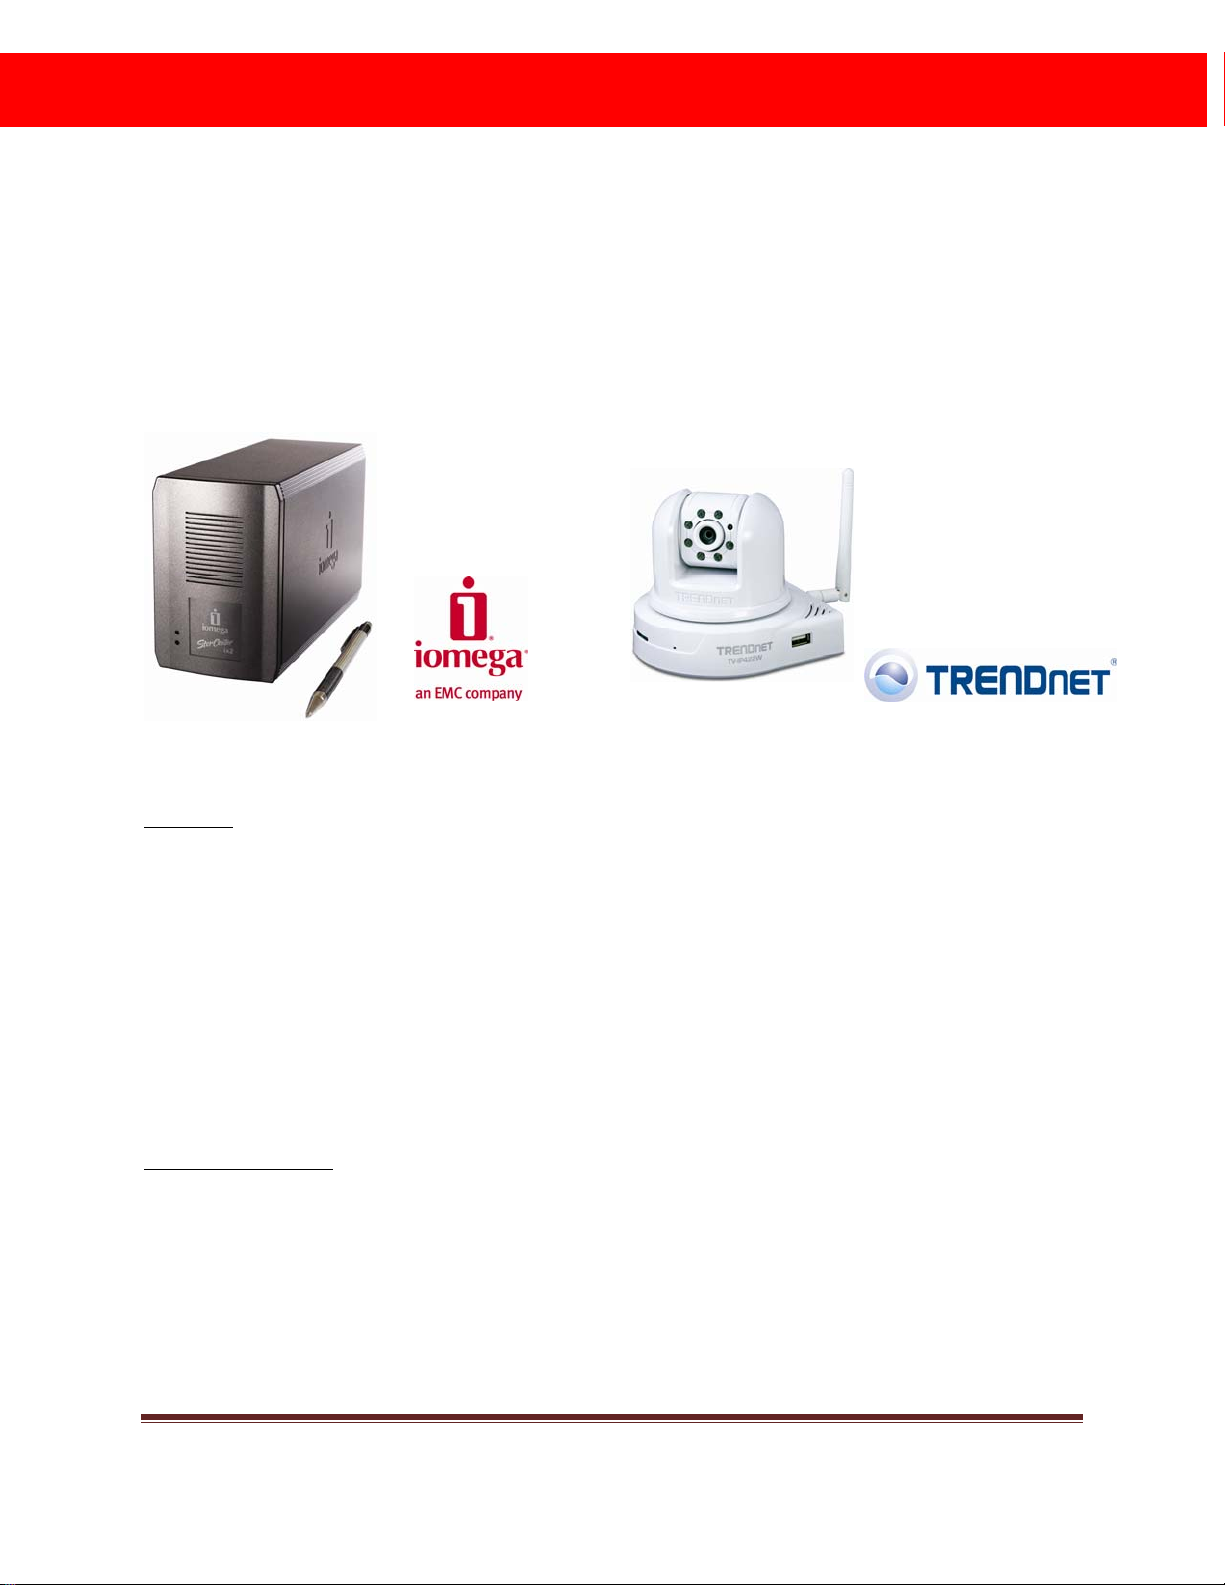
Iomega® StorCenterTM ix2 Network Storage (34338) and
®
TRENDnet
Wireless Day/Night Pan/Tilt Internet Camera
Server with 2-Way Audio (TV-IP422W)
During November 2008, TRENDnet and Iomega are offering great IP Camera capability with
terrific storage capacity at a substantial discount if purchased together. As such, the purpose of
this paper is to provide insight as to how to use these 2 wonderful products together.
Iomega StorCenter ix2 server TRENDnet IP Camera
Overview
You’ll find that when you receive TRENDnet’s IP Camera and Iomega’s network storage products,
individually they come with great features which will be useful on their own. For example, the IP
Camera offered in this promotion doesn’t need an Ethernet cable connection to transmit a secure
encrypted signal. This can all be done via the wireless technology that comes with the camera.
Further Iomega’s ix2 has the capability to stream multimedia content through an attached DMA
(digital media adapter) to a television giving you the capability to play back music, video and photos
through your network.
Many homes and businesses find that the surveillance application of these 2 technologies is very
useful and may be the primary reason for the purchase. As such, here are some simple steps to follow
to use these 2 products together:
Set-Up the Camera:
1) Ensure that you have the basic system requirements for use of the camera:
a. 10/100Mbps Ethernet
b. Wireless router or access point
c. CPU: 1GHz processor or above
d. Memory: 256MB RAM or above / 512MB or above (Windows Vista)
e. Windows 2000/XP/Vista
f. VGA Resolution: 800x600 or above
g. Web Browser: Internet Explorer (6.0 or higher)
User’s Guide – Iomega StorCenter ix2 1TB Network Storage and TRENDnet Wireless Day/Night Pan/Tilt Internet Camera Server with
2-way Audio
Page 1
Page 2

2) Attach the antenna (TV-IP422W) to the back of the camera.
3) Connect a RJ-45 network cable from a Switch/Router to the Ethernet port of the Internet
Camera Server.
4) Connect the AC Power Adapter to the Internet Camera Server and then to a power outlet.
5) Verify the Power and Link LEDs are on at the front of the camera.
6) It is recommended that you configure the Internet Camera from a wired computer. If you
would like to use the SecurView software, please refer to the User’s Guide on the CD with the
camera for more information.
7) Insert the Utility CD-ROM into your CD-ROM drive and then click “IP Setup”.
8) Follow the IPSetUp Setup Wizard instructions and then click “Next”.
9) Click “Close”.
10) Go to Start Æ Programs Æ TRENDnet Æ IPSetUp and click “IPSetUp”. Note that by default,
the IP setting on the TV-IP422W is set to DHCP. Please skip to step 13. If you want to give the
TV-IP422W a static IP address, then continue on to step 11.
11) Select the camera server and click “Change IP”.
12) Configure the desired IP address to be in the same subnet as your network, type in the
Administrator ID and Password and click “Change”. By default, the Administrator ID and
Password are both “admin”.
13) Click “OK” and wait 30 seconds.
14) Click “OK” on the next window to appear.
15) Double click the camera server to access the browser configuration.
16) Enter the User name and Password, and then click “OK”. By default, the User name and
Password are both set to “admin”.
17) Right click and select “Install ActiveX Control”.
18) Click “Install”.
19) Click “Setup”, “Network” and then click “Wireless”.
20) Click “Site Survey”. Select your wireless network. If encryption is enabled, select proper
Authentication type, enter the Pre-Shared Key and then click “Apply”. Note that if your
wireless network does not support WPA, select Open or Shared instead. Contact your network
administrator for more information.
21) Disconnect the RJ-45 cable unplug the power. Then plug the power back into the camera
server. Note that the TV-IP422W will not work wirelessly until you disconnect the Ethernet
cable from the back of the camera.
22) Verify the Power and Link LEDs are on.
23) Click “Live View”
Camera Installation Is Now Complete.
Note: For detailed information regarding the TV-IP422W configuration and advanced settings, please
refer to the Troubleshooting section, User’s Guide on the Utility CD-ROM, or TRENDnet’s website at
http://www.trendnet.com
.
User’s Guide – Iomega StorCenter ix2 1TB Network Storage and TRENDnet Wireless Day/Night Pan/Tilt Internet Camera Server with
2-way Audio
Page 2
Page 3
Set-Up the Network Storage:
1) Use the included network cable to connect the StorCenter device to a network hub or switch
(i.e. wireless router) or use the included network cable to the StorCenter device directly to a
computer.
2) Connect the included power cord to the back of the StorCenter device and an Uninterruptible
Power Supply (UPS). Note: never plug your StorCenter device directly into a wall socket or
power strip. Unexpected loss of power may corrupt data or damage the StorCenter device
operating system.
3) Turn on the power to the StorCenter device using the power button on the rear panel of the
product.
4) Start your computer, wait for the operating system to load, then insert the CD that comes with
the StorCenter device. Note that if the software doesn’t run automatically, double-click on the
CD icon, then double click the “Setup” icon.
5) Install the StorCenter Storage Manager software. Once the installation completes, the
StorCenter Storage Manager software will launch automatically. Note: the StorCenter
Manager will automatically scan your network when launched. If you receive a message from
Windows Firewall alerting you of network activity, click the “Unblock” button. Also note that
for best results, use a computer that is connected to the same router, hub or switch as the
StorCenter device.
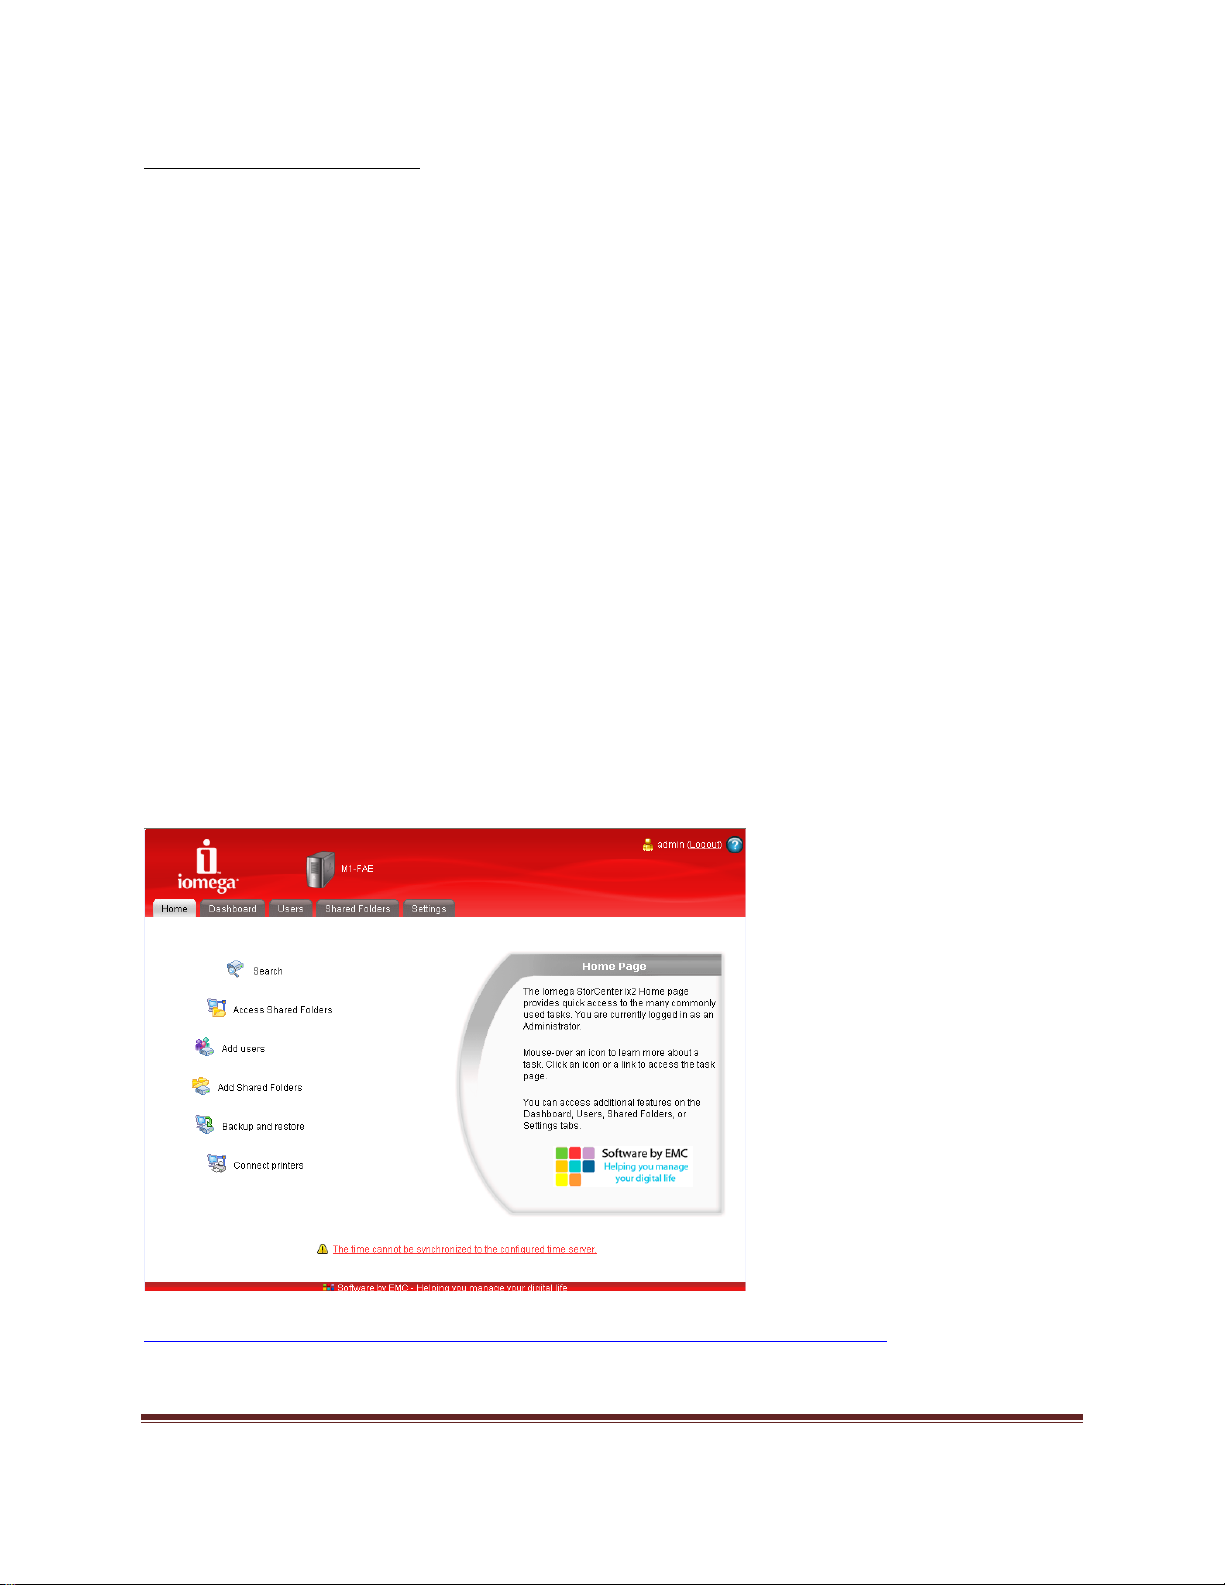
6) Once the StorCenter Manager software has found the StorCenter device, log into the
StorCenter device. If you are logging in for the first time, follow the “Device Setup Wizard”
that will help you create an administrator account and configure the StorCenter device.
Network Storage Installation Is Now Complete.
please refer to the User’s Manual that comes with the device or at
http://www.iomega.com/support/manuals/storcenterix2-117-1008/en/main.html
.
User’s Guide – Iomega StorCenter ix2 1TB Network Storage and TRENDnet Wireless Day/Night Pan/Tilt Internet Camera Server with
2-way Audio
Page 3
Page 4

Using TRENDnet IP Camera (IP-TV422W) AND Iomega Network Storage (34338) Together:
To use the two devices together, first the user should create a share on the ix2 Network Storage to
store images from the IP Camera. This is how that is done:
1. Using the software supplied with Iomega’s StorCenter ix2 Network Storage device, from the
Shared Folders tab, click Add (near the bottom of the page) or from the Home tab, click Add
Shared Folders. The Add Shared Folder page opens.
2. Type a name for the shared folder. All shared folders must have a name. Names cannot exceed
32 characters.
User’s Guide – Iomega StorCenter ix2 1TB Network Storage and TRENDnet Wireless Day/Night Pan/Tilt Internet Camera Server with
2-way Audio
Page 4
Page 5

3. Choose whether to enable security for this shared folder. If you uncheck Enable Security,
everyone on the network is granted read/write access to the shared folder without having to
enter credentials; you cannot limit or configure individual user access to this shared folder.
Anyone with access to the network can open, copy, modify, add, or delete files within the
shared folder.
If you check Enable Security, the administrator can grant users either Read/Write or Read
access to the Shared Folder, or deny access completely by setting access to None.
4. Check Connect the new shared folder to this computer to automatically connect this shared
folder upon creation. If you uncheck this option, this shared folder can be connected later by
accessing the Home tab's Connect Shared Folder link.
5. If you have:
• checked Enable Security, click Next to set access rights for the Shared Folder.
Continue to set access rights in the next step.
• unchecked Enable Security, click Apply to create the Shared Folder. Skip to the last
step, where a confirmation page displays.
6. You can set access rights to either Read/Write, Read, or None for each user. Select the Allow
unsecured read access checkbox to grant all users either Read/Write or Read access to the
Shared Folder, though you cannot completely deny a user access to this Shared Folder with
this setting.
7. Click Apply to create the Shared Folder.
User’s Guide – Iomega StorCenter ix2 1TB Network Storage and TRENDnet Wireless Day/Night Pan/Tilt Internet Camera Server with
2-way Audio
Page 5
Page 6

8. If the Shared Folder was created successfully, a confirmation page displays. Click OK to return
to the Shared Folders page.
Then configure the camera to record to the new share on the network storage device. To do this,
follow these steps:
1) Using the camera software provided by TRENDnet, click on “SETUP” and then “Event Server”
and then “Network Storage” (screen shot below)
User’s Guide – Iomega StorCenter ix2 1TB Network Storage and TRENDnet Wireless Day/Night Pan/Tilt Internet Camera Server with
2-way Audio
Page 6
Page 7

2) Enter the server address of your StorCenter. (IP address shown)
3) Enter in the Share name. (“Trendnet” shown)
4) Click the “Test” button to test the connection and click “Apply”. (creates a small text file)
5) Next set up the Motion Detection configuration by selecting “Motion Detect”.
6) Lastly, select “Event Config” and then “MotionDetect Trigger”, and select “Record to Network
Storage” and “Enable”. (screenshot below)
7) Under the Recording File Path box, click “Browse”
8) Type in the address of the share (the new folder created on the network storage device).
9) Note that on this page, there are 2 other configurable fields
a. Each Recording File Size: This option allows you to select from 20 to 100 MB so that
the video will be recorded as another file automatically when the recording file reaches
the specified size limit.
b. Reserved HDD space for each camera: This option allows you to set to reserve the
storage space on the hard disk drive (or network storage device) for the recording of
each camera. Before setting the reserve space on the hard disk drive, you can check
the available storage space that is displayed in the HDD Free space field.
c. Enable Recycle Recording: Click on the camera number to clear the files when the
unreserved space of the hard disk drive is full.
© 2008 Iomega Corporation. All rights reserved. Iomega, the stylized “i” logo and StorCenter are either registered trademarks or trademarks
of Iomega Corporation in the United States and/or other countries. TRENDnet is a registered trademark of TRENDnet Corporation in the
United States and/or other countries. TRENDnet and IOMEGA do not assume any responsibility or liability for the advice given and shall not
be liable for any direct, indirect, special, incidental or consequential damages in connection with the use of this information. Always back up
your data. For more information, including technical information updates, please visit http://www.trendnet.com
User’s Guide – Iomega StorCenter ix2 1TB Network Storage and TRENDnet Wireless Day/Night Pan/Tilt Internet Camera Server with
2-way Audio
or http://www.iomega.com
Page 7
 Loading...