

Page 1

SECTION
9
CUSA EXcel System Service Manual
9-1
9M a in ta in in g th e C U S A E X c e l S y s te m
In th is s e c tio n :
• R e c o m m e n d e d m a in te n a n c e s c h e d u le
• Cle a n th e CU SA EX c e l c o n s o le
• Cle a n th e s te rilize r c a s e
• M a in ta in th e h a n d p ie c e
• M a in ta in th e tip to rq u in g s e t
• Sto re th e CU SA EX c e l s y s te m a n d a c c e s s o rie s .
F o r Y o u r In fo rm a tio n
Routinely performing a few simple maintenance tasks keeps your
C U S A E X cel system operating at max imum safety and performance
lev els. B iomed ical E ngineering at your facility sh ould perform th ese tasks.
Page 2

Recommended Maintenance Schedule
9-2
CUSA EXcel System Service Manual
Recommended Maintenance Schedule
The following chart shows routine maintenance tasks, the equipment on
which you perform them, and how often you perform each task. The term
months refers to calendar months.
Table 9-1.
Routine maintenance task s
Frequency Equipment Task
W hen used H andpiece Clean and w ipe dry.
W hen used Tip torquing set Clean and w ipe dry.
W hen used CUSA console Clean and w ipe dry.
W hen used Cooling w ater
reserv oir
D iscard w ater from the reserv oir.
W hen used F ootsw itch 1 . D iscard the footsw itch cov er.
2 . Clean the footsw itch.
Ev ery month or 20
procedures, w hichev er comes fi rst
CUSA handpiece L ub ricate the handpiece connector
o-rings.
Ev ery 3 months, or
ev ery 12 to 15
procedures, w hichev er comes fi rst
CUSA console 1 . F ill the cooling w ater reserv oir w ith a
solution consisting of 10 0 cc of 7 0 %
alcohol and 90 0 cc of w ater.
2 . Connect the handpiece, then turn on
the system.
3 . Allow the system to run a few
cooling cycles to clean the interior
tub ing.
4 . Turn off the system.
5 . D iscard the alcohol solution, then fi ll
the reserv oir w ith distilled w ater.
6 . Turn on the system, and allow it to
cycle the w ater to clean the alcohol
solution out of the tub ing.
7 . Turn off the system.
8 . D iscard w ater from the reserv oir.
Ev ery 6 months or
w hen the surgeon
notices a lack of
suction
CUSA console Replace the contamination guard. W rite
either the installation date or the
ex piration date on the new guard.
Ev ery 6 months or
10 0 procedures,
w hichev er comes
fi rst
CUSA handpiece Replace the handpiece connector
o-rings.
Page 3

Clean the CUSA EXcel Console
Maintaining the
CUSA EXcel System
CUSA EXcel System Service Manual
9-3
Clean the CUSA EXcel Console
You cannot sterilize the CUSA console, but you can clean it, disinfect it, or
both. Use a mild cleaning solution or disinfectant and a damp cloth.
1. Unplug the unit power cord from the wall receptacle.
2. Using standard procedures for your facility, thoroughly wipe all
surfaces and cords with a cleaning solution and disinfectant.
3. M ake sure that the surface is completely dry before using the system
again.
Clean the Steriliz er Case
Use a neutral detergent to clean the sterilizer case.
Maintain the H andp iece
M aintaining the handpiece involves cleaning the handpiece, lubricating
the handpiece connector o-rings with a high viscosity lubricant such as
silicone grease, or replacing the handpiece connector o-rings. If a problem
develops, you may also need to have the handpiece recalibrated.
Once a year Tip torquing wrench Check the torque.
Once a year CUSA console Contact a V alleylab service
representative to replace the cooling
water pump tubing.
Frequency Equipment Task
Warning
Electric S h o ck H az ard Always unplug the CUSA system before cleaning.
N o t ic e
D o not rub, press, or touch any panels with solv ents; caustic, corrosiv e, or
abrasiv e cleaning or d isinfectant compound s; or other materials that could
scratch the panels. D o not use a betad ine-based solution; it will cause
d iscoloration.
D o not allow fl uid s to enter the chassis.
N o t ic e
D o not clean the steriliz er case with abrasiv es. P rod uct d amage will result.
Page 4
Maintain the Handpiece
9-4
CUSA EXcel System Service Manual
Clean the Handpiece
Items needed: Soft cloths (one moist, one dry), swab or pipe cleaner, mild
cleansing solution, and rinse water.
P r o c edu r e:
1. Using a soft cloth, manually clean the handpiece, handpiece cable, and
standard nosecone with a mild cleansing solution (neutral detergent)
or blood dissolving detergent according to hospital policy.
2. Using a swab or pipe cleaner, manually clean the internal threads and
suction port of the connecting body.
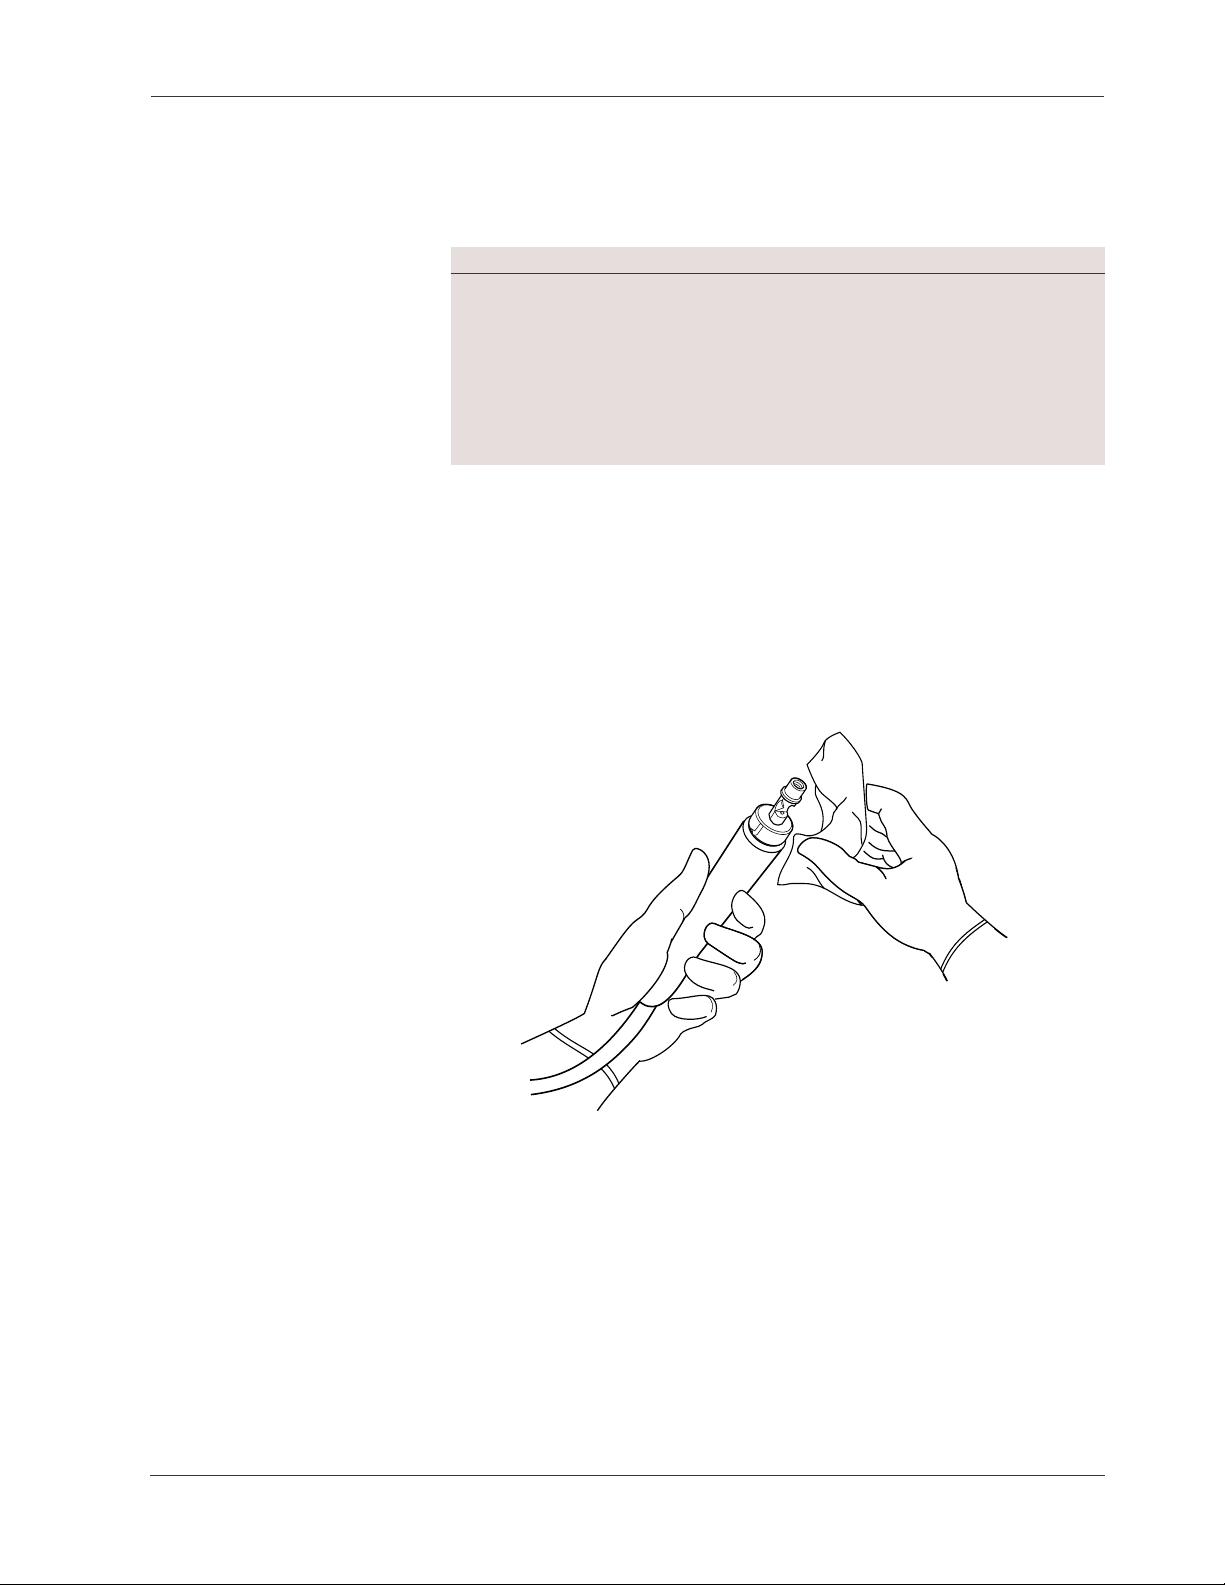
3. Using a soft cloth, manually clean the internal threads and face of the
connecting body. Refer to F igure 9 -1 .
Figure 9-1.
Cleaning the handpiece w ith a soft
cloth
4. Rinse the handpiece cable, handpiece housing, connecting body, and
nosecone thoroughly with water.
5. Using a soft cloth, dry the handpiece cable, handpiece housing,
connecting body, and standard nosecone.
Notice
Product damage will result if you do not follow these notices when cleaning the
handpiece:
• Do not immerse the handpiece cable electrical connector in liq uid.
• Do not use ultrasonic or automated cleaners.
• Do not use chlorinated substances such as bleach solution.
• Do not clean the handpiece with abrasives such as Ajax , Comet, or steel wool.
Page 5

Maintain the Handpiece
Maintaining the
CUSA EXcel System
CUSA EXcel System Service Manual
9-5
Lubricate the Handpiece Connector O-Rings
Keeping the o-rings lubricated prevents them from drying out and
cracking, which may cause handpiece cooling problems.
Items needed: A high viscosity lubricant such as silicone grease.
Items to b e lub ri ca ted: The four o-rings on the handpiece connector water
prongs.
Replace the Handpiece Connector O-Rings
Regularly replacing the o-rings prevents excessive wear, which may result
in handpiece cooling problems.
Items needed: O -Ring maintenance kit (P art N umber 2 6 0 -6 5 0 -0 0 0 ), which
includes o-rings, an insertion tool, and instructions.
Items to b e rep l a ced: The four o-rings on the handpiece connector water
prongs.
Refer to Figure 9-2 .
Figure 9-2.
Replacing the handpiece connector
o-rings
Recalibrate the Handpiece
H andpieces for the CUSA EXcel system do not need recalibration unless a
problem develops. If this happens, contact V alleylab to arrange returning
the handpiece for service. (Refer to Return Equipment for Service in
Section 13 , Repa ir P olicy .)
O-ring
Insertion tool
Handpiece connector
water prongs
Page 6

Maintain the Tip Torquing Set
9-6
CUSA EXcel System Service Manual
Maintain the Tip Torquing Set
Clean the Tip Torquing Set
Items Needed
Detergent, two soft cloths, and rinse water.
Procedure:
1. Using a soft cloth and a water and detergent combination, manually
clean the tip torquing base and the torque wrench.
2. Rinse the tip torquing set thoroughly with water.
3. Using a soft cloth, dry the tip torquing set.
Check the Torque on the Tip Torquing W rench
A biomedical engineer or a Valleylab service representative should check
the torque on the tip torquing wrench.
T ools Needed
• Torque indicating wrench
• 7 / 32 in. hex socket
• 9/ 32 in. hex socket.
Procedure:
1. Attach the socket to the torque indicating wrench.
2. Clamp the torque indicating wrench handle in a vise.
3. On the torque indicating wrench, adjust the scale under the indicator
needle to zero.
4. Set the peak indicating needle on the torque indicating wrench to zero.
5. Place the green end of the torque wrench from the tip torquing set on
the 9/ 32 in. hex socket.
6. Rotate the tip torquing wrench clockwise until you feel and hear a
click.
7. Rotate the tip torquing wrench clockwise until you feel and hear a
second click.
Notice
Product damage will result if you do not follow these notices when cleaning the
T ip T orquing Set.
• Do not use ultrasonic or automatic washers.
• Do not autoclave.
• Do not use chlorinated substances such as bleach solution.
• Do not clean with abrasives such as Ajax, Comet, or steel wool.
Page 7

Store the CUSA EXcel System and Accessories
Maintaining the
CUSA EXcel System
CUSA EXcel System Service Manual
9-7
8. Read and record the peak torque.
9 . Repeat steps three through eight for a total of three times.
10 . Repeat the process on the blue end of the tip torquing wrench and the
7/32 in. hex socket.
11. All values must be in the following ranges:
Table 9-2.
Torque values for the torque wrench
If the values are higher or lower, send the wrench to Valleylab for
recalibration.
Store the CUSA EXcel System and Accessories
CU SA Console
Drain all liquids. Store the CUSA system in a low traffi c area that is free of
dirt, blood, water, and other contaminants. Store the system at an ambient
temperature between -34 ° C (-29° F) and 65° C (14 9° F).
Handpiece
Drain all liquids. Store the handpiece in the sterilizer case according to
your facility’s policy.
Store the handpiece at an ambient temperature between -34 ° C (-29° F) and
65° C (14 9° F).
Footsw itch
If you have attached the footswitch to the console, you do not need to
disconnect it except for maintenance or service. W hen you are not using
the CUSA system, store the footswitch in the storage compartment in the
rear of the console.
CEM N osecone
The CEM nosecone is a sterile, single-use item. Store unopened packages;
discard used CEM nosecones.
Handpiece frequency Range (inch-pounds)
23 kHz (green) 55 to 70
36 kHz (blue) 20 to 32
 Loading...