

Innovate Motorsports LM-1 Quick Start Guide
LM-1 Accessories:
LMA-2: Auxiliary Input #2 (RPM converter): #3726
LMA-3: Auxiliary Input #3 (AuxBox- RPM, Temp,
Duty Cycle, Acceleration, Boost/MAP): #3742
Exhaust Clamp: #3728
Inductive Clamp: #3727
HBX-1: Heat-sinking Bung Extender: #3729
XD-1: Digital Display with Remote Record Control: #3743
Power Cable w/ battery Clips: #3734
Replacement Parts:
Analog Output Cable: #3730
Power Cable w/ Cigarette-lighter adapter: #3740
Bung/Plug set: #3735
Sensor (Bosch LSU4.2): #3737
Sensor Cable: #3738
Serial Cable: #3741
Order parts, get support, find FAQ answers, and read case
studies at www.tuneyourengine.com
< (10-2303.B)
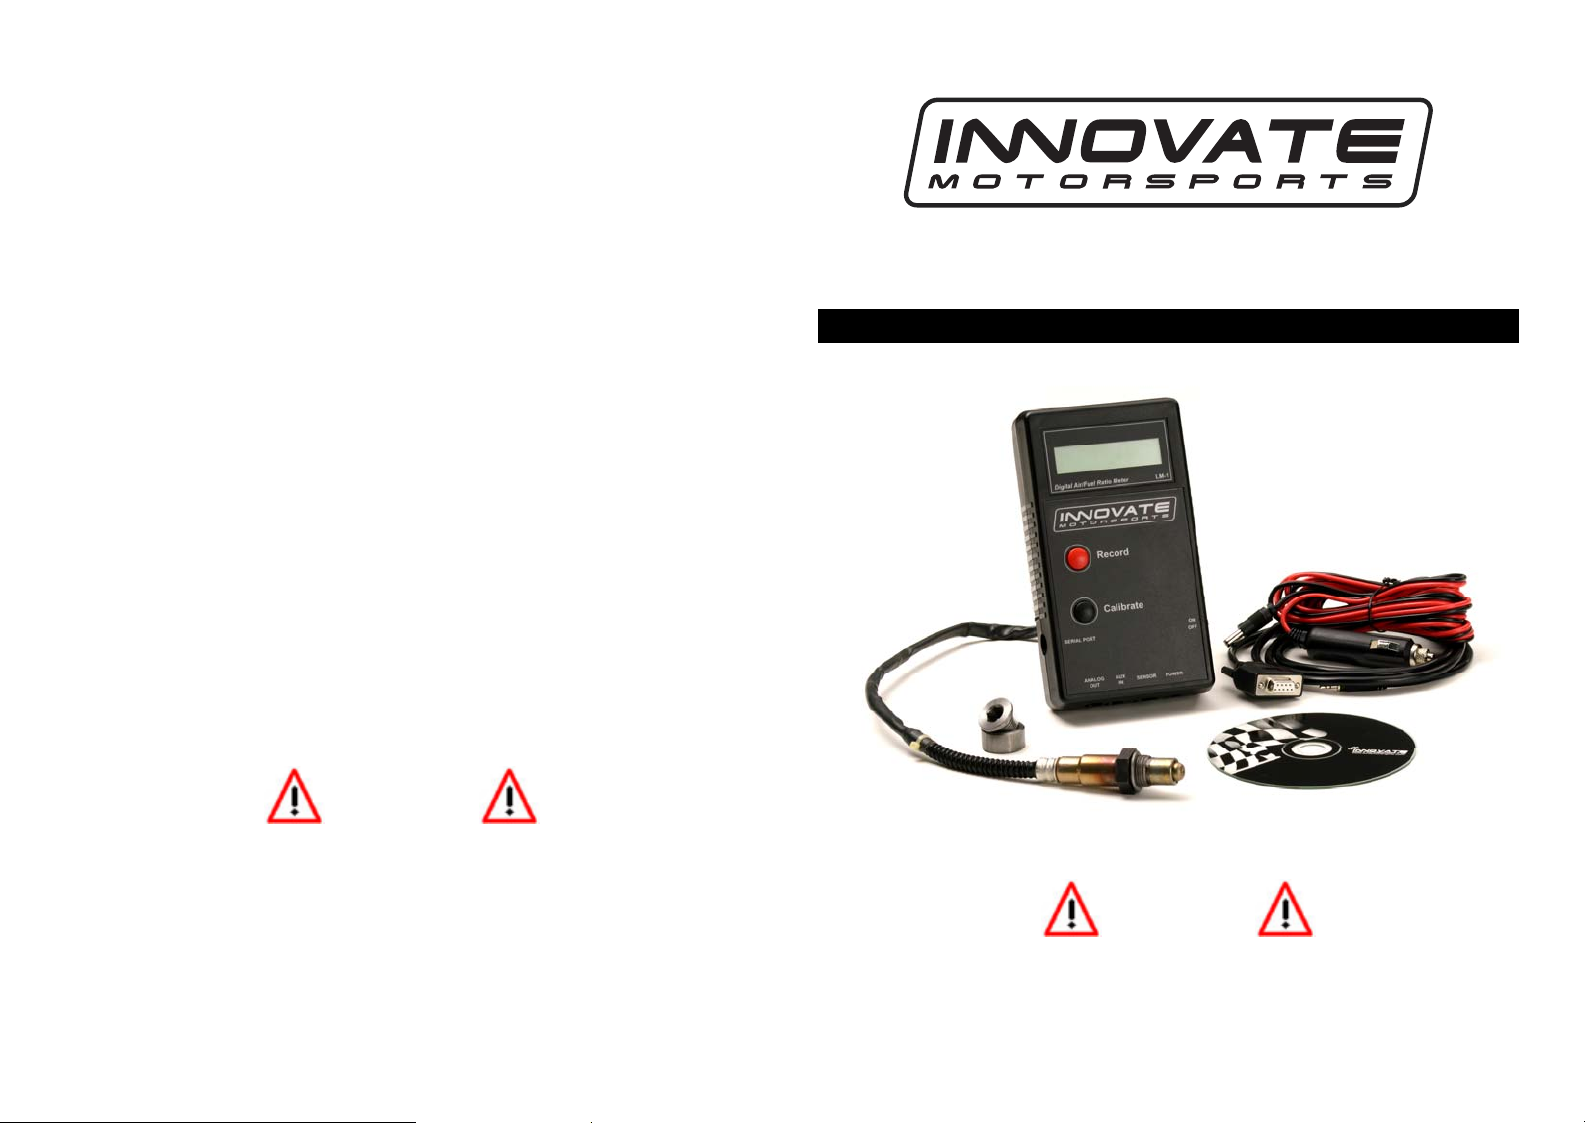
LM-1 QUICK START GUIDE
The complete instruction manual is on the CD
Warning!
1) The Oxygen Sensor used in this device gets very hot in
operation. Do not touch the hot sensor. Do not let a hot sensor
touch a combustible surface. Do not use the sensor with or near
flammable liquids or gases. Failure to heed these warnings may
result in severe burns, explosions or fires. 2) When installed in
the exhaust, the oxygen sensor MUST be connected and
operating with the LM-1 whenever the car is running. An unpowered oxygen sensor will be quickly damaged when exposed
to hot exhaust gases.
Warning!
1) The Oxygen Sensor used in this device gets very hot in operation. Do not touch the
hot sensor or let a hot sensor touch a combustible surface. 2) When installed in the
exhaust, the oxygen sensor MUST be connected and operating wit h the LM-1
whenever the car is running. An un-powered oxygen sensor will be quickly damaged.

The complete instruction manual is on the CD
LM-1 QUICK START GUIDE
1. Verify that the included 9V battery is installed in the battery
compartment on the bottom of the LM-1. The cover is located
on the back of the unit. Install if necessary.
2. Connect the power cable to the 12V Power connector and
plug the other end in your cigarette lighter socket in your car.
Note that the 9V battery is for powering the LM-1 electronics and
display, but it cannot power the oxygen sensor. You must have a
12V power supply available to power the oxygen sensor.
Note: The supply voltage to the LM-1 must not exceed 15 volts.
3. Do not connect the oxygen sensor yet.
4. Switch the meter on.
The display shows either:
when connected to 12V Power, or
.
In the second case, switch the ignition of your car ON.
5. Switch the meter off after 30 seconds.
6. Connect the sensor to the sensor interface connector. The
sensor must be exposed to air for the first time calibration.
7. Switch the meter on. The display should show now read:
Indicating that the oxygen sensor is warming up to its optimum
operating temperature. The display shows what percentage of the
temperature is reached and what the battery voltage is that the meter
sees on the power connector. The warm-up period will last for about 30
seconds for a cold sensor, depending on the sensor type used.
After the sensor is warmed up the meter automatically calibrates the
sensor heater controller to the particular sensor. During this 20-second
period the LM-1 collects and calculates sensor specific data required to
quickly reach operating temperature in the future. After the first time
use the meter will use these values to regulate the sensor's
temperature. During the heater calibration the display will show:
Counting to 0.
Note: When using the Bosch Sensors the LM-1 may perform multiple
calibration passes. This is normal and need not cause concern. When
it completes, continue to step 8.
8. Press the Calibration button.
The meter will now calibrate itself by using air as a reference gas with
a known oxygen content. After the calibration period is over (2-3
seconds), the instrument is ready to operate.
9. Attach the oxygen sensor to your vehicle’s exhaust. (See
chapter 4 of the installation manual for details on how to do this for
your vehicle)
10. The LM-1 is ready. Lambda/AFR measurements can now be
taken.
To gain access to the complete LM-1 manual please
install the software provided on the CD which was
included as part of your kit. The manual will contain
important information such as sensor placement, programming
the analog outputs, and other tips & tricks.
Rev. D >>
 Loading...