

Page 1

Hello
This is your Ingenico M3500G User Guide, a
helpful and handy document that will walk
you through the easy setup (this side) and
daily use of your card machine (overleaf).
If you have any questions, feel free to call our
Client Services team. See Contact Numbers.
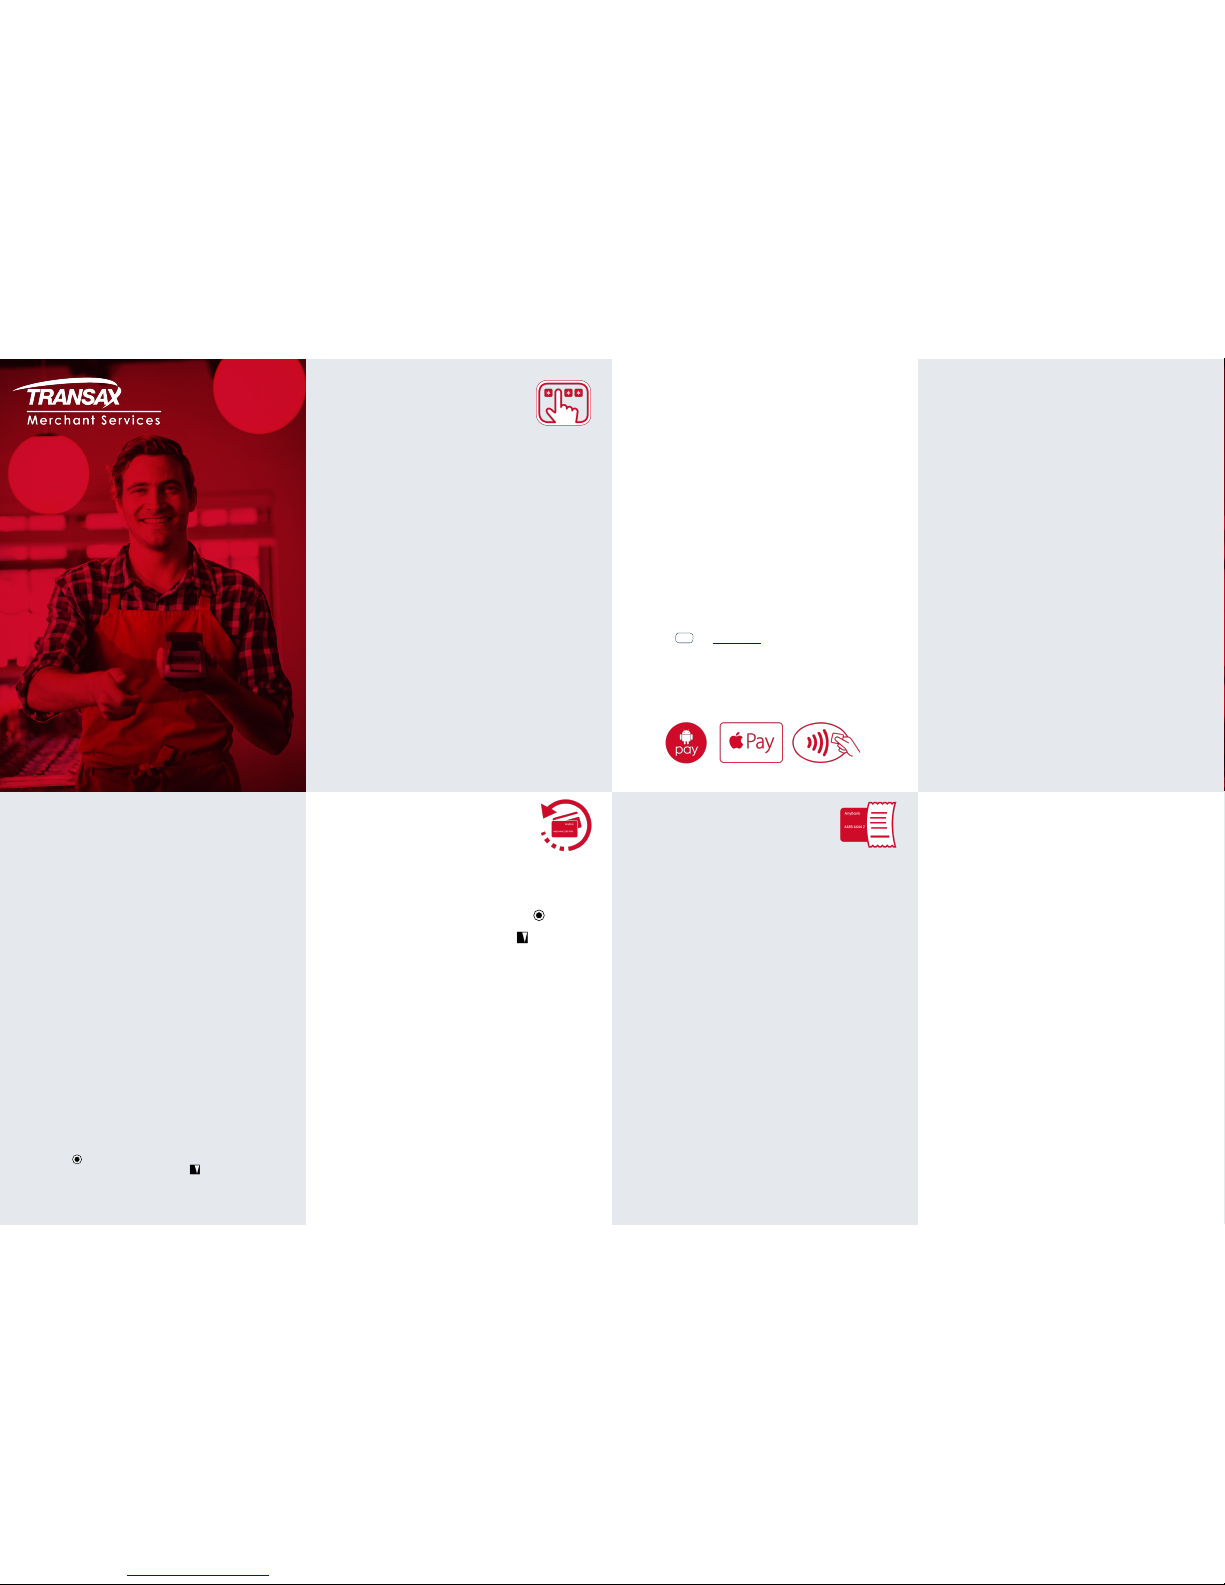
Thank you for choosing TRANSAX Merchant Services
for your card payments. We’re thrilled to offer you a
reliable, swift and secure payments experience.
Let’s get started!
Yours faithfully,
TRANSAX Merchant Services.
Client Services Team.
IMPORTANT:
To be paid for your card transactions you must ‘submit’
them at the end of every working day, by following the
‘End of Day’ procedure (unfold & see panel below).
Troubleshooting
If the terminal displays ‘Connection failed’ or a ‘Communication
error XX’ or a ‘Download failed XX’ message...
M3500G (using a SIM card)
Repeated connection failures may be resolved by re-booting the
card machine.
Remove the battery on the underside of the machine and re-insert
(see Battery Installation instructions in Installation 1 panel).
Remember to press the clip on the battery’s white connector to
enable removal. When reinserted the machine is ready to re-boot.
Press and hold down the green ENTER/OK key for a few seconds.
The machine will re-boot.
Should you require any further assistance, please contact the
TRANSAX Technical Helpdesk (0345 600 8055) for guidance.
Installation 2
Paper Roll Loading
To load paper roll, gently pull up the cover release latch, on the
upper side of the terminal, by the Contactless symbol. Drop a
new paper roll into the ‘well’, ensuring the end of the roll is
protruding, and with the shiny surface face-upwards.
Carefully close the lid and press to click it back into place.
M3500G model only:
There is no telephone or broadband cable. This model uses a
pre-installed SIM card to communicate with the data / GPRS
network. The GPRS signal strength indicator is located in the
upper left hand corner of the screen.
How to use your terminal: please see reverse
End of Day
The ‘End of Day’ procedure (sometimes called ‘Batching’) should
be done at the end of every working day to ensure that your card
transaction data is captured and that you will be paid promptly
(‘settlement’) for the transactions.
1. From the READY screen, press the menu key twice
to access the SYSTEM MENU. Scroll down using the down
arrow key to select TOTALS then green ENTER/OK key.
2. Select End-of-Day Banking then green ENTER/OK key to
access the Supervisor screen.
3. Enter code: enter ‘0131’ then ENTER/OK key.
4. End-of-day banking? Press ENTER/OK key.
5. The terminal will connect with Elavon and upload all the
transactions stored in its memory.
When the process is complete, the terminal will print a
TOTALS RECEIPT. You will see a ‘Totals Agreed’
message on the receipt.
Press the ENTER/OK key to complete the process and
return to the READY screen.
You will be paid the full amount, within 1 or 3 working days.
Pack Contents
Please find enclosed your Ingenico Move 3500G Terminal with:
M3500G Card Machine Charging Cradle
Paper Rolls
Manual Sales
Vouchers
Power Leads
Installation 1
Connecting Power Lead to Charging Cradle
Plug the Power Lead small connector, into the Charging Cradle.
The receptacle socket is located on the underside of the
Charging Cradle, under the removeable cover. Press the latch
to temporarily remove the cover and thread the power cable
through the outlet, before gently replacing the cover.
Alternatively, the small connector can be plugged directly into
the terminal. The receptacle socket is located on the left hand
side of the terminal. However, this option will restrict the
mobility of the machine in day-to-day use.
Battery Insertion (if required)
The terminal will normally be delivered with the battery already
in place. However, should a new battery need to be inserted,
carefully remove the plastic cover on the underside of the
terminal, by moving the oval-ended latch upwards.
Gently insert the battery’s white connector into the 3 pin socket,
on the reverse of the screen. Gently replace the plastic cover,
being careful to ensure the hinges are in place. Move the
oval-ended latch downwards, to secure.
The new battery should be charged for 3 hours before using the
terminal. Ensure the Charging Cradle has been connected to the
Power Lead (see above).
The battery meter is located in the upper right hand corner of
the screen. When fully charged, 4 bars will display.
Contact Numbers
TRANSAX Client Services
For general enquiries
0345 602 2444 (UK) / 01 667 5152 (IRL)
Email: enquiry@sglobal.com
Core opening times 08.30 - 18.00 Monday - Friday
TRANSAX Technical Helpdesk
For terminal queries
0345 600 8055 (UK) / 01 667 5152 (IRL)
Elavon Authorisations Centre:
For authorisation codes
0345 850 0197 (UK) / 1 850 30 31 30 (IRL)
Elavon Customer Services
Transaction queries & Chargebacks
0345 850 0195 (UK) / 1 850 20 21 20 (IRL)
Paper Rolls
High quality paper rolls can be ordered directly. Each box (20 paper
rolls) will be dispatched to you within 5 working days, and will
appear on your next TRANSAX Merchant Services invoice.
Place your order by:
Web: transaxmerchantservices.co.uk/merchant-zone/
Email: enquiry@sglobal.com
Telephone: 0345 602 2444 (UK) / 01 667 5152 (IRL)
M3500G
How to setup your terminal
Ingenico
READ
ME
FIRST...
User Guide
Terminal ON / OFF
Switch the terminal on by holding down the green ENTER/OK key - for
a few seconds.
To switch off, hold down the yellow Clear and
. ,
’
keys together,
when not in Charging Cradle.
Access to READY screen
When the machine displays a TRANSAX screensaver, press green
ENTER/OK key to quickly access the READY screen.
Page 2
Chip & PIN
(Cardholder Present)
When accepting payment by credit or debit card, with the
cardholder present at the time of the transaction.
1. At the READY screen, enter the sale value (e.g. for 10.76 key
1076). Press the green ENTER/OK key.
2. Insert the credit or debit card, face up, chip first, into the front
of the terminal.
3. Ask your customer to discreetly enter their 4 digit PIN.
Ensure ENTER was pressed, after the PIN.
4. The terminal will connect to Elavon to obtain authorisation.
5. The machine prints a ‘CUSTOMER COPY’ receipt.
Press the ENTER/OK key for the ‘MERCHANT COPY’.
See Receipts panel.
Card Swipe transactions
Cards that do not contain a Chip (e.g. some foreign issued cards)
can be ‘swiped’. Follow steps 1, 2 & 3 above...
Next, swipe the card through the reader on the right hand side of
the machine, with the magnetic stripe facing inwards. The machine
will connect to Elavon to obtain authorisation. The ‘MERCHANT
COPY’ receipt will contain a signature panel - ask the cardholder
to sign. Compare the signature on the back of the card. If you are
satisfied that it is correct, press the green ENTER/OK key for YES
and the ‘CUSTOMER COPY’ receipt will be printed.
Contactless
(Cardholder Present)
Contactless is a feature on some debit and credit cards that
makes purchases quicker and more convenient for both retailers
and consumers.
1. At the READY screen, enter the sale value (e.g. for 10.76 key
1076). Press the green ENTER/OK key.
2. Ask the Cardholder to tap (i.e. ‘present’) their Contactless
card on the screen of the terminal.
3. The card’s data is captured when green indicator lights at the
top of the screen are lit together, and an audible bleep is heard.
4. The terminal will connect to Elavon to obtain authorisation,
for most transactions.
5. The machine will print a ‘MERCHANT COPY’ sales receipt.
Press the ENTER/OK key.
6. If you require a ‘CUSTOMER COPY’ sales receipt, please hold
down
. ,
’ key immediately after Step 5.
See Receipts panel.
Card Not Present
(Keying in a transaction)
When accepting payment by credit or debit card when the
cardholder is not present (CNP) at the time of the transaction
e.g. telephone order / mail order.
1. At the READY screen, enter the sale value (e.g. for 10.76
key 1076). Press the green ENTER/OK key.
2. Key in the full card number from the front of the card.
Use the yellow Clear key to correct any mistakes.
Press the ENTER/OK key to confirm the card number.
3. Enter the expiry date MMYY and press the
ENTER/OK
key.
Note: The terminal may also ask for an Issue Number, printed
on certain types of debit cards.
4. Is customer present?
For all Card Not Present (CNP) transactions, press the
yellow Clear key to select NO.
5. Enter security code:
For every CNP transaction you will be asked to key in the
CVV2 number (Card Security Code) - the last 3 digits
found on the signature stripe on the reverse of the card
(4 digits on the front of American Express).Enter the CVV2
number and press the ENTER/OK Key.
Continued below...
6. You will then be asked for the customer’s postcode. Only
enter the numbers from the customer’s postcode. e.g. for B91
2AA, key 912 and press the ENTER/OK key.
7. This step refers to AVS (Address Verification Service). Enter
the customer’s house number and press the ENTER/OK
key. If a house name, leave blank and press the ENTER/
OK key.
Note: This service is not available to merchants in the Republic
of Ireland, who should press the ENTER/OK key to continue.
8. The machine will connect to Elavon to obtain authorisation
9. The machine prints a ‘CUSTOMER COPY’ receipt.
Press the ENTER/OK key for the ‘MERCHANT COPY’.
See Receipts panel.
Keep this guide in a safe place
It might be handy one day!
Receipts
Sales Receipts
The ‘CUSTOMER COPY’ receipt must be given to your customer, in
addition to any other sales invoice / receipt that you may provide.
The machine will print a ‘MERCHANT COPY’ receipt. Keep this safe
and secure for 18 months as you may be asked to produce it in the
event of a ‘Chargeback’ (i.e. any query raised by the cardholder or
the card issuer).
For swiped transactions, please ensure the ‘MERCHANT COPY’
receipt is signed by the customer. Compare the signature on the
back of the card with the signature on the receipt.
Refund Receipts
For refund transactions, please ensure the ‘MERCHANT COPY’
receipt is signed by the customer. Compare the signature on the
back of the card with the signature on the receipt.
Please retain this receipt, for 18 months.
The
‘CUSTOMER COPY’
is printed next.
Tear off the Customer Copy
and hand this and the card to the cardholder. The machine will
return to READY screen.
Refunds
A ‘Refund ’ is when the value of a transacti on is credited back to
a card for a sale tha t may have been processed earlie r in the day
or on a previous date, f or example, when goods are ret urned.
1. At the READY screen, press the menu key once to
access the TRANSACTION MENU.
Scroll down using the down arrow key to select Refund
then green ENTER/OK key.
2. Enter the refund value (e.g. for 10.76 key 1076) and press
the ENTER/OK key.
3. Insert the credit or debit card, face up, chip first, into
the front of the terminal. Wait for a few seconds...
4. Enter code: at Supervisor screen.
Enter ‘0131’ and press the ENTER/OK key.
5. When processed, the machine will print the ‘MERCHANT
COPY’ of the refund receipt - which the customer must sign.
Remove card.
Signature ok? Check the signature. If it is valid and matches
that on the card, press the ENTER/OK ke y to select YES.
Please retain this signed receipt for your records.
6. The machine will print the ‘CUSTOMER COPY’ of the receipt.
Please hand this to the customer.
Press the ENTER/OK key to complete the transaction.
See Receipts panel.
Manual Sale
If the card service is temporarily unavailable, please follow the
procedures below to process a manual card sale transaction.
1. With the customer’s card in your possession, call the Elavon
Authorisations Centre to obtain authorisation of the transaction
(0345 850 0197). You will need your Elavon Merchant ID (MID).
Select option 1, when you call. When prompted, enter your MID
and the transaction details. Write down the authorisation code.
2. Place a Manual Sales Voucher on top of the card, face up, on a
at hard surface.
3. Create an impression of the card, by rubbing the side of a pen
over the voucher.
4. Remove the voucher and check that all copies have been
imprinted clearly with the full card details.
5. Complete the voucher using a ballpoint pen.
Please write the card number along the top of the voucher
along with the authorisation code.
6. Retain the card and watch the cardholder sign the voucher.
Check the signature matches that on the card.
7. When you are satised that the sales voucher has been fully
completed and signed, hand the top copy to your customer.
8. Retain bank and merchant copies in a secure place until you can
process it electronically through your machine.
9. When the machine becomes available, enter the transaction
using the ‘Force’ option. From the READY screen, press the
menu key once to access the TRANSACTION MENU.
Scroll down using the down arrow key to select Force
then green ENTER/OK key. Key in the details from the voucher.
If the Force option is not available on your machine please call
TRANSAX Techincal Helpdesk (0345 600 8055) to activate it.
M3500G
How to use your terminal
Ingenico
READ
ME
NEXT...
User Guide
 Loading...