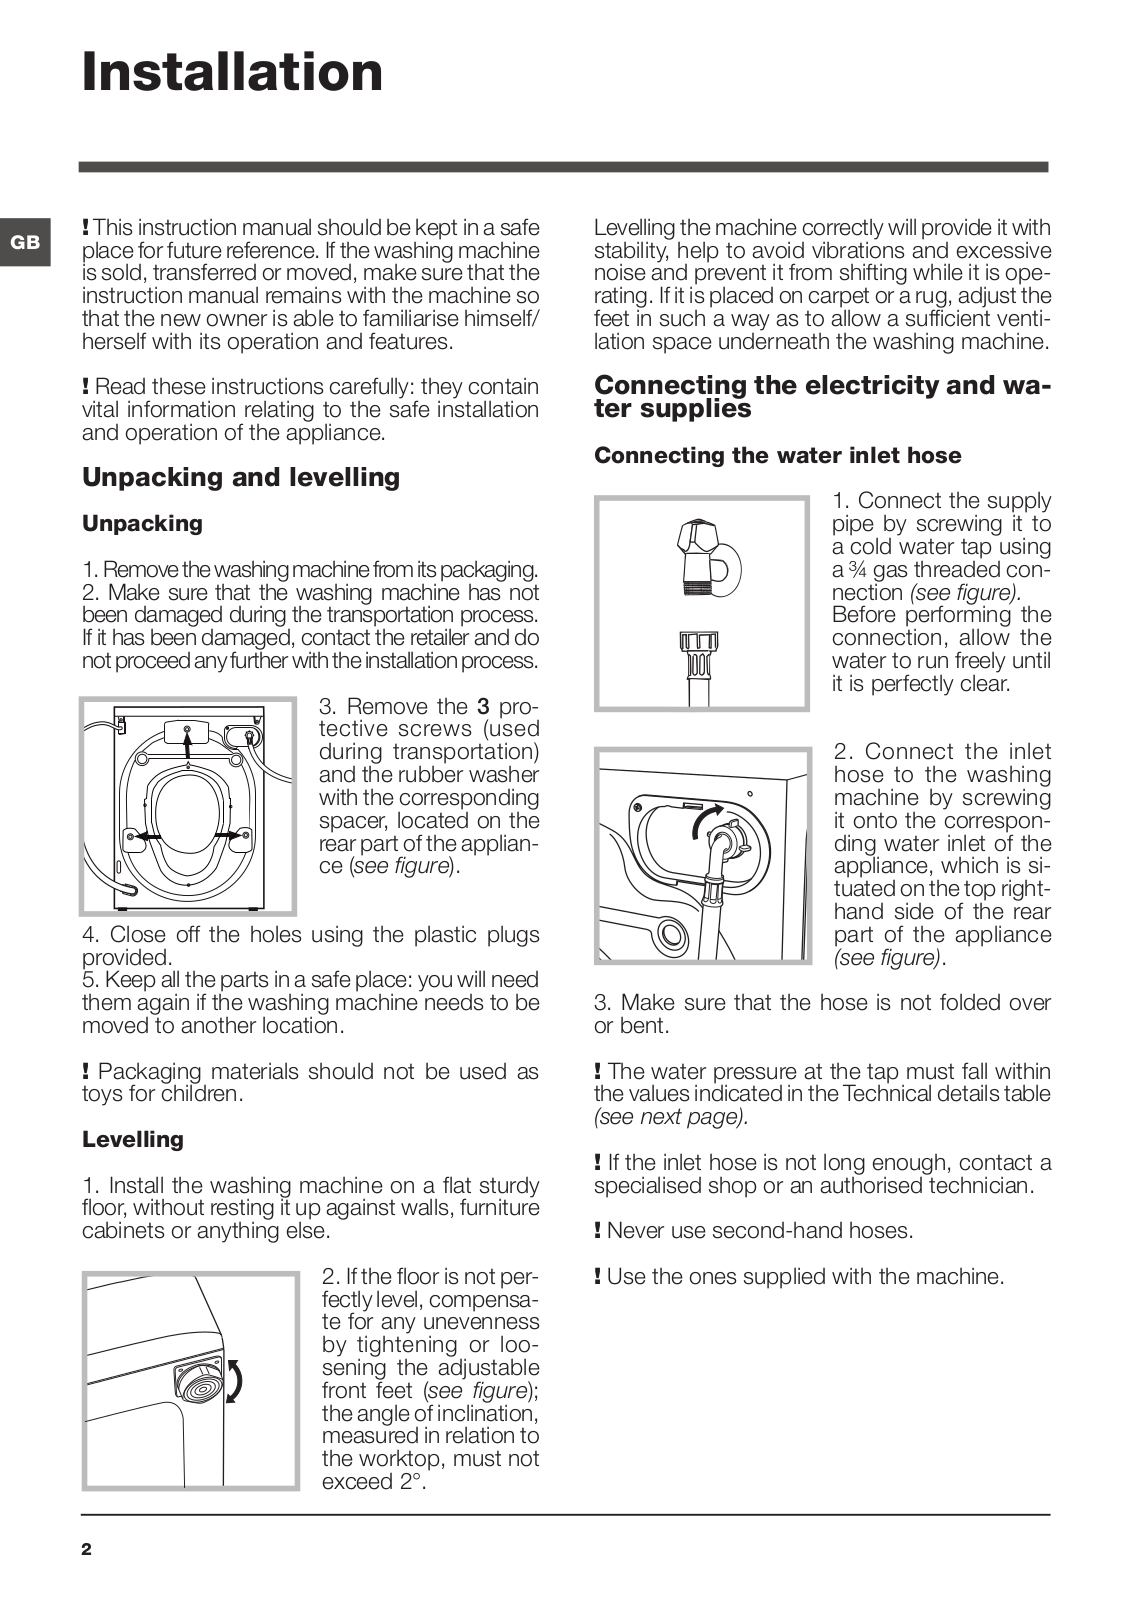
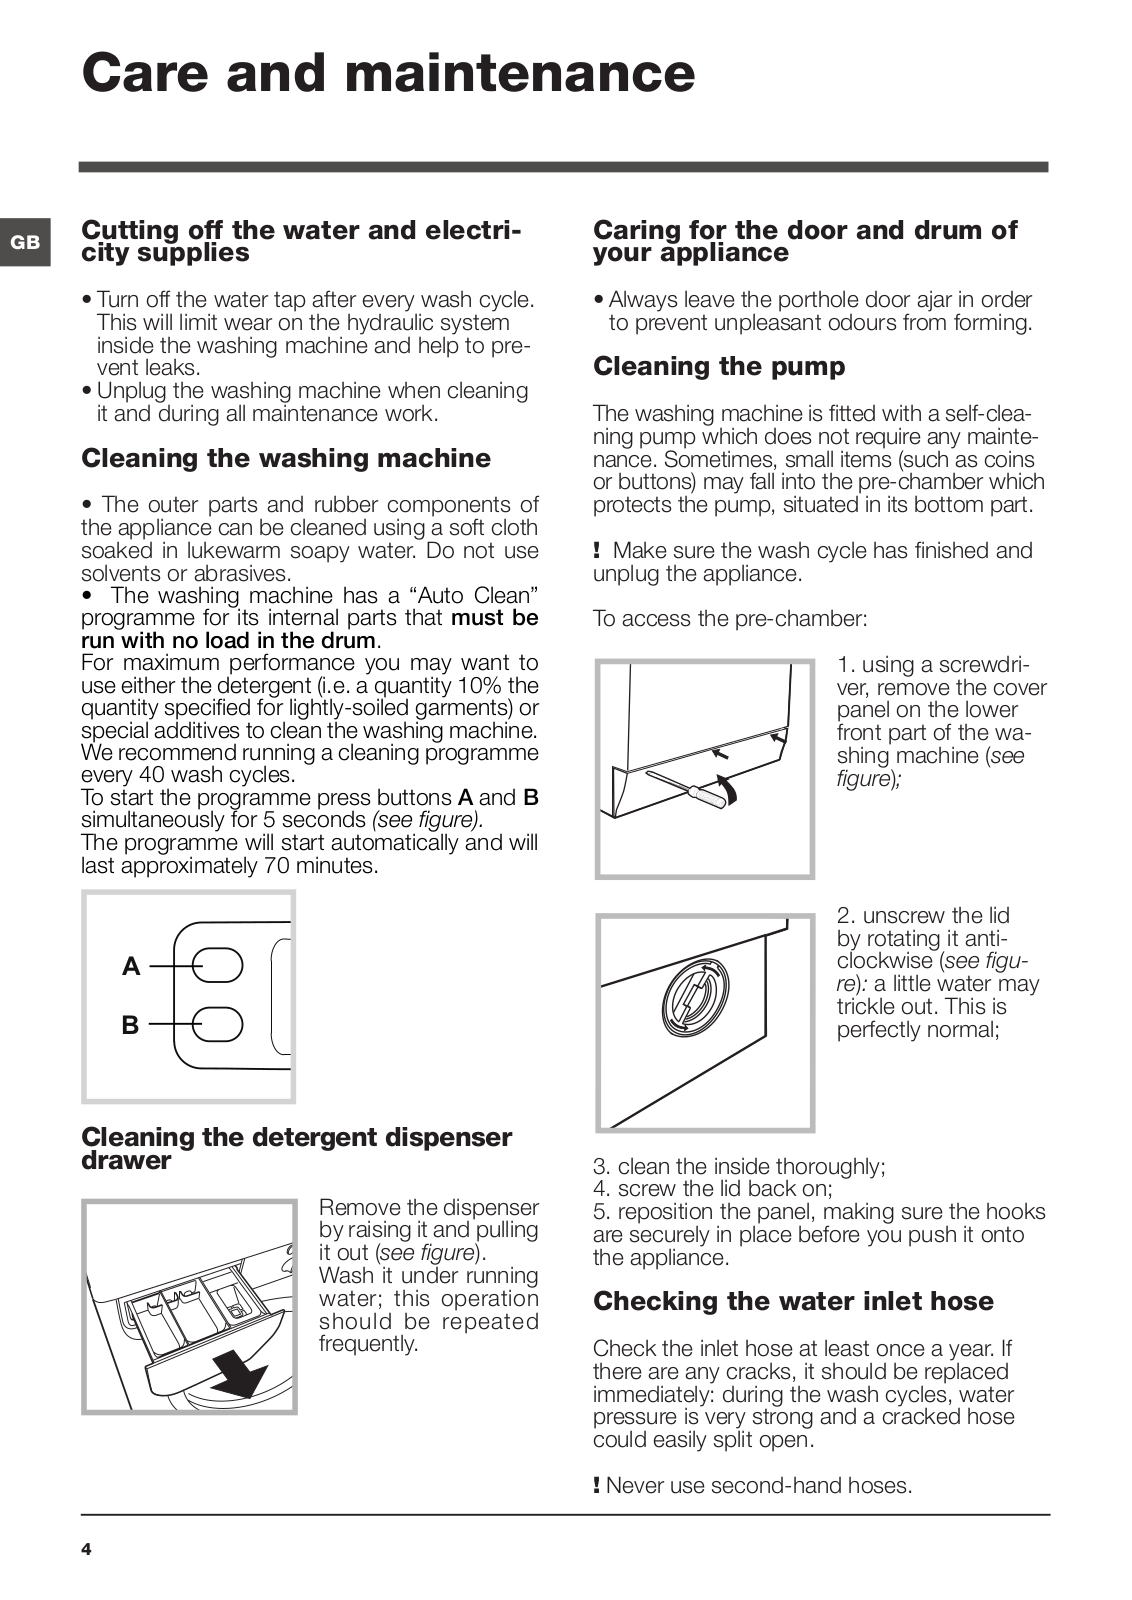
How it Works
Log In / Sign Up
Buy Points
How it Works
FAQ
Contact Us
Questions and Suggestions
Users
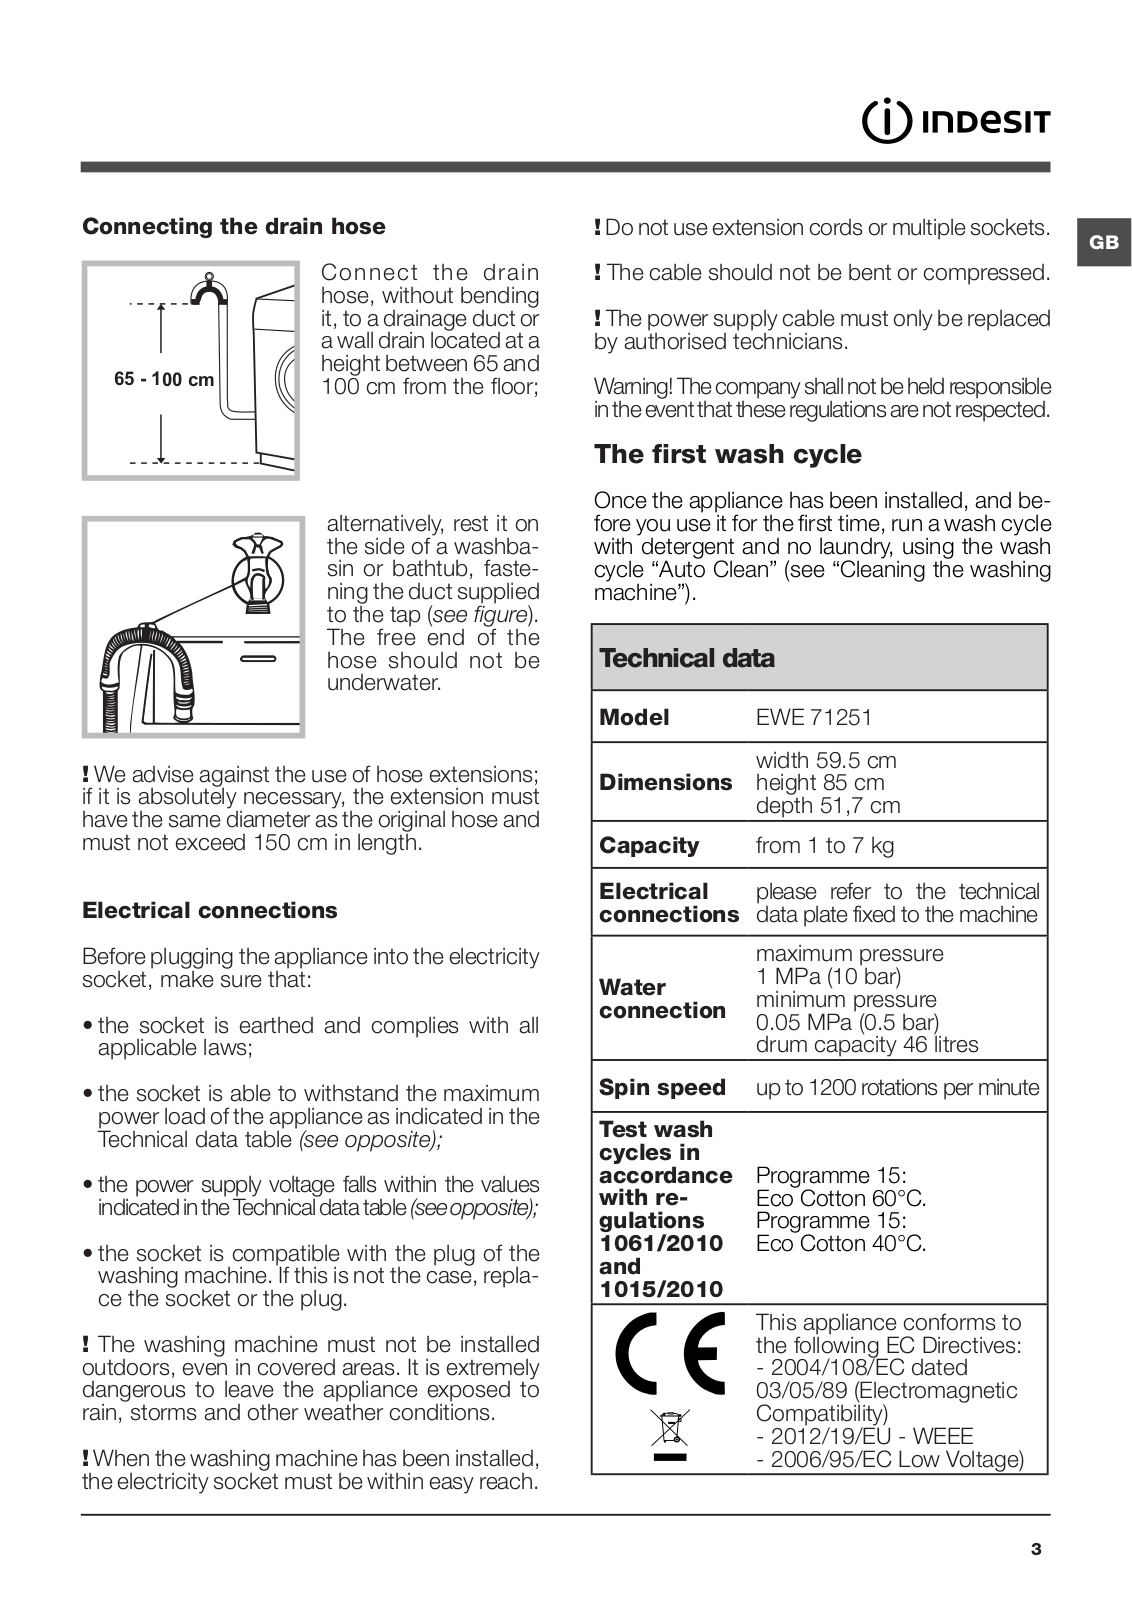
INDESIT
Loading...
E
EWDC 6145 W DE
EWDC 6145 W FR
EWDC651251WFR N
EWDC 7125
EWDC 7125 CIS
2
EWDC 7145 S FR
2
EWDC 7168 W FR
EWDD 7125
EWDD 7125 W EU
2
EWDD 7125 W IT
EWDD7145W
2
EWDD 7145 W DE
EWDD 7145 W EU
2
EWDD 7145 W EU/1
9
EWDD7145W FR
2
EWDE 7125 S UK
EWDE 71280 W EU
11
EWDE 7145 K UK
EWDE 7145 W UK
EWDE 71680 W
EWDE 71680 W DE
2
EWDE 71680 W EU
2
EWDE 71680 W TW
EWDE751251WFR N
EWDE 751251 W SPT N
2
EWDE 751280 W IL
3
EWDE 751451 W EU N
16
EWDE 751680 W TW
2
EWDE 761483 W DE N
EWDE761483WFR N
EWDE 761483 WS EE N
18
EWDE 861483 W IT N
EWDEP751451FR N
EWDHE761283FR N
EWE 61052 B
EWE 61083 W PL
EWE 61251E W EU N
EWE61251WFR N
EWE 61252 S NA
EWE 61252 W
2
EWE 61252 W EU
EWE 61283 W PL
EWE 61652 W
EWE 61652 W DE
EWE 71052 B
EWE 71052 W PL
EWE 71053 W EU
EWE 71053 W PL
EWE 71053 W TK
EWE 71083 S TK
EWE 71083 W EU
2
EWE 71251 B EU
EWE 71252 S NA
EWE 71252 W
2
EWE 71252 W EU
5
EWE 71252 W EU/1
EWE 71252 W SPT N
2
EWE 71483 W DE
EWE 71483 W EU
EWE 71682 W DE
EWE 81252 W EU
2
EWE 81283 SL TK.M
EWE 81283 WEU
3
EWE 81283 W EU/1
3
EWE 81283 W IT N
EWE 81283 W SPT N
4
EWE81483WFR N
EWE 81484
EWE 81484 B EU
5
EWE 81484 W DE
EWE 81683 W DE
EWE 81683 W EU
4
EWE 91083 W TK
EWE 91283 SL TK
EWE 91482 W UK
EWME 147 UK
EWSB 5085
EWSB 5085 BK CIS
EWSB 5085 CIS
5
EWSC 51051
EWSC 51051 B
EWSC 51051 B CIS
3
EWSC 51051 BK CIS
EWSC 51051 W EU N
EWSC 61051
EWSC 61051 CIS
2
EWSC 61251 W EU N
14
EWSD 51031
EWSD 51031 BY
2
EWSD 51031 CIS
3
EWSD 51051 W EU
2
EWSD 60851 W EU
3
EWSD 60852 W EU
EWSD 60852 W TK
EWSD 61031
EWSD 61031 CIS
EWSD 61051 B
EWSD 61051 W EU
2
EWSD 61053 W PL
EWSD 61251 W IT N
2
Loading...
Loading...
Nothing found
EWE 71251 B EU
User Manual
24 pgs
1.53 Mb
0
Table of contents
Loading...
INDESIT EWE 71251 B EU User Manual
...
INDESIT User Manual
Download
Specifications and Main Features
Frequently Asked Questions
User Manual
Download
Loading...
+
16
hidden pages
Unhide
You need points to download manuals.
1 point = 1 manual.
You can buy points or you can get point for every manual you upload.
Buy points
Upload your manuals
 Loading...