


AMP- 300
1
CAUTION / ATTENTION/ACHTUNG / OPGELET
RISK OF ELECTRIC SHOCK – DO NOT OPEN
RISQUE DE CHOC ELECTRIQUE - NE PAS OUVRIR
STROMSCHLAGGEFAHR – NICHT ÖFFNEN
GEVAAR VAN ELECTRISCHE SCHOK – NIET OPENEN
POWER AMPLIFIERS - AMP series
AMPLIFICATEURS DE PUISSANCE
INSTRUCTION MANUAL
MANUEL D’INSTALLATION
BEDIENUNGSANLEITUNG
GEBRUIKSAANWIJZING
AMP- 300 AMP- 600
AMP- 800 AMP- 1000

2
MAGNETIC FIELD
CHAMPS
MAGNETIQUE
MAGNETFELD
MAGNETISCH VELD
CAUTION! Do not locate
sensitive high gain
equipment such as
preamplifiers or tape decks
directly above or below the
unit. This unit has a strong
magnetic field which can
induce hum into unshielded
devices that are located
nearby. The field has
strongest spots just above
and below the unit. Locate
the amplifier at the bottom of
the rack and the preamplifier
or other sensitive equipment
at the top.
ATTENTION: Ne pas placer
des appareils sensibles tels que
des préamplificateurs ou
lecteurs de cassettes
directement au dessus ou en
dessous de l’appareil.
L’amplificateur possède un
champ magnétique puissant qui
peut provoquer des
interférences dans des
appareils non blindés qui se
trouvent à proximité. Les points
les plus forts se trouvent endessous et au-dessus de
l’appareil. Placez l’amplificateur
en bas du rack et le
préamplificateur et autres
appareils sensibles au-dessus.
VORSICHT ! Keine
empfindlichen Geräte wie
Vorverstärker oder
Kassettenrekorder auf oder
unter den Verstärker
stellen. Der Verstärker
besitzt ein starkes
Magnetfeld, das bei nicht
abgeschirmten Geräten
Brummgeräusche
verursacht. Die stärksten
Punkte befinden sich auf
und unter dem Gerät.
Wenn Sie den Verstärker
in ein Geräterack
einbauen, installieren Sie
ihn ganz unten im Rack
und alle anderen Geräte
darüber.
Opgepast! Geen gevoelige
apparaten zoals
voorversterkers of
cassetterecorders direct aan
de boven- of onderkant van
het apparaat plaatsen. De
versterker bezit een machtig
magnetisch veld dat
stoornissen in niet
gepantserde apparaten, die
zich in nabijheid bevinden,
kan veroorzaken. De sterkste
punten bevinden zich onder
en boven het apparaat.
Plaatst de versterker onder
de rack en de voorversterker
en andere gevoelige
apparaten erop.
CAUTION
RISKOF ELECTRIC
SHOCK
DO NOT OPEN
ATTENTION
RISQUE DE CHOC
ELECTRIQUE
NE PAS OUVRIR
VORSICHT
STROMSCHLAG-
GEFAHR
NICHT ÖFFNEN
OPGESPAST
RISICO VOOR
ELECTRISCHE
SCHOK NIET
OPENEN
To prevent electric shock,
do not remove top or bottom
covers. No user serviceable
parts inside. Refer servicing
to qualified servicing
personnel. Disconnect
power cord before removing
back panel cover to access
gain switch.
Afin d’éviter un choc électrique,
ne pas retirer le couvercle
supérieur ou inférieur. Le boîtier
ne contient pas de pièces
remplaçables par l’utilisateur.
Toutes les réparations doivent
être effectuées par du personnel
qualifié. Débranchez le cordon
d’alimentation avant d’ouvrir le
panneau arrière pour accéder au
contrôle de gain.
Um Stromschlag zu
vermeiden, nicht das
Gehäuse öffnen. Es enthält
keine vom Benutzer
auswechselbaren Teile.
Reparaturen dürfen nur von
Fachpersonal ausgeführt
werden. Netzkabel abziehen,
bevor Sie die Rückwand
öffnen, um Zugang zum Gain
Regler zu bekommen.
Verwijder niet het bovenste
of onderste deksel,
teneinde een elektrische
schok te vermijden. De
doos bevat geen stukken
vervangbaar door de
gebruiker. Alle reparaties
moeten door gekwalificeerd
personeel uitgevoerd
worden. Schakel het
voedingstouw uit alvorens
het achter paneel te
openen om de controle van
de versterker te bereiken.
WARNING! To reduce the risk of electric shock, do not expose this equipment
to rain or moisture!
AVERTISSEMENT! Afin de réduire le risque de choc électrique, ne pas
exposer cet appareil à l’humidité ou à la pluie !
WARNUNG ! Um Stromschlag zu vermeiden, das Gerät vor Regen und
Feuchtigkeit schützen!
WAARSCHUWING! Stel het apparaat niet bloot aan vocht of regen, teneinde
het schokrisico te verminderen
The exclamation point triangle is used to alert the user to important operating or maintenance
instructions
Le triangle avec le point d’exclamation attire l’attention de l’utilisateur sur des instructions
d’utilisation ou de maintenance importantes.
Das Dreieck mit dem Ausrufezeichen lenkt die Aufmerksamkeit des Benutzers auf wichtige
Bedienungs- und Wartungshinweise
De driehoek met het uitroepteken vestigt de aandacht van de gebruiker op belangrijke gebruik- of
onderhoudinstructies.
The lighting bolt triangle is used to alert the user to the risk of electric shock
L’éclair dans le triangle attire l’attention de l’utilisateur sur un risqué de choc électrique
Der Blitz im Dreieck lenkt die Aufmerksamkeit des Benutzers auf ein Stromschlagrisiko.
De bliksem in de driehoek vestigt de aandacht van de gebruiker op een elektrische schokrisico.
3
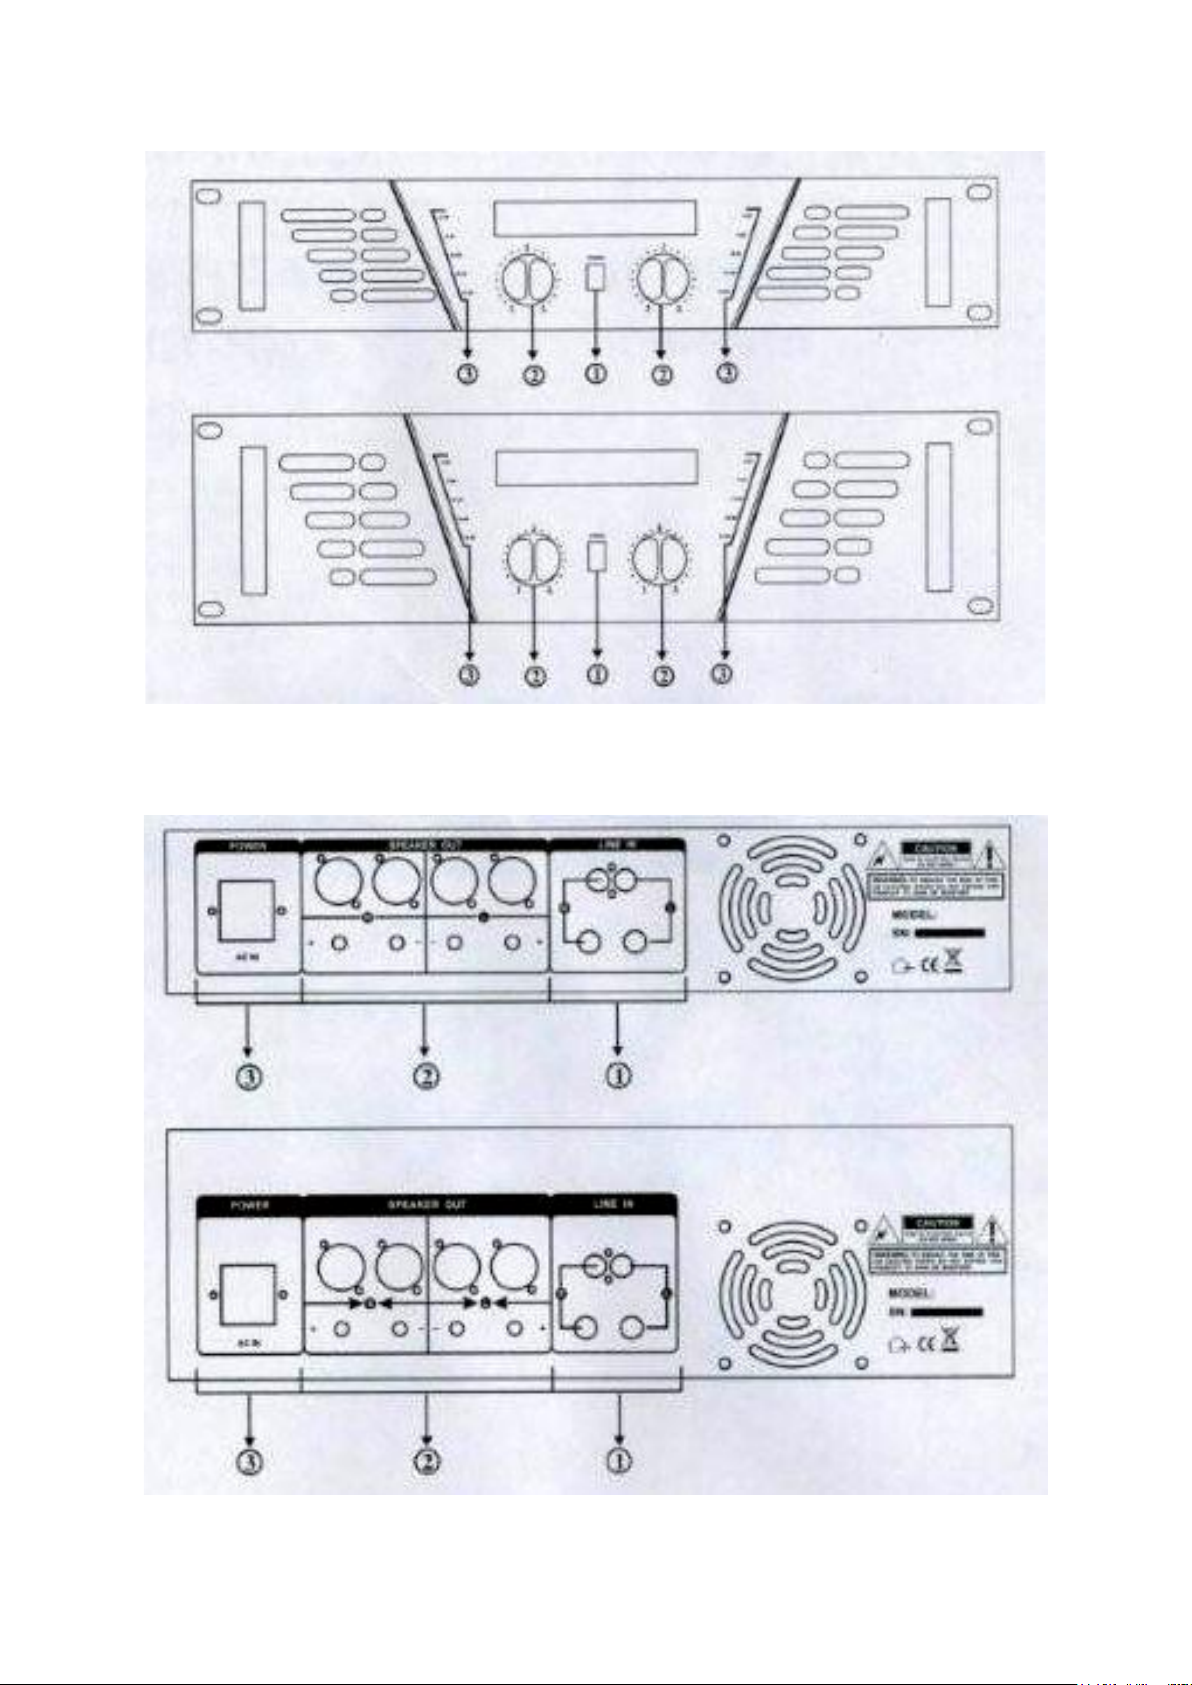
FRONT PANEL – FACADE – FRONTSEITE - VOORZIJDE
REAR SIDE – ARRIERE – RÜCKSEITE - ACHTERZIJDE
4
GB
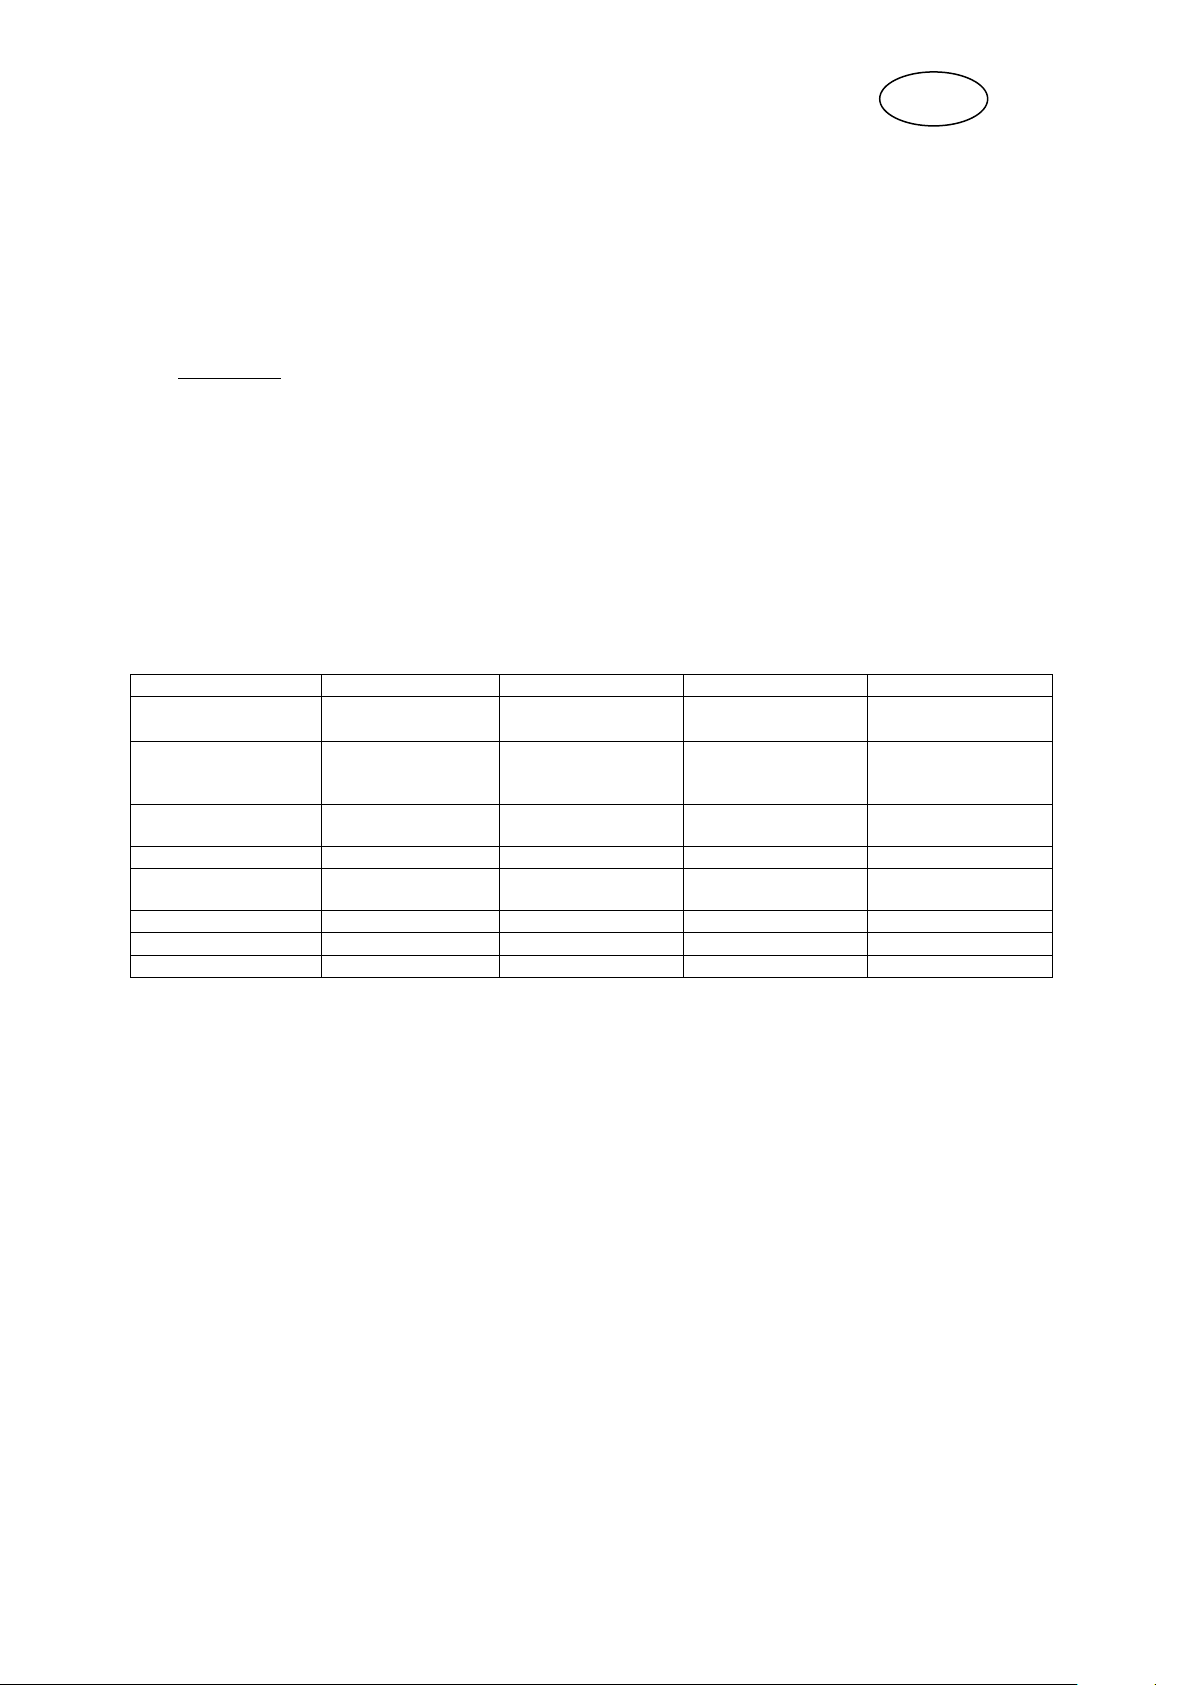
Front panel controls :
AMP-300
AMP-600
AMP-800
AMP-1000
Music power
2 x 240W 4
2 x 160W 8
2 x 480W 4
2 x 320W 8
2 x 600W 4
2 x 400W 8
2 x 800W 4
2 x 600W 8
Total harmonic
distorsion
≥0,5%
≥0,5%
≥0,5%
≥0,5%
Freq. Range
20 – 20.000Hz)
≥0,5dB
≥0,5dB
≥0,5dB
≥0,5dB
Noise
≥98dB
≥98dB
≥98dB
≥98dB
Channel separation
(f=1kHz)
≥82dB
≥82dB
≥82dB
≥82dB
Input level
≥0dB
≥0dB
≥0dB
≥0dB
Input impedance
≥10k
≥10k
≥10k
≥10k
Power supply
230Vac, 50-60Hz
230Vac, 50-60Hz
230Vac, 50-60Hz
230Vac, 50-60Hz
1. On/Off switch with Power LED
2. Gain Control
Input gain control allowing to attenuate the input signal that is sent to the various channels of the amplifier.
The dB control range is as follows:
Fully closed (the signal is at zero and not sent to the channels of the amplifier) or fully open (i.e. at rated
power: the signal is not attenuated at all and sent at the input power into the amplifier channels).
3. LED Display
Shows the master output level.
Rear connections
1. Line input
Jack sockets : These sockets are connected in parallel to the corresponding RCA connectors. Thus, you can
connect a second amplifier in series to the first unit to send the same signal into several amplifiers in order to
increase the audio power.
2. Speaker outputs
Binding posts or XLR/Jack (minimum load 4 Ohms)
Note : To avoid damage to the speakers, only use speakers that have the same impedance and power rating as
the amplifier. Only use speaker cables and never signal cables as those used for microphones, music instruments
and audio equipment in general.
3. Power supply
Mains
SPECIFICATIONS
INSTALLATION
Electrical Connections
Prior to connecting the amplifier on a wall outlet, check following points
Power On/Off
Always switch on the amplifier at last and switch it off at first in your audio installation. Set all controls to the
minimum in order to avoid unpleasant and even dangerous noise.
Installation and Operation
Your amplifier is a high power unit that must be installed at a well ventilated place far from heat, humidity, shocks
and dust to avoid malfunction, defaults, electrical shocks and the risk of fire. The cooling air enters via the front
panel and leaves via the rear panel. The good ventilation is therefore of paramount importance. If you install the
amplifier in an equipment rack or a flight case, make sure not to obstruct the air flow. Never install the amplifier in
a closed rack or flight case as a part of the heat is evacuated by the metal ground plate. It is recommended to
leave at least one free space below the amplifier.
Audio Connections
Prior to making any connections, switch off all units that you wish to interconnect. Only use high quality leads that
are suitable for this application. Handle the cables with care and check the air flow regularly. Only pull the plugs,
never the cable. Do not use force to unplug a lead. Always roll the cables without making knots or bending them
in order to ensure a long lifetime, proper operation and optimal performance.
The mains outlet must be earthed and comply with the safety regulations. If in doubt, ask and electrician.
The mains voltage must correspond to the supply voltage indicated on the rear panel (+/-10%)
The On /Off switch must be in OFF position
The amplifier must be switched off prior to unplugging the mains lead.
 Loading...