

Page 1
Wireless Room Thermostat Fault Finding
If your heating system is not responding to your wireless thermostat the rst thing to check is to see if the thermostat
is communicating with the wireless relay that is connected to the boiler. There are a few common symptoms and these
can easily be checked. First check that the thermostat has fresh batteries and that they are correctly inserted.
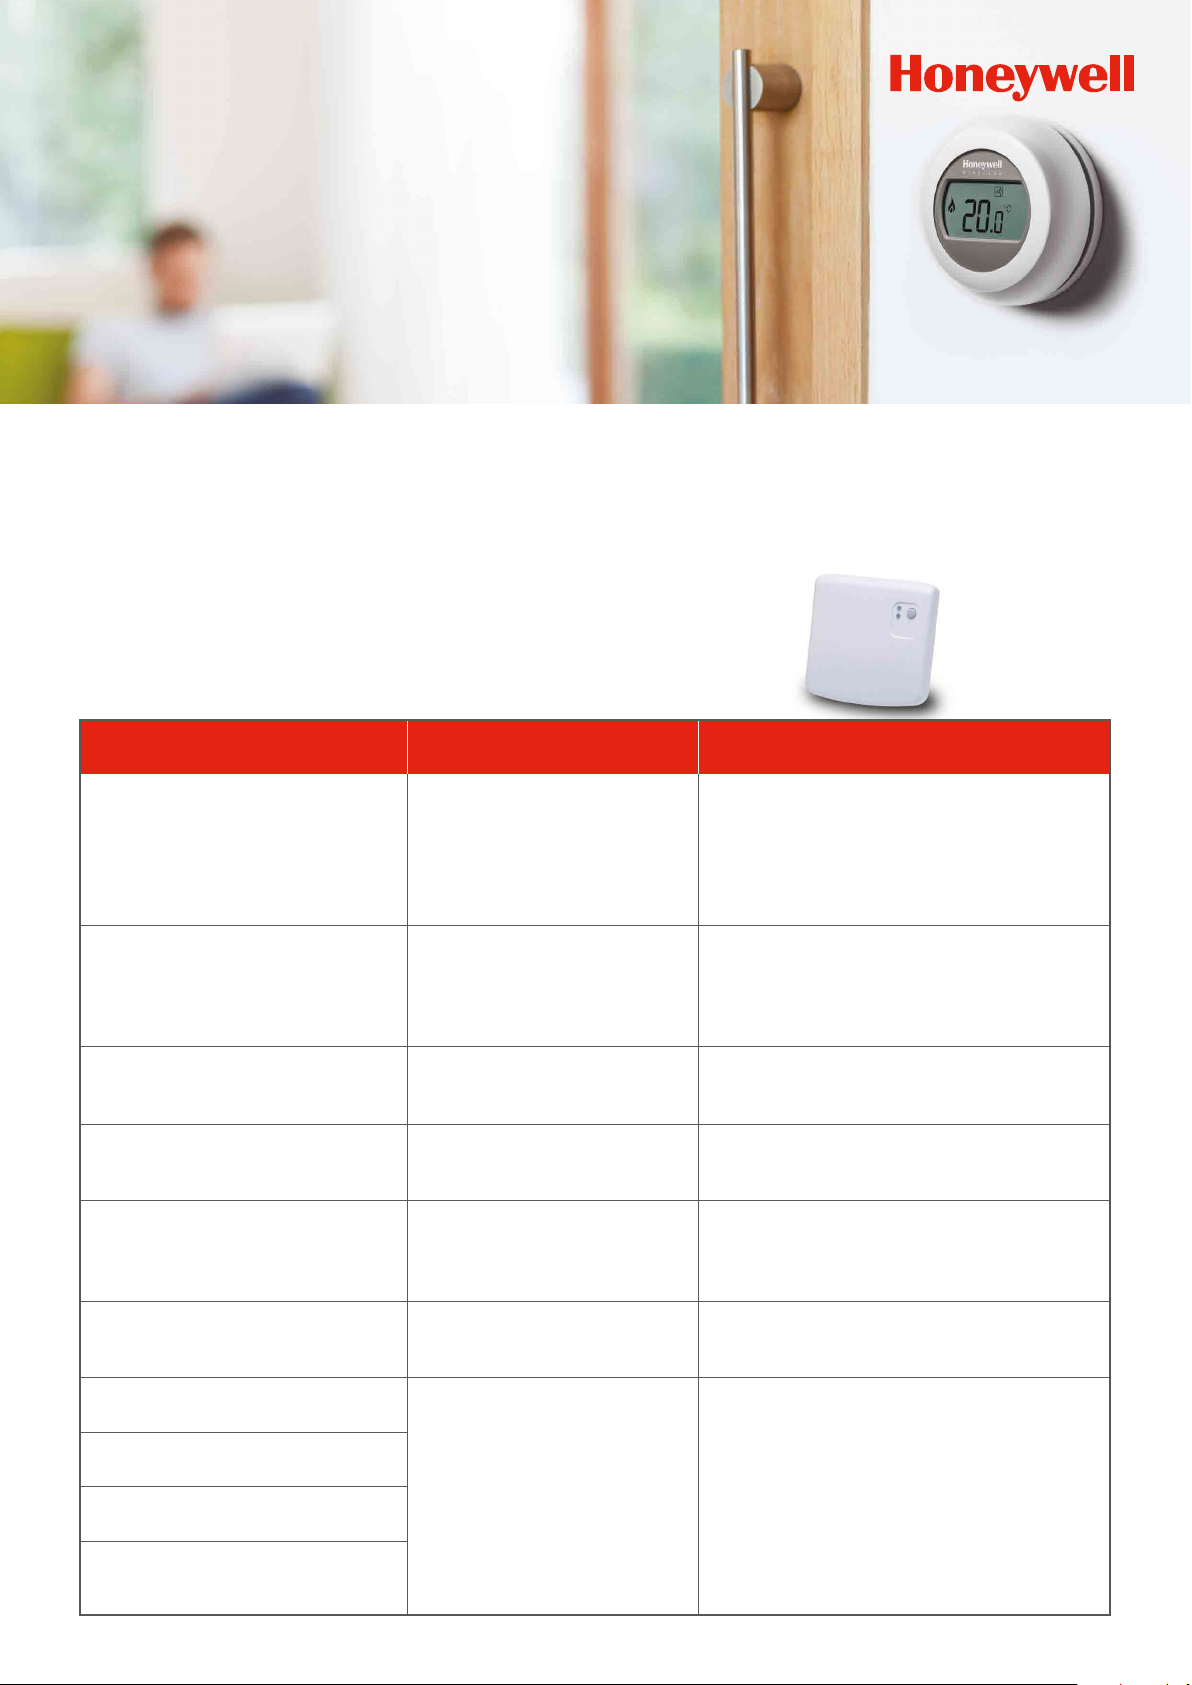
Locate the wireless relay box, this is probably mounted close to your boiler or in the
airing cupboard. It looks like this.
It has two small lights which display information about the operation of the heating
system. The table below gives you information regarding what the lights mean.
Symptom Cause Resolution
Steady red light on wireless relay.
Slow Flashing red light on relay unit,
(3 seconds on, 3 seconds off).
Medium flashing red light on wireless relay
(0.5 seconds on, 0.5 seconds off).
Quick flashing red light on wireless relay
(0.1 seconds on, 0.9 seconds off).
Any of the above with a steady green light.
Red Led Constantly on and the green LED
flashes once 0.1 sec on and 3 sec off.
Red Led Constantly on and the green LED
flashes twice 0.1 sec on and 3 sec off.
Red Led Constantly on and the green LED
flashes three times 0.1 sec on and 3 sec off.
Red Led Constantly on and the green LED
flashes four times 0.1 sec on and 3 sec off.
Red Led Constantly on and the green LED
flashes five times 0.1 sec on and 3 sec off.
Comms lost with all bound room units.
It is possible to bind up to 4 units to
the relay. This signal indicates that
one of these units has lost comms.
Wireless relay has been put into
binding mode and may have had the
previous binding deleted.
Wireless relay has had the previous
binding deleted or is an unbound
new unit.
The above causes still apply but the
green light indicates that one of the
bound units is still operating correctly
and the boiler is being fired.
The relay was left in binding mode and
did not receive the binding message
from the thermostat within 3 minutes.
Miss bound or attempting to do
something that is not possible.
Please check for positioning of the room unit and
the relay, eg not near other wireless devices or large
metal objects. If the unit worked fine for some time
then developed this issue please check for new items
introduced into the vicinity and check batteries in room
unit. If symptom repeats conduct a signal strength check.
If there are supposed to be more than one unit
communicating with the relay then check for positioning
as above. If there is only one room unit then rebind
making sure to delete all previous binding information
as following guide.
Re bind room thermostat to wireless relay
(see following guide).
Re bind room thermostat to wireless relay
(see foloowing guide).
Follow appropriate cure above.
Repeat binding process (see following guide).
Delete all binding and repeat following guide below. If
symptom persists then please contact technical support
for guidance on the application that is being attempted.
Page 2
OK
Re-binding of wireless products
Re-binding of wireless products
If you have identied a fault in the table above that calls for the Room Unit to be
rebound to the wireless relay- please follow these simple steps to re-establish
contact.
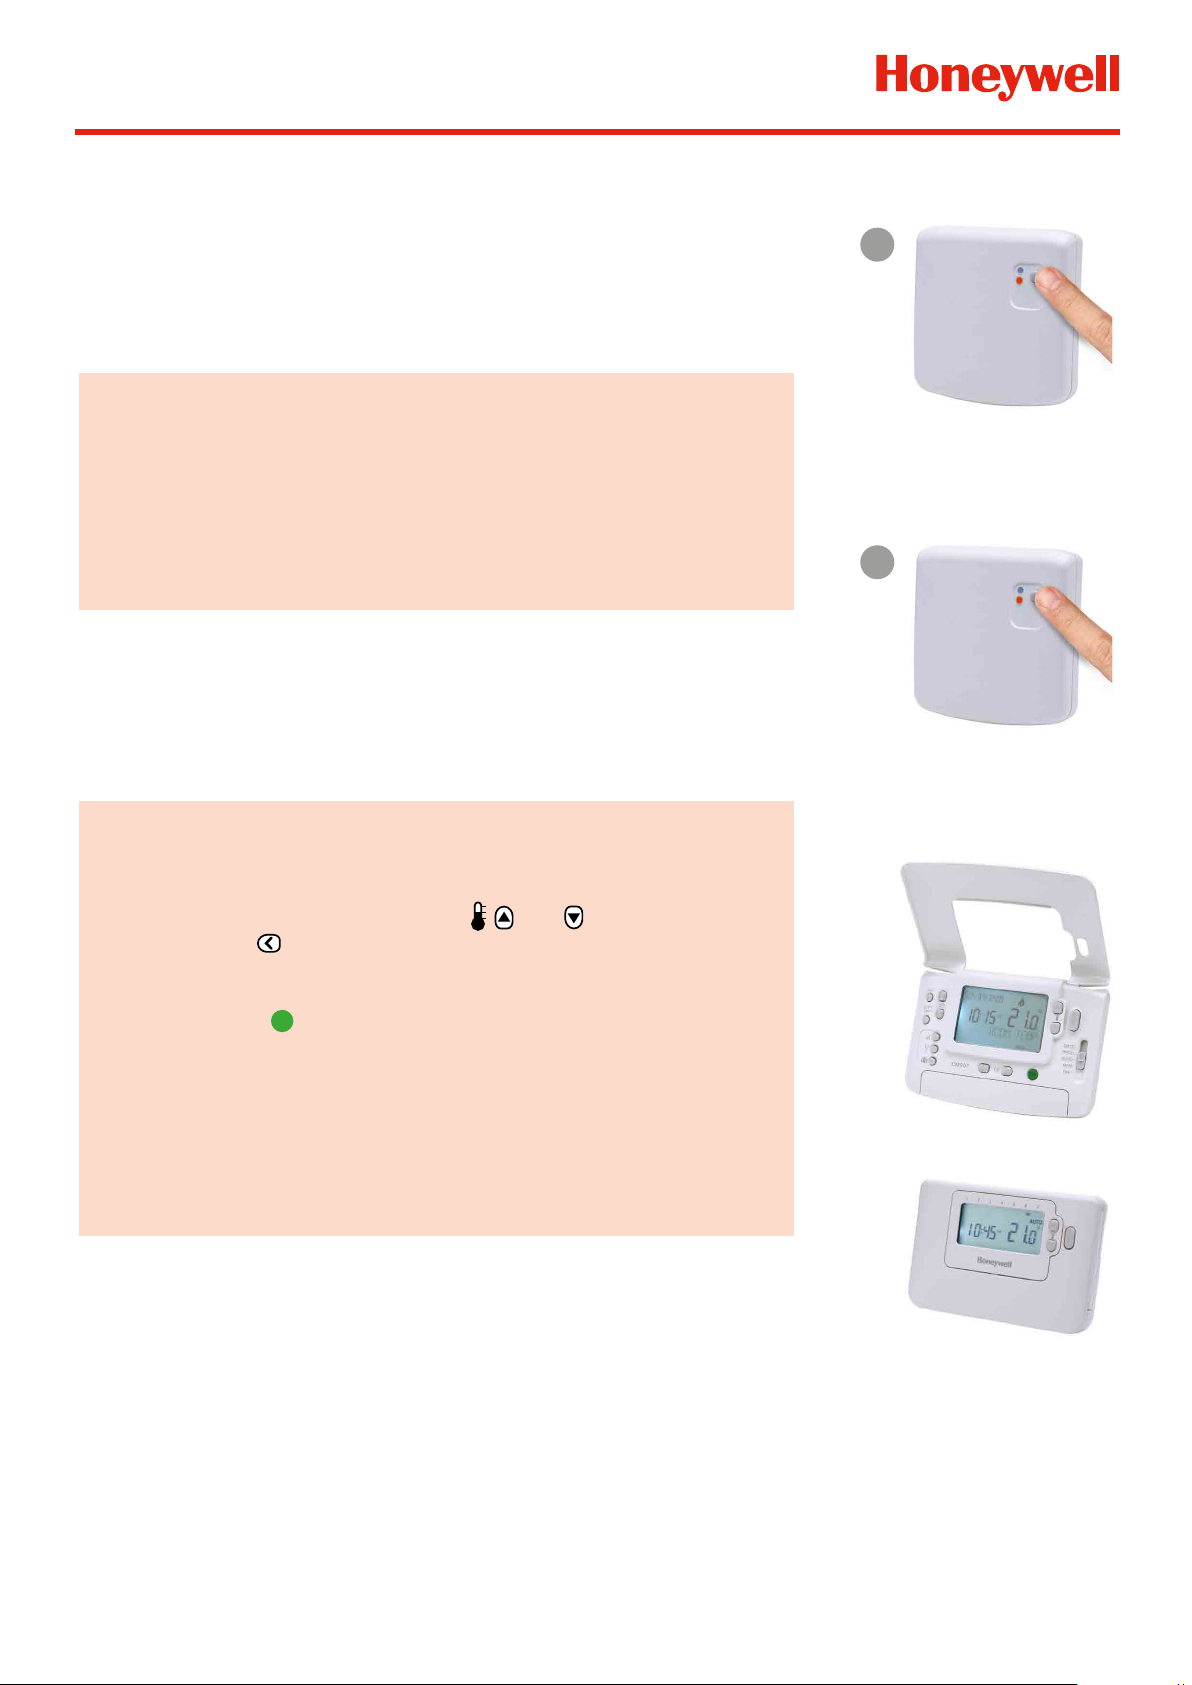
1
1) It is important to delete any previous binding from the relay memory before
starting. On the BDR91 Wireless relay unit, press and hold the button wait
until the red light starts to ash – continue holding until it changes to a fast
ash then release.
2) Press and hold the button again for 5 seconds (until the red LED blinks
slowly). Then release and go to the next step.
Please follow the steps below for the relevant thermostat
NB – Always keep the thermostat and wireless relay unit at least 1metre apart
during the re-binding process.
CMT900 & CMT700 range of Wireless Programmable Room Thermostats
1) Move the room thermostat slider to the OFF (CMT900) position or press
the o button (CMT700) and press the and buttons together
along with the button. The unit will display “InSt” and ‘CONTROL
BINDING’.
STAGE 1 Press and
hold for 15 sec
The red light will ash on for
0.1 sec and be o for 0.9 sec
2
STAGE 2 Press and
hold for 5 sec
The red light will ash on for 0.5
sec and be o for 0.5 sec
2) Press the green button to send the binding signal out to the Relay Box.
The red LED on the relay is switched o to conrm successful binding
operation. If the red LED still ashes push the button again until binding is
successful.
3) Return the slider to AUTO (CMT900) or press the AUTO button (CMT700)
OK
CMT900
CMT700
Page 3

Re-binding of wireless products
OK
OK
DT92E Wireless Digital Room Thermostat
1) Press and hold the power button for 2 seconds to put the unit into
standby
2) Press the up and down arrows together for 3 seconds – it should say INst
3) Press the down arrow – it should say COnt
4) Press the up arrow three times – it should say CLr
5) Press the power button once to clear any previous binding data
6) Press the up arrow – it should say Cont
7) Press the power button to send the binding signal to the wireless relay
8) The screen will return to normal and the red light will disappear from the
relay
9) Press the power button for 5s and the screen will return to normal
Y6630D Wireless Room Thermostat
1) The Y6630D uses the HC60 relay unit, but clearing the memory and putting
the unit into listening mode is the same as the BDR91 on the front page
2) Take the front cover o of the thermostat
3) Press the “send” button
4) The red light on the receiver should disappear if it has been successful
Y87RF Wireless Room Thermostat
1) Touch and hold on the left touch zone for approximately 10 seconds
2) The screen for binding the Boiler Relay is now displayed
3) When the symbol ‘bo’ is ashing, briey touch the left touch zone to send
the binding signal, at which point the symbol will ash several times.
4) If binding has been successful the number indicates the signal strength
(1 = min to 5 = max).
Red
Light
Send
Button
5) If binding fails, appears on screen. Please try again.
6) The red LED on the Boiler Relay will turn o when binding has been
successful.
 Loading...