

Honeywell TAM-412, TAM-442 Quick Start Manual
Satellite Terminal
TAM-412, TAM-442
TAM-401 Series
Quick Start Guide

ii TAM-401 Series Satellite Terminal Quick Start Guide
Disclaimer
Honeywell International Inc. (“HII”) reserves the right to make changes in
specifications and other information contained in this document without prior
notice, and the reader should in all cases consult HII to determine whether any
such changes have been made. The information in this publication does not
represent a commitment on the part of HII.
HII shall not be liable for technical or editorial errors or omissions contained
herein; nor for incidental or consequential damages resulting from the furnishing,
performance, or use of this material. HII disclaims all responsibility for the
selection and use of software and/or hardware to achieve intended results.
This document contains proprietary information that is protected by copyright. All
rights are reserved. No part of this document may be photocopied, reproduced, or
translated into another language without the prior written consent of HII.
Patents
For patent information, please refer to www.hsmpats.com.
© 2015 Honeywell International Inc. All rights reserved.
TAM-401 Series Satellite Terminal Quick Start Guide 3
Open the Box and Check Contents
You must transport the satellite terminal to the final
installation site packed in its shipping box to avoid damage.
Failure to transport the terminal properly may invalidate any
warranty claims.
Retain all shipping materials until the terminal is installed and
working correctly.
The TAM-412 and TAM-442 ship with these items in the box:
• The TAM-412 or TAM-442 Satellite Terminal
• Two key s
• Documentation (this quick start guide and compliance
information)
After you remove the satellite terminal from the shipping box,
record the Inmarsat Serial Number (ISN) and serial numbers
located on the label on the base of the terminal. You will need
this information to complete the activation form.
o
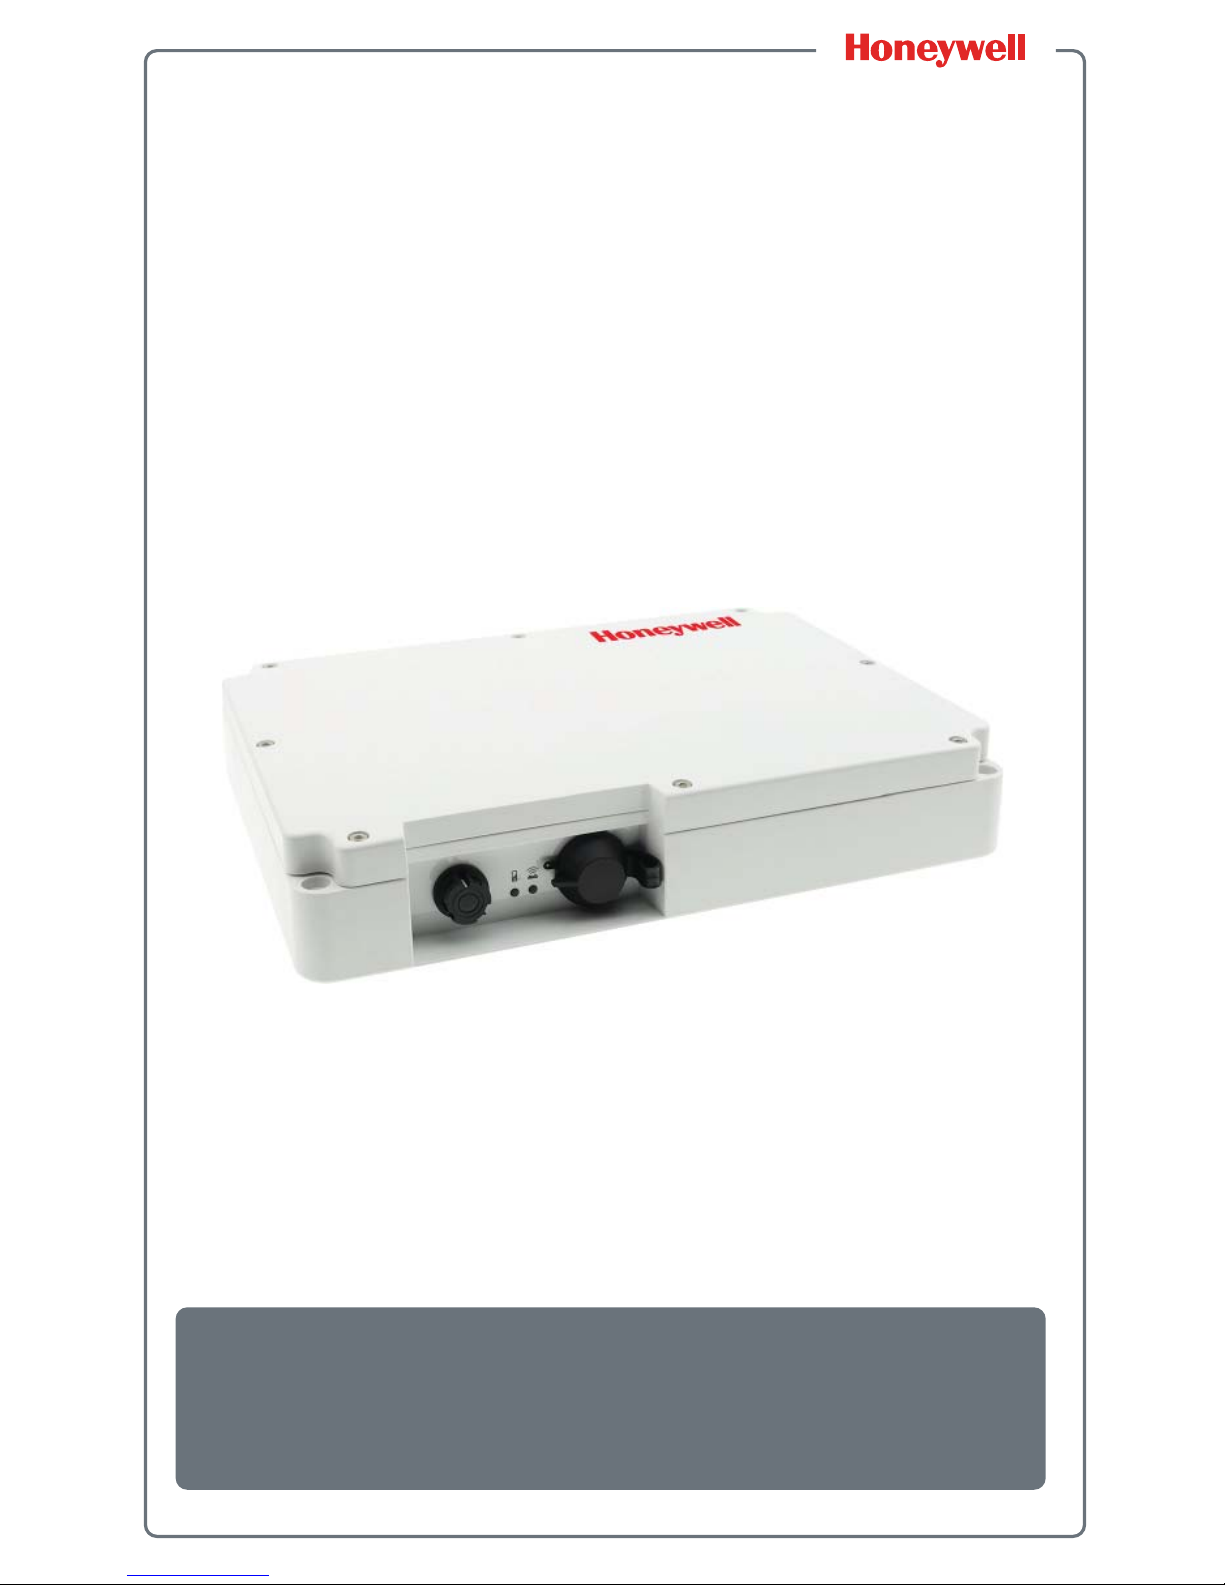
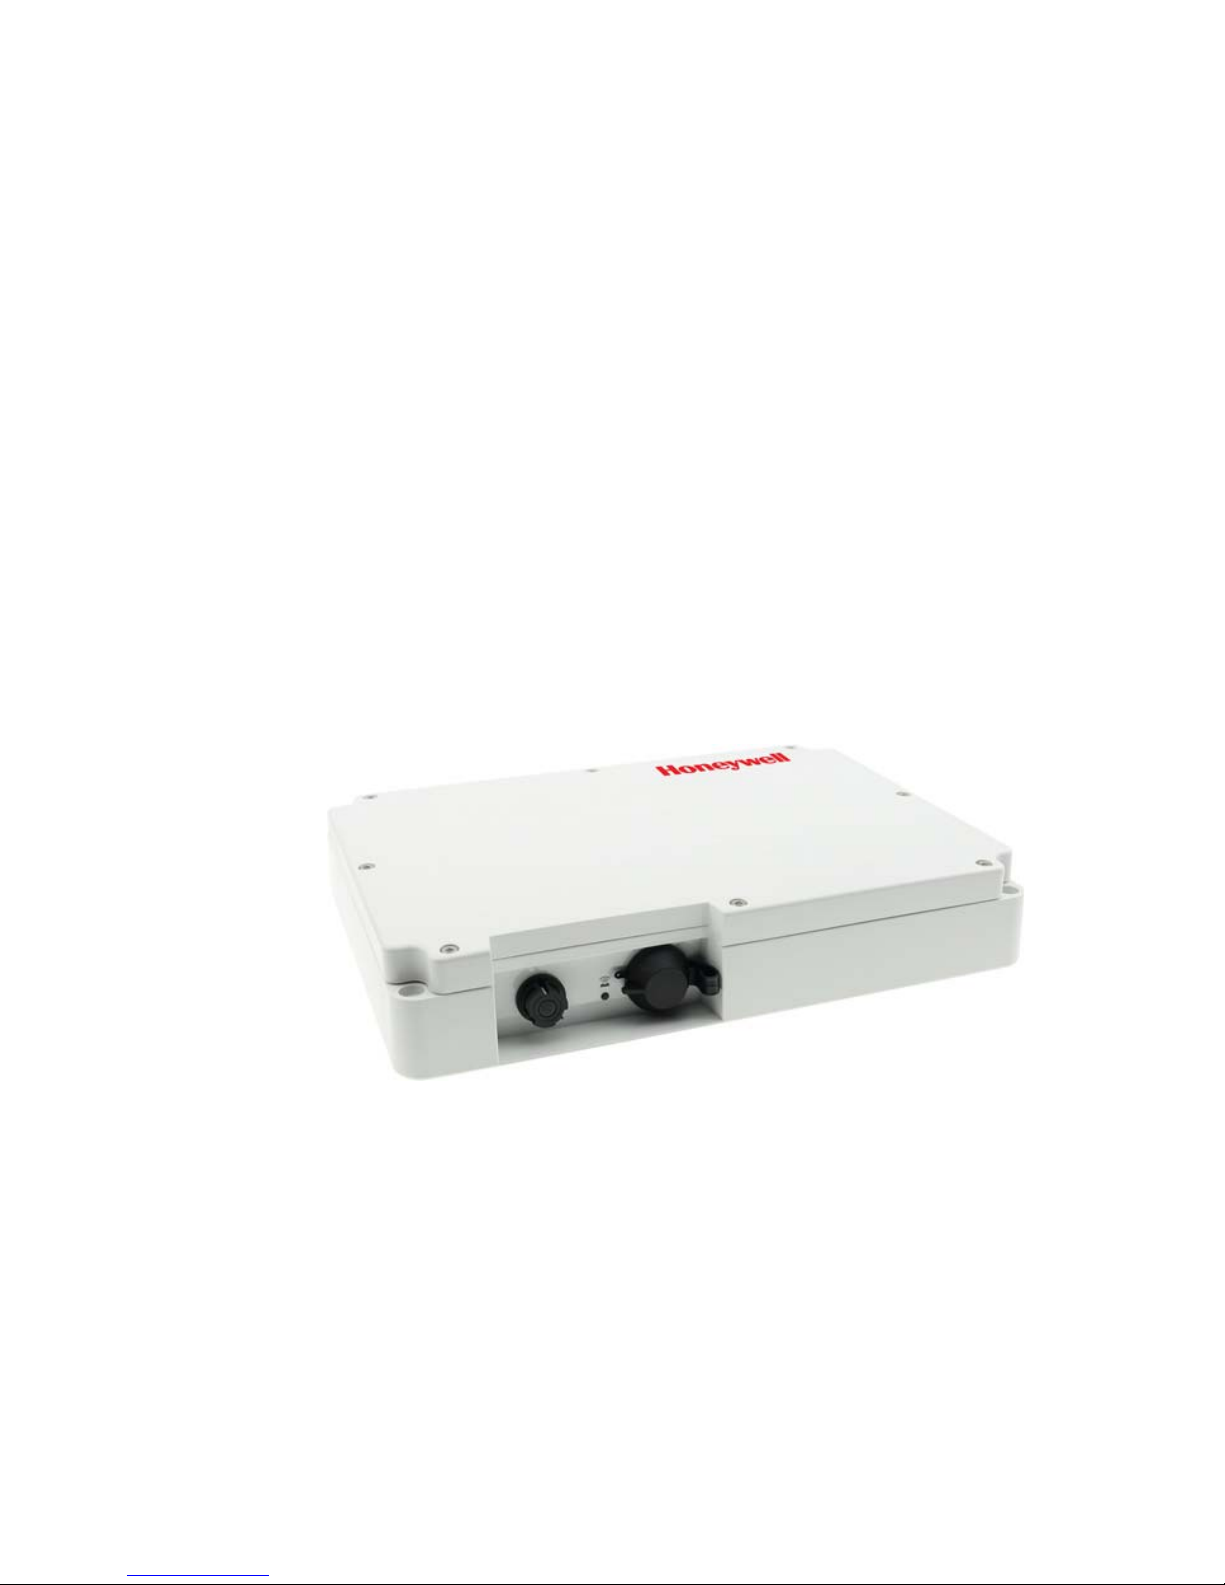
TAM-412 Satellite Terminal
The only difference between the TAM-412 and the TAM-442
is that the TAM-442 is rechargeable. The TAM-412 has one
Operating Status LED. The TAM-442 has two LEDs: a
Charging Status LED and an Operating Status LED.
4 TAM-401 Series Satellite Terminal Quick Start Guide
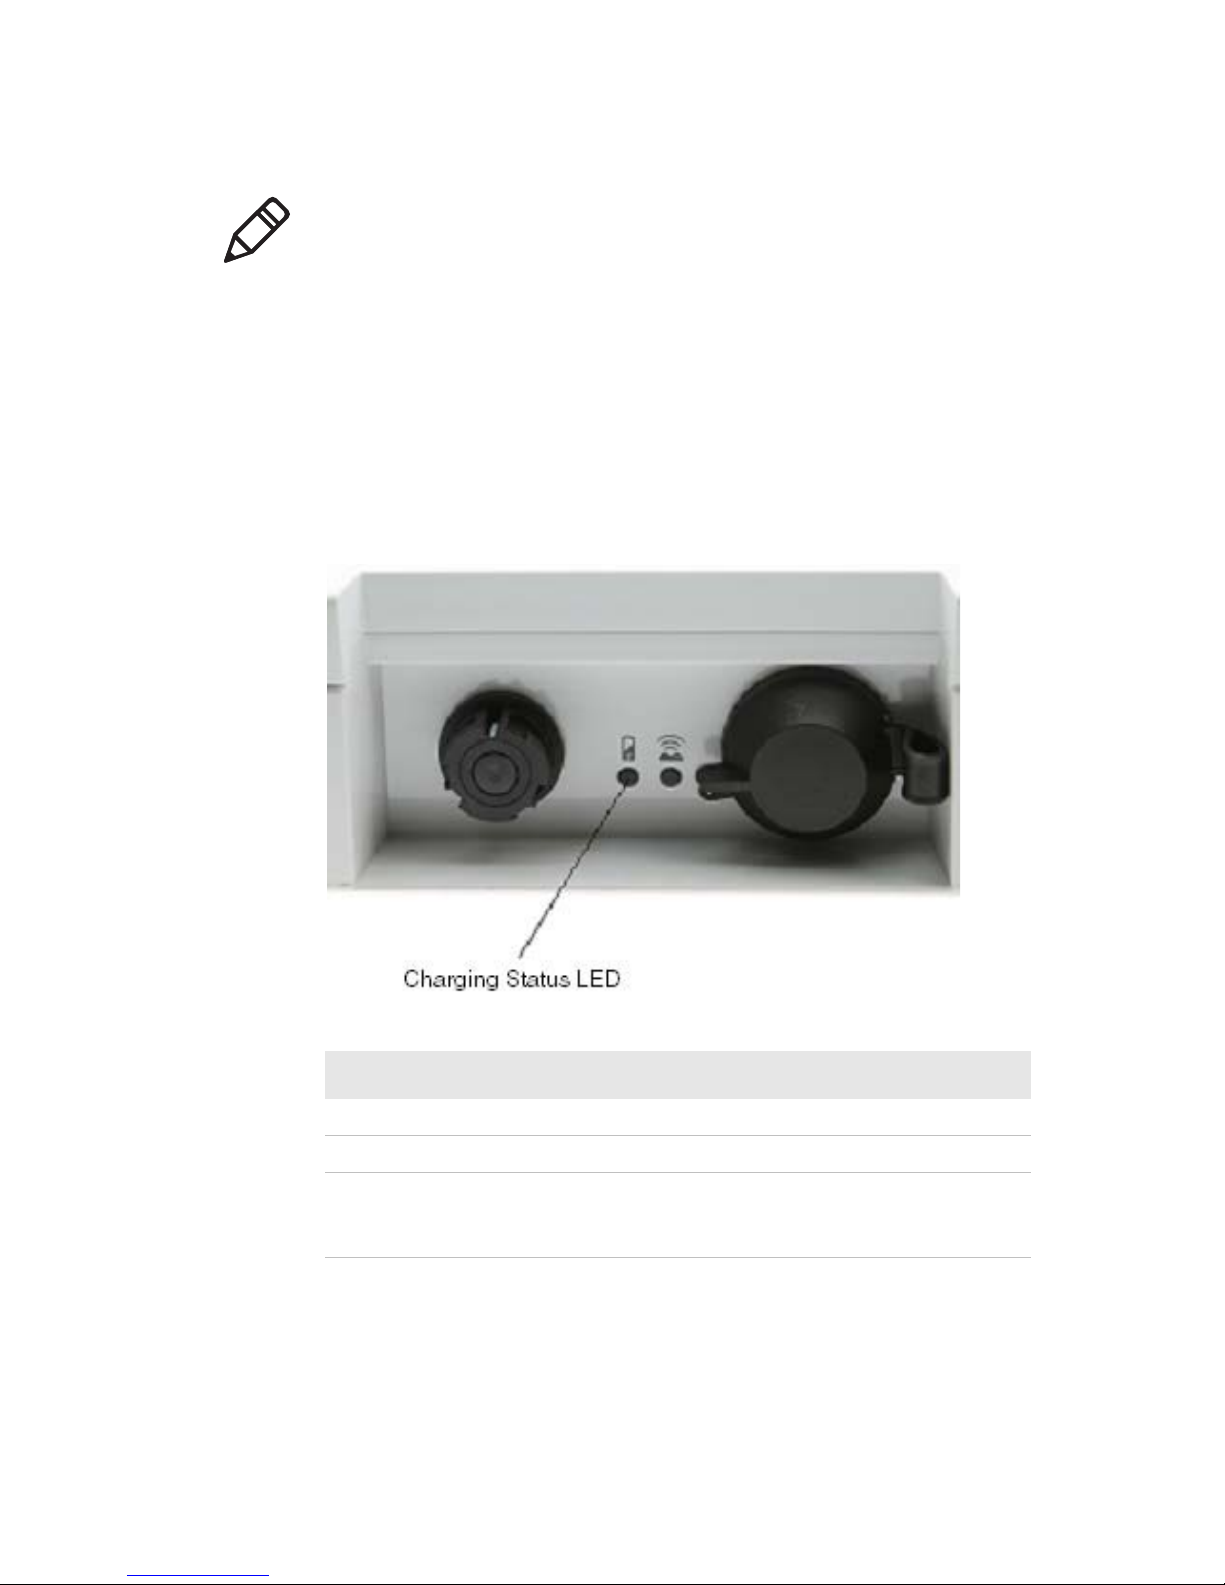
Charge the Terminal
If you have a TAM-442 Satellite Terminal, you can charge the
battery with the single mains charger accessory or from the
vehicle power supply. See the user manual for information on
the available charging accessories.
Either charging method takes at least 7 hours to fully charge
the battery. You can charge the terminal from a power source
ranging from 9.6 V to 30 V, limited to 2 A.
1 Connect the TAM-442 to either the single mains charger
or to the vehicle charging cable.
2 Charge for at least 7 hours to make sure you have a fully
charged battery. The Charging Status LED will turn green.
Note: The TAM-442 terminal needs to be charged before
installation.
Charging Status LED Description
Orange Battery is charging.
Green Charging is complete.
Red Battery is not charging due to a fault
or it is outside charging temperature
range.
 Loading...