

Page 1
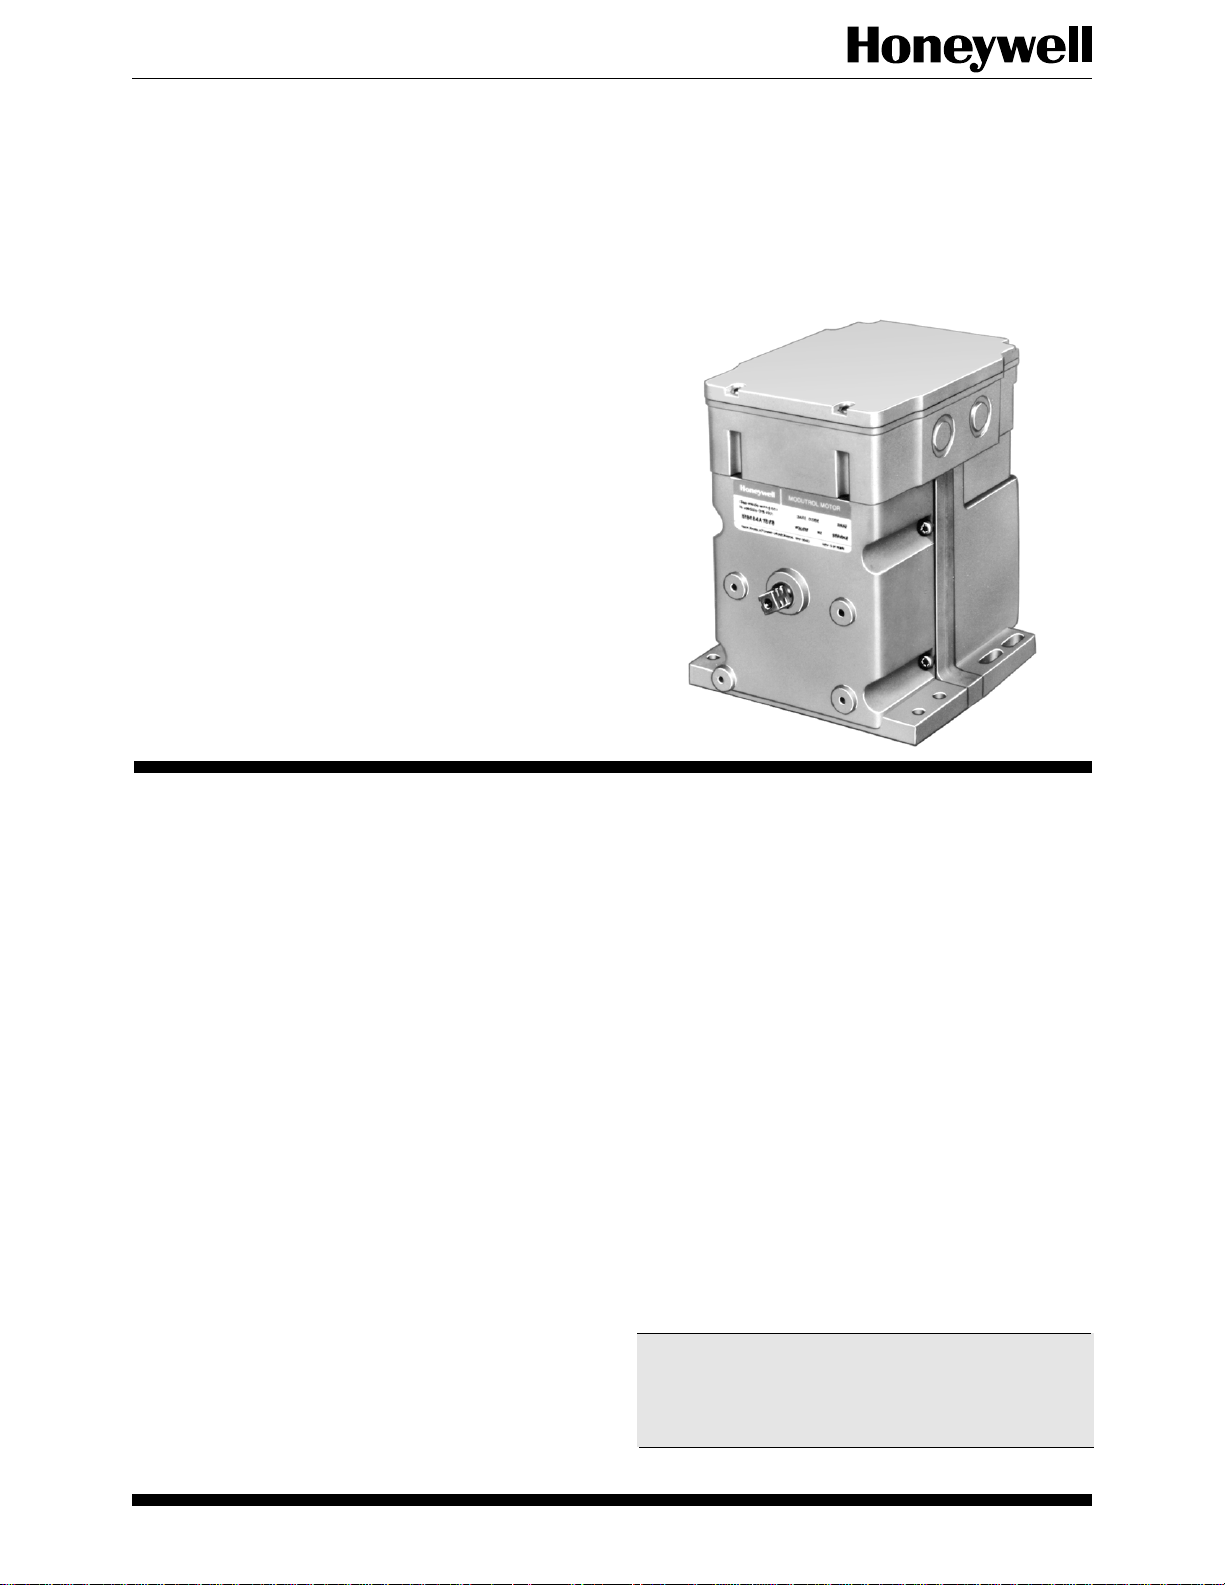
Modutrol Motor M7484A
The M7484A is a low voltage, reversing proportional modutrol motor used to drive a fuel
valve and combustion air damper as commanded
by the BCS 7700.
BCS 7700
■ Electronic, vibration resistant drive circuit.
■ Requires 24 Vac power supply.
■ Die-cast aluminum case.
■ Feedback potentiometer circuit provides position
indication input to the BCS 7700.
■ Motor stroke is fixed 90˚, 30 second timing.
■ Low and High Fire position proving feedback
potentiometer circuit.
■ 150 lb.-in. torque.
■ Accessories include weather proofing kit.
CONTENTS
Specifications ................................................2
Ordering Information.................................... 2
Installation .................................................... 4
Operation and Checkout ...............................6
T.M. • Rev. 7-92 • © Honeywell Inc. 1992 • Form Number 63-2273—1
Page 2

M7484A
SPECIFICATIONS • ORDERING INFORMATION
Internal
Electronic Internal
Drive Auxiliary
Model Timing Circuit Switch
M7484A1010 30 sec Yes No
CRANKSHAFT: Double ended, 3/8 inch square.
STROKE: 90˚ fixed.
TORQUE: 150 lb.-in.
Timing Normal
[Nominal] Running Breakaway
90° Stroke Torque Torque
30 sec 150 lb.-in. 300 lb.-in.
a
Maximum torque available to overcome occasional
large loads such as seized damper or valve. MUST NOT
BE USED CONTINUOUSLY AT THIS RATING.
DEADWEIGHT LOAD ON SHAFT:
Power End: 200 lb. [91 kg] maximum.
Auxiliary End: 200 lb. [45 kg] maximum.
ELECTRICAL RATINGS:
Terminal Description Rating
G Common
(Negative Supply)
Y • Power Supply from 8.0V
BCS 7700 +/- 0.050 Vdc
• Overvoltage 9.0 Vdc
continuous maximum
T Signal to BCS 7700 1.5-5.5 Vdc
1 Modutrol Motor closed 24 Vac
2 Modutrol Motor open 50/60 Hz
3 Modutrol Motor common
Current Draw: 0.8A at 24 Vac.
Power Consumption: 18W.
Specif ications
ENVIRONMENTAL RATINGS:
Ambient Temperature:
Operating: 32° F to 150° F.
Storage: -30° F to 150° F.
Humidity:
Operating: 85% RH continuous, noncondensing.
Vibration: Continuous 0.5G environment.
Dimensions: See Fig. 1.
ACCESSORIES:
DHE-94 Explosion-proof Housing— encloses motor
for use in explosive atmospheres. Not for use with
Q601 and Q455 Linkage. Requires 7617DM Coupling and 220738A Adapter Bracket.
a
Q607 Auxiliary Switch—controls auxiliary equipment
as a function of motor position. (Requires use of
220738A Adapter Bracket.)
Q605 Damper Linkage—connects motor to damper;
includes motor crank arm.
Q601 Linkage—connects motor to water or steam
valve.
Q618 Linkage—connects motor to water or steam
valve.
Q100 Linkage—connects motor to butterfly valve.
(Requires use of 220738A Adapter Bracket.)
Q181A Auxiliary Potentiometer—used to control aux-
iliary motor.
4074ERU Weatherproofing Kit—weatherproofs the
motor.
7617ADW Motor Crank Arm—included with Q605
but not with motor.
220741A Screw Terminal Adapter—used to convert
motor quick-connect terminals to screw terminals.
220738A Adapter Bracket—adjusts shaft height of
M7484A to match M741B.
Ordering Inf ormation
When purchasing replacement and modernization products from your wholesaler or your distributor, refer to the price sheets for
complete ordering number.
If you have additional questions, need further information, or would like to comment on our products or services, please write or phone:
1. Your local Honeywell Home and Building Control Sales Office (check white pages of your phone directory).
2. Home and Building Control Customer Satisfaction
Honeywell Inc., 1885 Douglas Drive North
Minneapolis, Minnesota 55422-4386 (612) 542-7500
In Canada—Honeywell Limited/Honeywell Limitee, 740 Ellesmere Road, Scarborough, Ontario M1P 2V9 International Sales
and Service Offices in all principal cities of the world. Manufacturing in Australia, Canada, Finland, France, Germany, Japan,
Mexico, Netherlands, Spain, Taiwan, United Kingdom, U.S.A.
2
Page 3

Fig. 1—M7484A dimensions in in. [mm].
4.88
124]
5.5
[140]
M7484A
SPECIFICATIONS
WIRING
BOX
BASE
MOTOR
AUXILARY
END
ADAPTER
BRACKET
.27
.50
[7]
.60 [15]
.96
[24]
4.06 [103]
1.5 [38]
7.3 [185]
[13]
2.4 [61]
.80
[20]
1.47 [37]
.76 [19]
POWER
END
2.59
[66]
5.39
[137]
.75
[19]
6.45
[164]
2.50 [64]
1.25 [32]
.15
[4]
1.75
[44]
M2616
3 63-2273—1
Page 4

M7484A
INSTALLATION
WHEN INSTALLING THIS PRODUCT…
1. Read these instructions carefully. Failure to follow
them could damage the product or cause a hazardous
condition.
2. Check the ratings given in the instructions and on
the product to make sure the product is suitable for your
application.
3. Installer must be a trained, experienced service
technician.
4. After installation is complete, check out product
operation as provided in these instructions.
CAUTION
!
1. Disconnect power supply before beginning
installation to prevent electric shock or equipment damage. More than one disconnect may
be required to be opened to remove all power.
2. Do not attempt to turn the motor shaft by hand
or with a wrench. Damage to the gear train
will result.
LOCATION
Install the motor in any location except where acid
fumes or other deteriorating vapors might attack the metal
parts, or in atmospheres of escaping gas or other explosive
vapors. The M7484A is rated for temperatures between
32°F to150° F. If located outdoors, use weatherproofing
kit; see Accessories section.
Allow enough clearance for installing accessories and
servicing the motor when selecting a location. See Fig. 1.
MOUNTING
Always install the motor with the crankshaft horizontal. Mounting flanges extending from the bottom of the
motor housing are drilled for 1/4 in. machine screws or
bolts.
The M7484A is shipped from the factory in the closed
position, which is the limit of counterclockwise rotation as
viewed from the power end of the motor, see Fig. 2.
Fig. 2—Motor shaft position at rotational limits
as viewed from the power end of the motor.
VERTICAL
REFERENCE
45°
FULL
CLOSED
90°
FULL
OPEN
90 DEGREE STROKE
E2390
Installation
INSTALLING LINKAGES
A crank arm is not included with the motor.
In general, check the following points of operation
when installing a motor and linkage:
1. Adjust linkages for valves and louver type dampers
adjust so that the damper or valve moves through only the
maximum required distance when the motor moves through
its full stroke.
2. Stop the motor at the end of its stroke by using
internal travel limit switch; do not stall the motor by using
the damper or valve. CAUTION: The motor will be
damaged if it is not permitted to complete its full stroke.
3. For any installation, do not exceed the motor ratings.
WIRING
Disconnect power supply before wiring to prevent
electrical shock or equipment damage. More than one
disconnect may be required to be opened to remove all
power.
1. Be sure all wiring agrees with applicable codes,
ordinances, and regulations.
2. Make sure that the voltage and frequency stamped
on the motor correspond to the characteristics of the power
supply.
3. See Fig. 3 for the internal schematics and terminal
connections to the M7484A motor.
4. Use the recommended wire size and type:
• Terminals 1, 2, and 3 require No. 18 wire insulated
for voltages and temperatures encountered in the
application. Suggested conductor types include
TW[60C], THW [75C] and THHN [90C].
• Terminals G, T, and Y for the motor position indi-
cation circuit require a shielded three conductor
cable that is UL listed for temperatures and voltages
encountered in the application. Suggested cables
include Belden 9365 rated for 300V, 105° C or
Belden 8770 rated for 300V, 60° C.
5. Do not connect the shield to anything at the motor
end; tape the shield to avoid any unintended contact with
the motor housing. At the BCS 7700 end, ground the
shield to the control panel with as short as practical lead
wire length.
6. Do not route the feedback potentiometer circuit
leadwires in conduit with line voltage circuits.
7. Avoid routing the feedback potentiometer circuit
leadwires close to the ignition transformer leadwires.
8. Feedback potentiometer (low voltage) circuit leadwires can be routed outside of conduit if properly supported and protected from damage.
9. Maximum feedback potentiometer circuit leadwire
length of 100 feet.
10. Complete the required checkout as indicated in this
specification and return the system to normal operation.
4
Page 5

M7484A
INSTALLATION
Fig. 3—BCS 7700 internal block wiring diagram.
OIL
GAS
55
RELAY
DRIVE
CIRCUIT
RESET
PUSHBUTTON
RUN-TEST
SWITCH
A
B
RS485
C
L1
PREINGINTION
INTERLOCKS
BURNER
SWITCH
KEYBOARD AND DISPLAY
LIQUID CRYSTAL DISPLAY
A
B
RS485
C
50
51
OPTOISOLATOR
INPUTS
6K1
RECYCLE
LIMITS
52
53
11K1
54
56
10K1
DIGITAL
MONITOR
DIGITAL
MONITOR
MICROCOMPUTER
10K
11K
RELAY
DRIVE
CIRCUIT
5
7
6
KEYBOARD
OPTOISOLATOR
INPUTS
24VDC
OIL SELECT
GAS SELECT
MICROCOMPUTER
PROGRAM MODULE AND
CHASSIS MODULE INTERFACE
2K
3K
4K
6K
7K
8K
4
LOCKOUT
INTERLOCKS
ALARM
RELAY
INDICATES FEEDBACK SENSING TO
OPTOISOLATORS
OIL LINE
PURGE VALVE
ATOMIZING AIR
COMPRESSOR
MOTOR STARTER
TEMPERATURE
SENSOR
AMPLIFIER
SENSOR
POWER
SUPPLY
ANALOG
TO
DIGITAL
CONVERTOR
PLUG IN
9K
FLAME
AMPLIFIER
8
F1, 10A
120VAC
24VAC
L1
(HOT)
3
120 VAC
SAFETY
1K
RELAY
CIRCUIT
BURNER
MOTOR
STARTER
1K1 4K1
40VA
L2
SIGNAL
32
COMMON
33
SIGNAL
34
COMMON
35
POWER (RED)
36
SIGNAL (BLUE)
37
COMMON (BLACK)
38
POWER
39
SIGNAL
40
COMMON
41
POWER (RED)
42
SIGNAL (BLUE)
43
COMMON (BLACK)
44
POWER (RED)
45
SIGNAL (BLUE)
46
COMMON (BLACK)
47
FIRING
RATE
10
3K1
11
ATOMZING
AIR PROVING
SWITCH
2K1
12
WATER TEMP.
SENSOR / CONFIG. ANALOG
OIL TEMP.
SENSOR
STEAM
PRESSURE
SENSOR /
CONFIG.
ANALOG
OIL
PRESSURE
SENSOR
GAS
PRESSURE
SENSOR
24
25
26
27
28
29
1
30
31
IGNITION
TRANSFORMER
OIL MAIN
VALVE
16
GAS PRESSURE
SENSOR TEST VALVE
GAS MAIN
VALVE
FIRING RATE MOTOR
OPEN
3
CLOSE
PILOT
VALVE
EARTH GROUND
E
49
15
9K2
ALARM
14
L2
9K1
2
FLAME
DETECTOR
13
7K2
7K1
2
2
2
2
2
2
1
G
T
Y
20
8K2
19
8K1
18
23
22
21
1
WIRING SHOWN FOR INFRED FLAME DETECTOR FOR C7027
ULTRA VIOLET FLAME DETECTOR WIRE AS NOTED BELOW
– ULTRA VIOLETDECTECTOR BLUE LEAD - TERMINAL 31
– ULTRA VIOLET DETECTOR WHOTE LEAD - TERMINAL 30
THE ULTRA VIOLET FLAME DETECTOR WIRING IS POLARITY SENSITIVE,
REVERSING THE LEDS WIRES MAY DAMAGE THE SENSOR.
FOR ULTRA VIOLET C7012E,F WIRE AS NOTED BELOW:
– BLUE LEAD - TERMINAL 31 – YELLOW LEAD - TERMINAL 29
– WHITE LEAD - TERMINAL 27 – WHITE LEAD - L2
– BLACK LEAD - L1 – BLACK LEAD - L2
WIRE THESE TERMINALS WITH SHIEDLED CABLE PER SPECIFICATION. THE CABLE SHIELD
2
SHOULD NOT BE CONNECTED AT THE SENSOR END AND SHOULD BE TAPED TO AVOID
UNINTENTIONAL CONTACT. AT THE BOILER CONTROLLER END, THE SHIELD WIRES MUST BE
GROUNDED TO THE CONTROL PANEL WITH AS SHORT AS POSSIBLE A LEAD LENGTH.
5 63-2273—1
POWER SUPPLY. PROVIDE DISCONNECT MEANS
3
AND OVERLOAD PROTECTION AS REQUIRED.
DO NOT CONNECT WIRES TO ANY UNUSED TERMINALS.
4
TERMINALS 9, 17, 21, 22, 23, 28, 48 ARE NOT USED.
POWER SUPPLY FOR SYSTEM SENSORS.
5
FIELD WIRING INTERNAL CIRCUITRY.
6
M580A
Page 6

M7484A
OPERATION AND CHECKOUT
Operation and Check out
OPERATION
The M7484A is a fixed 90° stroke nonspring return
motor. An internal sensing circuit incorporates a feedback
potentiometer in a bridge circuit. The feedback potentiometer circuit output is proportional to the mechanical
shaft position. An 8 Vdc power source from the BCS 7700
is required for circuit operation.
The M7484A is driven by applying 24 Vac to either the
open or closed motor coils. Position control is accom-
plished by using the BCS 7700 to monitor the feedback
potentiometer circuit and energize or de-energize the
drive coil(s) to achieve the required position.
CHECKOUT
After installation and linkage adjustment, check the
entire motor and control hookup to prove that:
— the motor properly operates the damper or valve.
— the motor properly responds to the BCS 7700.
Inspect the motor, linkage and valve or damper to
determine that all mechanical connections are correct and
secure. Be sure the pushrod does not extend more than a
few inches past the ball joints. Check to be sure there is
adequate clearance for the linkage to move through its
stroke without binding or striking other objects.
The M7484A is shipped in the fully closed position (the
limit of counterclockwise rotation as viewed from the
power end of the motor).
To check operation of the M7484A:
1. Place the BCS 7700 in Standby; open the Burner
Switch.
2. Place the RUN/TEST Switch in the TEST position.
3. Place the BCS 7700 in the Manual mode using the
AUTO/MANUAL key of the Keyboard and Display Module.
4. Place the cursor in the Keyboard and Display Module Liquid Crystal Display beneath % Rate, using the (<)
key.
5. Using the Keyboard and Display Module (+ or - )
keys, under manual control, drive the motor through its
entire stroke to assure the motor is responding to the BCS
7700 commands.
6. While manually adjusting the motor position, observe the position of the motor, as displayed on the
Keyboard and Display Module, to assure proper operation
of the feedback potentiometer circuit.
Home and Building Control Home and Building Control Helping You Control Your World
Honeywell Inc. Honeywell Limited—Honeywell Limitée
1985 Douglas Drive North 740 Ellesmere Road
Golden Valley, Minnesota 55422 Scarborough, Ontario
M1P 2V9
Printed in U.S.A.
QUALITY IS
KEY
 Loading...