

Page 1
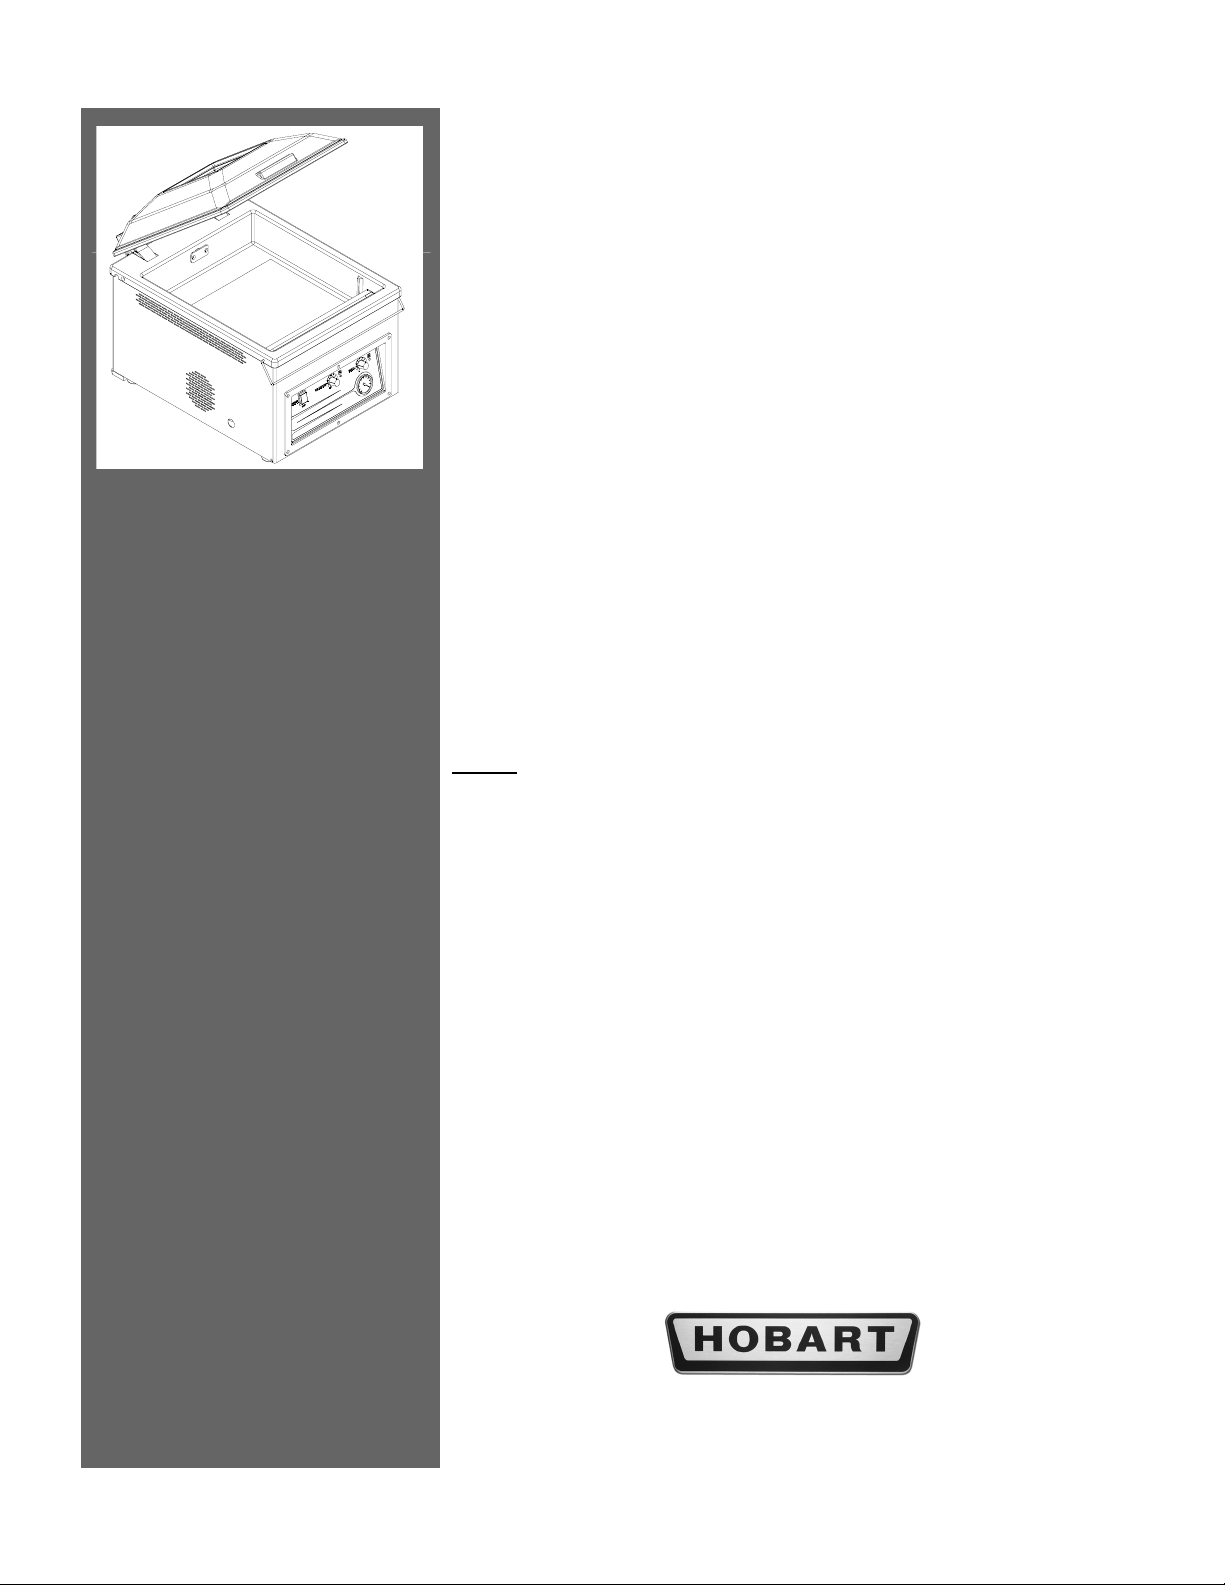
Vacuum Packaging
Machines
Instruction Manual
Model
HT120A-1 ML-44199-BJ
HT120DG-1 ML-44200-BJ
701 S. RIDGE AVENUE
TROY, OHIO 45374
937 332-3000
www.hobartcorp.com
FORM 35506 Rev. A (07-05)
Page 2

Vacuum Packaging
© HOBART, 2005
- 2 -
Page 3
Introduction
Manual Overview
Vacuum Packaging
HT120A-1 & HT120DG-1
SAVE THESE INSTRUCTIONS
Please read this manual carefully to learn how to correctly operate
and maintain your Vac Pak Single Chamber Packaging Machine.
Failure to do so could result in equipment or product damage.
Consider this manual a permanent part of your machine. Keep it in
a safe, protected area of your facility.
The following special instructions are used in the manual:
Note
A note is information that you need to know, but it is not an actual
step in the procedures.
Tip
A tip is additional information that may be useful when you are
using the system.
Look At This
Look At This is information to alert you that you may be doing
something that will permanently alter your system.
- 3 -
Page 4
Vacuum Packaging
Gas Flush Option (HT120DG Only)
Gas flushing is the introduction of an inert gas into the chamber
after the vacuum stage is finished. Gas can be used as a filler to
prevent crushing of the product after sealing, as a means to prolong
shelf life, or as a means to maintain desirable product appearance.
Commonly used gases include nitrogen, carbon dioxide, or a
mixture of both. Consult your local gas supplier to select the proper
gas for your product.
As gas is introduced into the chamber, vacuum pressure is reduced
by a corresponding amount. Since the seal bar mechanism depends
upon vacuum pressure inside the chamber to raise the seal bar
during the sealing process, reduced vacuum pressure inside the
chamber would also reduce the sealing force of the seal bar. For this
reason, all machines with the gas flush option are equipped with a
valve that allows the same gas, which is used to flush the chamber
to raise the seal bar. As a result, there is no loss of sealing force
when the gas option is used
Look At This
DO NOT use an oxygen-enriched gas (greater than 22%) in the
gas flush option. Be aware that when using the optional gas flush
feature the gas fills the entire chamber. Once the package is sealed
and the lid opens the residual gas is released into the room. Some
gases can be dangerous for human inhalation and even cause
death.
Gas Flush Connection
Note
When NOT using the gas flush option, turn the gas tank OFF and
remove the hose. If hose remains attached, the seal bladder will
not operate properly.
For machines equipped with the gas flush option, the customer must
supply a suitable regulator with a range of 0 to 60 p.s.i. We
recommend using a ¼ inch I.D. food-grade flexible hose with a
maximum hose length of 15 feet. We also recommend a maximum
regulator pressure of 15 p.s.i. for use with the machine.
Note
When NOT using the gas flush option, turn the gas tank OFF and
remove the hose. If hose remains attached , the seal bladder will
not operate properly
- 4 -
Page 5

Supplying Power
Changing the Oil
Vacuum Packaging
The HT120 machines are rated at 110VAC, 60 Hz, 15 amps. Do
not use an extension cord to connect the HT120 machine to the
wall outlet.
It is essential to check the oil level daily and to change the oil after
every 500 hours of operation. Read the oil level with the machine
turned off. Oil may be added until the level reaches a level between
½ to 2/3 on the sight glass.
- 5 -
Page 6

Vacuum Packaging
Understanding Proper
Sealing
(Tips for Best Results)
For best sealing results:
• Check the pump oil level daily.
• Select a pouch that fits the product.
• Keep the product and the product residue away
from the seal area of the pouch.
• Place the product as far into the pouch as possible.
• Maintain an equal amount of the product above
and below the seal bar (see Figure 2-2 on use of
filler plates).
• Lay the pouch flat on the seal area, keeping the
pouch free of wrinkles.
• Place the pouch so that the open end is inside the
chamber when the lid is closed.
Using the HT120A
figure 2-2
The HT120A uses an analog control panel. The range for timed
vacuum is 0 to 55 seconds and is controlled by the Vacuum
Potentiometer. We suggest an initial setting of 3 on the dial.
Experiment with these setting to achieve the best results.
Seal impulse is the length of time the seal bar is turned on and can
range from 0 to 2 seconds. The Seal Potentiometer controls the
impulse time. We recommend an initial setting of 6 on the
potentiometer. This setting will vary according to the thickness of
the pouch. Thinner pouches will require a lower setting while
thicker pouches will require a higher setting
- 6 -
Page 7

Using the HT120DG
Vacuum Packaging
The HT120DG comes standard with a digital control panel. The
embedded microprocessor controls each sequence of the packaging
operation. Settings for the vacuum, gas, and sealing are entered as
parameters through the keypad. This allows the user to custom
program every step of the packaging process. A pressure-based
sensor controls the precise vacuum and gas pressure. The vacuum
pressure, gas pressure, and seal time are displayed on a large 16character LCD backlit readout, which is easily readable in all
lighting conditions. As each sequence is performed, the real-time
pressure level or cycle time is displayed.
The digital front panel can store up to ten pre-programmed routines
in memory, which can be retrieved at any time for specific
packaging applications. With the supervisor security feature turned
on, these programs cannot be inadvertently changed.
The Vacplus option allows the operator to run the pump from 0 to
20 seconds after the set vacuum level is achieved.
The Gas Flush option allows the operator to introduce an inert gas
into the chamber after the vacuum stage. This option can be used as
a filler to prevent crushing of the product after sealing, as a means
to prolong shelf life, or as a means to maintain desirable product
appearance.
The digital front panel has an auto stop, which will automatically
seal if the preset vacuum is not reached. The feature decreases the
cycle time and optimizes the vacuum level of each product. Auto
Stop is performed by pressing the MENU key.
The digital front panel and microprocessor use sealed components
and is coated in a moisture proof coating. The digital front panel
meets or exceeds the requirements of NEMA 4. The front of the
digital display is sealed and flush for easy cleaning.
The digital control has both pulsed vacuum and pulsed venting
options for fragile product.
- 7 -
Page 8

Vacuum Packaging
Setting Operator Menu on
the HT120DG
- 8 -
Page 9

Vacuum Packaging
WARNING
Do Not use an oxygen-enriched gas (greater than 22%) in
the gas flush option.
Selecting a New Program
- 9 -
Page 10

Vacuum Packaging
Cleaning & Maintenance
Before cleaning the machine, turn power off; disconnect the main
power, and lockout the connection.
The cleaning and sanitizing process takes only about 10 minutes,
and must be completed after every 4 hours of operation.
Look At This
Every environment and application is different; therefore we
cannot provide cleaning instructions to guarantee microbiological
sanitation. We request that the purchaser of these machines consult
with sanitation experts to review the machine working in your
particular environment to develop a robust cleaning schedule and
methodology, followed by bacterial testing to ensure satisfactory
cleaning processes are followed.
Never hose down the machine. Damage caused by hosing or
high-pressure washing is not covered under warranty.
1. Filler Plates
are made from polyethylene. Clean, sanitize, and dry.
High-pressure water spray CAN be used on the filler
plates.
2. Lid and Chamber
composite resins. The chamber is constructed of
composite resins. Clean, sanitize, and dry.
3. Back up STRIP
Clean, sanitize, and dry.
4. Seal Bars
the guide rods. Remove the wire connectors from the
adapter clips on the seal bar and remove the seal bar from
the machine. The seal bar bladder can be removed by
grasping the bladder barb in the center of the bladder and
pulling gently straight up. The seal bars are made of
aluminum and phenolic. Clean, sanitize, and dry.
5. Base
6. Clean under the machine.
7. Reinstall the seal bar.
Use bacteriological testing to insure cleaning process.
- The base is made of 304 stainless steel. Clean,
sanitize, and dry.
- Remove the filler plates. The filler plates
- The lid is constructed of acrylic and
The back up strip is made of silicone.
- Remove the seal bar by first lifting it up off of
- 10 -
Page 11

Vacuum Packaging
Seal Bar Maintenance
Look At This
DISCONNECT THE ELECTRICAL POWER TO THE
MACHINE AND FOLLOW LOCKOUT /TAGOUT
PROCEDURES.
SHUT OFF AND DISCONNECT GAS FLUSH OR AIR ASSIST
HOSE FROM REAR OFMACHINE.
1. Remove SEAL BAR ASSEMBLY and peel off Teflon Strip.
2. Clean off all remaining adhesive.
3. Loosen brass clamp mounting screws to remove wire and
element.
4. Insert new wire and element under brass clamp at one end of
seal bar and tighten screws.
NOTE: On reassembly, be sure cutoff wire is installed on side
away from screws and terminal is pointing down.
5. At other end, insert wire and element under brass clamp.
6. Use needle nose pliers as a lever against frame to stretch cutoff
wire tight. Snug one screw to hold wire tight.
7. Use needle nose pliers as a lever against frame to stretch
element tight. Tighten screws to hold wire and element tight.
8. Trim ends and install new teflon strip.
9. Trim teflon strip to fit around screws.
10. Reassemble in reverse order.
11. Check for proper operation.
- 11 -
Page 12

Vacuum Packaging
Troubleshooting
Problem Indications Remedy
In the following pages, possible problems and likely remedies are
identified.
Machine will not start. Green switch light is not lit
when switch is turned on.
Vacuum pump does not run. Make sure that the power
Improper or no sealing.
Note: For proper sealing,
three things must occur:
1. The seal bar must go up
and place adequate
pressure between the seal
bar and the back-up strip.
2. The seal element must heat
up sufficiently to fuse the
pouch.
3. The pouch must be
allowed to cool for a time to
ensure a good "set"
The seal bar does not go up.
The seal bar is not heating
up even though the red seal
light on the front panel
comes on.
The red seal light on the
front either does not light for
the proper length of time
(1/2 to 3 seconds) or does
not light at all.
No vacuum. Vacuum not pulling lid
down.
Longer vacuum cycle
times.
Make sure that the power
requirements match those
given on the nameplate.
requirements match those
given on the nameplate.
Check if gas is turned on, or if
not using gas, has hose been
removed to allow air
to enter the seal bladder.
Check seal bar connection
points and clips for corrosion
or proper tension.
Check for broken seal
element.
Make sure the seal impulse
potentiometer POT-2 is set
high enough or check
connections to the seal bar.
Check intake screen in
chamber for blockage,
pieces of bags, labels,
bone, etc.
Check lid gasket for wear
or gaps.
Check intake screen in
chamber for blockage.
FORM 35506 Rev. A (07-05) PRINTED IN U.S.A.
- 12 -
 Loading...