

Starting from Serial No.:
GLASS AND DISHWASHERS
INSTALLATION AND
OPERATION INSTRUCTIONS
(original instructions)
REV. 06.08.20108654 5000
FX/GX SERIES

2 06.08.2010 BA-21426-002-EN
EN
IMPORTANT NOTES
USE IN ACCORDANCE WITH REGULATIONS:
The machine is technical work equipment for express use in the work place.
The machine is exclusively to be used to wash ware such as plates, cups, glasses, cutlery, trays etc.
Do not use for electrically heated cooking and heat conservation appliances.
SAFETY:
Never hose down the machine.
The “Attention” symbol is shown beside instructions that are essential for the safe
operation of the machine.
Please read these passages thoroughly.
LIABILITY:
Installations and repairs which are carried out by non-authorized technicians or the use of other than
original spare parts, and any technical alterations to the machine, may affect the warranty set
out in the standard conditions of sale.
MACHINE NOISE LEVEL:
The machine noise level is < 70 dB (A).
CONNECTING TENSIONS:
The machine described in this operation manual has following connecting tensions:
400 V/50 Hz/3 Ph/N/PE or 230 V/50 Hz/1 Ph/N/PE
GENERAL INFORMATION ON WASHING GLASSES AND CUTLERY:
The local supply water quality has a major impact on the wash and rinse result. A high content of minerals may cause spots and streaks results during the drying process. Minerals which are dissolved in
the water become visible during the drying process in the form of spots and streaks.
Authorised HOBART service personnel can determine the content of minerals by measuring the
electrical conductivity. Values of less than 80 Microsiemens/cm indicate a low content of minerals.
Higher contents need to be reduced below the critical level by demineralising the water using specific
demineralisation cartridges or a reverse osmosis system.
Just contact your authorised HOBART partner for support.
We recommend the use of specific HOBART glass racks. Hobart racks hold the glasses in slightly
inclined positions – this will improve the rinse efficiency.
To avoid unpleasant smelling glasses, specific chlorine-free detergent for glass washing should be
used.
Before washing new glasses the first time with a commercial glass washer, intensive basic cleaning
is mandatory to reduce the greasy film which is on most glasses for protection during production.
The basic cleaning needs to be done with a much higher chemical concentration of detergent (minimum 10 g of detergent per liter). We recommend carrying out the basic cleaning manually in a sink
(using gloves and a brush for cleaning).

BA-21426-002-EN 06.08.2010 3
EN
CONTENTS Page
1. INSTALLATION ...........................................................5
1.1. Location .............................................................................................5
1.2. Electrical Connection ...........................................................................5
1.3. Water Connection ................................................................................6
1.4. Drain Connection .................................................................................6
2. CONTROLS ................................................................7
3. START-UP ..................................................................8
3.1. Detergent ...........................................................................................8
3.2. Rinse Aid ............................................................................................8
3.3. Chemical Sensor Start-up .....................................................................9
3.4. Priming the Suction Hoses .................................................................10
3.5. Softener (Optional) .............................................................................11
4. OPERATION .............................................................12
4.1. Preparation .......................................................................................12
4.2. Run ..................................................................................................12
5. SWITCH-OFF AND CLEANING THE MACHINE..............14
5.1. Switch-off..........................................................................................14
5.2. Cleaning (Daily) ..................................................................................14
5.3. Cleaning (Weekly) ..............................................................................14
5.4. Hygiene Cleaning ...............................................................................15
6. TEMPERATURE PREVIEW ..........................................16
7. FAULTS/INDICATIONS ...............................................17
8. SETTINGS AND COUNTER VALUES ............................18
8.1. Adjustment of Detergent Dosage Quantity ...........................................18
8.2. Adjustment of Rinse Aid Dosage Quantity ............................................18
8.3. Adjustment of Water Hardness ............................................................19
8.4. Cycle Counter ...................................................................................19
8.5. Water Consumption Counter ...............................................................19
8.6. Remaining Water Quantity Counter For External Water Treatment ...........20
8.7. Activation/Deactivation of Chemical Sensor .........................................20
8.8. Termination of Setting Mode/Counter Display ......................................20
9. FROST PREVENTION ................................................21
10. MAINTENANCE ........................................................22
11. TROUBLESHOOTING GUIDE ......................................23
11.1. Poor Wash Result ..............................................................................23

4 06.08.2010 BA-21426-002-EN
EN
CONTENTS Page
11.2. Other Malfunctions.............................................................................24
BA-21426-002-EN 06.08.2010 5
EN
1. INSTALLATION
1.1. LOCATION
– Wall clearance is not required.
– Level machine by turning the feet.
– Distribute machine weight equally onto all feet.
NOTE: Vapor may escape from the dishwasher door. Therefore, adja-
cent furniture has to be protected to prevent swelling.
1.2. ELECTRICAL CONNECTION
Must be carried out by an authorized technician according to
the local and national codes.
For Australia: in accordance with AS/NZS3500.1
– The electrical supply shall comply with the name-plate data.
– Adaptation to an alternative electrical supply is achievable as per
wiring diagram. Respective schemata are adjacent to the connection terminal.
– Line fuses and cable cross section shall comply with the require-
ments.
– A cut-off device shall be provided to connect the supply cord (isolat-
ing switch or accessible plug device).
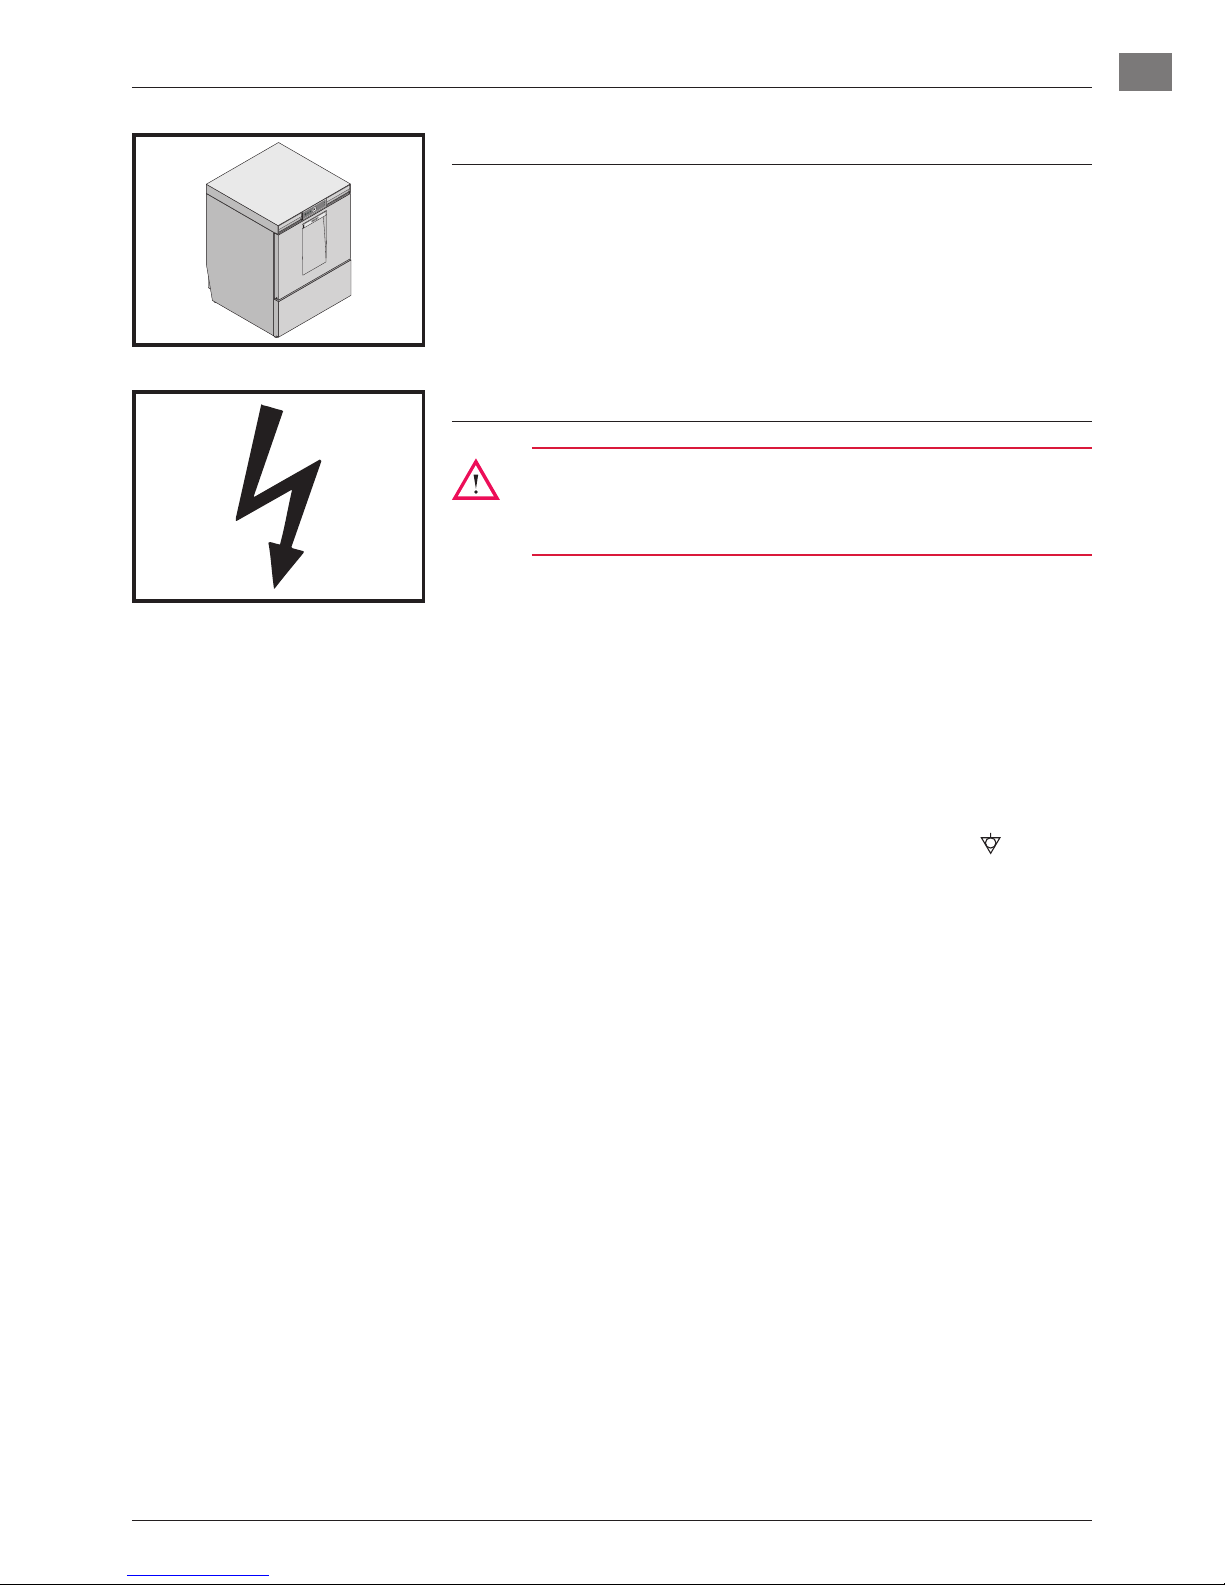
NOTE: According to EN 60 335 the appliance must be connected to
an equipotential conductor. The connecting screw (
) is lo-
cated beside the cable inlet.
6 06.08.2010 BA-21426-002-EN
EN
1.3. Water ConneCtion
Must be carried out by an authorized technician according to
the national and local codes.
The machine must be operated with potable water. For water
with an extremely high mineral content an external demineralisation is strongly recommended.
– Connect to warm water, if possible (max. 60°C).
– For use of switchable cold water rinse, connect to cold water, if
possible (max. 20°C).
– Water hardness:
• Machines without softener: max. 3.75° Clark = 0.5 mmol/l.
• Machines with softener: max. 37.5° Clark = 5.3 mmol/l.
– Line flow pressure 0.5 – 10 bar
• If the line flow pressure is above 10 bar, provide pressure
reducer at source.
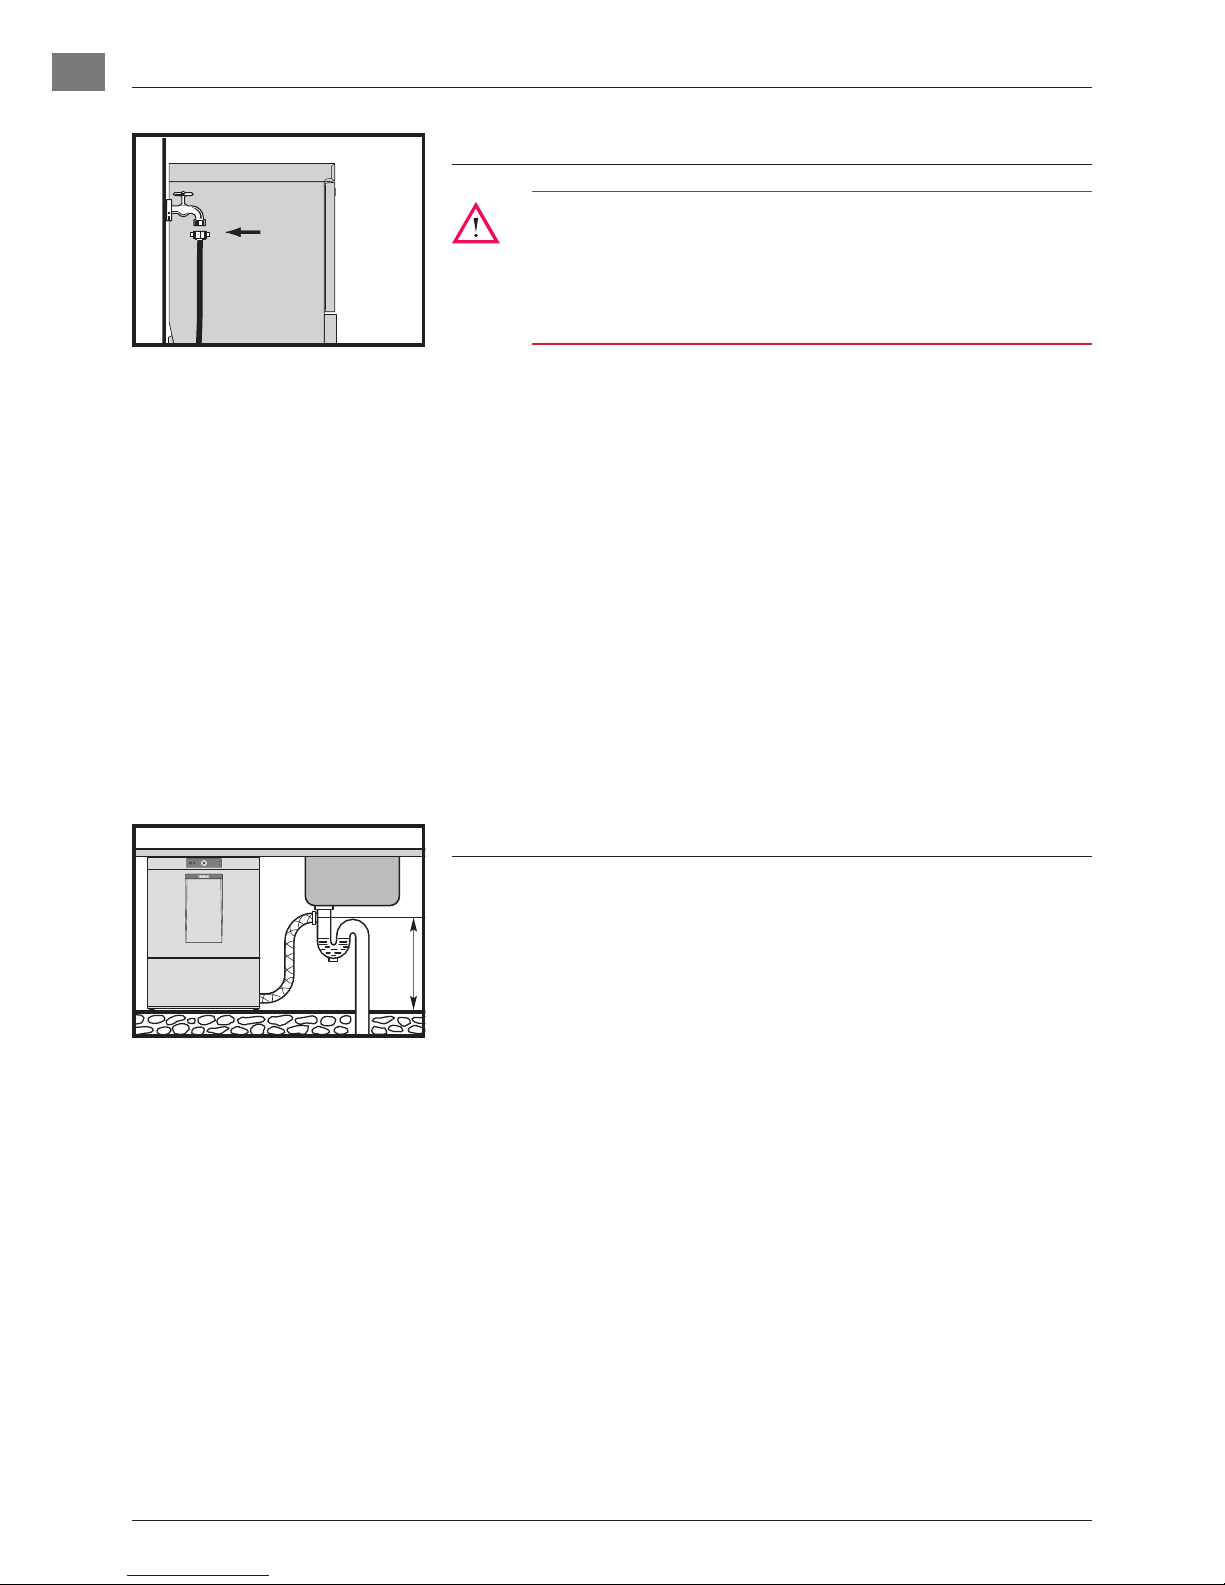
– Connect the union nut “A” (3/4”) of the water supply hose to the
site shut off valve.
– Do not kink or cut the supply hose.
– If an extended supply hose is required, use one of the same specifi-
cations as the original.
1.4. Drain ConneCtion
– Connection between machine and site drain must not exceed max.
height of 0.75 m (GXH: 0.6 m).
– Do not kink the drain hose.
A
max. 0.75 m
1. INSTALLATION
EN
BA-21426-002-EN 06.08.2010 7
6
57
124 3
10
89
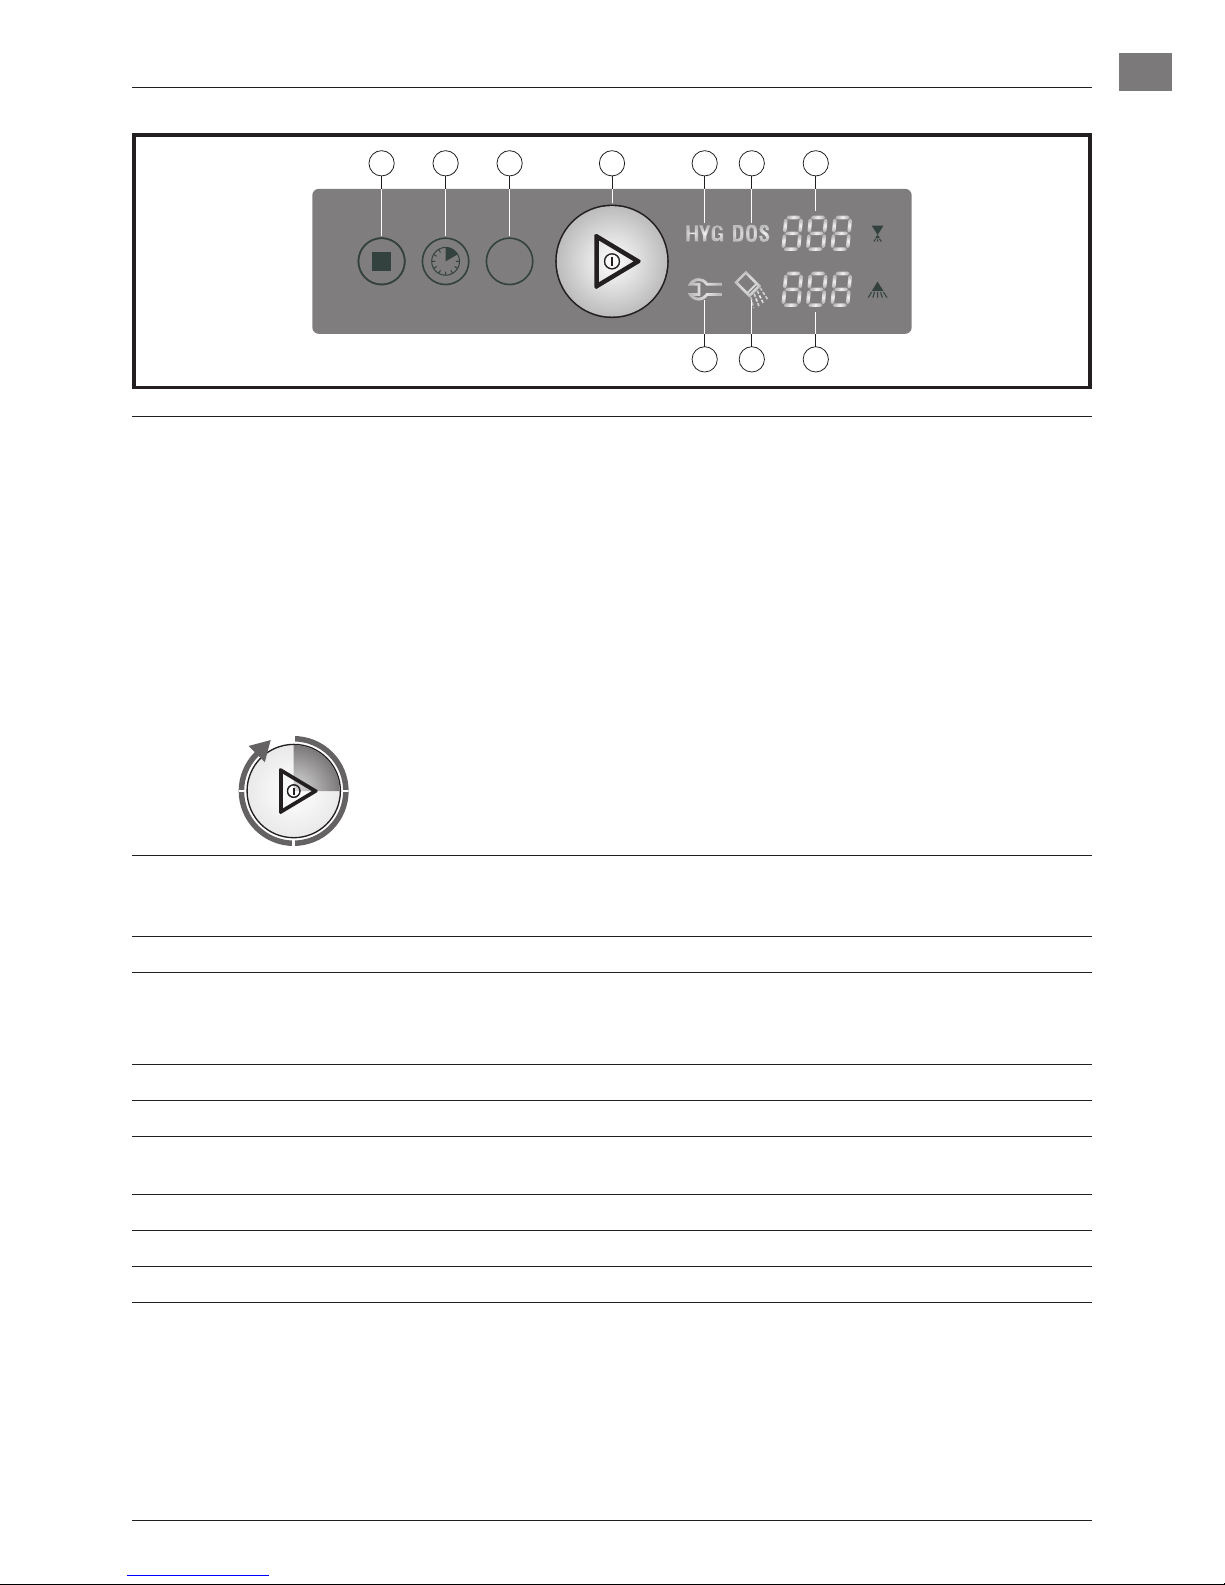
➀
ON/OFF button Pushing this button switches the machine on.
As soon as the machine is ready for operation, the wash cycle is started by
pushing this button also.
By pushing and holding (3 seconds) this button, the drain and self cleaning
cycle starts. At the end of the cycle, the machine switches off automatically.
After switch off, the machine is not voltage free!
Furthermore, the button illuminates to indicate the mode of the machine:
GREEN = Machine is ready for operation
BLUE = Wash cycle is running
RED (permanently) = Failure indication (see section 7.)
GREEN/RED (alternating) = Failure indication (see section 7.)
The status of the program is indicated by the color change of the four button
segments:
Filling increaslingly GREEN
Draining decreasingly GREEN
Washing from BLUE back to GREEN
➁
Program button By pushing this button, it is possible to select between different preset pro-
grams, according to the model and equipment.
The program no. (e.g. P02) will be shown in the display ➅.
➂
No function.
➃
Stop button In case of operating error or faults, it is possible to switch-off the
machine immediately without the drain cycle, by pushing this button.
After switch off, the machine is not voltage free!
➄
Display e.g. temperature indication Wash (°C) (see section 6.)
➅
Display e.g. temperature indication Rinse (°C) (see section 6.)
➆
Salt required Indicating the need for regeneration salt to be added.
(Only with built-in softener.)
➇
Detergent/Rinse Aid indicator Indicates detergent or rinse aid deficiency.
➈
Hygiene indicator Indicates that a hygiene cleaning should be carried out (see section 5.4.).
➉
Service indicator Indicates that the machine has a fault (see section 7.).
2. CONTROLS
8 06.08.2010 BA-21426-002-EN
EN
3. START-UP
Attention:
Use only commercial detergent and rinse aid. Please pay
attention to the manufacturers safety instructions.
3.1. DETERGENT
Attention:
Do not use any acidic detergent products with the built-in detergent pump! (The ph-value has to be higher than 7.)!
– Place the suction hose into the detergent container.
– Fill the suction hose according to section 3.4.
– The dosing pump can operate to a max. head height of 1.5 m.
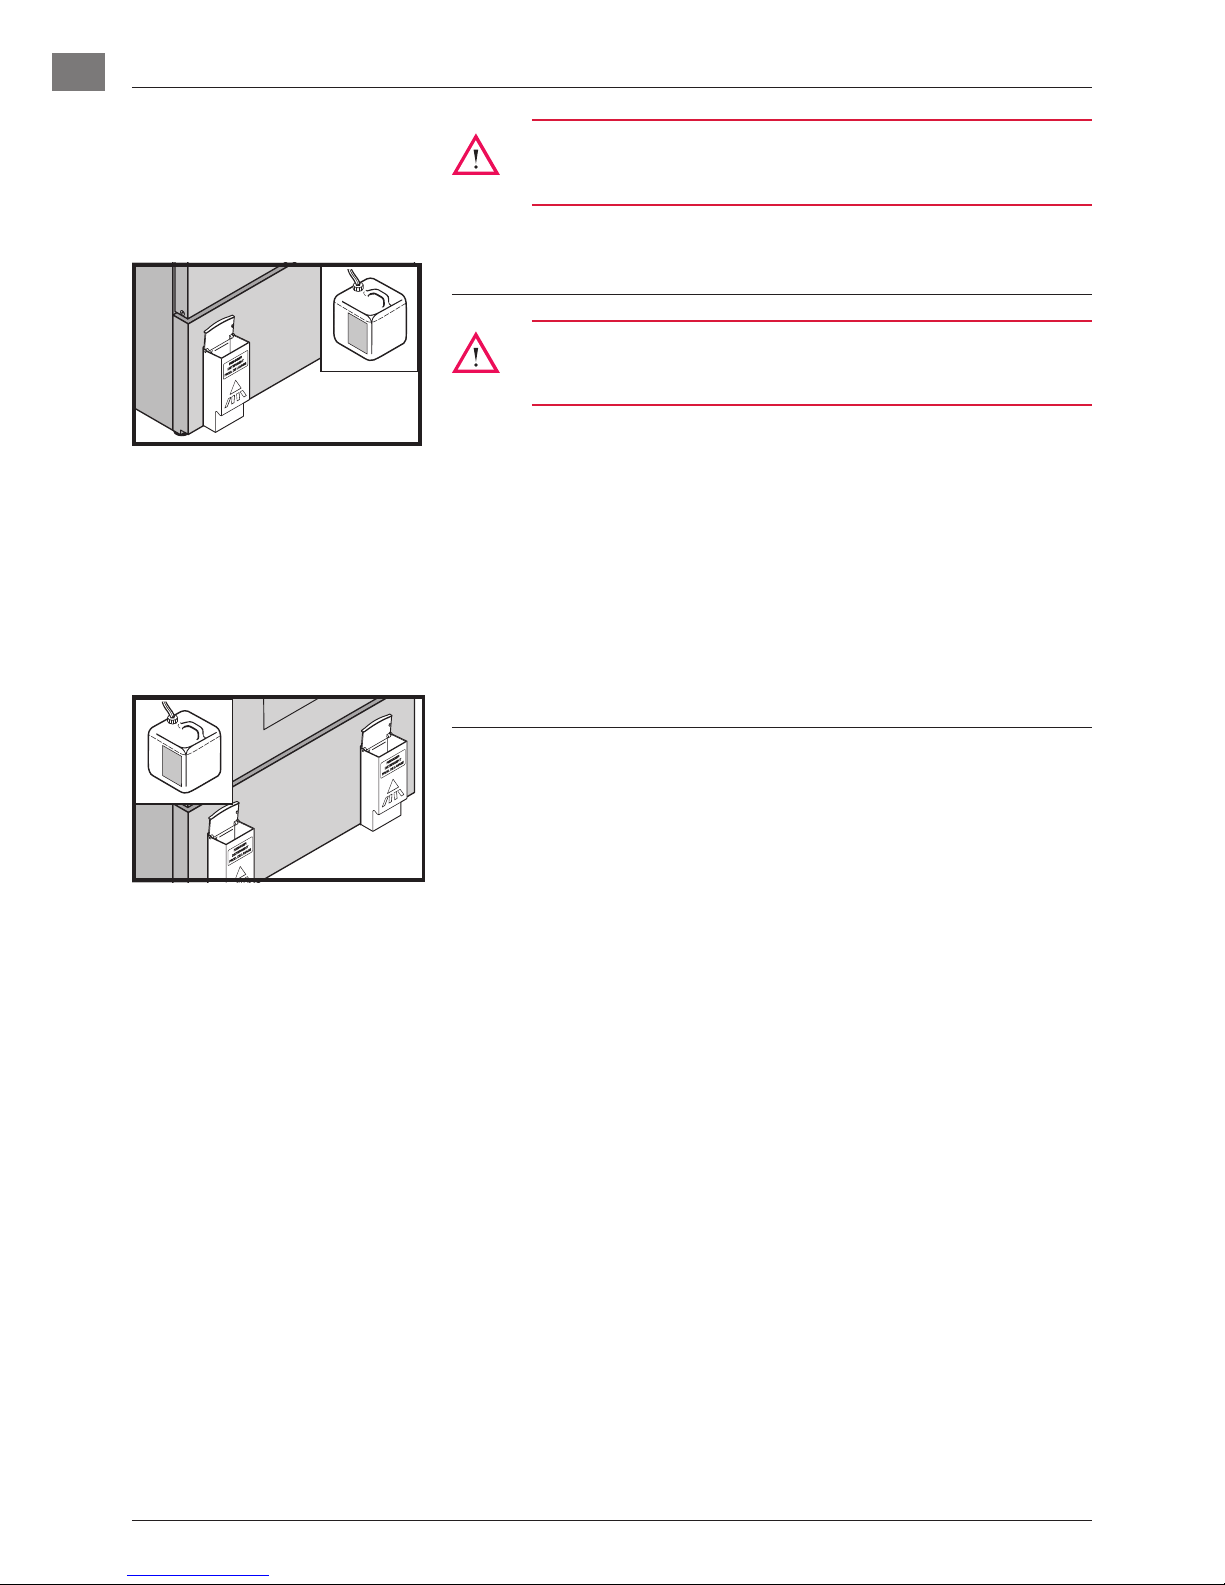
MACHINES WITH INTEGRATED DETERGENT CONTAINER
(OPTION):
– Open the container and fill it with detergent up to the marking
“MAX” by using a funnel. Do not overfill the container!
3.2. RINSE AID
– Place the suction hose into the rinse aid container.
– Fill the suction hose according to section 3.4.
– The dosing pump can operate to a max. head height of 1.5 m.
MACHINES WITH INTEGRATED RINSE AID CONTAINER
(OPTION):
– Open the drawer and fill the integrated reservoir with rinse aid up to
the marking “MAX”.
 Loading...