

559-734-7451 800-367-5480 FAX 559-734-7460
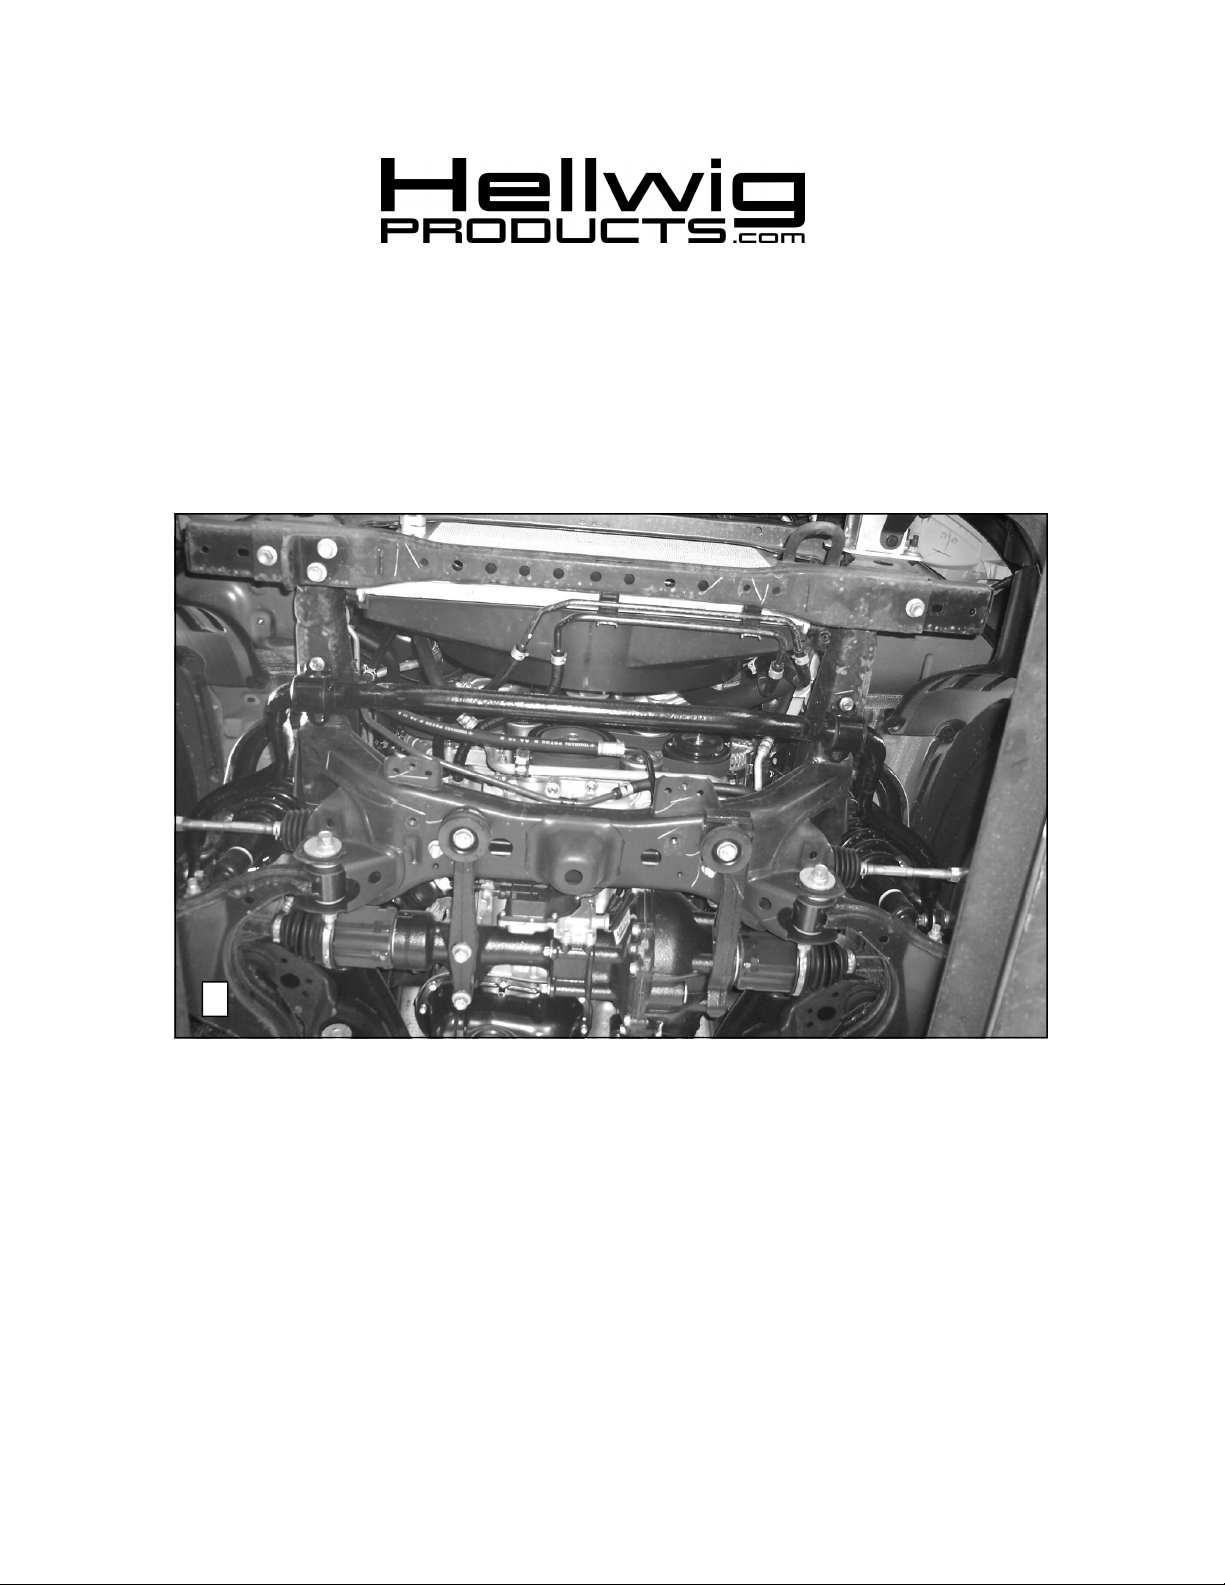
INSTALLATION INSTRUCTIONS
Front Stabilizer Bar 7719
2005+ Toyota Tacoma
Thank you for purchasing a quality Hellwig Product.
PLEASE READ THIS INSTRUCTION SHEET COMPLETELY BEFORE STARTING YOUR INSTALLATION
1
SAFETY: BEFORE BEGINNING INSTALLATION BE SURE TO SET THE PARKINGBRAKE
AND CHOCK THE WHEELS.
NOTE: TO EASE INSTALLATION AND PROPERLYADJUST THE BAR, THE WEIGHT OF THE
VEHICLE MUST BE ON THE SUSPENSION AS IF DRIVING DOWN THE ROAD. DO NOT RAISE
THE VEHICLE BY THE FRAME.
7719 (R-7719) 12/21/2011
559-734-7451 800-367-5480 FAX 559-734-7460
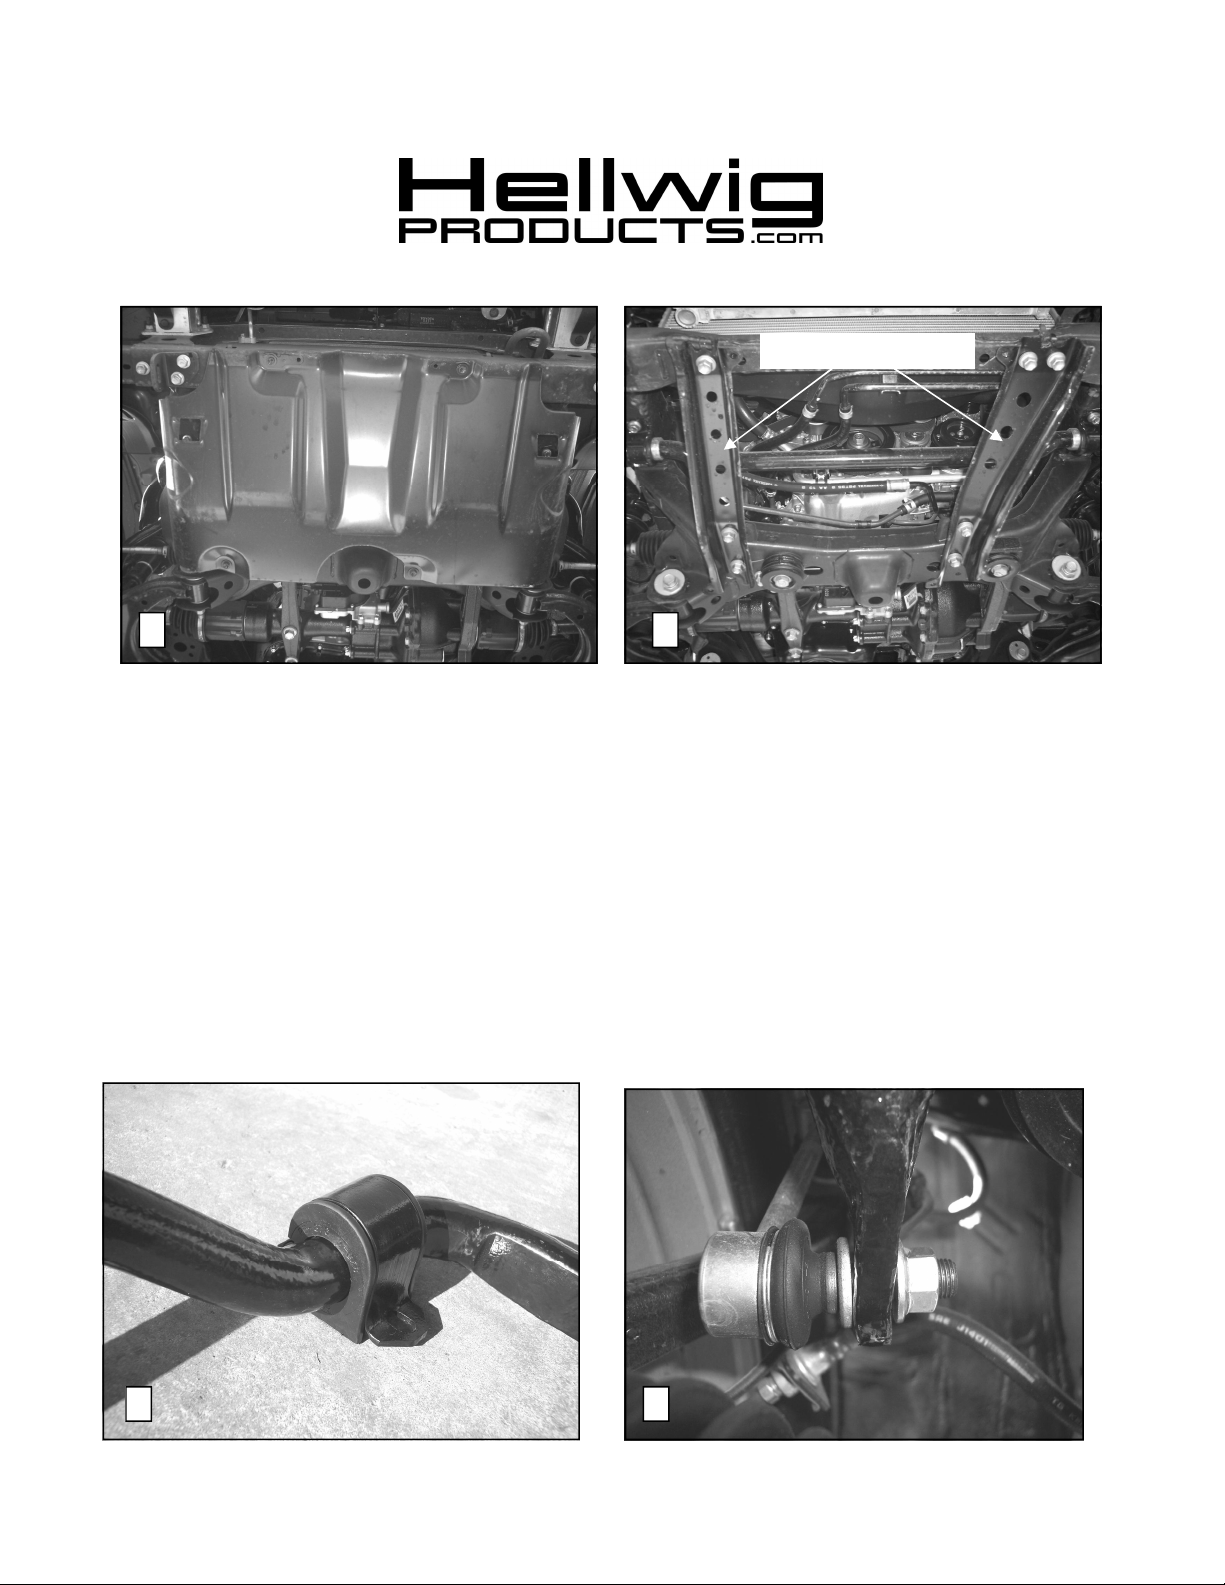
Subframe Supports
2 3
1. Unbolt and remove the factory splash guard shown in PHOTO 2, making sure to save all the components to
reinstall.
2. Unbolt and remove the two factory subframe supports shown in PHOTO 3, making sure to save all the components to reinstall as well.
3. Unbolt the factory sway bar, leaving the end link on the vehicle. Once again, retain all the hardware for the
installation.
4. Lubricate the inside of the D-bushings and place them onto the shoulders of the Hellwig sway bar as shown
in PHOTO 4 and then place the provided U-plate over the bushing.
5. Attach the ends of the Hellwig bar to the factory end links and bolt in place using the factory nut as shown in
PHOTO 5.
6. Swing the sway bar up and, using the factory bolts, attach the U-plates to the frame in the stock location as
shown in PHOTO 6.
7. Check to make sure the sway bar is centered and then place the provided collar clamps on the insides of both
D-bushings to prevent the bar from shifting as shown in PHOTO 6.
4 5
7719 (R-7719) 12/21/2011

559-734-7451 800-367-5480 FAX 559-734-7460
6
12. After all adjustments have been made, tighten the collar clamp bolts to 5-8 ft-lbs and the other bolts to factory specifications.
13. Reinstall both the factory subframe supports and factory splash guard.
14. Bounce the vehicle checking for clearance on all under carriage components: fuel tank, shocks,
exhaust, differential, brake and fuel lines, etc. Test drive the vehicle and recheck all clearances and the
installation alignment. Adjust as needed. Re-check your installation after one week of driving and
periodically on a regular basis.
ATTENTION INSTALLER: PLEASE MAKE SURE CUSTOMER RECEIVES THIS INSTRUCTION
SHEET, ALL IMPORTANT NOTE CARDS, WARNING CARDS AND THE WARRANTY FORM
7719 (R-7719) 12/21/2011
 Loading...