

Page 1

RADIO RECORDER
RR 276 / RR 276 L
Page 2
RR 276 / RR 276 L page 2
NOTES
© Important notes for users in the U.K.
Mains plug
This apparatus is fitted with an approved moulded 13 Amp plug. To
change a fuse in this type of plug proceed as follows:
• Remove fuse cover and fuse.
• Fix new fuse which should be a BS1362 5 Amp, A.S.T.A. or BSI
approved type.
• Refit the fuse cover.
If the fitted plug is not suitable for your socket outlets, it should be cut off
and an appropriate plug fitted in its place.
If the mains plug contains a fuse, this should have a value of 5 Amp. If a
plug without a fuse is used, the fuse at the distribution board should not be
greater than 5 Amp.
Note: The severed plug must be disposed to avoid a possible shock hazard
should it be inserted into a 13 Amp socket elsewhere.
How to connect a plug
The wires in the mains lead are coloured with the following code: blue =
neutral (N), brown = live (L).
As these colours may not correspond with the colour markings identifying the
terminals in your plug, proceed as follows:
• Connect the blue wire to the terminal marked N or coloured black.
• Connect the brown wire to the terminal marked L or coloured red.
• Do not connect either wire to the earth terminal in the plug, marked E
(or e) or coloured green (or green and yellow).
Before replacing the plug cover, make certain that the cord grip is clamped
over the sheath of the lead – not simply over the two wires.
i
Dichiarazione di conformità ai sensi
del D.M. 28.08.95, n. 548
Si dichiara che gli apparecchi illustrati nel presente libretto di istruzioni per l'uso rispondono
alle prescrizioni dell'articolo 2, comma 1, del
Decreto Ministeriale 28 Agosto 1995, n. 548.
Fatto a Fürth il 01/06/1999
GRUNDIG Fernseh-Video Produkte und
Systeme GmbH
Kurgartenstraße 37
D-90762 FUERTH
GRUNDIG A.G.
Kurgartenstraße, 37
90762 FUERTH
GERMANIA
2
Page 3
INDEX
montags bis freitags
von 8.00 – 19.00 Uhr
* Gebührenpflichtig –
in Deutschland und
Österreich möglich
STETS FÜR SIE DA!
DEUTSCHLAND
01 80/5 30 21 22*
ÖSTERREICH
06 60/66 99*
GRUNDIG
KUNDENBERATUNGS-
ZENTRUM
RR 276 / RR 276 L page 3
Deutsch Seite
Wartung...................................................4
Bedienelemente..........................................4
Stromversorgung.........................................5
Radio.......................................................5
Cassettendeck........................................5–6
Technische Daten........................................7
Fehlersuche ...............................................7
English Page
Maintenance .............................................8
Controls....................................................8
Power supply.............................................9
Radio.......................................................9
Cassette deck ......................................9–10
Technical data .........................................11
Troubleshooting........................................11
Français Page
Entretien..................................................12
Contrôles ................................................12
Alimentation ............................................13
Radio.....................................................13
Platine cassette...................................13–14
Données techniques ..................................15
Dépistage des pannes...............................15
Italiano Pagina
Manutenzione..........................................16
Controlli..................................................16
Alimentazione..........................................17
Radio.....................................................17
Deck a cassette..................................17–18
Dati tecnici..............................................19
Elenco ricerca guasti.................................19
Português Página
Manutenção............................................20
Controlos ................................................20
Alimentação ............................................21
Rádio.....................................................21
Deck de cassetes................................21–22
Dados técnicos ........................................23
Resolução de problemas............................23
Español Página
Mantenimiento.........................................24
Controles ................................................24
Alimentación............................................25
Radio.....................................................25
Deck a casete....................................25–26
Datos técnicos .........................................27
Localizacíon de averías.............................27
Nederlands Pagina
Onderhoud .............................................28
Knoppen.................................................28
Stroomvoorziening....................................29
Radio.....................................................29
Cassettedeck .....................................29–30
Technische gegevens.................................31
Foutzoeklijst.............................................31
Dansk Side
Vedligeholdelse........................................32
Kontroller ................................................32
Forsyning ................................................33
Radio.....................................................33
Kassette-deck .....................................33–34
Tekniske data...........................................35
Fejlfinding ...............................................35
Svenska Sida
Underhåll................................................36
Kontroller ................................................36
Strömförsörjning .......................................37
Radio.....................................................37
Kassettspelaren...................................37–38
Tekniska data...........................................39
Felsökning...............................................39
Suomi Sivu
Hoito .....................................................40
Säätimet .................................................40
Käyttöjännite............................................41
Radio.....................................................41
Kasettidekki........................................41–42
Tekniset tiedot ..........................................43
Tarkistusluettelo.........................................43
D
GB
F
I
P
E
NL
DK
S
FIN
3
Page 4

A
D B
C
Scale
VOLUME
TUNING
Antenna
MODE BAND TONE
Cassette Control
MIC
RR 276 / RR 276 L page 4
WARTUNG BEDIENELEMENTE
Aufstellen des Gerätes
D
Bitte beachten Sie beim Aufstellen des Gerätes, daß
Oberflächen von Möbeln mit den verschiedensten
Lacken und Kunststoffen beschichtet sind, welche
meistens chemische Zusätze enthalten.
Diese Zusätze können u.a. das Material der Gerätefüße angreifen,
oberfläche entstehen, die sich nur schwer oder gar
nicht entfernen lassen.
Pflege und Wartung
• Gehäuse nur mit weichem, staubbindendem
Lappen reinigen. Keine scharfen Polier- oder
Reinigungsmittel verwenden.
• Bei Störungen wenden Sie sich bitte an Ihren
Fachhändler.
• Schützen Sie das Gerät vor jeder Feuchtigkeit (z.B.
Tropf- und Spritzwasser) und vor höheren
Temperaturen als 70˚C.
Wartung des Cassettendecks
Um eine gute Aufnahme- und Wiedergabequalität zu
gewährleisten, reinigen Sie die angegebenen Teile
ABCDnach jeweils 50 Betriebsstunden oder
sonst monatlich.
•
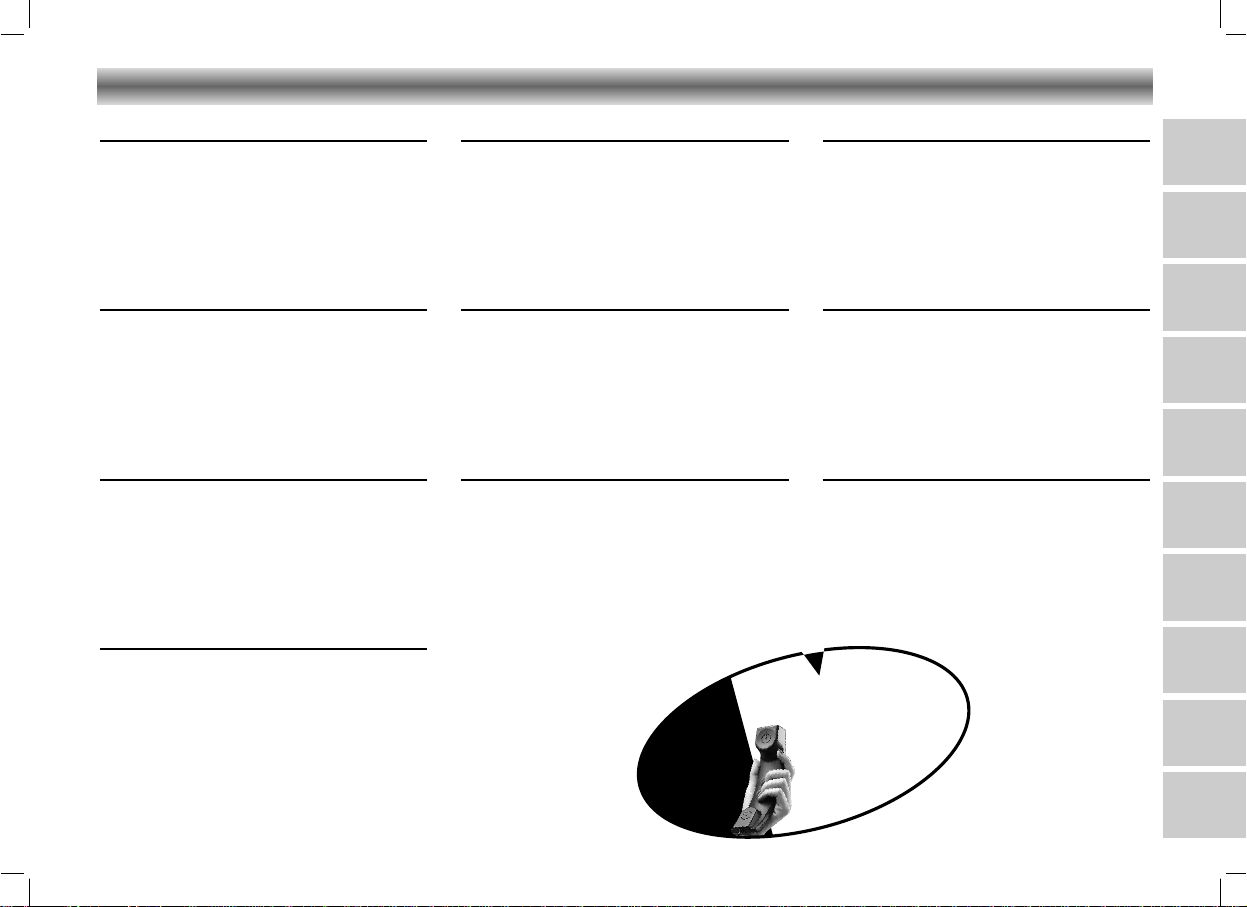
Das Cassettenfach öffnen mit STOP/EJECT 9/.
• Einen Wattebausch leicht mit Alkohol oder einer
speziellen Kopfreinigungsflüssigkeit anfeuchten.
• Auf PLAY A drücken
und die Gummiandruckrolle D reinigen.
• Auf PAUSE ; drücken
und die Tonachse C
und die Magnetköpfe
A und B reinigen.
4
•
Nach der Reinigung auf STOP/EJECT 9/drücken.
• Zur Reinigung der Magnetköpfe A und B können
Sie auch eine Reinigungscassette einmal abspielen.
wodurch Rückstände auf der Möbel-
Oberseite und Vorderseite
Scale – Abstimmskala
Antenna – für UKW-Empfang
p – Sie können einen Kopfhörer mit
3,5 mm Steckser an die Buchse p
anschließen. Der Lautsprecher
wird damit abgeschaltet.
MODE:
– TAPE: zum Umschalten auf Cassetten-
– RADIO: zum Umschalten auf Radiowieder-
BAND –
TONE – zum Einstellen des Klangs
VOLUME – zum Einstellen der Lautstärke
TUNING –
betrieb/Ausschalten
gabe/Einschalten
zum Wählen zwischen FM und AM
(MW und LW bei Ausf. RR 276 L)
zum Abstimmen auf einen Radiosender
MIC – eingebautes Mikrofon
Cassette control
PAUSE ; – Unterbrechen der
Wiedergabe/Aufnahme
STOP/EJECT 9/– Stoppen des Bandlaufs und
Öffnen des Cassettenfachs
F.FWD Q – Schneller Vorlauf
REW R – Schneller Rücklauf
PLAY A – Starten der Wiedergabe
OTR 0 – Starten der Aufnahme
Rückseite
MAINS V~ – Netzanschlußbuchse
BATTERIES – Batteriefach
Page 5

4 x D-cells - R20 - UM1
RR 276 / RR 276 L page 9
1
POWER SUPPLY RADIO
Battery supply
• Open the battery
compartment and
insert as shown 4
batteries, type R20,
UM1 or D-cells.
•
Remove the batteries
if exhausted or if
they will not be used again for a long period.
–
The battery supply is switched off when the set is
connected to the mains. To change over to battery supply, pull out the plug from the MAINS V~
socket.
Note on Environmental Protection
• Do not throw exhausted batteries in the
household refuse.
• Hand over the old batteries to your dealer or
public collecting points when buying new ones.
Mains supply
• Check if the mains voltage as shown on the
type plate (on the rear of the set) corresponds to
your local mains voltage. If it does not, consult
your dealer or service organisation.
• Connect the mains lead to the MAINS V~
socket and the wall socket. The mains supply is
switched on.
• To disconnect the set from the mains completely,
withdraw the mains plug from the wall socket.
Radio aerials
– For FM, pull out the telescopic aerial. To im-
prove FM-reception, incline and turn the
aerial. Reduce its length if the FM-signal is too
strong (very close to a transmitter).
– For AM (MW/LW), the set is provided with a
built-in aerial, so the telescopic aerial is not
needed. Direct the aerial by turning the whole
set.
Radio reception
• Set the MODE switch to RADIO.
• Adjust the sound using the controls VOLUME
and TONE.
• Select the wave band using the BAND
selector.
FM: 87.5 – 108 MHz
AM (MW): 526.5 – 1606.5 KHz
LW: 148,5 – 283.5 kHz (for RR 276 L)
• The set is switched off when the MODE
switch is in the TAPE position and no buttons
are pressed.
CASSETTE DECK
Compact cassettes
• For recording, use a NORMAL cassette (IEC
type I) on wich the tabs are not broken out.
This deck is not suited for recording on
CHROME (IEC II) or METAL (IEC IV) cassettes.
• For playback, any cassette type may be
inserted.
• At the very beginning and end of the tape, no
recording will take place during the 7 seconds
when the leader tape passes the recorder
heads.
•
To prevent the accidental
erasure of a recording,
keep the cassette side to
be safeguarded in front
of you and break out the
left tab. Now, recording
on this side is no longer
possible.
• To render this safeguard ineffective, cover the
aperture with a piece of adhesive tape.
• Do not expose the cassettes to rain, moisture,
sand, or to excessive heat e.g. from heating
equipment or in motor cars parked in the sun.
•
Do not store cassettes near strong magnetic fields
(for example, TV sets, speakers, engines, etc.).
GB
Important note for users in the U.K.
When fitting a mains plug, follow the instructions
on page 2.
9
Page 6

RR 276 / RR 276 L page 10
CASSETTE DECK
Cassette playback
• Set the MODE selector to TAPE.
• Press STOP/EJECT 9/
to open the cassette
GB
compartment.
• Insert a recorded
cassette.
• For fast winding, press
F.FWD Q or
REW R.
• To stop, press STOP/EJECT 9/.
• Press PLAY A and playback will start.
• Adjust the sound using the controls VOLUME
and TONE.
• You may connect headphones with 3.5 mm
plug to socket
– The loudspeaker is then muted.
• To interrupt playback press PAUSE ;.
• To continue playback, press PAUSE ; again.
– When the end of the tape is reached, the PLAY
A button is released.
• Press STOP/EJECT 9/if you want to stop
playback before the end of the tape.
On pressing again, the cassette compartment
will open.
• The set is switched off if the MODE selector is in
TAPE position and no buttons are pressed.
p.
Cassette recording
Copyright: Recording is permissible insofar as
copyright or other rights of third parties are not
infringed.
• Press STOP/EJECT 9/to open the cassette
compartment.
• Insert the cassette.
• When monitoring
during recording,
adjust the sound using
the controls VOLUME
and TONE. These
controls do not affect
the recording.
Starting and stopping the recording
•
Start recording by pressing OTR 0 (the PLAY A
button is automatically also pressed).
• For brief interruptions, press PAUSE ;.
• To restart recording, press this button once
more.
– When the end of the tape is reached, the
recorder buttons are released.
• Press STOP/EJECT 9/if you want to stop
recording before the end of the tape.
On pressing again, the cassette compartment
will open.
• The set is switched off if the MODE selector is
in position TAPE and no buttons are pressed.
Recording from the radio
• Set the MODE selector to RADIO.
• Select the wave band using the BAND switch.
• Tune to desired radio station using the TUNING
control.
Recording from the built-in microphone
• Set the MODE selector to TAPE.
• Set the VOLUME control to the minimum volume
level (during microphone recording , monitoring
is not possible).
• To ensure a clear recording, the distance to
microphone should be 30 – 100 cm.
10
Page 7

RR 276 / RR 276 L page 11
TECHNICAL DATA
Power Supply
Mains operation .................230 Volt, 50/60 Hz
Battery operation ..............4 x 1.5 V (R20, UM1)
Output power DIN 45324, 10% THD
Music power:...................................1800 mW
Nominal power................................1200 mW
Jack socket for headphones: ................3.5 mm ø
Radio section
Wavebands:.....................FM 87.5 – 108 MHz
..............................MW 526.5 – 1606.5 kHz
...............LW 148.5 – 283.5 kHz (for RR 276 L)
Antennas:.......................Telescopic aerial for FM
.................Built in ferrite rod aerial for MW (LW)
Cassette section
Cassette:...........Compact cassette to DIN 45516
Track system:..................International quartertrack
Tape speed: ................................4.76 cm/sec.
Motor: ..............................................DC motor
Frequency range:...................125 Hz – 6.3 kHz
S/N ratio, weighted ...............................45 dB
Wow and flutter:..................................... 0.3%
Automatic functions:
........................Automatic recording level control
...................Automatic button release at tape end
Subject to technical alterations and alterations in
styling E. and O.E.
TROUBLESHOOTING
If a fault occurs, first check the points listed below before taking the set for repair.
If you are unable to remedy a problem by following these hints, consult your dealer or service centre.
WARNING: Under no circumstances should you try to repair the set yourself, as this would invalidate
the guarantee.
PROBLEM POSSIBLE CAUSE REMEDY
No sound VOLUME is not adjusted Adjust the VOLUME
Headphones are connected Disconnect headphones
Batteries are exhausted Insert fresh batteries
Batteries are incorrectly inserted Insert the batteries correctly
Mains lead is not securely connected Connect the mains lead properly
Poor radio Weak radio aerial signal Aim the aerial for best reception:
reception FM: incline and rotate telescopic aerial
MW (LW): rotate the entire set
Interference caused by the vicinity of Keep the radio away from electrical
electrical equipment like TVs, video equipment
recorders, computers, thermostats,
fluorescent lamps (TL), engines etc.
Poor cassette Dust and dirt on the heads, capstan Clean the heads etc., see Maintenance
sound quality or pressure roller
Recording does Cassette tab(s) may be broken out Apply a piece of adhesive tape over the
not work missing tab space
This unit meets the CEE regulations concerning interference radiation.
This product fulfills European directives 89/336/EEC, 73/23/EEC and 93/68/EEC.
GB
This unit complies with the safety regulations according to VDE 0860 / BS 415 and thus with the
international safety regulation according to IEC 65.
The type plate is located on the rear of the set
11
Page 8

GRUNDIG AUDIO INTERNACIONAL. 0 4701 BRAGA 0 PORTUGAL 0 1 2 3 4 5 6 7 8 9 72010-747.45 /MM0496
 Loading...