

Page 1
Quick Start Manual
Page 2
Introduction
WARNING
See the Important Safety and
Product Information guide in
the product box for product
warnings and other important
information.
Using the Watch
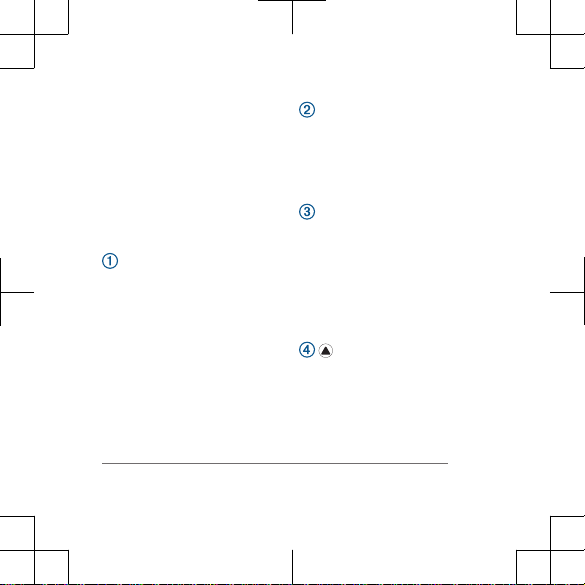
• Hold
LIGHT to view the
controls menu.
The controls menu
provides quick access to
frequently used functions,
such as opening the
Garmin Pay™ wallet,
turning on do not disturb
mode, and turning the
watch off.
• Press UP or DOWN to
scroll through the widget
loop.
Your watch comes
preloaded with widgets
that provide at-a-glance
information. More widgets
are available when you
pair your watch with a
smartphone.
•
Press
to start an activity
or open an app
(page 6).
• Hold
MENU to customize
the watch face, adjust
settings, and pair wireless
sensors.
2 Quick Start Manual
Page 3
Buttons
LIGHT
•
Press to turn the
backlight on and off.
•
Hold to view the
controls menu.
•
Hold to turn the device
on.
UP·MENU
• Press to scroll through
Quick Start Manual 3
the widget loop and menus.
• Hold to view the menu.
DOWN
• Press to scroll through
the widget loop and menus.
• Press to view the
activity list and start or stop
an activity.
Page 4

• Press to choose an
option in a menu.
BACK·LAP
• Press to return to the
previous screen.
•
Press to record a lap,
rest, or transition
during a multisport
activity.
• Hold to view the watch
face from any screen.
Smart Features
Pairing Your Smartphone
with Your Watch
To use the connected features
on your watch, you must pair it
directly through the Garmin
Connect™ app, instead of from
the Bluetooth® settings on your
smartphone.
1
From the app store on your
smartphone, install and
open the Garmin Connect
app.
2
Bring your smartphone
within 10 m (33 ft.) of your
watch.
3
Press LIGHT to turn on the
watch.
The first time you turn on
the watch, it is in pairing
mode.
4
Follow the instructions in
the app to complete the
pairing and setup process.
4 Quick Start Manual
Page 5

Setting Up Your
device.
3
Select Garmin Pay >
Create Your Wallet
.
4
Follow the on-screen
instructions.
You can open your
Garmin Pay wallet from the
controls menu on your device.
See the owner's manual for
more information on using
Garmin Pay.
Connect IQ™ Features
You can add Connect IQ
features to your watch from
Garmin® and other providers
using the Connect IQ website.
You can customize your device
with watch faces, data fields,
widgets, and apps.
Quick Start Manual 5
Garmin Pay Wallet
The Garmin Pay feature allows
you to use your watch to pay
for purchases in participating
stores. You can add one or
more participating credit or
debit cards to your Garmin Pay
wallet. Go to garmin.com
/garminpay/banks to find
participating financial
institutions.
From the Garmin Connect
1
app, select or .
Select Garmin Devices,
2
and select your
Page 6

Downloading Connect IQ
Features Using Your
Computer
1
Connect the device to your
computer using a USB
cable.
2
Go to apps.garmin.com,
and sign in.
3
Select a Connect IQ
feature, and download it.
4
Follow the on-screen
instructions.
Activities and Apps
Your device can be used for
indoor, outdoor, athletic, and
fitness activities. When you
start an activity, the device
displays and records sensor
data. You can save activities
and share them with the
Garmin Connect
community.
You can also add
Connect IQ
activities and apps to your
device using the Connect IQ
website (page 5).
Starting an Activity
1
From the watch face, press
.
2
The first time you start an
activity, select the
checkbox next to each of
your favorites, and select
Done.
Your favorite activities
appear at the top of the
list, providing quick access
6 Quick Start Manual
Page 7

to the ones you use most.
Additional activities appear
in the extended list.
3
Select an activity.
4
If the activity requires
GPS, go outside, and wait
while the device locates
satellites.
5
Press to start the timer.
NOTE: The device does
not record your activity
data until you start the
timer.
6
After you complete your
activity, press to stop
the timer.
7
Select Save to save the
activity and review the
activity summary.
Battery Modes
Battery modes allow you to
quickly adjust system settings,
activity settings, and GPS
settings to extend battery life.
For example, battery modes
can disconnect paired sensors
and turn on the UltraTrac GPS
option. The watch displays the
hours of battery life gained with
each battery mode. You can
also create custom battery
modes.
During an activity, hold MENU,
select Battery Mode
, and
select an option.
Quick Start Manual 7
Page 8

Device Information
Wearing the Device
•
Wear the device above
your wrist bone.
NOTE: The device should
be snug but comfortable.
For more accurate heart
rate readings, the device
should not move while
running or exercising.
For
pulse oximeter readings,
you should remain
motionless.
NOTE: The optical sensor
is located on the back of
the device.
• See the owner's manual
for more information.
Changing the QuickFit
®
Bands
8 Quick Start Manual
Page 9

Charging the Device
WARNING
This device contains a lithiumion battery. See the Important
Safety and Product Information
guide in the product box for
product warnings and other
important information.
NOTICE
To prevent corrosion,
thoroughly clean and dry the
contacts and the surrounding
area before charging or
connecting to a computer.
Refer to the cleaning
instructions in the owner's
manual.
1
Plug the small end of the
USB cable into the
charging port on your
device.
2
Plug the large end of the
USB cable into a USB
charging port.
3
Charge the device
completely.
Quick Start Manual 9
Page 10

Specifications
Operating temperature
range: From -20 to 50°C
(from -4 to 122°F)
Charging temperature range:
From 0 to 45°C (from 32 to
113°F)
Wireless frequencies/
Troubleshooting
Restarting Your Device
1
Hold LIGHT until the
device turns off.
2
Hold LIGHT to turn on the
device.
My device is in the wrong
language
Getting the Owner's
Manual
The owner's manual includes
instructions for using device
features and accessing
regulatory information.
Go to garmin.com
10 Quick Start Manual
protocols: 2.4 GHz
Go to garmin.com
/manuals/
/language for more
information on changing
your device language.
/manuals/
 Loading...