

Page 1
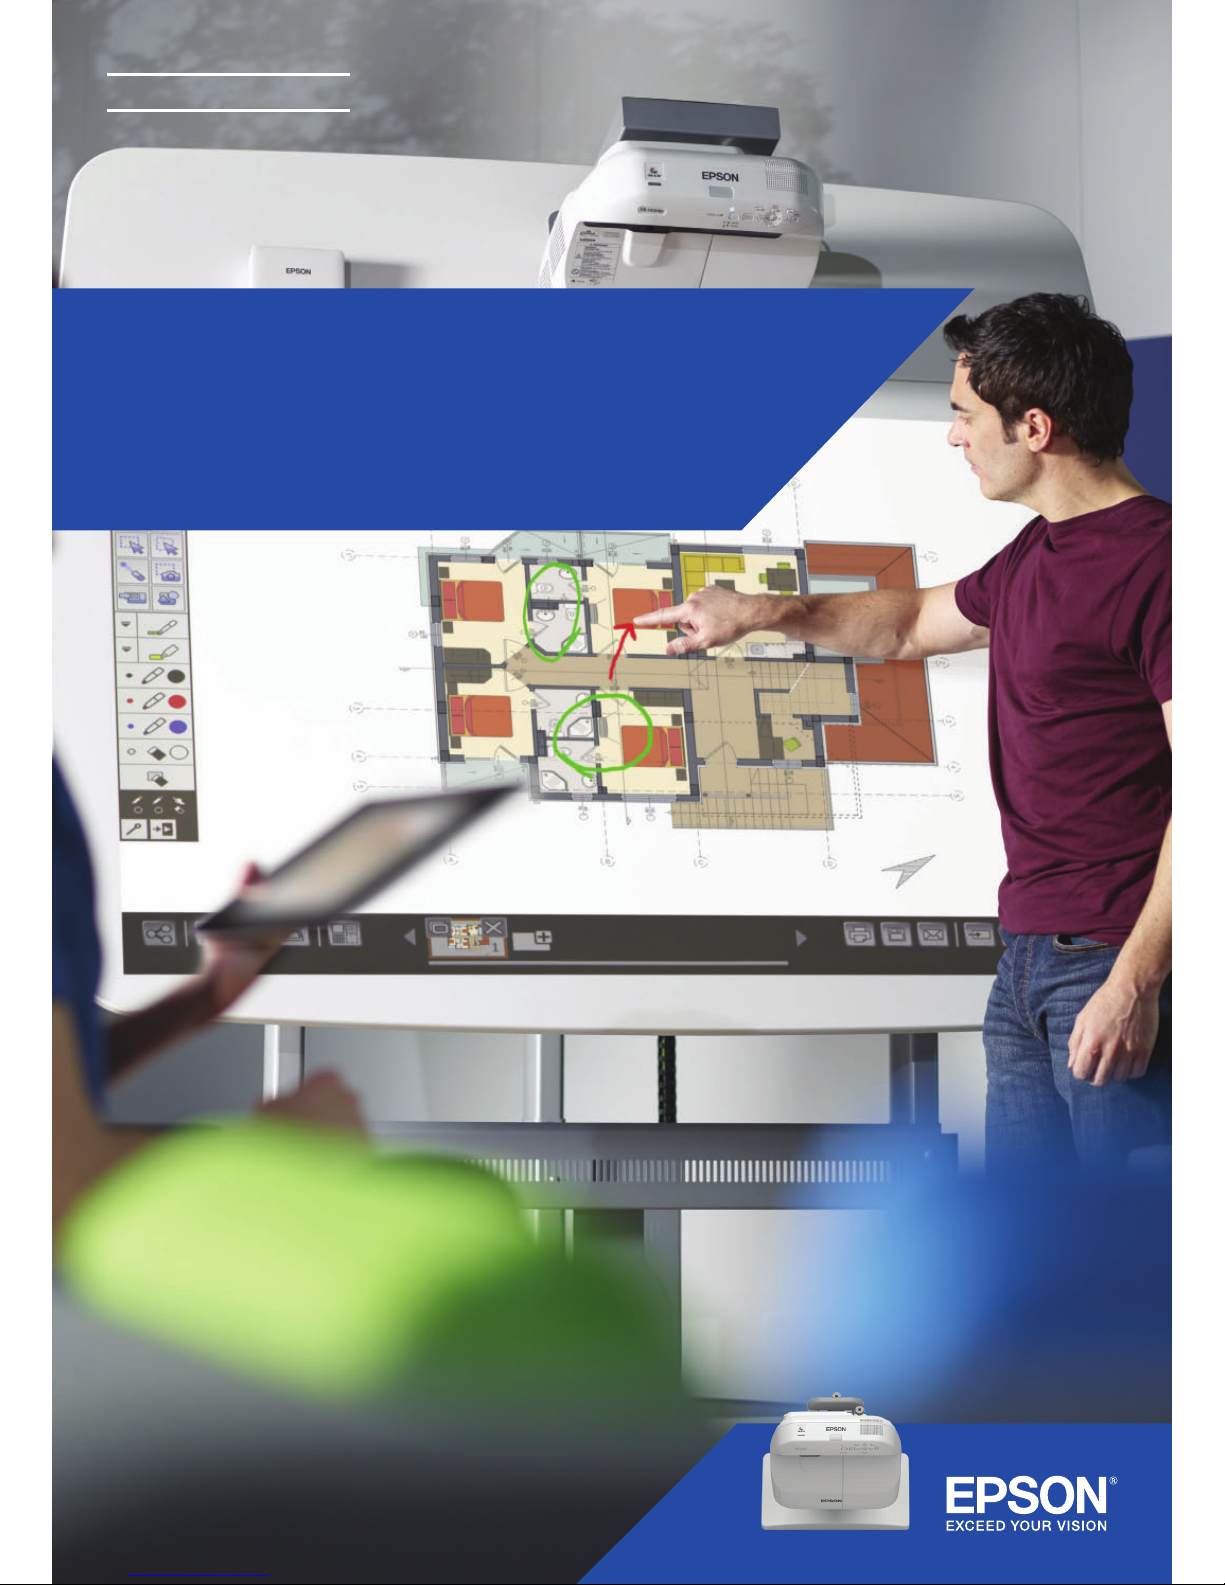
INTERACTIVE PROJECTOR
QUICK START GUIDE
Epson Meeting Solutions
Page 2
Meetings don’t just take
place in one room any more.
This quick-start guide will
walk you through the key
functions of your new Epson
projector, allowing you to
get the best out of every
meeting. Spend less time
setting up, and more time
presenting, discussing, and
collaborating.
3
GETTING
STARTE D
Use the whiteboard
Open
Open existing les from the net work, or import
from a USB device. Present a range of formats
without relying on a PC.
Edit
Visualise whatever you can imagine.
Import, resize, rotate, and move
content quickly.
Add Pages
Organise your thought process to
maximise your productivity. Open a
new blank page and impor t content,
or just start working.
Page 5
Project from
any source
Connect a smart device
Share content from your
smartphone or tabl et with the
Epson iProjection app for iOS
and Android.
Interact with your
computer
View and use your desktop wi th
the interactive pen or nger touch
as a mouse.
Connect to and from
projectors
Host a meeting and invite
colleagues to view your screen.
Alternatively, join another projector
to view and annotate in real time.
Project two sources
simultaneously
Create a rich visual experien ce by
combining content. Select split
screen mode from the toolbar and
choose your sources.
Pa ge 11
Share, save and print
Save
Save to a USB device or
network. The save function
supports a range of formats
to optimise sharing.
Print
Send nished work to any
printer on your network, or
save and print content live
from collaborative meetings.
Page 9
Share remotely
Create a collaborative me eting
around your Epson projector.
Share your work with colleague s,
view and annotate in real time.
Draw
Collaborate with clarit y using a range of
whiteboard drawing tools. Annotate on-screen
content with the interactive pen, or your nger*.
Page 3
5
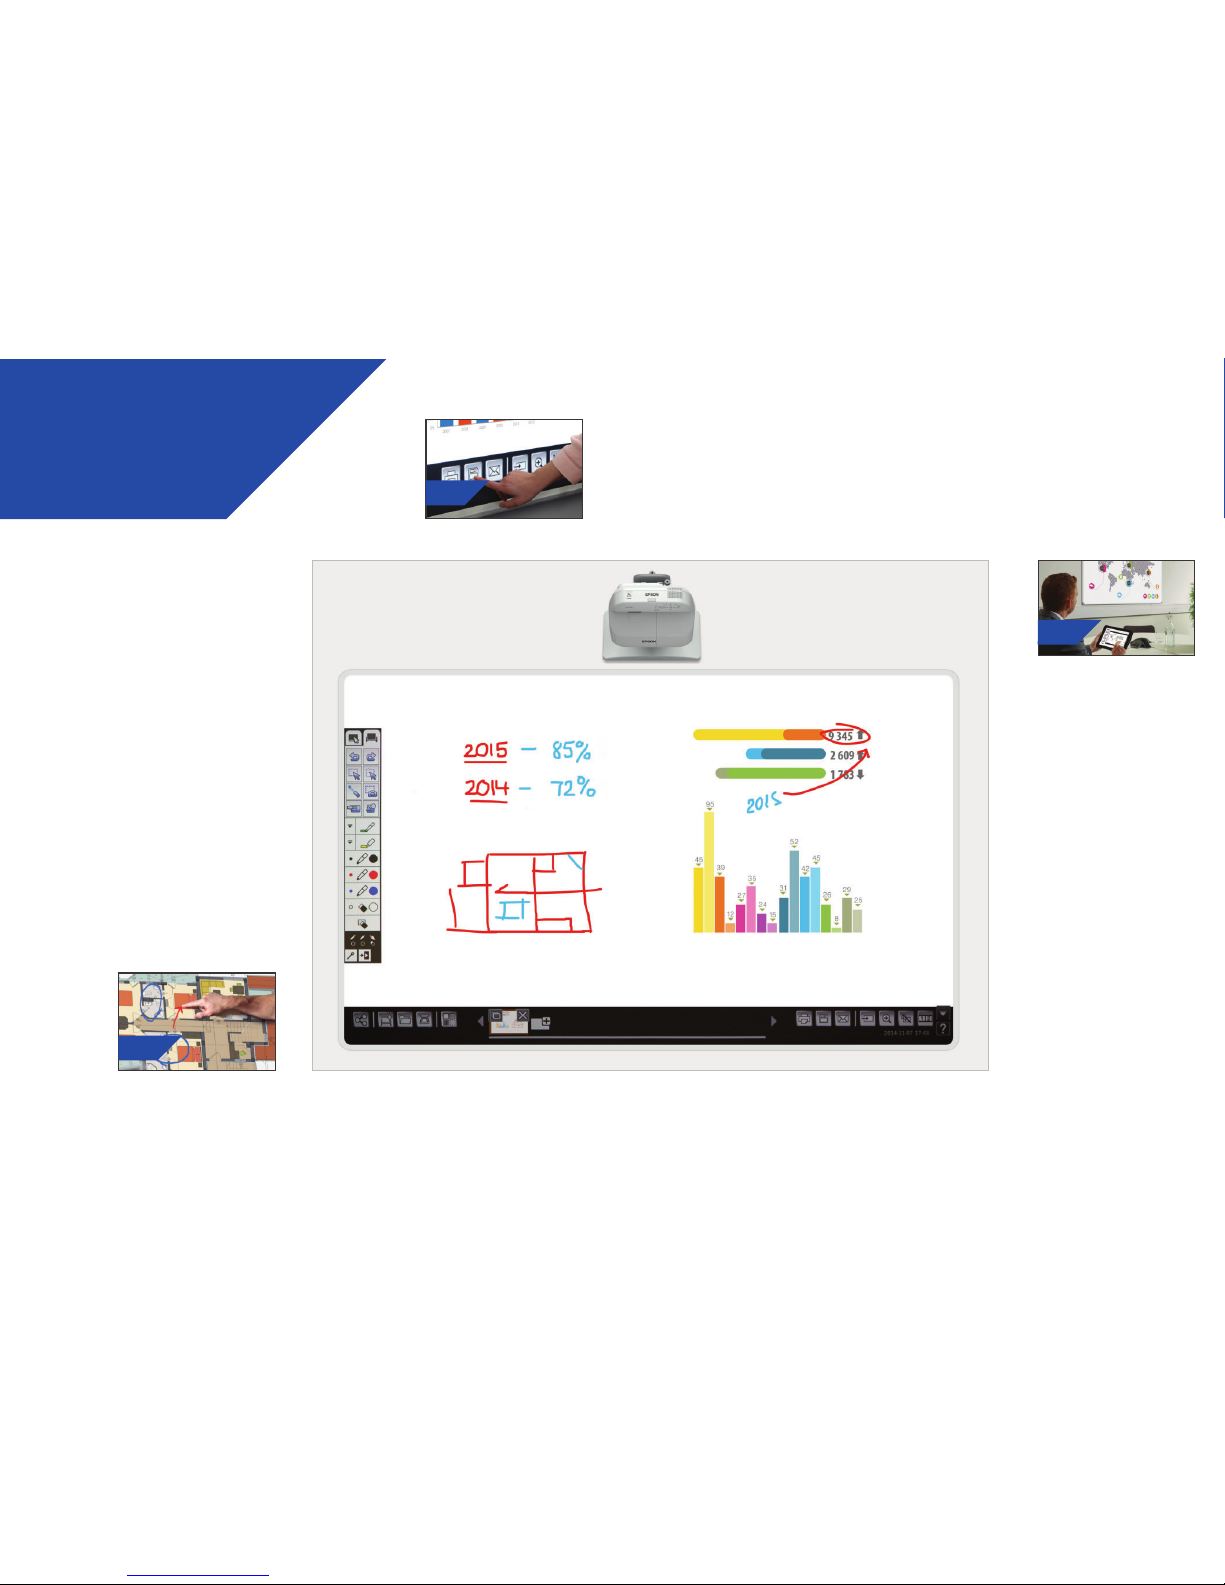
Use the whiteboard
1
Turn projector on
2
Press the whiteboard button on the Control Pad
3
Turn on the interactive pen
4
Start drawing, and bring your ideas to life
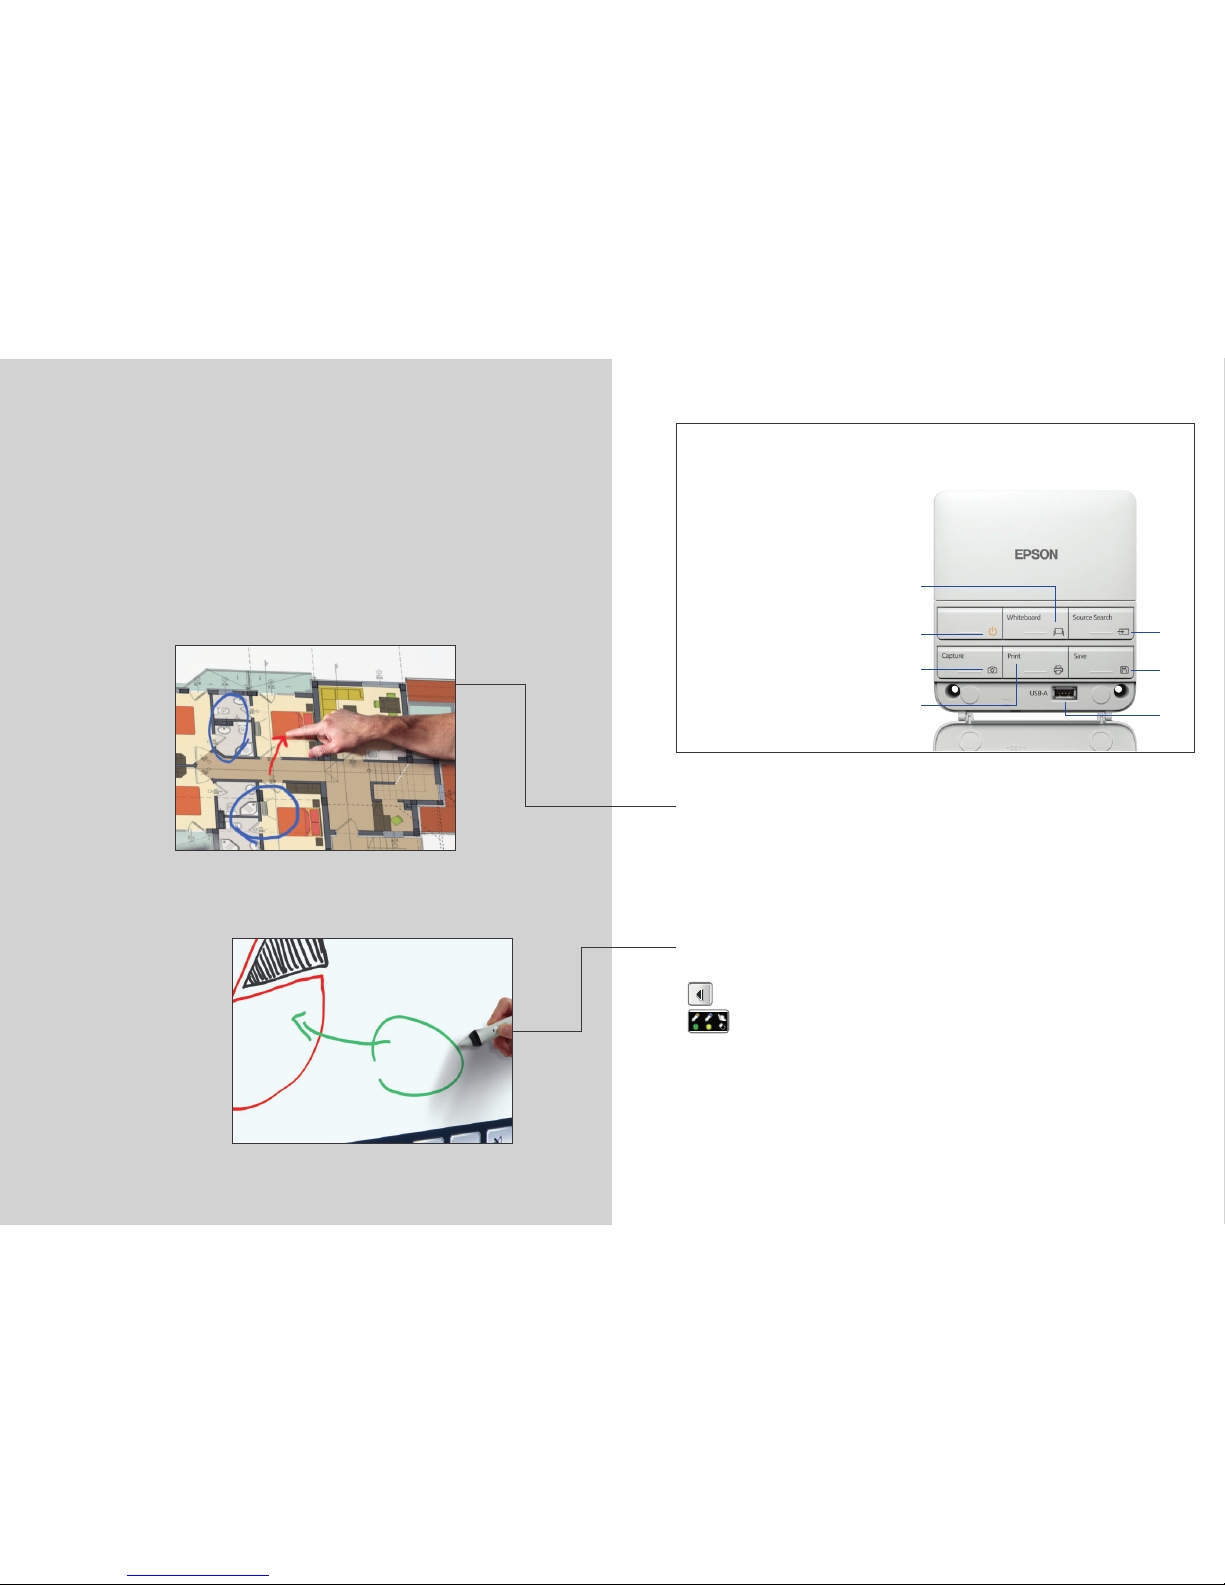
Draw
Use the toolbar to choose a drawing tool.
shows or hides the toolbar.
shows what your two pens and nger * are being used for.
Colours
Select the active colour from the tool bar
– Tap the down arrow next to a pen for custom colours
– Adjust the pen thickness wi th the small and large circles
Control Pad functions
1
Turn the projector on and o
2
Select whiteboard mode
3
Select from other sources
4
Take a screenshot of the projected
image and save it to the clipboard
5
Print the projected image
6
Save the projected image
7
Connect a USB storage device
7
1
4
3
6
5
2
Page 4

7
Open
Use to open an existing le from network or US B.
The EB-1400 Series suppor ts PNG, PDF and EWF le formats.
Edit
selection area.
Use the selection area to crop, rotate, resize, and move content.
Erase
The top of the interactive pen can also be used a s an eraser.
switches to an eraser.
clears all drawings and notes.
Help
displays the guide to whiteboard icons.
Add Pages
adds a new page.
deletes the current page.
duplicates the current page.
opens a selection of background templates for th e whiteboard.
Page 5

9
Share, save and print
1
Press to save the whiteboard to network or USB
2
Use to share via email, or to pri nt
3
Print content from the whiteboard
Save
The EB-1400 Series suppor ts saving to PNG, PDF and EWF le formats.
Share the whiteboard
Click on the toolbar, and then “Start sharing w ith this whiteboard”.
Use your PIN or create a PIN and share URL.
Set authority for other users:
– Presentation – View only
– Discussion – View and an notate
– Collaboration – Full access
Connect remotely
Once the whiteboard has been s hared by the principal user, enter the provided
URL into a web browser on a computer or other mobile dev ice and enter the
PIN to view the whiteboard remotely.
Page 6

11
Project from any source
Choose an input source by pressin g the Source button on the Control
Pad, or clicking
on the whiteboard.
Split screen mode
Select from the bottom toolbar to split the scre en in two.
Click
to choose sources for the left and r ight of the screen.
Use
to display two sources side by side – even a vid eo conference
Connect a smartphone or tablet
To project content from your smartphone or tablet, downloa d
“Epson iProjection” for your iOS or Android d evice.
Interact with your computer
Select PC from the sources.
Use the interactive pen or your nger* to browse the web, access l es and
more from your computer.
Page 7

Not all products are available in all countries. Please check with your local Epson representative for details.
For further information please contact your local Epson oce or visit www.epson-europe.com
Austria 01 253 49 78 333 Belgium +32 (0)2 792 04 47 Czech 800/142 052 Denmark 44 50 85 85 Finland 0201 552 091 France 09 74 75 04 04
(Cost of local call, operator charges may apply) Germany +49 (0) 2159/92 79 500 Greece 210-8099499 Hungary 06800 147 83 Ireland 01 436 7742
Italy 02-660321 10 (0,12 €/min) Luxembourg +352 27860692 Middle East +9714 8872172 Netherlands +31 (0)20 708 5099 Norway +47 67 11 37 00
Poland 0-0-800 4911299 (0,16 zł/min) Portugal 707 222 111 Russia (095) 777-03-55 Slovakia 0850 111 429 South Africa (+2711) 465-9621
Spain 93 582 15 00 Sweden 0771-400135 (Mobilsamtal – 0,99 kr/min, Lokala samtal – 0,30 kr/min, Utlandssamtal – 0,89 kr/min) Switzerland 022 592 7923
Turkey (0212) 3360303 United Kingdom 0871 222 6702
Trademarks and registered trademarks are the property of Seiko Epson Corporation or their respective owners.
Product information is subject to change without prior notice.
EB-1400 series
Allow participants to contribute and interact via web browser
Control Pad
Save
Tablet/mobile
PC
USB
Scanner
Network file
Print
Email
x15
shared devices
EB-1400 Series
Epson’s EB-1400 Series ultra
short-throw interactive projectors
enable collaboration between
people, wherever they are.
They are the perfect alternative
to conventional whiteboards,
ipcharts, expensive digital
screens and more – in one
simple device.
FIND OUT MORE:
epson.eu/meeting-solutions
*Only ava ilable on Ep son EB-1430Wi model s.
Some fea tures requi re congura tion by the
instal ler or netwo rk adminis trator.
A2655_MS_Quick_Start_Guide/ EN-INT/06/15
 Loading...