

Page 1
Document number 04/012
Version 4
Last Update 16/01/08
Printer Information
This is an evaluation of how good these printers are at printing solid black on
transparency film. This is only a partial list as there are thousands of different
types of printers in the world, but we would welcome your help in increasing its
scope. So if you have anything to add, either on a printer mentioned below which
you have a setting to improve its printing, or a printer that we haven’t mentioned,
then please tell us about it. The first section is for ink jet printers the second for
laser printers. To date we have never found an ink jet printer that we can’t make a
negative on!
Epson
General points:
Many of the Epson range of printers will default to print in colour. You must open
‘Advanced settings’, a warning message may appear saying that they are only
recommended for experienced users, ignore this and tick ‘Black ink only’ or
‘greyscale’, all the colour options will then be no longer adjustable. You may well
find that Epson branded OHP film works slightly better than our imageblack ink jet
film.
This manufacturer’s range of printers will typically give you the blackest artwork by
changing the settings to:
Paper to ‘Photo Paper Matte or Ultra Glossy’
Quality to ‘Normal’
and Ink to ‘Black and White’.
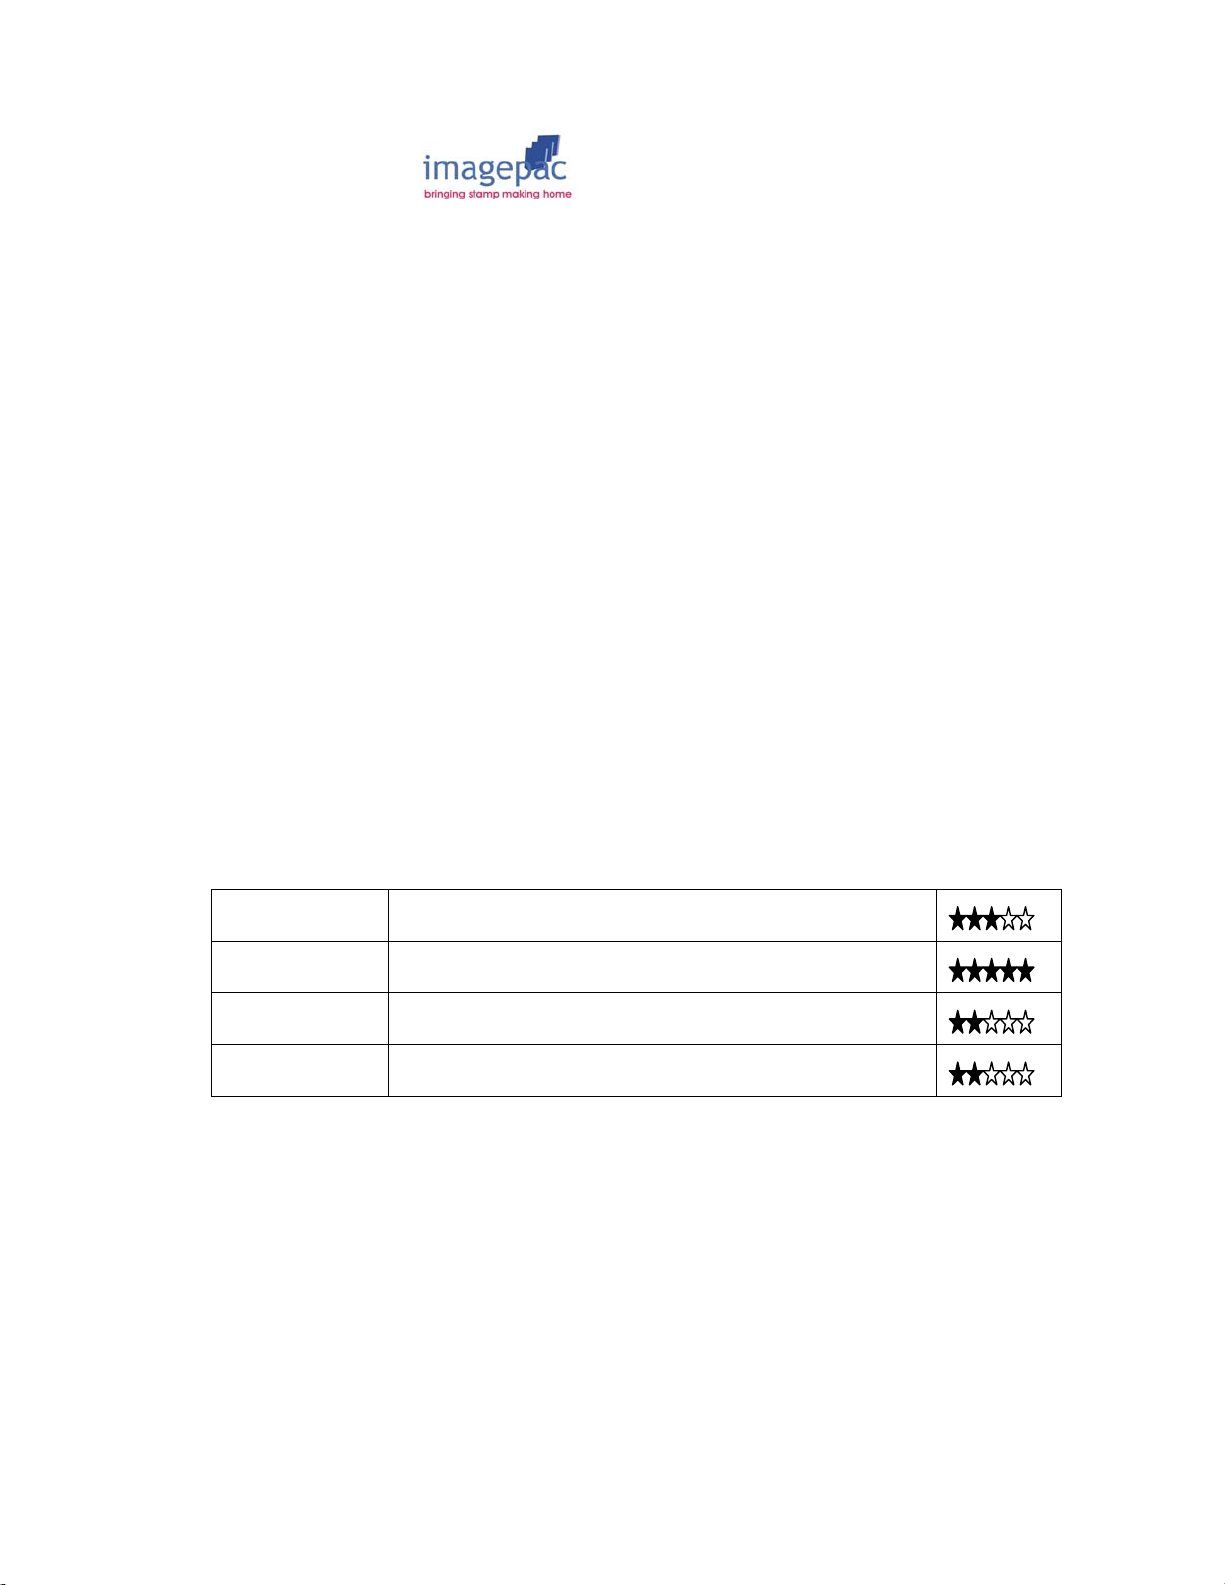
Ink Jet Black
Model Optimal print setting Rating
R220 Ultra Glossy / Best Photo / Black Ink
4200 Transparency / Best
CX6400 Matte Paper / Best Photo / Black Ink
CX6600 Matte Paper / Best Photo / Black Ink
1
Page 2
HP
This manufacturer’s range of printers will typically give you the blackest artwork by
changing the settings to:
Paper to ‘Photo Paper Matte’ or ‘Other Speciality Papers’
Quality to ‘Best’
and Ink to ‘Black and White’.
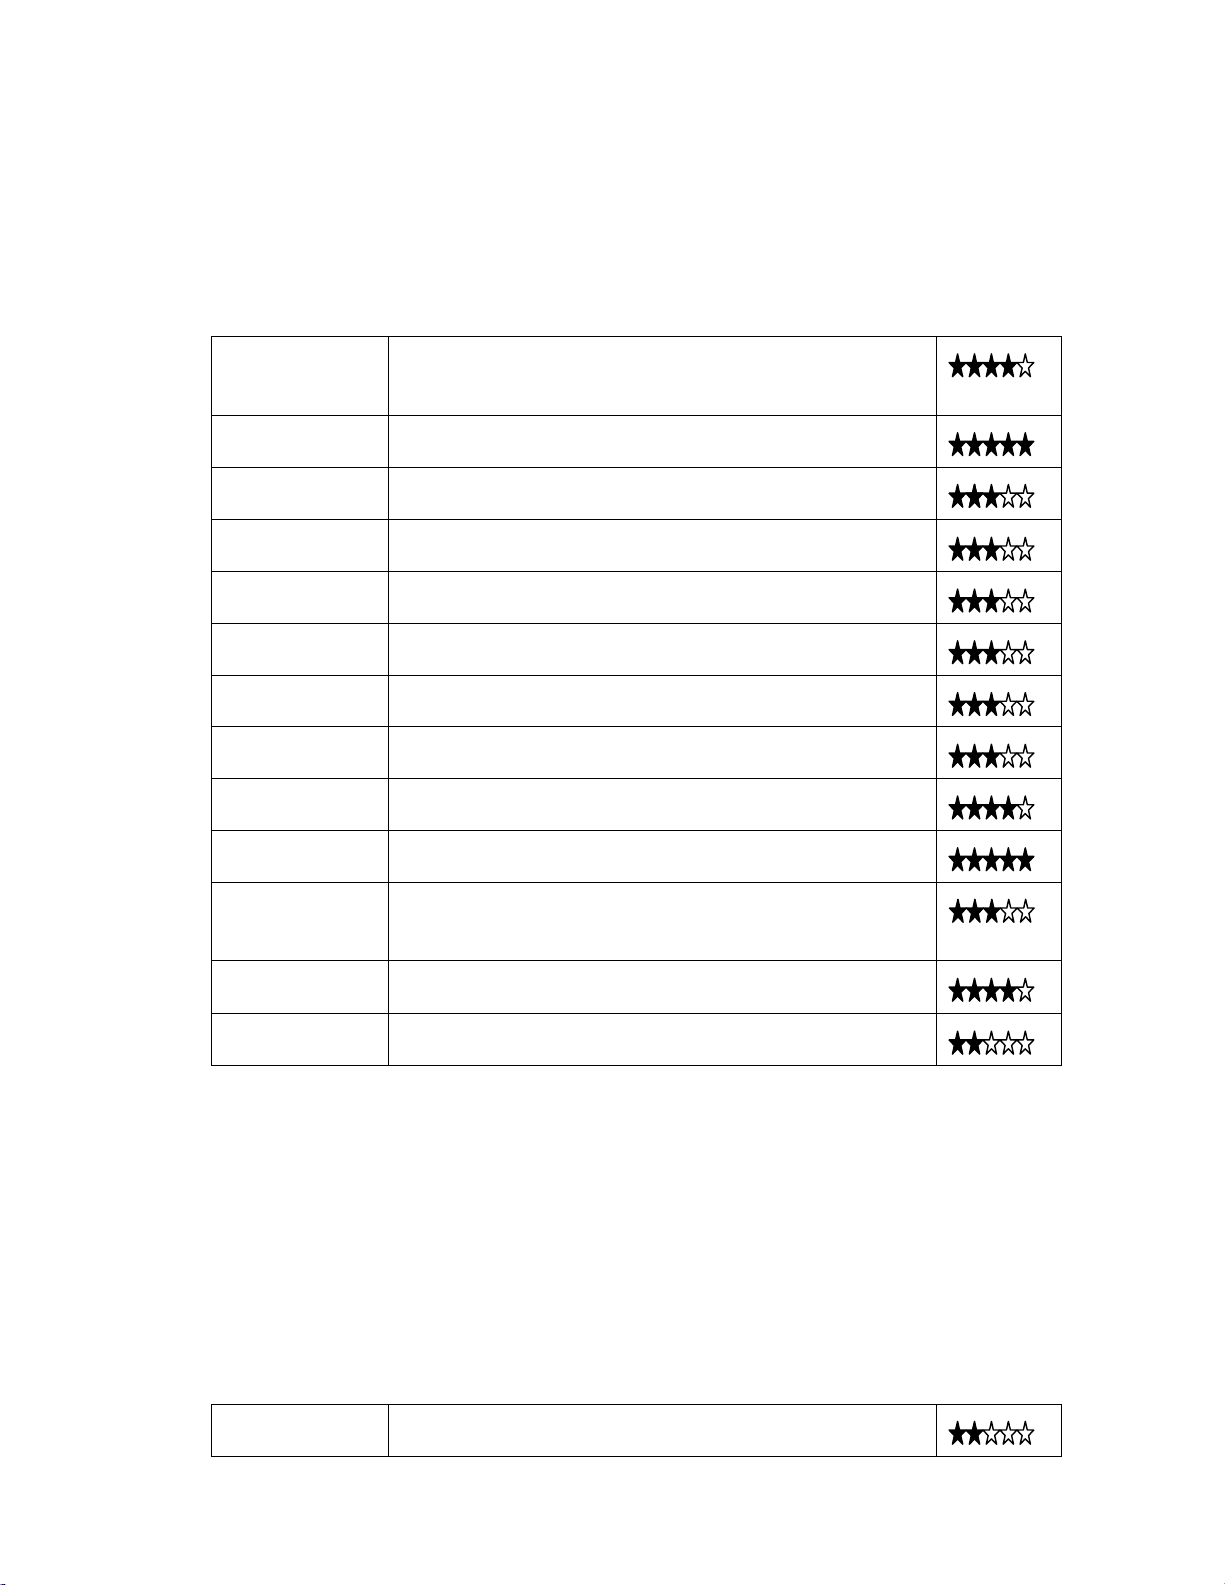
Ink Jet Black
Model Optimal Print Setting Rating
Officejet K80 OHP Premium Inkjet transparency film / Normal /
B&W / Increase Ink
Deskjet F380 Photo paper matte / Black ink only
Deskjet 840c Other transparency films / Normal / Black cartridge
only
PSC 1115 Transparency / Best / Black cartridge only
PSC 1215 Plain paper / Normal quality
PSC 1410 Other brochure paper / Normal / Black cartridge only
PSC 2110 Paper / Best / B&W
PSC 2115 Paper / Best / B&W
2179 Other Speciality Papers / Best / B&W
2360 Photo Paper Matte / Black ink only
3180 HP Transparency / Ink density to maximum /
Greyscale
4200 HP Transparency / Best / Black and White / Increase
Ink
Officejet 5510 HP Photo Paper Matte / Normal / Black and White
Lexmark
This manufacturer’s range of printers will typically give you the blackest artwork by
changing the settings to:
Paper to ‘Photo Matte Paper or Cardstock’
Quality to ‘Normal’
and Ink to ‘Black and White’.
Ink Jet Black
Model Optimal print setting Rating
Z617 Cardstock / Normal
2
Page 3

X5470 Photo Matte Paper / Normal
Canon
This manufacturer’s range of printers will typically give you the blackest artwork by
changing the settings to:
Paper to ‘Other Speciality Papers’
Quality to ‘Best’
and Ink to ‘Black and White’.
Ink Jet Black
Model Optimal print setting Rating
Smartbase
MP3605
Pixma 1200 Set to Paper to transparency. In Printing
Set to Paper and normal. Do not print on
transparency.
Preferences set Colour/Intensity to Manual and
increase intensity to maximum.
Common problems
Artwork has white flecks in it:
If you have white flecks in the black the light will get through and you will not get
enough depth to your stamp. White flecks are either because you didn’t enhance
the Brightness and Contrast on a scanned or downloaded image or because your
printer has been told to print on the wrong media (say paper instead of
transparency).
Artwork has white dotted lines through it:
One of your ink jet heads is blocked. Go into the properties and clean your heads.
Artwork has a red or blue hue to it:
Your artwork may have been printed using the colour or Cyan/Magenta/Yellow
cartridge. Although this may look black it will not work. You can see your black
artwork will have a blue or red hue when examined against the light.
Laser Printers
Handle imageblack film by the edges only and store in the envelope when not in
use. Insert film either way round into printer.
In Microsoft Windows click Start and Printers and Faxes.
Select your laser printer, right-click and open Properties from the drop down
menu. If you have the option, increase the ink density to maximum.
Set your printer paper settings to Vellum, or if it does not provide that option use
Transparency.
Increase the resolution to maximum and press Print. Do not touch the printed
surface until fully dry.
Examine your negative by holding it up against the light, the black areas should
not allow light through. Low resolution printers (mostly ones with 600x600
3
Page 4

resolution) will print artwork with white flecks in the solid black. This will allow light
to pass through the black areas and your stamp will end up being solid.
To make laser artwork printed some laser printers and photocopiers dark
enough, follow these simple steps:
Soak a cloth with White Spirit and wipe it once over the printed side of your
artwork. A little black may come off on the cloth. Do not wipe it too hard or with a
dry cloth or you will remove too much black. Run a hot air gun (not a hair dryer)
over the surface of the artwork to flare off the white spirit, if you hold it too close
you will melt the plastic. The surface should now look shiny and the black and
will be dark enough to make stamps with.
Some new laser printers are not affected by white spirit and cannot be enhanced.
If you do not have a laser or an ink jet printer then just photocopy your design onto
the imageblack laser sheets using a standard photocopier. Then follow the
instructions given above for wiping with white spirit and heating with a hot air gun.
Epson
Laser Model Resolution Specific Instructions
AculaserC1100 600x600 dpi
Panasonic
Laser Model Resolution Specific Instructions
KX-P7200 600 dpi Wiping with white spirit and heating required.
HP
Laser Model Resolution Specific Instructions
HP1020 600x600 dpi Set to maximum toner in Properties, set to vellum
and FastRes1200, may still need wiping with
white spirit and heating.
Konica
Ink Jet Model Resolution Specific Instructions
Magicolor
2400W
4800x1200
dpi
Set to Best, Black and White and transparency.
Brother
Ink Jet Model Resolution Specific Instructions
HL 2030 600 dpi
Contact us on + 44 1733 33 99 37 or on info@imagepacdaylight.co.uk
require more detailed information.
Does not print black enough.
4
if you
 Loading...