

Electrolux Dial Control 20-2/1, Dial Control 10-1/1, Touch Control 6-1/1, Touch Control 10-1/1, Touch Control 10-2/1 Cleaning And Maintenance Manual
...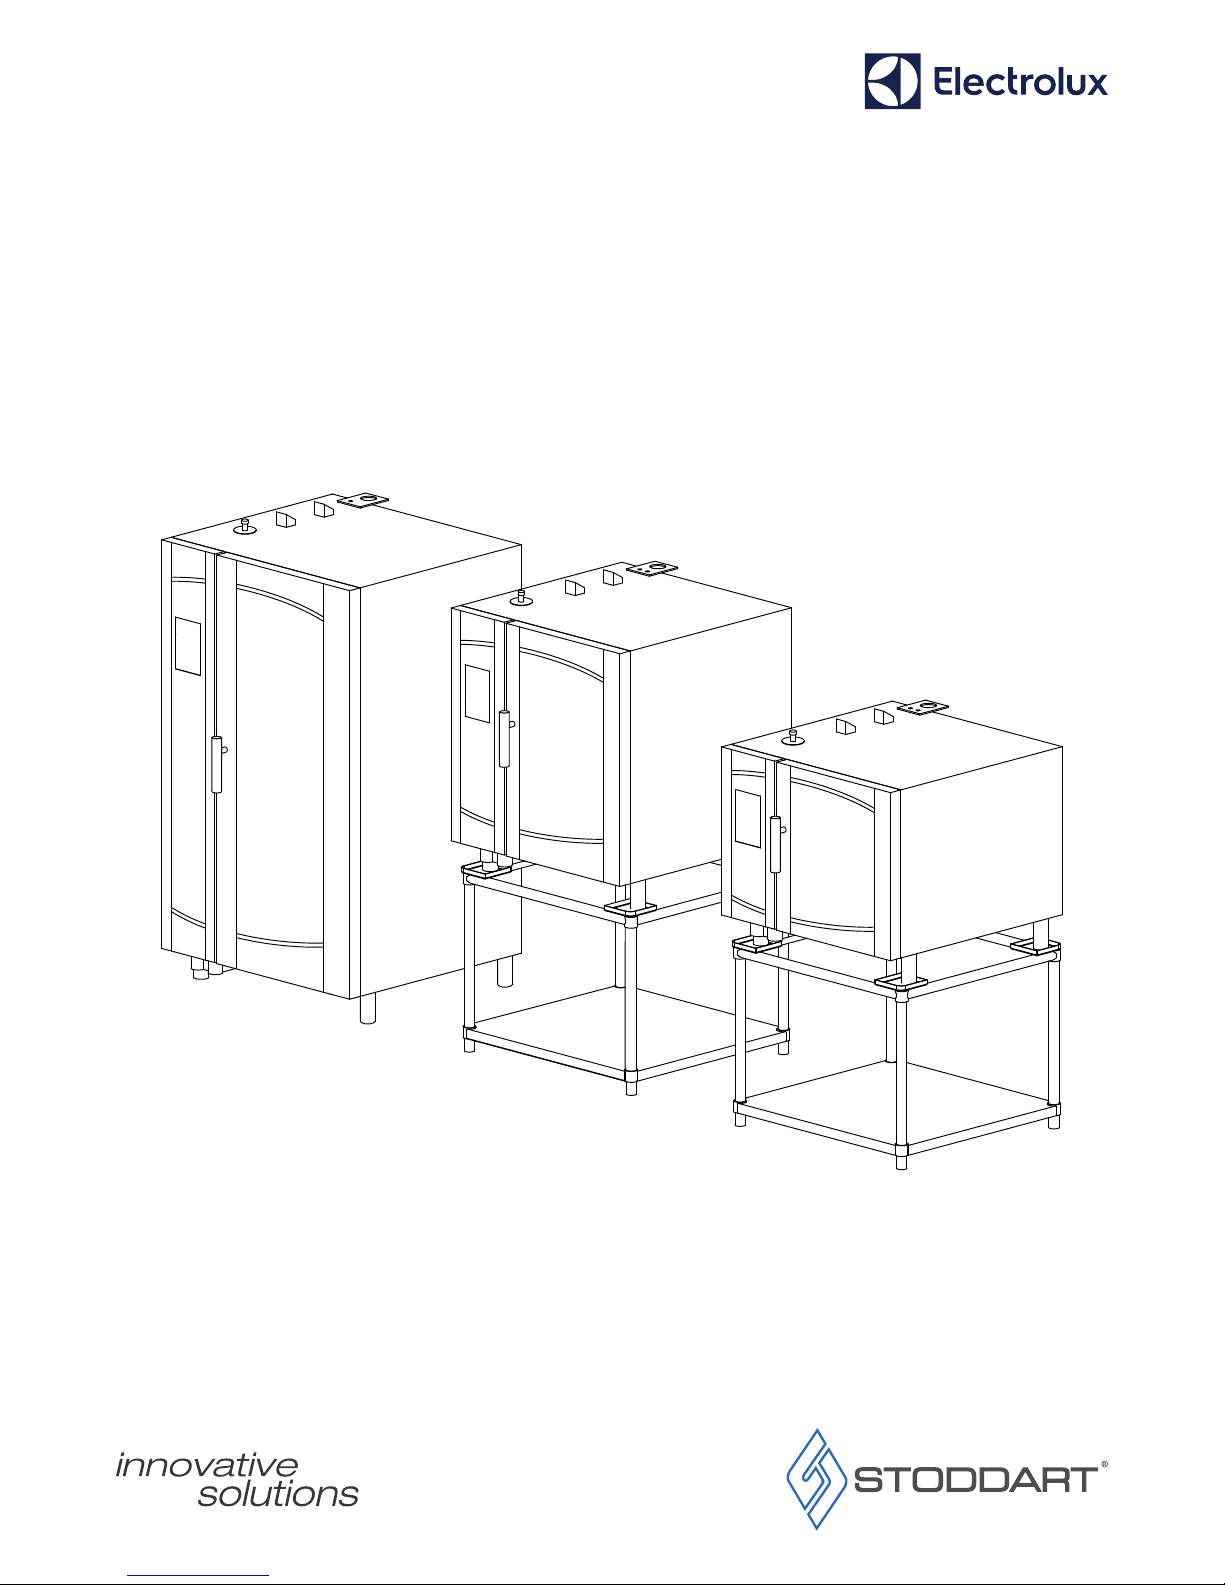
Air-O-Steam - Dial Control, Air-O-Steam - Touch Control
Air-O-Convect - Dial Control, Air-O-Convect - Touch Control
Cleaning and Maintenance Manual
Rev: B - 12/11/2018
Index
Page 1
Due to continuous product research and development,
the information contained herein is subject to change without notice.
www.stoddart.com.au
www.stoddart.co.nz
Filter Cartridge Replacement
Reverse Osmosis Filter Cartridges 9
BWT Filter Cartridge 9
Information and Error Codes
Information Codes 10
Error Codes 10
Consumables Order Form
Order Form 11
Air-O-Steam Dial Control (Boiler) 8
Descale
Air-O-Steam Touch Control (Boiler) 7
Programmed Maintenance
Rotating Jet 6
Oven Cavity Descale (All Models) 6
Chamber Lamp Replacement 6
Inspection 6
Monthly Cleaning Touch Control / Dial Control
Drip Tray 5
Fan/Element Compartment 5
Door Cavity 5
Air Filter (if tted) 5
Daily Cleaning Touch Control
Touch Control Step 1 3
Touch Control Step 2 3
Touch Control Step 3 3
Information
Cleaning and Maintenance - Important Information 2
Safety Information 2
Cleaning and Maintenance - Schedule 2
Daily Cleaning Dial Control
Dial Control Step 1 4
Dial Control Step 2 4
Dial Control Step 3 4
Information
Page 2
Due to continuous product research and development,
the information contained herein is subject to change without notice.
www.stoddart.com.au
www.stoddart.co.nz
IMPORTANT!
Read through the User Manual before performing
any cleaning or maintenance procedures.
WARNING!
Wait until the unit has cooled to a safe temperature
before undertaking any cleaning or maintenance.
Contact with hot surfaces can cause burns and
serious injury.
DO NOT USE WATER TO COOL THE UNIT DOWN!
WARNING!
Wear appropriate Personal Protective Equipment
and clothing when using cleaning chemicals.
Contact with chemical can cause
burns and serious injury.
• All Electrolux ovens come standard with an automatic cleaning function, this should be used frequently before soil build up occurs. Before running this
automatic cycle, ensure that the cleaning fluid levels are at a sufficient level.
• Visual inspections of the oven should be done while performing cleaning operations. Check for any soil build up, damage, loose or removed parts or signs
of scale.
• DO NOT use abrasive pads or cleaners on any parts of the appliance.
• DO NOT use cleaning products that exceed 10% Sodium Hydroxide. Exceeding 10% Sodium Hydroxide will void your warranty and can cause corrosion
of plastic and metal components.
• DO NOT use chlorinated bleach cleaners, even if diluted.
• DO NOT hose a hot oven to cool it down.
• Combi oven must cool before cleaning or maintenance. Never use water to cool the unit.
• Boiler descale is for Air-O-Steam Models. It should be performed as frequently as required and at least every 6 months.
• Water filtration is critical. Filter cartridges MUST be replaced periodically. Failure to do so will void your warranty. (Frequency will depend on your water
quality and type of filtration system, see page 9).
• Ensure temperature probe is placed in the holder. Be careful not to damage probe during cleaning, maintenance and normal operation.
• Check all work cleaning and maintenance practices comply with industry safety standards.
Cleaning and Maintenance - Important Information
Safety Information
Cleaning and Maintenance - Schedule
Task Schedule
Daily Cleaning To be performed Daily at end of shift
Monthly Cleaning To be performed Monthly at end of shift. (May need to be performed more regularly depending on usage
e.g. Every two weeks) Monthly Cleaning is to be performed in conjunction with daily cleaning.
Programmed
Maintenance
To be performed every six months. (Performed with booked service)
Descale To be performed a minimum of every six months or more frequently if required. The oven will alert you if
descale is required more frequently. This can be performed with the scheduled programmed maintenance.
Replace Water Filtration
Cartridges
To be performed a minimum of every six months (every twelve months for the Reverse Osmosis
Membrane) or more frequently if required. The frequency of filter changes will depend on your water quality
and filtration system.
This can be performed with the scheduled programmed maintenance.
Daily Cleaning - Touch Control
Page 3
Due to continuous product research and development,
the information contained herein is subject to change without notice.
www.stoddart.com.au
www.stoddart.co.nz
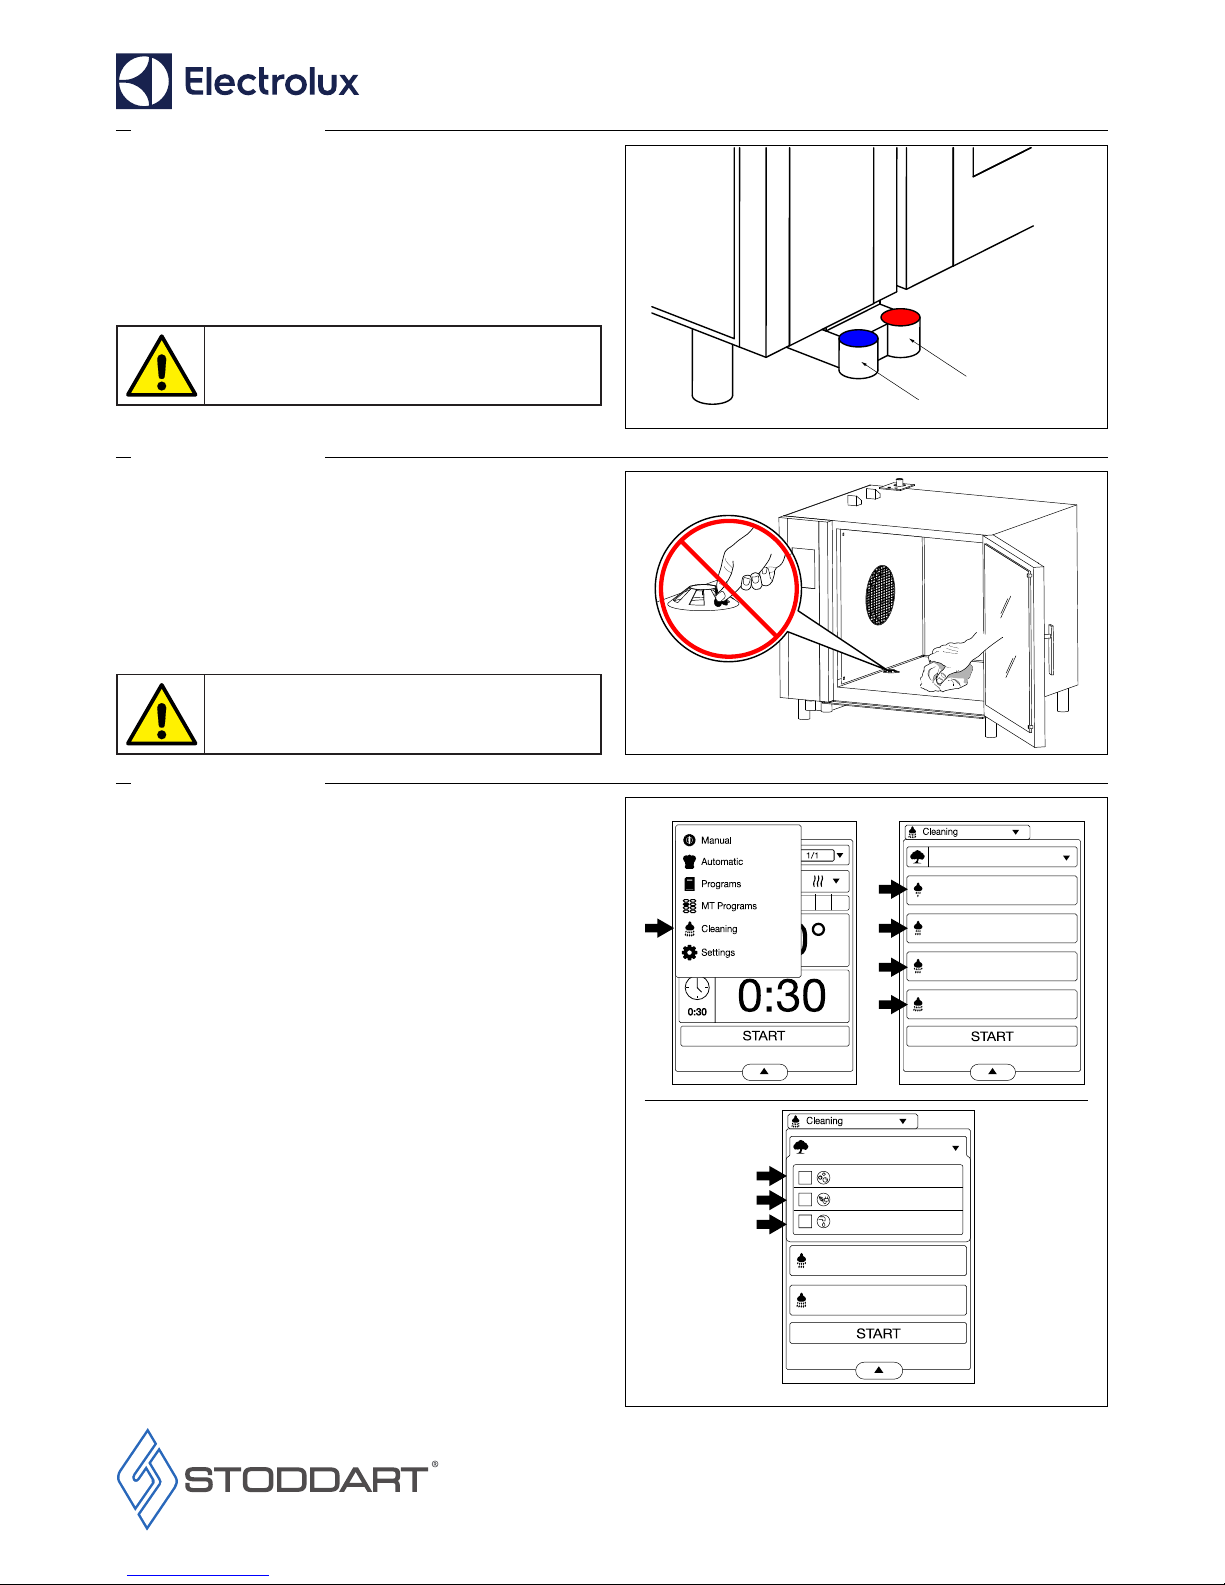
Touch Control Step 1
Rinse Aid
Oven Cleaner
• Allow oven to cool prior to cleaning. DO NOT use water to cool the oven
• Check chemical level in the chemical containers below the control panel.
Top up levels if required (minimum 1/3rd of tray)
• Pull drawer out towards operator until it allows access to blue and red
lids. Red (right) is oven cleaner, Blue (left) is rinse aid
• Remove lids and fill with appropriate product*. Re-fit lids, ensure lids are
secure. (Stoddart recommended chemicals, see order form on Page 11)
• Push drawer back into position under the oven
Touch Control Step 2
• Ensure Temperature probe is placed in holder to avoid any damage.
Remove all trays and grid racks (to be cleaned separately)
• Using a clean damp cloth, clean the door seal and all external surfaces
• Remove any loose soil from the oven cavity and around the drain*
• For hard to remove soil, spray undiluted oven cleaner onto soiled areas.
Close the oven door. Allow 10-15 minutes for oven cleaner to dissolve
soil
• Run appropriate cleaning cycle. This must be done to wash and remove
all oven cleaner residue from the oven
Touch Control Step 3
Green Spirit
1:30
2:30
Strong
Extra Strong
Reduce water consumption
Skip drying
Skip rinse-aid
Green Spirit
Soft 0:45
1:00
1:30
2:30
Medium
Strong
Extra Strong
• To Enter the Cleaning modes press the “Manual” tab on the main screen.
Select “Cleaning” from the drop down menu.
• Select the required cleaning cycle from the “Cleaning” menu. By default
the oven is set to “Medium”. Assess how soiled the oven is, then select
the appropriate wash cycle:
• If desired select one of the Green Spirit functions:
• Press “Start” to begin cleaning cycle. The cleaning cycle will begin
automatically when the oven reaches 70°C in the compartment.
Note: Cycle duration - e.g. 2:30 = 2 hours and 30 minutes
• Should the cleaning cycle be interrupted or stopped a mandatory rinse
cycle will be performed to remove any residual detergent
Soft: For still fresh grime from minimal greasy cooking
Medium: For normal grime from average greasy cooking
Strong: For heavy grime from above average greasy cooking
Extra Strong: For heavy grime from extremely greasy cooking
Skip rinse-aid: Skipping rinse-aid can leave traces of water in
compartment after cleaning
Skip drying: Use if cooking is to start soon after cleaning.
It is necessary to open oven door after cleaning, to air the oven
Reduce water consumption: make sure an efficient ventilation system
is installed. Reduction occurs by deactivation of steam suppression
IMPORTANT!
* Cleaning product must not exceed 10% Sodium
Hydroxide. Exceeding 10% Sodium Hydroxide will
void warranty.
IMPORTANT!
* Do not push/force solid waste into the drain.
This is to prevent blockages and possible back-ow.
 Loading...