

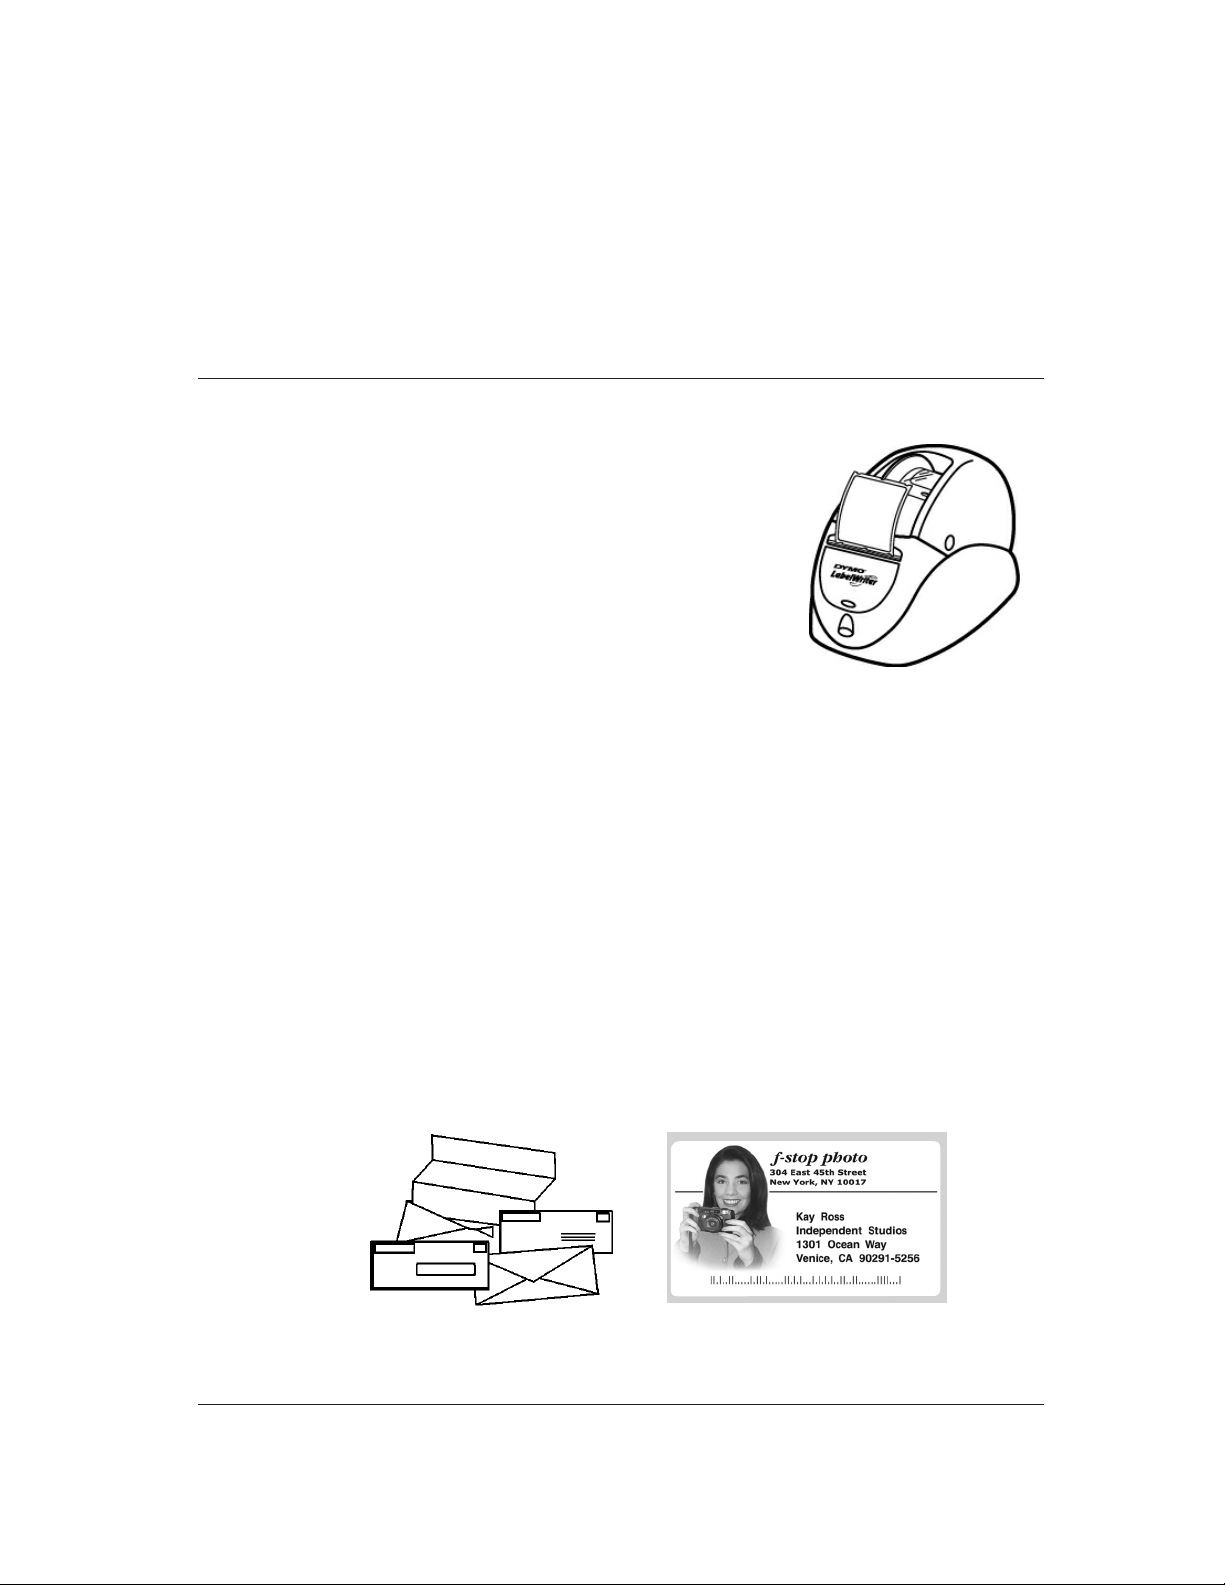
Enhance Your Image
1
Chapter 1
Purpose
The purpose of this document is to outline the many steps that
can be taken to ensure the best possible output quality of
images and graphics when printing on a LabelWriter 300 series
printer. These printers include the LabelWriter 300,
LabelWriter 310, LabelWriter 315, LabelWriter 320,
LabelWriter 330 and LabelWriter 330 Turbo. The document
assumes that the LabelWriter printer is functioning properly
and that the most current version of DYMO LabelWriter
Software (DLS) is installed on the host computer.
Paper and Print Head
Tw o things that are very easy to overlook when examining the factors effecting print quality with a
LabelWriter are the paper and the condition of the print head. First, make sure you are using new
label stock that has been properly stored. Labels that are old and/or have been exposed to heat or
direct sunlight will adversely affect the quality of any printed information. Similarly, the condition
of the print head will also have an effect. The print head should be clean and free from dust and
dirt. To be sure a print head is clean, a DYMO LabelWriter Cleaning Card should be run through
the printer before printing.
Format of Graphic
DLS supports the importing of several different kinds of graphic formats. The most common
are: JPG, BMP, TIF and GIF. While all of the different formats yield similar quality when
printing, there are certain attributes of the graphics that are preferable. First and most
important is that the graphic or photograph is not color, they must beconverted to black
and white. Graphics that are not converted will always decrease the overall quality of the
output. Therefore it is recommended that graphics be monochrome ex: line drawings
(See Figure 1) or greyscale for photographics (See Figure 2).
Enhancing image quality output
using a LabelWriter 300 series printer
Figure 2.Figure 1.

Optimizing graphical output
The second most important attribute is graphic size. A graphic should always be imported as
actual size where possible. Whenever a graphic is resized by the software, a lessening of
the output quality will occur. Thus, to print a graphic that is 1" wide x 1" high on the LabelWriter,
the ideal size of the image should be 300 dots (or pixels) x 300 dots.
Application Settings
The Windows version of DYMO LabelWriter Software (DLS) has a setting to optimize the output
of graphical images. The setting can be found under the Preference menu in the “General Settings”
tab. It is called “Optimize Graphic & Bar Code Printing for Best Quality” (See Figure 3). Utilizing
this option will always place the LabelWriter printer into Bar Code and Graphics mode when printing complex graphical images. This reduces the amount of dot “blooming” and results in sharper
and more detailed graphics. Note that this setting slows down the print speed of the LabelWriter by
approximately 50%.
Print Driver Settings
Both the Mac and Windows versions of the LabelWriter print drivers also have a similar
setting for Print Quality. Again, Bar Code and Graphics mode is preferred when printing any
kind of complex graphic. On the Mac platform, this setting can be found in the “Page Setup”
dialog box (See Figure 4) and replaces the application setting that is present in the Windows
software. While the Windows print drivers have a similar setting, it is only utilized when printing
from non-DYMO versions of software. Additionally, the Windows platform offers some OS-level
controls for printing graphics.
2
Figure 3.
Figure 4.

For all 9x versions of the Windows OS (95, 98 and Me) our drivers have a setting under
the “Graphics” tab of the Properties dialog called “Dithering” (See Figure 5). You can set anyone
of several options for the dithering of a graphic, some of which are “none”, “coarse”, “fine”, etc.
While the current versions of our Windows 2000 drivers do not have this option, subsequent
releases of LabelWriter print drivers for this OS and for Windows XP will have this functionality.
Non-DYMO Software
While DYMO LabelWriter Software (DLS) allows you to import and print graphics, the
software was not designed to replace high-end graphical editing/printing programs. Many
of the most popular programs for editing and printing graphics offer MUCH more control over
the output quality of all of the different image formats. Products such as Corel Draw and Adobe
Photoshop are just 2 examples of such programs. Because all LabelWriter printers install standard
OS-level print drivers both on Windows and Mac systems, these programs can also be used to print
labels on a LabelWriter printer. When using these types of programs, all of the same factors/rules
for optimizing output are applicable with the exception of the one DLS specific Windows setting
mentioned in the “Application Settings” section. However, as also noted above, the same option
can be found in both the Windows and Mac print driver settings dialogs.
3
Optimizing graphical output
Figure 5.

PC Users
The DYMO Labelwriter is not platform specific. Its built-in USB port works on both MAC and
PC. All you have to do is access the proper driver from the LabelWriter CD.
Image Preparation: How well your image is prepared will help tremendously in output. It can’t be
said enough “Good image prep is important”. All photographic images should be greyscale and
saved as TIFF or BMP. Save at 300dpi 1 to 1 ratio.
IMPORTANT: Keeping the print heads cleans helps insure quality imaging.
Use the print head cleaner sheets whenever the quality of your image starts to deteriorate.
To access printer controls on the PC first open “My computer” dialog box, then the
“printers” folder. Open your printer (See Figure 6) under “Printer” window open “Properties”.
Click on “DEVICE OPTIONS” dialog box (See Figure 7) and set “print density” to “Dark” and
“Print Quality” to “Barcodes and Graphics”.
These setting will help optimize printing of your graphics and photos. If your photo prints
too dark change the “PRINT DENSITY” to normal.
4
Optimizing graphical output
Figure 6.
Figure 7.

Click on “GRAPHICS” dialog box and note that the “RESOLUTION” is set to 300 DPI,
and cannot be modified. The “dithering” controls gives you different options when printing
graphics (ex: Clip art) or photos. The “INTENSITY” control determines the darkness or
lightness or your printed images.
It is recommended to test a few variations of your image
(ex: Dithering: error diffusion, intensity 86).
Macintosh Users
All printer controls are in the page setup. Set “Darkness:” control to “Medium”. If image prints
too light change the setting to “Dark” (See Figure 8). Set “Print Quality:” control to Barcode &
Graphics (See Figure 9) for photographic images and graphic images.
Image Preparation: How well your image is prepared will help tremendously in output.
It can’t be said enough “Good image prep is important”.
All photographic images should be greyscale and saved as TIFF or BMP.
Save at 300dpi 1 to 1 ratio.
Rescaling an image when placed into your label is an option only available only on a MAC.
The DYMO Labelwriter is not platform specific. Its built-in USB port works on both MAC and
PC. All you have to do is access the proper driver from the CD.
5
Optimizing graphical output
Figure 8.
Figure 9.
 Loading...