

Dr. Mach MACH 120F Series, MACH 120 Series Instructions For Use Manual
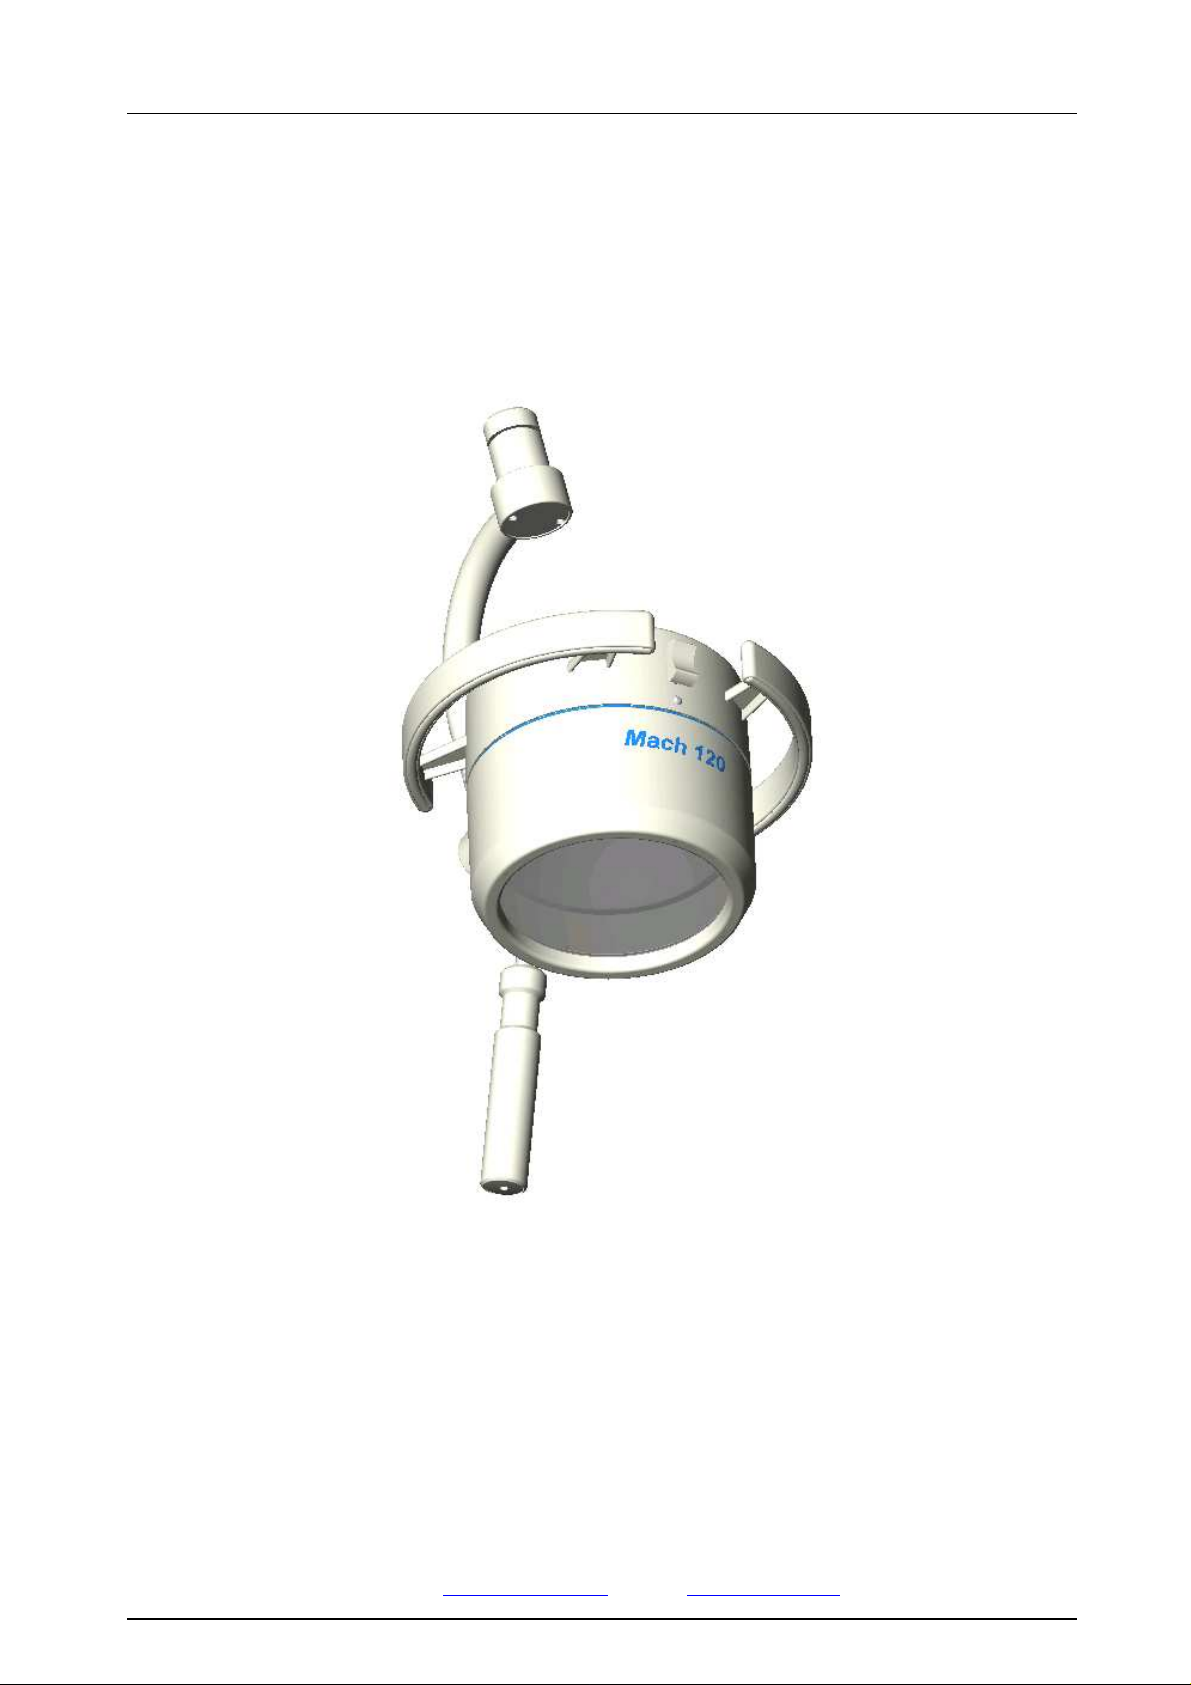
MACH 120F/120
Ceiling, Wall, new-type stand model
Ceiling, Wall, Stand model
Instructions for use
MACH 120F/120
Dr. Mach
Lamps and Engineering
Mach 120F ceiling lamp ____________________________Order No. 1202 2033 30
Mach 120 ceiling lamp _____________________________Order No. 1201 1033 30
Mach 120F wall lamp ______________________________Order No. 1202 2022 02
Mach 120 wall lamp _______________________________Order No. 1201 1022 02
Mach 120F, new-type stand model ___________________Order No. 1202 2013 00
Mach 120, new-type stand model ____________________Order No. 1201 1013 00
Dr. Mach
59080001 Edition 08 06.02.2010 / Bak Page 1/19
GmbH u. Co. KG, Flossmannstrasse 28, D-85560 Ebersberg
Tel.: +49 (0)8092 2093 0, Fax +49 (0)8092 2093 50
Internet: www.dr-mach.com, E-mail: info@dr-mach.de

MACH 120F/120
Ceiling, Wall, Stand model
Dr. Mach
Lamps and Engineering
List of contents
1. Safety instructions ........................................................................................ Page 3
2. Operating the lamp Mach 120F/120.............................................................. Page 4
2.1 ON/OFF switch....................................................................................... Page 4
2.2 Positioning.............................................................................................. Page 4
2.3 Light field adjustment (focusing)............................................................. Page 4
3. Cleaning....................................................................................................... Page 5
3.1 Sterilisable handle .................................................................................. Page 5
3.2 Lamp head, protective disk..................................................................... Page 5
4. Maintenance................................................................................................. Page 6
4.1 Adjustments at the ceiling/wall attachment and new-type stand.............. Page 6
4.2 Adjustments at the lamp head ................................................................ Page 6
4.3 Changing of spare parts ......................................................................... Page 7
4.3.1 Changing the halogen bulbs.............................................................. Page 7
4.3.2 Changing the fuses............................................................................ Page 7
4.3.3 Changing the protective disk ............................................................. Page 8
4.3.4 Changing the filter disk...................................................................... Page 9
4.3.5 Conversion to sterilisable handle....................................................... Page 10
5. Data.............................................................................................................. Page 11
5.1 Technical data ........................................................................................ Page 11
5.2 Environmental conditions........................................................................ Page 11
6. Characteristics.............................................................................................. Page 11
6.1 Specification of bulb................................................................................ Page 11
6.2 Specification of fuse................................................................................ Page 12
6.3 CE-mark ................................................................................................. Page 12
7. Disposal........................................................................................................ Page 12
8. Spare parts................................................................................................... Page 13
8.1 Mach 120F ceiling/wall/stand model ....................................................... Page 13
8.2 Mach 120 ceiling/wall/stand model.......................................................... Page 14
8.3 Spare parts list........................................................................................ Page 15
9. Electromagnetic compatibility ....................................................................... Page 17
59080001 Edition 08 06.02.2010 / Bak Page 2/19
MACH 120F/120
Ceiling, Wall, Stand model
Dr. Mach
Lamps and Engineering
1. Safety instructions
Please pay attention to the directions for use when handling the lamp.
Attention:
This device is not suitable for use in hazardous locations. The lamp is classified
As a Group 1 device according to the MedGV (Medical Ordinance).
Repairs to the lamp and special installation work on the reflector or plug-in socket should
only be carried out by ourselves or a company expressly authorised by ourselves.
The manufacturer is only responsible for the safety of the lamp if repairs and alterations have
been carried out by themselves or a company who can guarantee that the safety regulations
have been observed.
The manufacturer is not liable for personal or material damages if the lamp is misappropriately or incorrectly operated or misused.
The lamp body may only be dismantled from the swivel arm in reverse order of its assembly.
Make sure that the lamp is in perfect working order before every use.
59080001 Edition 08 06.02.2010 / Bak Page 3/19
MACH 120F/120
2. Operating the lamp Mach 120F/120
Ceiling, Wall, Stand model
37
There are two types of Mach 120F/120 -lamps
available:
• Mach 120F with focusable light field and dielectric light system Ra=93
• Mach 120 with fix-focus and standard light system Ra=86
The lamp types are equipped with an external
transformer:
• Mach 120F/120, voltage 22,8V / external transformer.
Dr. Mach
Lamps and Engineering
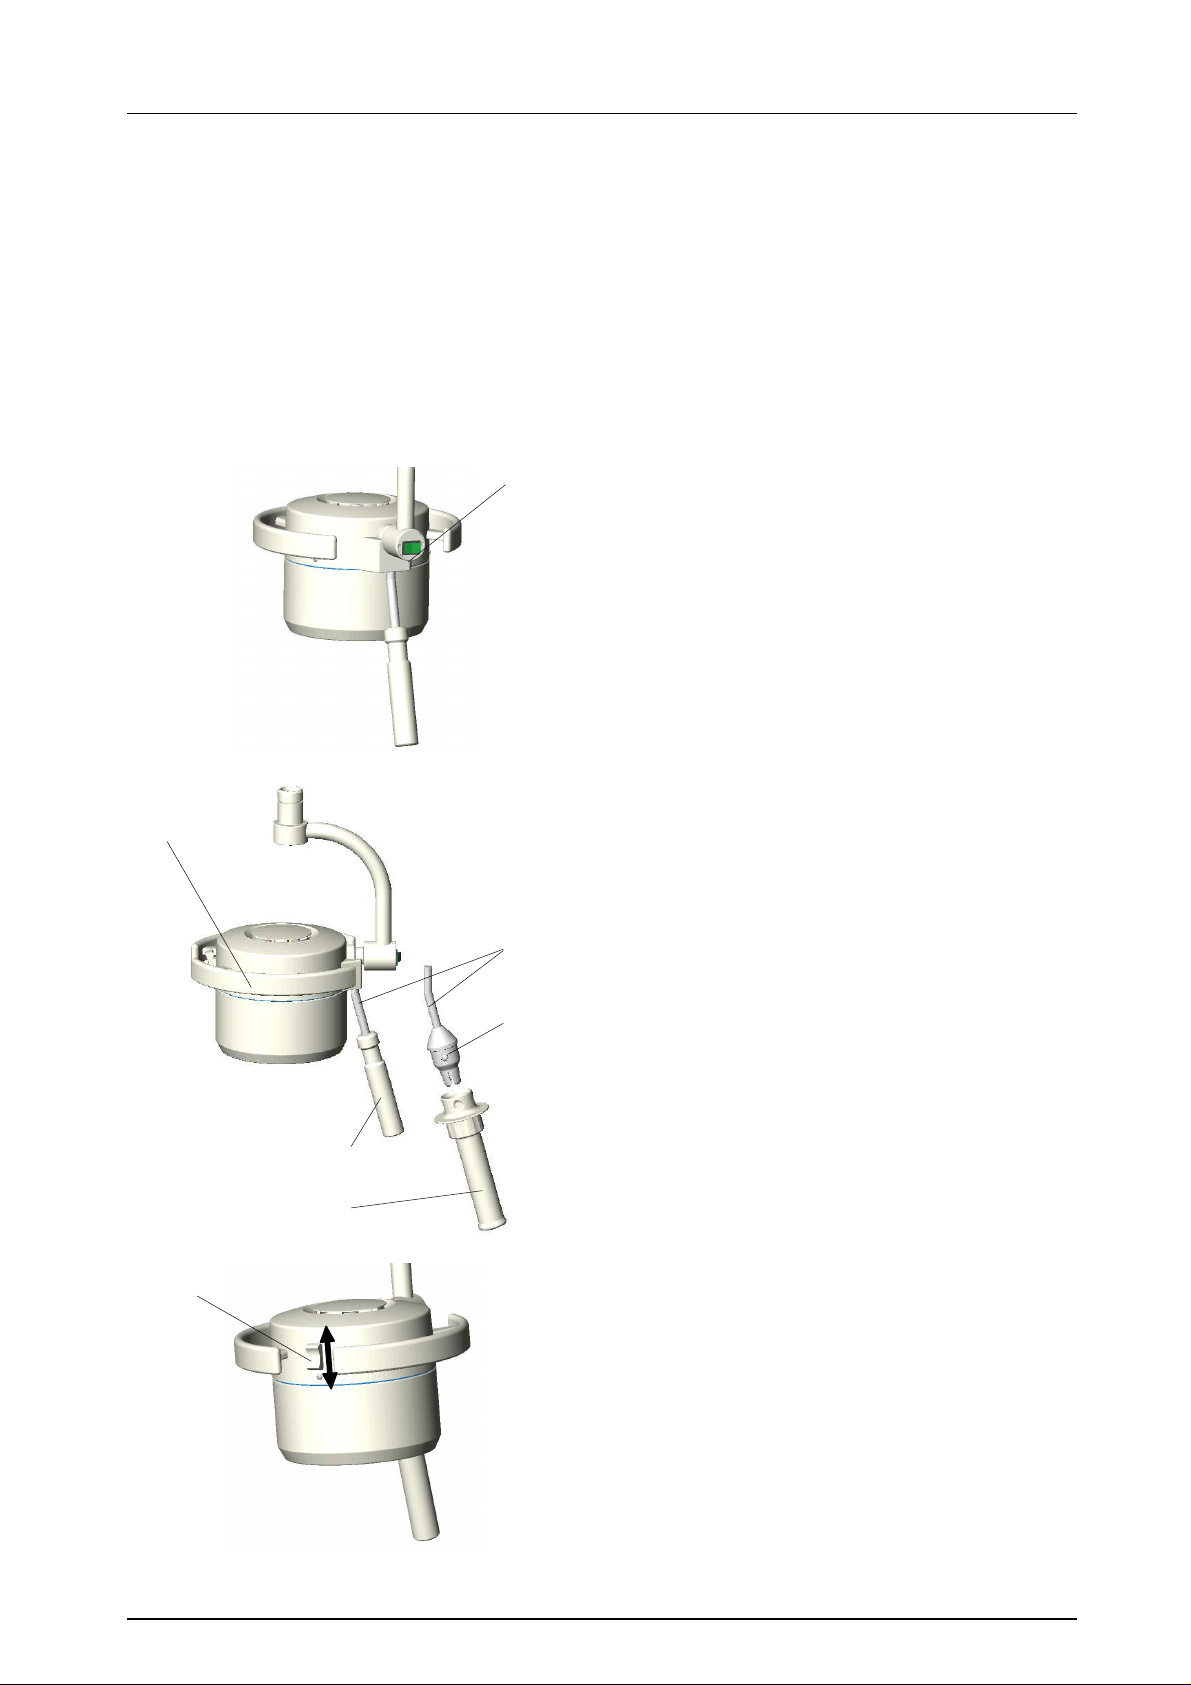
2.1 ON/OFF switch
The switch 37 with signal lamp at the lamp bow
turns the lamp on and off.
Because of the external transformer of the lamps,
in addition to the switch 37 a two-pole switch
ON/OFF must be provided by the customer.
GL
08
17
50
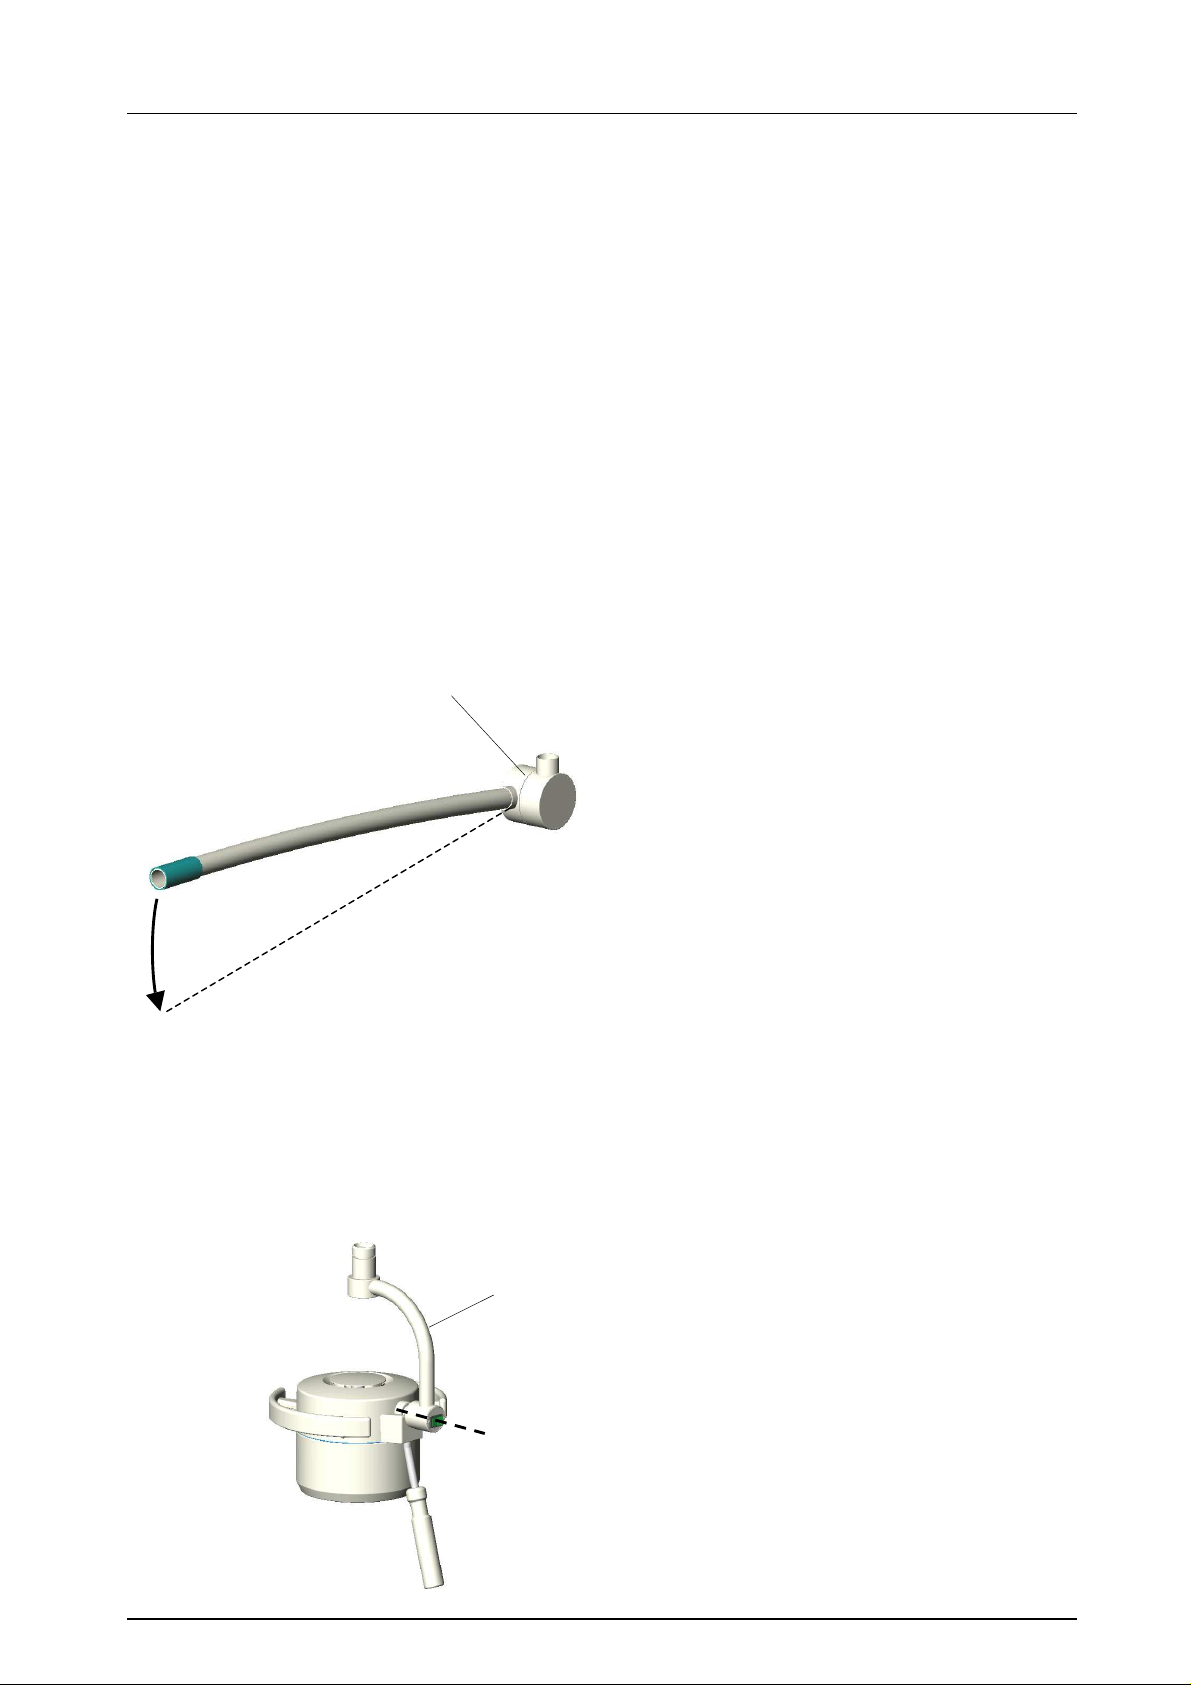
2.2 Positioning
Use the handle 17/50 or the handle rail GL to position the lamp.
There are two handle types available:
16
49
• Handle 17
The handle 17 is fixed to the handle bar 16 and
can be removed.
• Sterilizable handle 50
The sterilizable handle can be removed for sterilisation. It is fixed by the couple to the handle
bar 16.
2.3 Light field adjustment
- focusing (Mach120F only)
The lamp models Mach 120F have a focusing function. That means, you can either enlarge the diameter of the light field or bundle the light to a
smaller area, depending on the circumstances.
To activate the focusing function, move lever 08 at
the lamp head up and down (see figure).
59080001 Edition 08 06.02.2010 / Bak Page 4/19
MACH 120F/120
Ceiling, Wall, Stand model
3. Cleaning
50
Dr. Mach
Lamps and Engineering
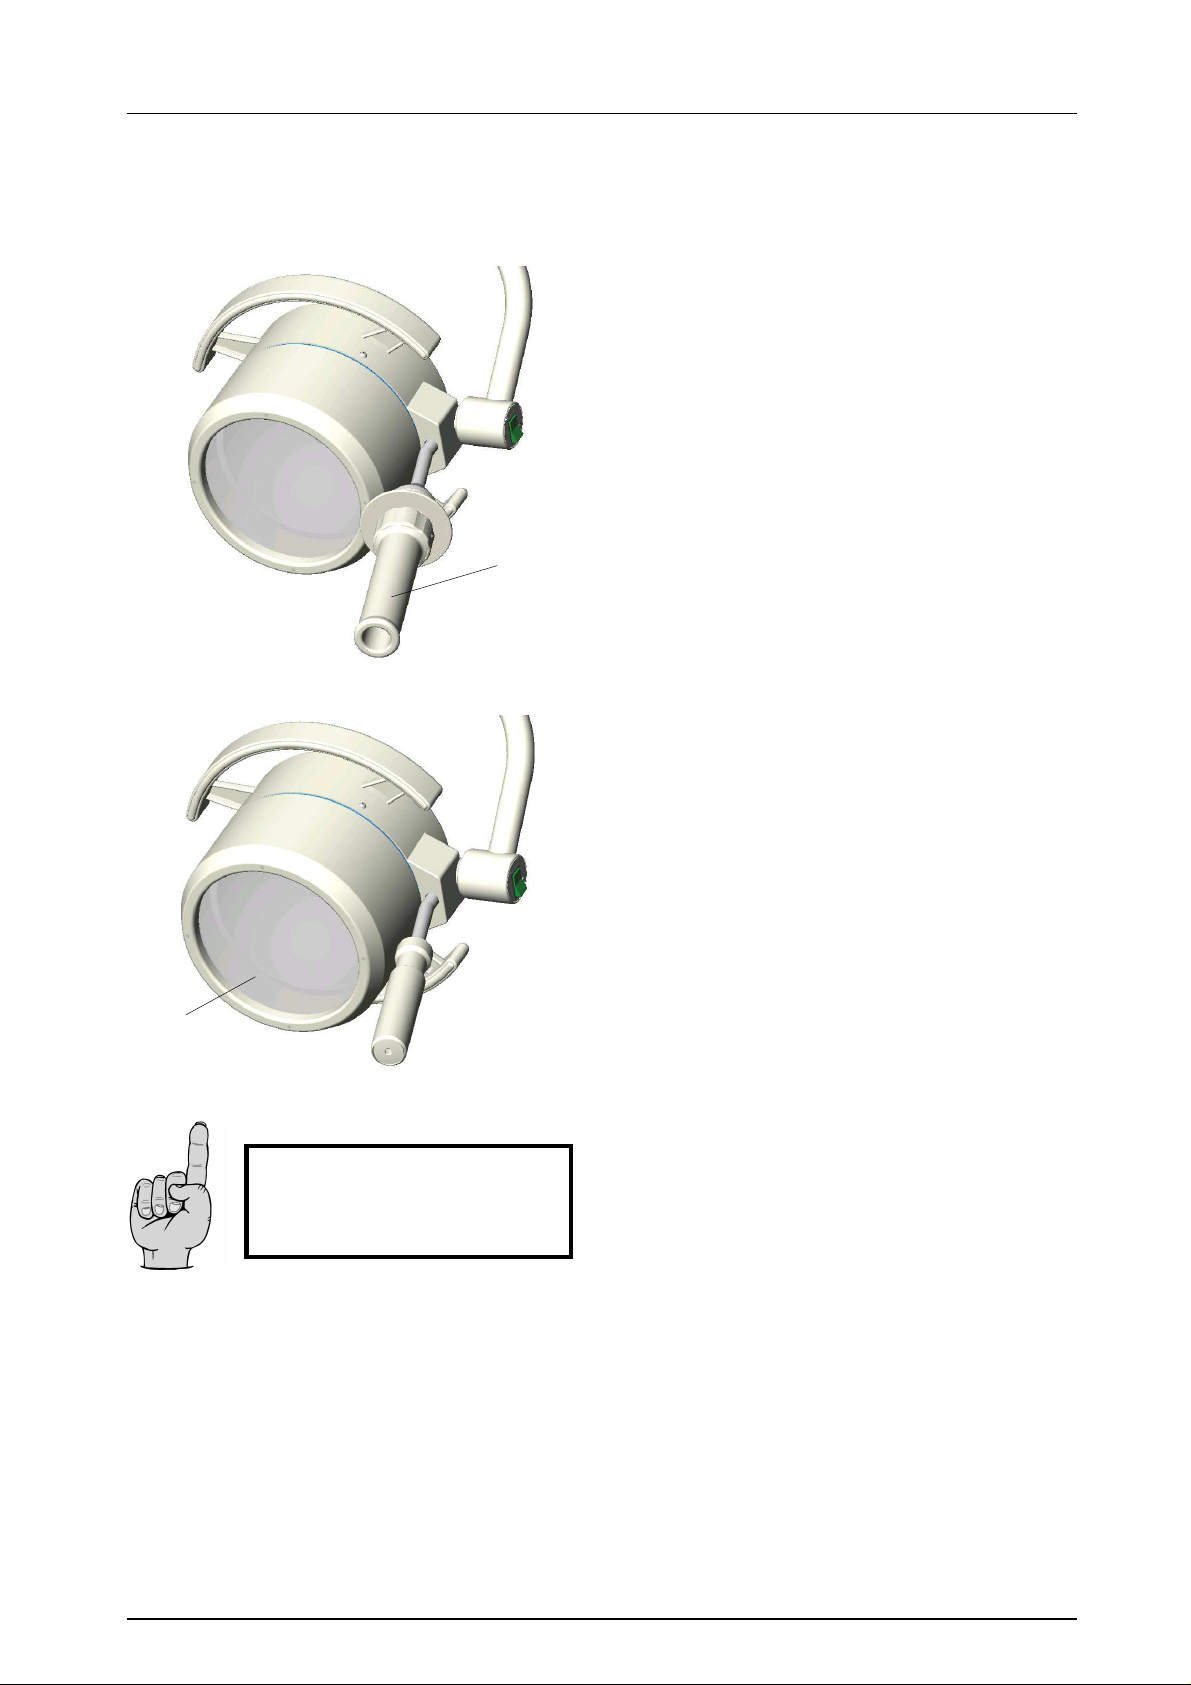
3.1 Sterilisable handle
The lamps Mach 120F/120 can be equipped as an
option with a sterilisable handle 50.
The sterilisable handle 50 can be removed and
sterilised at temperatures up to a max. of 134°C.
No other parts may touch the handle during sterilisation. The handle should be placed in a vertical
position during sterilisation.
3.2 Lamp head, protective disk
The lamp has a high-quality surface, which can be
cleaned with conventional cleaning agents.
The protective disk 15 is made of an high-quality
plastic. Pay attention to the following during cleaning:
-
Wipe over the disk 15 with a wet cloth (never
use a dry cloth!).
-
Only use disinfectant with less then 20% alcohol.
15
Wipe the disk 15 after cleaning with an antistatic,
non-fluffy cloth.
Alc. ≤≤≤≤ 20 %
59080001 Edition 08 06.02.2010 / Bak Page 5/19
MACH 120F/120
Ceiling, Wall, Stand model
Dr. Mach
Lamps and Engineering
4. Maintenance
Maintenance and inspection of the light should be done every two years.
In order to keep the system easy-running throughout its life span, we recommend that the hinges should be
greased once a year with acid-free grease.
Maintenance and safety check duties:
- Visual inspection
- Complete check of the ceiling or wall attachment
- Changing the halogen bulbs, if necessary
- Protective conductor resistance measurement
- Leakage current measurement
- Insulation resistance measurement, if necessary
- Functional testing
- Electrical safety check
- Light intensity measurement
- Completing the test report
20°
B
32
A
4.1 Adjustments at the ceiling/wall
attachment and new-type stand
♦ Adjusting the spring arm
(new-type attachment)
To adjust the spring force proceed as follows:
a) The spring arm moves down on its own:
• Pull the lamp head approx. 20° downwards until
drilled hole B lies on the upper side of the joint
between spring arm and horizontal arm and a
screw is visible in the hole.
• Insert a slotted screw driver into drilled hole B.
• Turn adjusting screw to the left (anticlockwise),
the spring force increases.
b) The spring arm moves up on its own:
• Pull the lamp head approx. 20° downwards until
drilled hole B lies on the upper side of the joint
between spring arm and horizontal arm and a
screw is visible in the hole.
• Insert a slotted screw driver into drilled hole B.
Turn adjusting screw to the right (clockwise),
the spring force decreases.
4.2 Adjustments at the lamp head
♦ Manipulating the lamp
The lamp bow 32 enables a perfect movability and
positioning of the lamps Mach 120F/120.
The brake force in the axis A is set. It is usually not
necessary to adjust it.
59080001 Edition 08 06.02.2010 / Bak Page 6/19
 Loading...