

Dometic RM211 Operating And Installation Instructions
I
-.
mm
SERVICE
United States
EXECUTIVE OFFICE
DOMETIC SALES CORP.
2320 Industrial Parkway
P.O.
Box 490
Elkhart,
IN 46515
(219) 294-2257
TWX 810-294-2257
SALES OFFICES
DOMETIC SALES CORP.
14441
Bonelli
Street
City of Industry. CA 91746
(313) 968-9431
TWX 910-584-1323
DOMETIC SALES CORP.
5755 So. Hoover Rd. Unit 2
Wichita, KS. 67215
(316) 522.1518
TWX 910-741-0000
DOMETIC SALES CORP.
East Oak Ridge Drive
Rt. 9, Box 17A
Hagerstown, MD 21740
(301) 797-0826
TWX
710-853-6821
DOMETIC SALES CORP.
7895 S.W. Hunziker Rd.
Portland, OR 97223
(503)
620-9510
TWX 910-458-8838
DOMETIC SALES CORP.
902 Avenue
R
Grand Prairie, TX 75050
(214) 641.4277
TWX 910-866-4626
Canada
EXECUTIVE OFFICE
DOMETIC CANADA INC.
2316 South Service Road West
Oakville.
Ontario
L6J
5A2
(416)
827-9811
TELEX 06-982234
SALES OFFICES
DOMETIC CANADA INC.
6019 3rd Street
SE.
Calgary, Alberta
T2C
1 R4
(403) 279-2669
TELEX 038-21885
DOMETIC CANADA INC.
1650 Rue Haggerty
Drummondville. Ouebec
J28 6W4
(819) 472.1182
TELEX 05.838532
September 1980
820 88 1503
OPERATING AND
INSTALLATION INSTRUCTIONS
MODEL
RM211
OPERATION BY L.P. GAS OR ELECTRICITY (DUAL VOLTAGE,
12/1
10V)
FOR USE IN A RECREATIONAL VEHICLE

The design of this refrigerator has been certified by the American Gas Association and the Canadian Gas Association for mobile home or
recreational vehicle installation. This certificate is contingent, however. upon proper installation and the use of the venting components
as shown in these instructions.
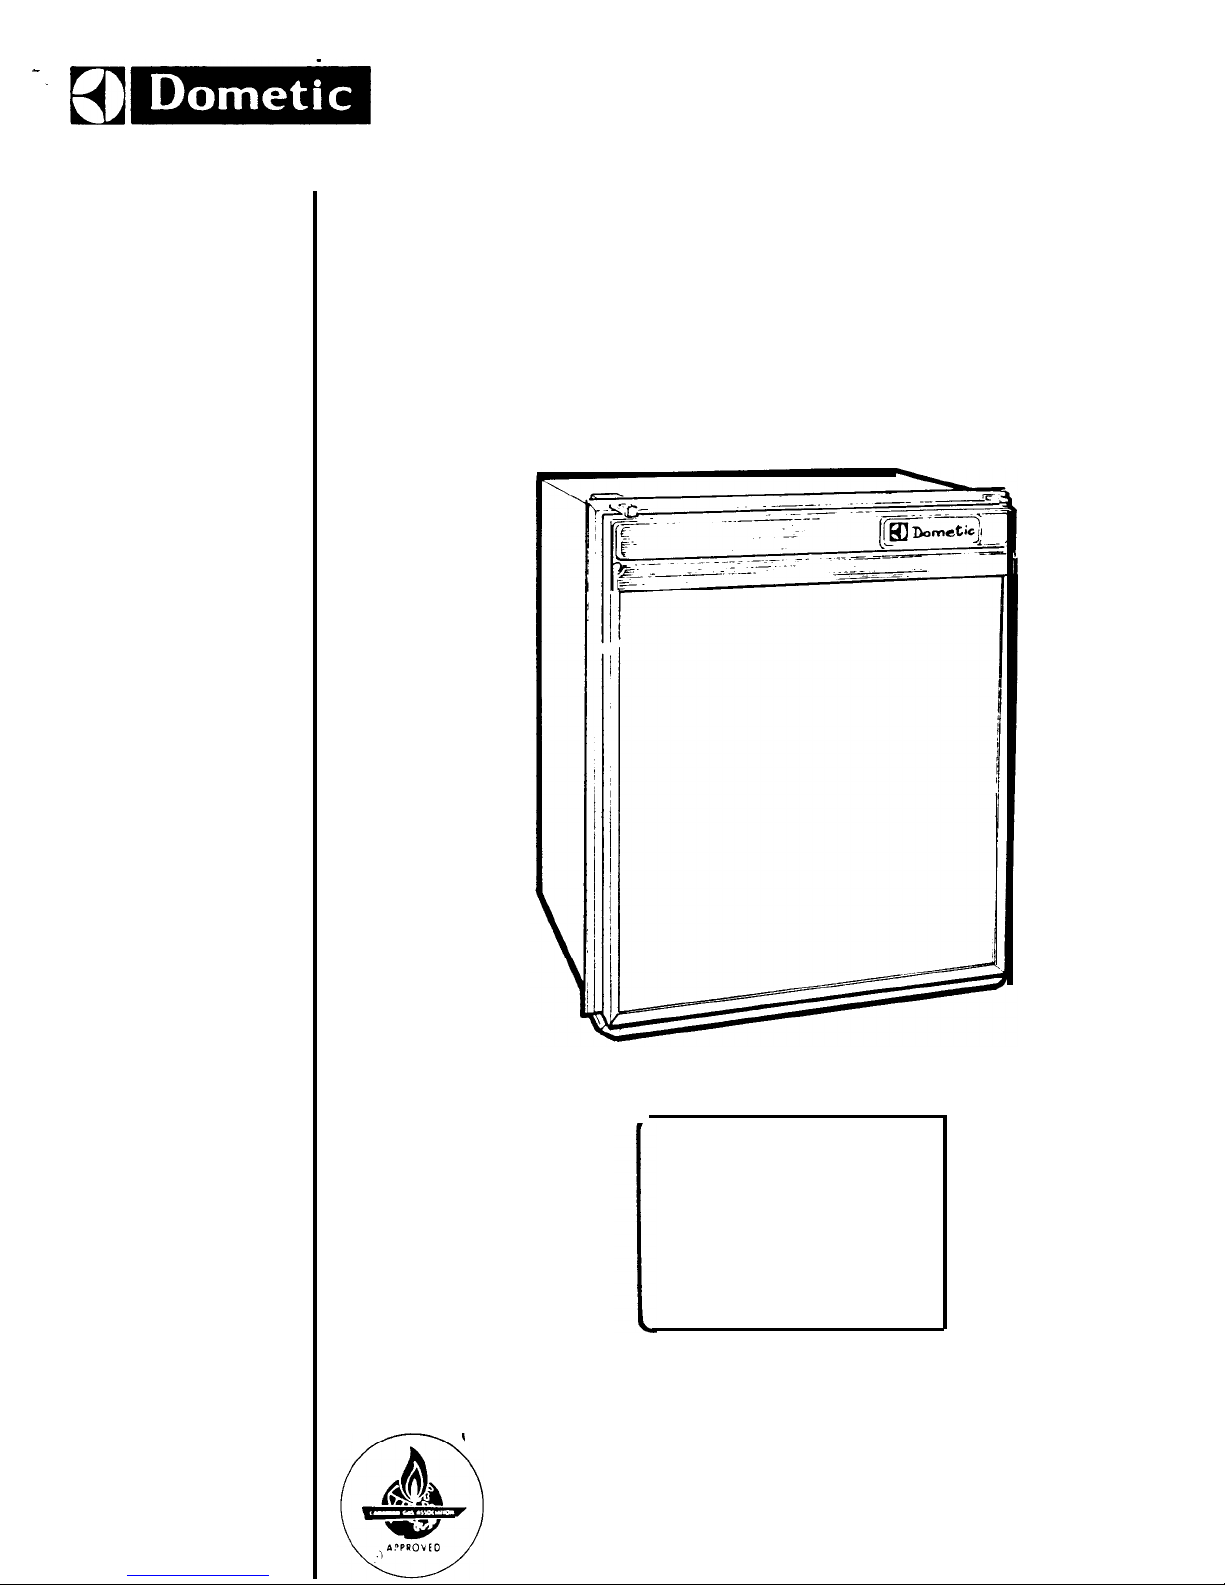
1. CHANGING THE OUTER DOOR PANEL
If required, the outer door panel can be removed and replaced by one
of a different material or color. To do this, take out the screw from
each end of the plastic nameplate strip, then pull one end of the strip
outwards for
3/4"
and downwards until it is disengaged from the door.
Slide the outer door panel upwards until there is sufficient space
to insert the fingers underneath it. Holding the top and bottom edges
of the panel, bow out its center until it can be removed from the
aluminum door frame.
If desired, a replacement door panel can be made from materials
such as rust-proofed metal, suitable plastic, or plastic coated hardboard,
with a finish to match other equipment in the vehicle. The material
should
be from 1/32" to
1/8"
thick, and 18
5/16”
wide x 19
1/8 "
high.
Fit the door panel by locating one side behind the aluminum door
frame and bowing
out
its center until its other side can be engaged. Slide
the panel down as far as it will go, then refit the nameplate strip,
engaging the retaining Section of its rear top
edge
under the aluminum
door frame, and sliding it up until its lower retainers can be located
over the top of the door panel. Finally, replace the two screws.
2. TO CHANGE THE DOOR HINGES FROM ONE
SIDE TO THE OTHER
(a)
Unscrew and remove upper hinge pin, open door and lift it off
lower hinge pin. Transfer lower hinge pin to opposite side of
foot-
plate.
(b)
Transfer plastic stop for travel catch, and upper hinge-pin bush, to
opposite sides of top of door. (Remove them as follows. (i) From
left-hand top corner, turn plastic stop or hinge pin bush approximately
45’
counter-clockwise
and pull it out; (ii) from right-hand
top corner, turn
plastic
stop or hinge pin bush approximately
45O
clockwiseand pull it out. Fit in reverse order).
(c)
Engage door on lower hinge pin, then refit upper hinge pin. Check
door closure. If necessary adjust the seal by loosening upper hinge
pin. and the four screws under the footplate, and move the door
inwards or outwards a little until a satisfactory seal is obtained,
then tighten the screws.
3. INSTALLATION
The installation of the refrigerator must comply with the following
American National Standards and Canadian Standards, as
applicable:-
1. National Fuel Gas Code ANSI 2223.1 - 1974
2. Mobile Homes, Latest Edition of A119.1
3. Recreational Vehicles, Latest Edition of Al 19.2
4.
(a)
Canadian Standard CGA
10.1/CSA
2240.4 “Gas Equipped
Recreational Vehicles and Mobile Housing”
(b)
Canadian Standard CSA 2240.6.1 “Electrical Requirements for
Mobile Housing”,
or Standard CSA
Z240.6.2/C22.2
No. 148
“Electrical Requirements for Recreational Vehicles”
The refrigerator should be installed on a solid base and must be
level in relation to the trailer so that when the trailer is level, the
refrigerator is level,
-
see item 9.
The overall dimensions of the refrigerator are given below, and the
dimensions of the recess to house it are given in fig. 3. These allow
sufficient clearances for the refrigerator to be inserted and withdrawn.
The following minimum clearances must be allowed at the back and
over the top for air circulation over the cooling unit.
Clearance from rear edge of outer casing of refrigerator
-
4 inches.
Clearance over
top
of unit condenser fins - 1
1/8
inches. This is
the minimum height which can be allowed over the condenser fins.
Wherever possible, this height should be increased by up to 11 inches,
the more ventilation you provide, the better the performance you can
expect from the refrigerator.
The refrigerator should be installed in accordance with the illustra-
tions on page 3. Both the flue gases and the ventilation air must pass
to the outside, and the joints between the body of the refrigerator and
the vehicle, and in any ventilation ducts, must be effectively sealed to
prevent exhaust
gases
from the combustion system entering the living
space. The rear of the metal frame at the front of the refrigerator, and
the underside of the lower front plate, have foam sealing strips attached
in order to seal the joints between the refrigerator and the front of the
recess
at the top, sides, and bottom. Before installing the refrigerator,
make sure that these sealing strips are in place and are not damaged.
Surfaces adjacent to, and above, the flue outlet must be of, or
covered with, fireproof material.
The refrigerator can be secured in the recess by screws or bolts
through the holes in the rear base plate.
Vents
The absorption cooling unit is of the air-cooled type and it is of the
utmost importance that air circulates freely over the unit at the back
of the refrigerator. To ensure this, two vents must
be
provided in the
wall of the trailer so that air passes in through the lower vent. over the
cooling unit, and out through the upper vent. Details of the vents
are
given in fig. 3. These vents have been
tested
for
use
with this
refrigerator and contain the proper size openings; they must
be
installed and must not be modified in any way.
Any joints in the floor of the recess must be sealed to prevent gas,
in the event of a leak, entering the cavities or cupboards below the
refrigerator.
The lower vent has to be opened to gain access to
the
gas and
electric controls which are accessible only from the rear of the
refrigerator.
4. FLUE BAFFLE
The flue baffle should be in position in the boiler tube, suspended by
its support wire, so that the lower end of the baffle is 3 inches from
the bottom of the boiler tube. This is correctly positioned during
manufacture and should not become displaced during normal use.
5. GAS PRESSURE
The gas bottle must be fitted with a pressure regulator to reduce the
pressure to 11 inches water gauge. The burner is fitted with a size 4
jet which is suitable for use on Propane and Butane gas at a supply
pressure of 11 inches water gauge.
6. GAS
CONNECTlONS
The supply pipe from the pressure regulator on the gas bottle to the
refrigerator should preferably be of copper, or of another type
approved for use with continuously operating
L.P.
gas appliances, and
should be connected to the inlet of the gas valve (A, fig. 4) at the back
of the refrigerator.
After connecting. all gas connections should be checked for leaks
in accordance with item 9.
7. ELECTRICAL CONNECTIONS
The heating element which operates the cooling unit on electricity is
rated at 95 watts and has two windings, one for use on 110 volts a.c.,
the other for use on 12 volts
d.c.
The unit must be electrically grounded in accordance with the
National Electrical Code, ANSI Cl-1975. when installed if an external
alternating current electrical source is utilized.
(a) 110 Volts a.c.
The connection cord for the
110V
a.c. supply has a three-prong (grounding) plug for your protection against shock hazards and is intended to
be plugged directly into a properly grounded three-prong receptacle. Do
not cut or remove the grounding prong from this plug.
The cord is approximately 5’ 6” long and a grounded three-prong
receptacle should be installed in an accessible position within reach of
the plug.
 Loading...