

DNP ID400DC2 Quick Reference Manual
ID400DC2 QUICK REFERENCE
ID400DC2 QUICK REFERENCE GUIDE
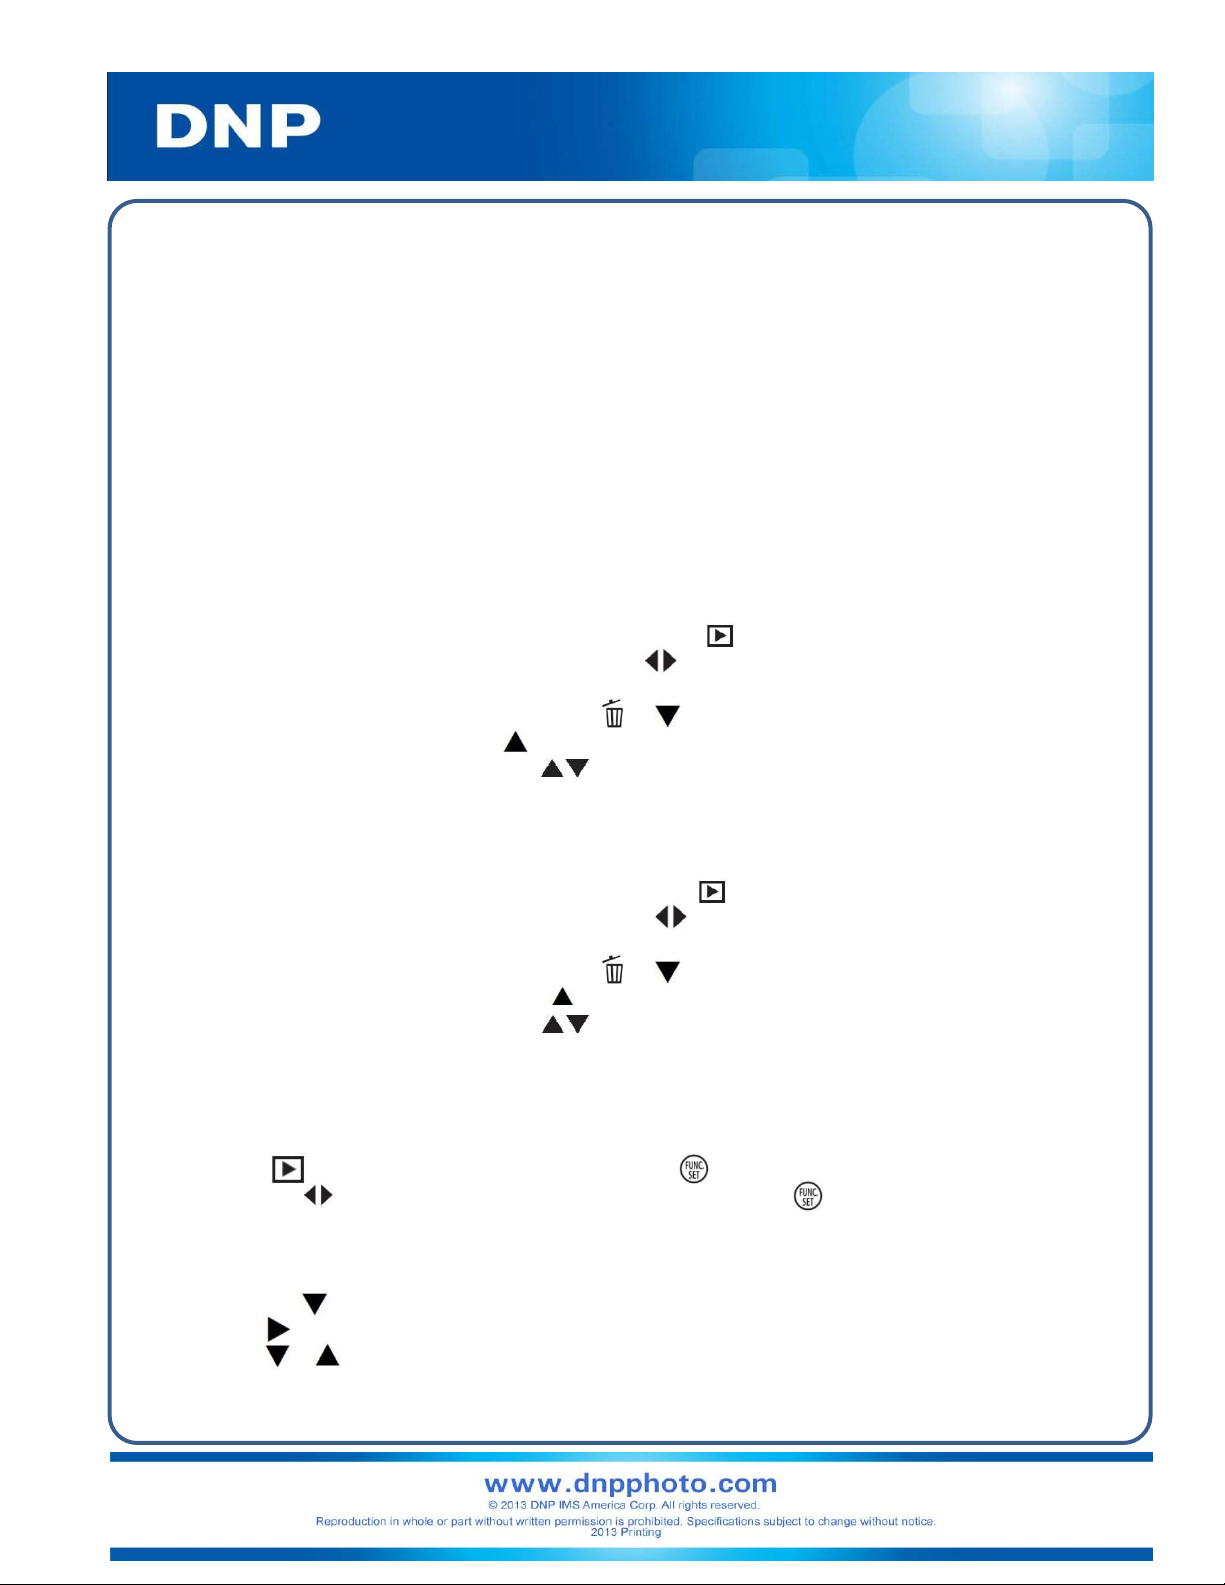
HOW TO CHANGE THE ID PHOTO LAYOUT
1. On the printer, press the MENU button.
2. Press the Down Arrow until the display reads [ID PHOTO SETTINGS].
3. Press the Right Arrow. [COLOR B/W] will be displayed.
4. Press the Down Arrow until display reads [ENABLE/DISABLE LAYOUT].
5. Press the Right Arrow.
6. The layout names will appear with [ENABLE] if they are not currently enabled or [DISABLE] if they are
enabled. Press the Down Arrow to switch between
7. To enable a layout, hit the Right or Left Arrow to change [ENABLE] to disable.
8. When nished, press the EXEC button.
HOW TO ERASE AN IMAGE FROM THE CARD
This secon is from page 18 of the Sony Cybershot DSC-W710 Digital Sll Camera/Instrucon Manual
1. On the camera, enter Playback Mode by pressing the button. The last image taken will appear.
2. Choose an image to erase by either hitting the button to locate an image for deletion.
3. Delete the image:
a. With the image selected, press the or button.
b. Select [This Image] with on the control button, then press
4. To exit instead of erasing, press the buttons to select [Cancel].
layo
uts.
.
HOW TO ERASE ALL IMAGES ON A CARD
This secon is from page 18 of the Sony Cybershot DSC-W710 Digital Sll Camera/Instrucon Manual
1. On the camera, enter Playback Mode by pressing the button. The last image taken will appear.
2. Choose any image to erase by either hitting the button to locate an image for deletion.
3. To delete all the images:
a. With the image selected, press the or button.
b. Select [All in This Folder] with on the control button, then press .
4. To exit instead of erasing, press the buttons to select [Cancel].
HOW TO REPRINT THE LAST IMAGE
This is found on P29 of the ID400 Operang Instrucons Guide (Note that this is version 2.01: hp://dnpphoto.net/support-e/)
1. Press MENU.
2. In the tab, scroll down to [Favorites] and press .
3. Press the buttons or dial to choose an image then press the
button to untag any tagged
images.
4. Repeat Step 3 to untag any additional images.
5. Press the MENU button.
6. Press the on the control button to display [COPY PRINT].
7. Press .
8. Press or to specify the number of copies.
9. Press EXEC and printing will begin.
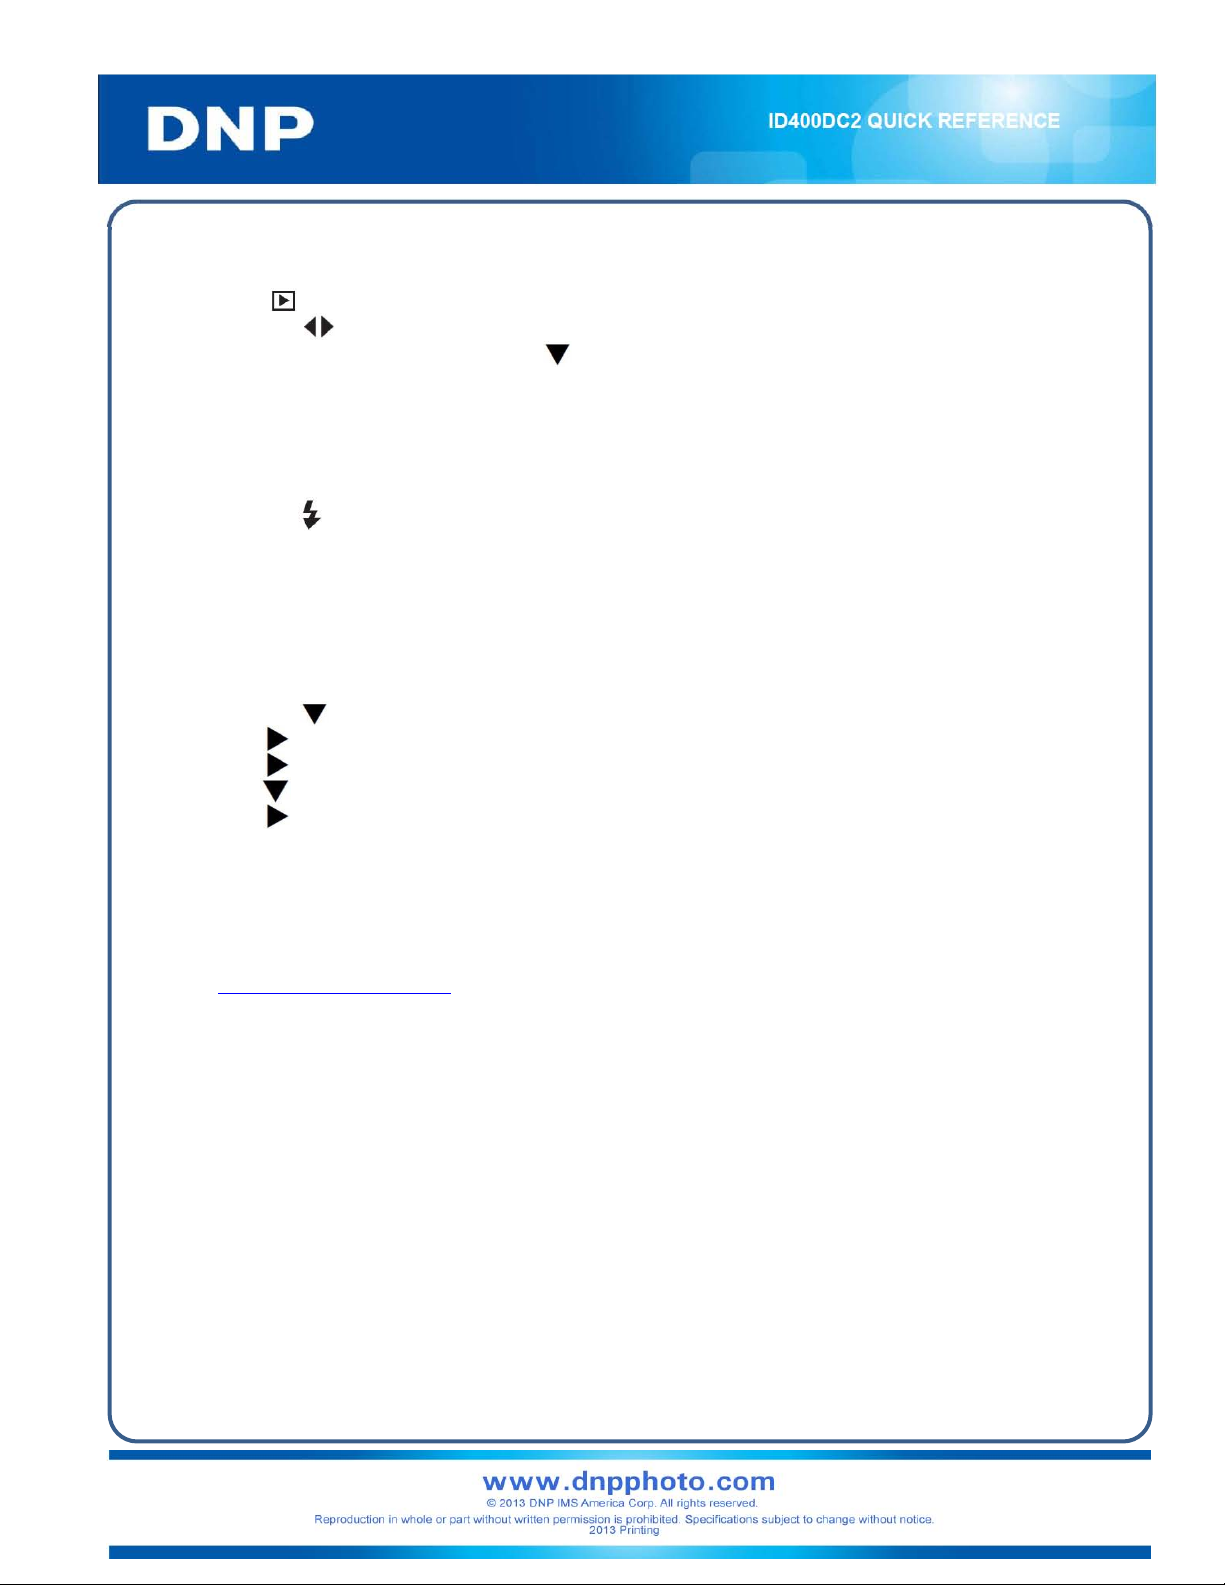
HOW TO REPRINT AN OLDER IMAGE
The following secon is from page 18 of the Sony Cybershot DSC-W710 Digital Sll Camera/Instrucon Manual
1. Press to review the images.
2. Press the buttons to choose an image.
3. Press the [Menu] button and use the button to select [DPOF].
4. Press the button to select [This Image]
5. Press the button to print.
HOW TO TURN ON THE FLASH
1. Press the button on the dial to turn the ash on or o.
HOW TO RECONFIGURE THE WIRELESS LAN SD CARD
These steps are found on p21 of the ID400 Operang Instrucons manual and should be followed if
the SD card is reformaed.
1. Insert the Wireless LAN SD card into the SD slot of the Printer.
2. Press the MENU button.
3. Press the
on the c
ontrol button to display [WIRELESS SETTINGS
].
4. Press and [WIRELESS LAN SD] will be displayed.
5. Press and [SSID] will appear.
6. Press to display [SETUP CAMERA CARD].
7. Press and [SETUP CARD] will appear.
8. Press the EXEC button.
9. After several seconds, the display will return to the previous text and the process is complete.
10. Press MENU to return to the normal display.
Wireless LAN SD cards that have been formaed on a camera or computer may not operate properly on this unit. In such cases, use
the SD Formaer soware provided by the SD Associaon to reformat the cards. You can download SD Formaer from the following
Web site. hps://www.sdcard.org/home/. We recommend the following for the SD Formaer opon seng. FORMAT TYPE: QUICK.
FORMAT SIZE ADJUSTMENT: OFF. Aer formang is finished, configure sengs for the wireless LAN SD cards.
TEMPLATE CREATOR SOFTWARE INSTALLATION
The following is from page 3 of the IDPhotoTemplateEditor manual
1. Double-click the msi le.
2. Read the information in the displayed dialog, and click the [Next] button as instructed.
The dialog will display a message indicating installation has been completed.
3. Click the [Close] button to
close
the dialog.
 Loading...