

Page 1
instructions
Page 2
HMH
2
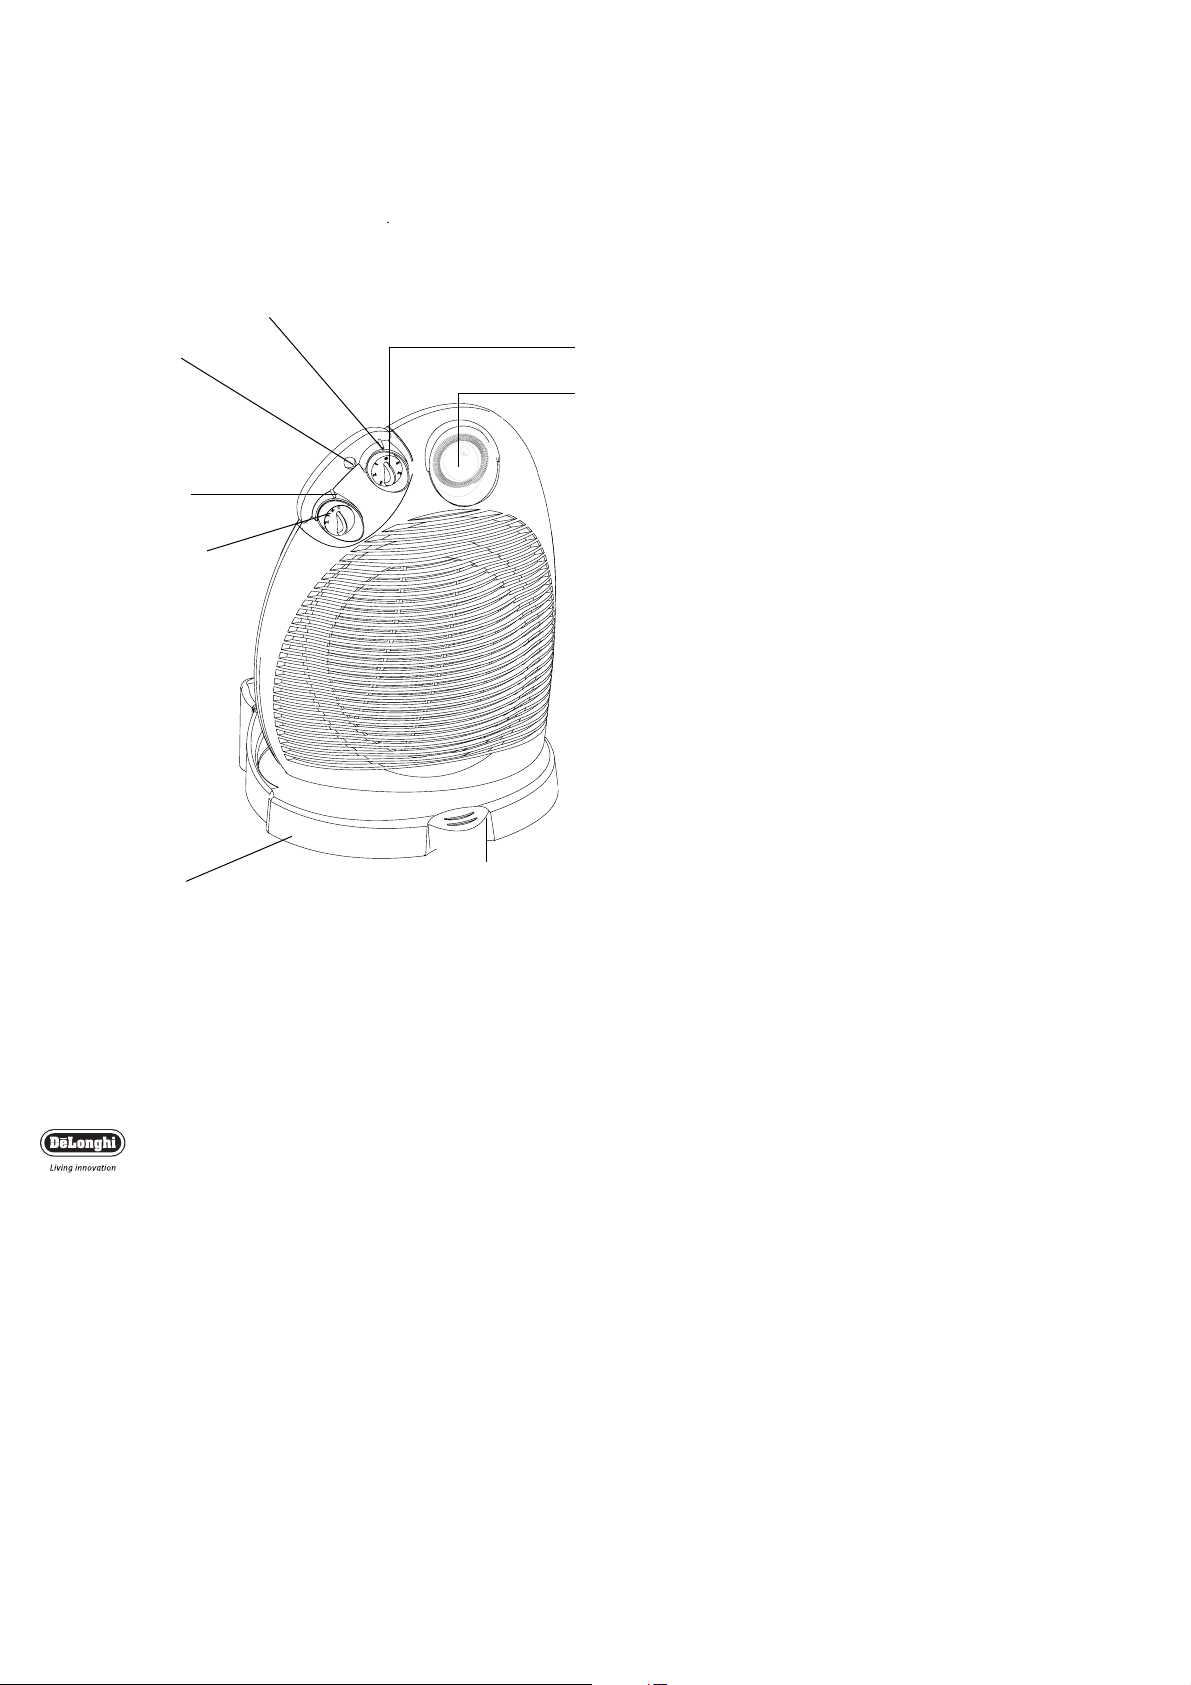
Function selector
Thermostat
Motorised oscillating base (on some models only)
Footswitch (on some models only)
Pilot light
Timer (on some models only)
Thermostat pointer
Function pointer
Page 3
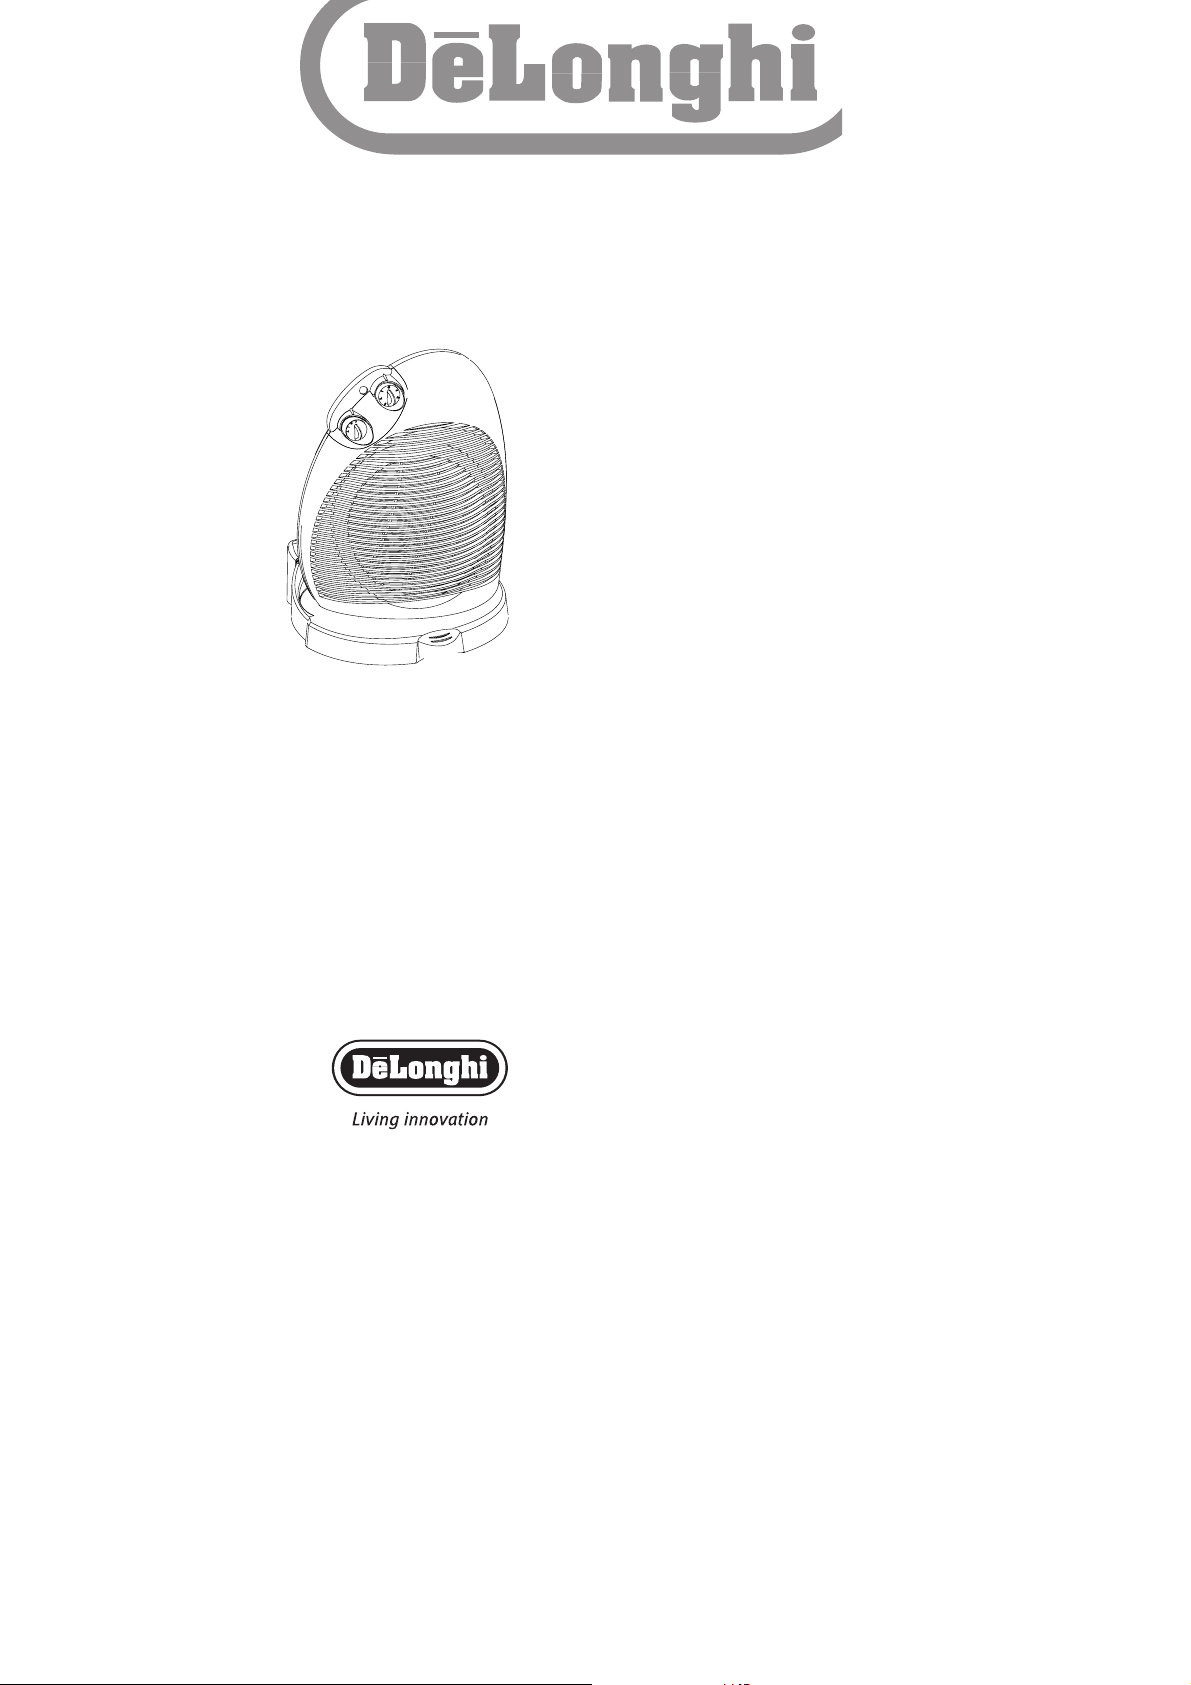
Thank you for choosing this De’Longhi heater. To get the
very best out of your new heater it is advisable to read
these instructions before using it.This will ensure that you
gain optimum results and use the appliance safely.
Electrical connection
- Before plugging the appliance into the mains, check that your
supply voltage is the same as that shown on the rating plate of
the appliance.
- If using more than one appliance at a time, it is important to
ensure that the ring main is adequate to cope with the power
requirements.
- It is important to ensure that the socket is adequately earthed.
- This appliance complies with EEC directive 89/336 regarding
electromagnetic compatibility.
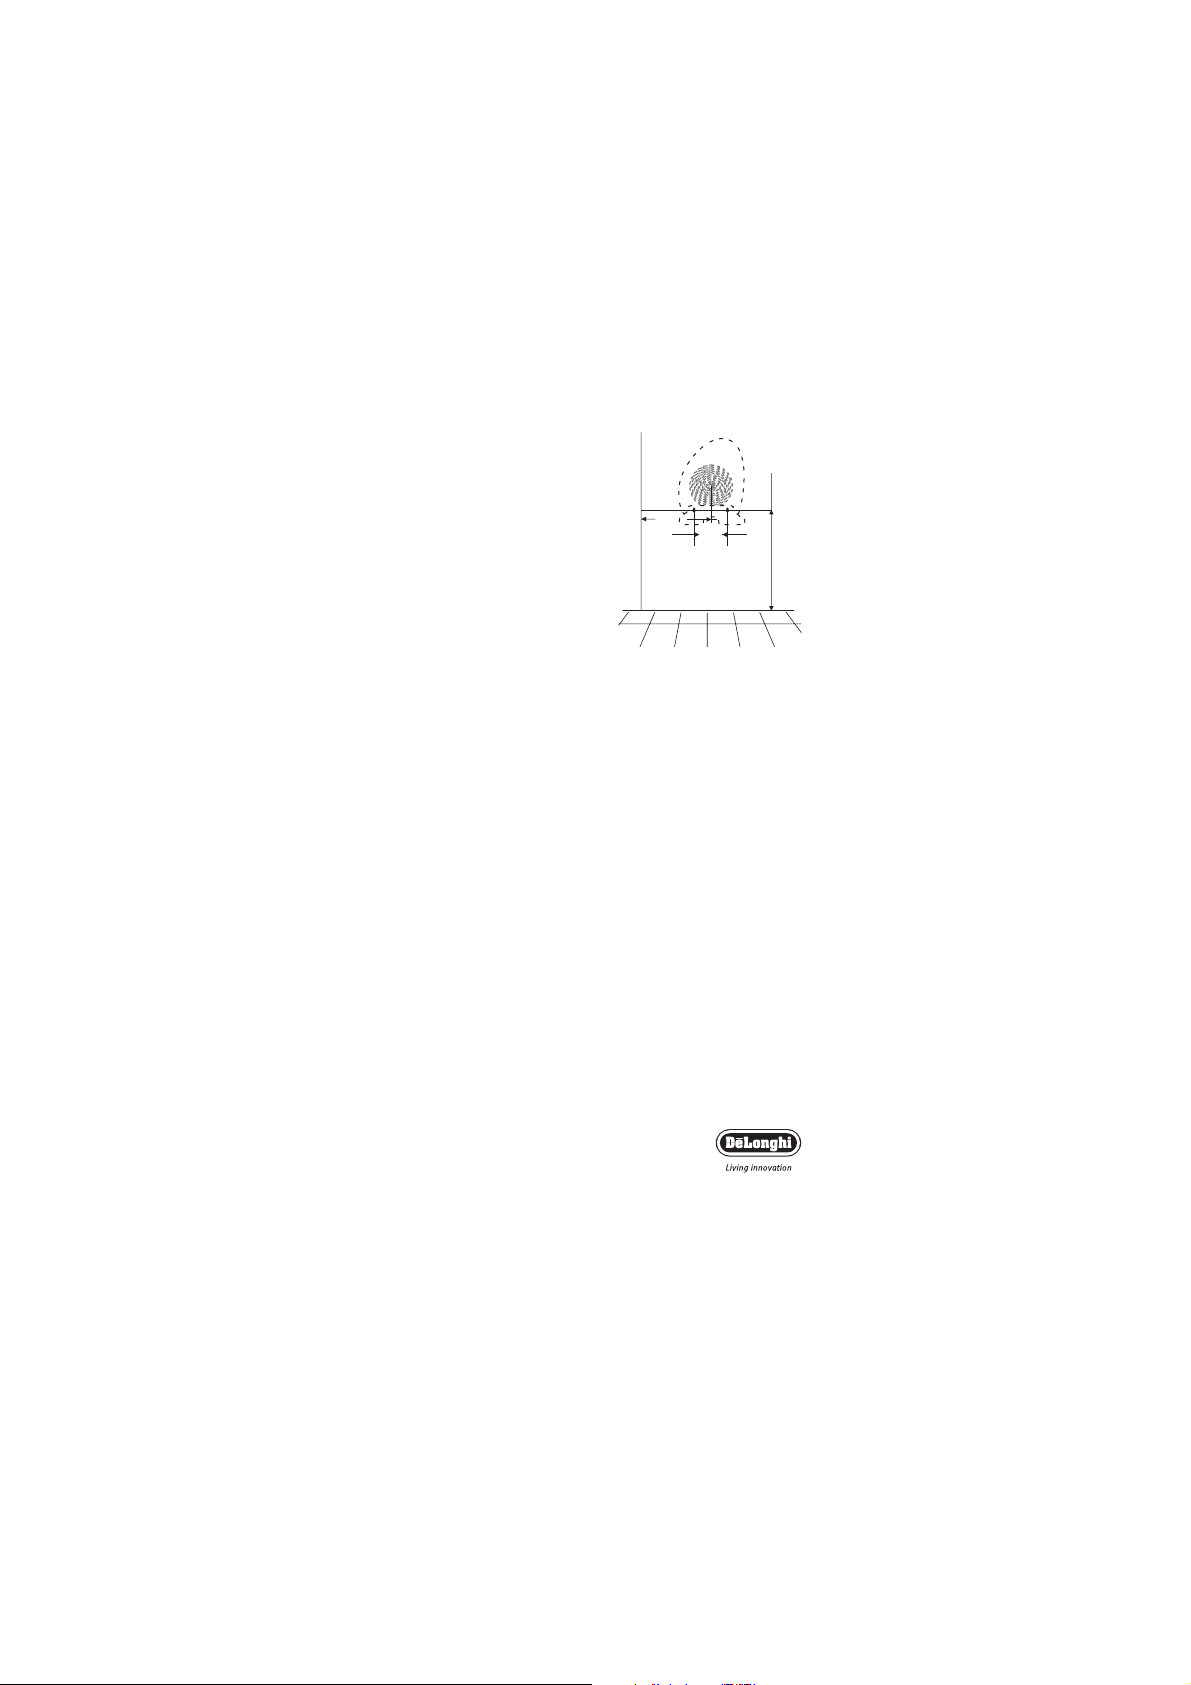
Installation (If required)
Models with a motorised base can be wall-mounted, using 3 screws
and 3 wall plugs.
To wall-mount, proceed as follows:
Drill holes in the wall, as shown in Fig.1, paying particular attention
to the minimum distances indicated.
Hang the appliance on the wall and fasten it using the third screw
at the bottom.
The appliance must not be positioned directly underneath a fixed
power point.
Operation and use
Insert the plug into the mains socket and switch on.
Turn the thermostat clockwise to its highest setting (so the number
6 is at the pointer).
Select the heat setting as follows:
Minimum Power: Turn the function selector, so the number 1 is
positioned at the pointer (the pilot light will
come on).
Maximum Power:Turn the function selector, so the number 2 is
positioned at the pointer.
To turn the heater off, turn the function selector so the 0 is positioned at the pointer.
Adjusting the thermostat
When the room has reached the desired temperature, turn the
thermostat dial slowly in an anti-clockwise direction until you hear
a click and the red pilot light goes off. The thermostat will now
keep the temperature in the room constant, turning the heater on
and off as appropriate.
HMH
3
Fig.1
39 cm
(Min)
14 cm
Page 4

Cool Air Facility
For summer use you may wish to use the heater’s cool air facility.
To obtain cool air, simply turn the function selector to and the
thermostat to the highest position (so the number 6 is at the
pointer)
Frost protection function
Turn the thermostat fully anti-clockwise so the is positioned
at the pointer. Select a heat setting using the function selector (1
or 2). When set in this way, the appliance will switch on automatically only if the room temperature falls below 5°C, to prevent
freezing at minimum energy consumption.
Models with 24hour timer
To set the timer;
- Check the time by your watch. If, for example it is 10 o’clock,
turn the number disc of the timer in a clockwise direction until
the number 10 on the disc lines up with the arrow head marker (▲).
- The heater is usually supplied with all the red “teeth” on the
timer pushed into the centre for continuous operation. Each
“tooth” represents 15 minutes. Using your thumbnail push the
teeth to the outer rim of the timer to indicate when you require
the heater to be off.
- Ensure the heater is on at the mains and set to the heat setting
(using the function selector) and temperature level on the thermostat as desired.
- The heater will now function automatically everyday, switching
on and off according to your selection (IMPORTANT – the
heater must always be plugged in and a heat setting selected).
- If you wish to operate the heater without using the timer simply push all the teeth into the centre (as when the heater was
first supplied).
Models with a motorised oscillating base
Some models feature a motorised oscillating base to distribute the
airflow over a larger area. To turn the oscillation on press the
footswitch at the front of the heater.
To stop the heater in a particular position, simply press the
footswitch again.
The heater can also be tilted manually on its base to vary the airflow up and down.
Please note: This heater is fitted with a tip over switch, which
turns the heater off should it be accidentally knocked over. To
restart the heater, simply place it upright again.
HMH
4
*
Page 5

Cleaning and maintenance
The heater should not require any maintenance. However before
attempting to clean the heater, unplug from the mains and wait for it to
cool (this should take around 5 minutes). It is sufficient to remove
external dust with a soft, dry cloth. Never use abrasive powders or
solvents. If necessary, remove concentrated areas of dirt with a vacuum cleaner.
Warnings
- Do not use the heater in a bathroom or in the vicinity of bathtubs, wash basins, showers or swimming pools.
- Never use the heater to dry laundry.
- Only use the heater in an upright position.
- The heater must be positioned at least 50cm from walls, curtains,
furniture or other objects.
- If the power cable is damaged, it must be replaced by the manufacturer or an authorised technical service centre.
- Do not use this appliance in rooms which have a floor area smaller than 4m
2
as this may lead to overheating.
- The heater must never be placed immediately under a fixed mains
socket.
- Never obstruct the heaters intake and outlet grilles as this could
cause dangerous overheating.
- IMPORTANT: Never for any reason cover the appliance during
operation as this could lead to dangerous overheating.
- A safety device intervenes and turns the appliance off in the event
of overheating. To reactivate the heater, remove the plug from the
mains, allow the appliance to cool (for about 30 minutes), remove
the cause of the overheating and then plug the appliance back into
the mains and turn it back on.
- The use of an extension lead is not recommended, as overheating
of the extension lead may occur during the operation of the
heater
- In order to avoid any danger caused by an accidental resetting of
the safety system, this appliance must not be powered through an
external timer.
- As with any electrical appliance, whilst the instructions aim to
cover as many eventualities as possible, caution and common
sense should be applied when operating your appliance, particularly in the vicinity of young children.
Important:never for any reason cover the appliance
during operation as this could lead to dangerous overheating.
HMH
5
Page 6

Electrical connection (U.K. only)
A) If your appliance comes fitted with a plug, it will incorporate a
13 Amp fuse. If it does not fit your socket, the plug should be
cut off from the mains lead, and an appropriate plug fitted, as
below.
WARNING:Very carefully dispose of the cut off plug after
removing the fuse: do not insert in a 13 Amp socket elsewhere
in the house as this could cause a shock hazard.
With alternative plugs not incorporating a fuse, the circuit must
be re-fitted when changing the fuse using a 13 Amp Asta
approved fuse to BS 1362. In the event of losing the fuse cover,
the plug must NOT be used until a replacement fuse cover can
be obtained from your nearest electrical dealer.The colour of
the correct replacement fuse cover is that as marked on the
base of the plug.
B) If your appliance is not fitted with a plug, please follow the
instructions provided below:
important
The wires in the mains lead are coloured in accordance with the
following code:
Blue: Neutral
Brown: Live
As the colours of the wires in the mains lead of this appliance may
not correspond with the coloured markings identifying the terminals in your plug, proceed as follows:
The wire which is coloured blue must be connected to the terminal which is marked with the letter N or coloured black.
The wire which is coloured brown must be connected to the terminal which is marked with the letter L or coloured red.
HMH
6
Page 7

5714007600/05.03
 Loading...