

Page 1
Close
Back to Contents Page
Keyboard
Dell™ Latitude™ D800 Service Manual
CAUTION: Before performing the following procedures, read the safety instructions in your System
Information Guide.
NOTICE: To avoid electrostatic discharge, ground yourself by using a wrist grounding strap or by periodically
touching an unpainted metal surface (such as the back panel) on the computer.
1. Follow the instructions in "Preparing to Work Inside the Computer."
2. Turn the computer right-side up and open it.
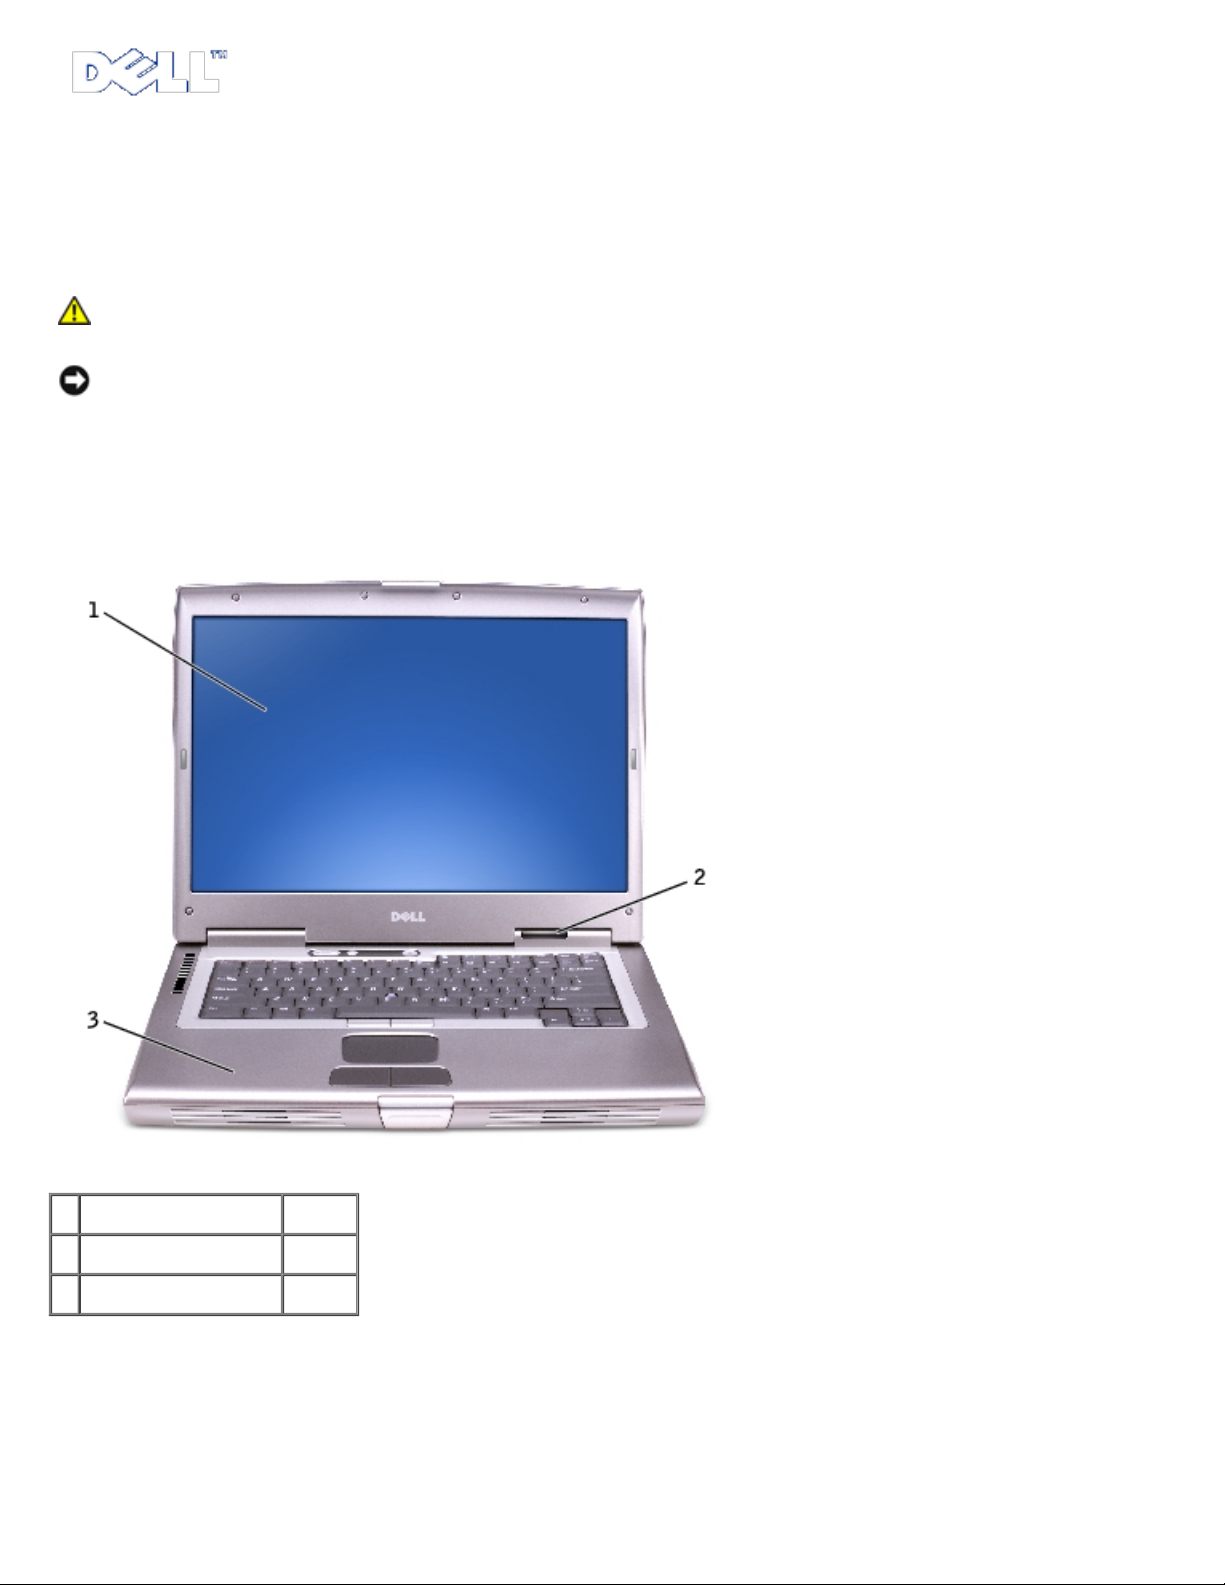
1 display
2 center control cover 7T982
3 computer base
3. Remove the center control cover:
a. Open the display all the way (180 degrees) so that it lies flat against your work surface.
b. Starting on the left side of the computer, use a plastic scribe or flat-blade screw driver to pry up the
center control cover.
Page 2
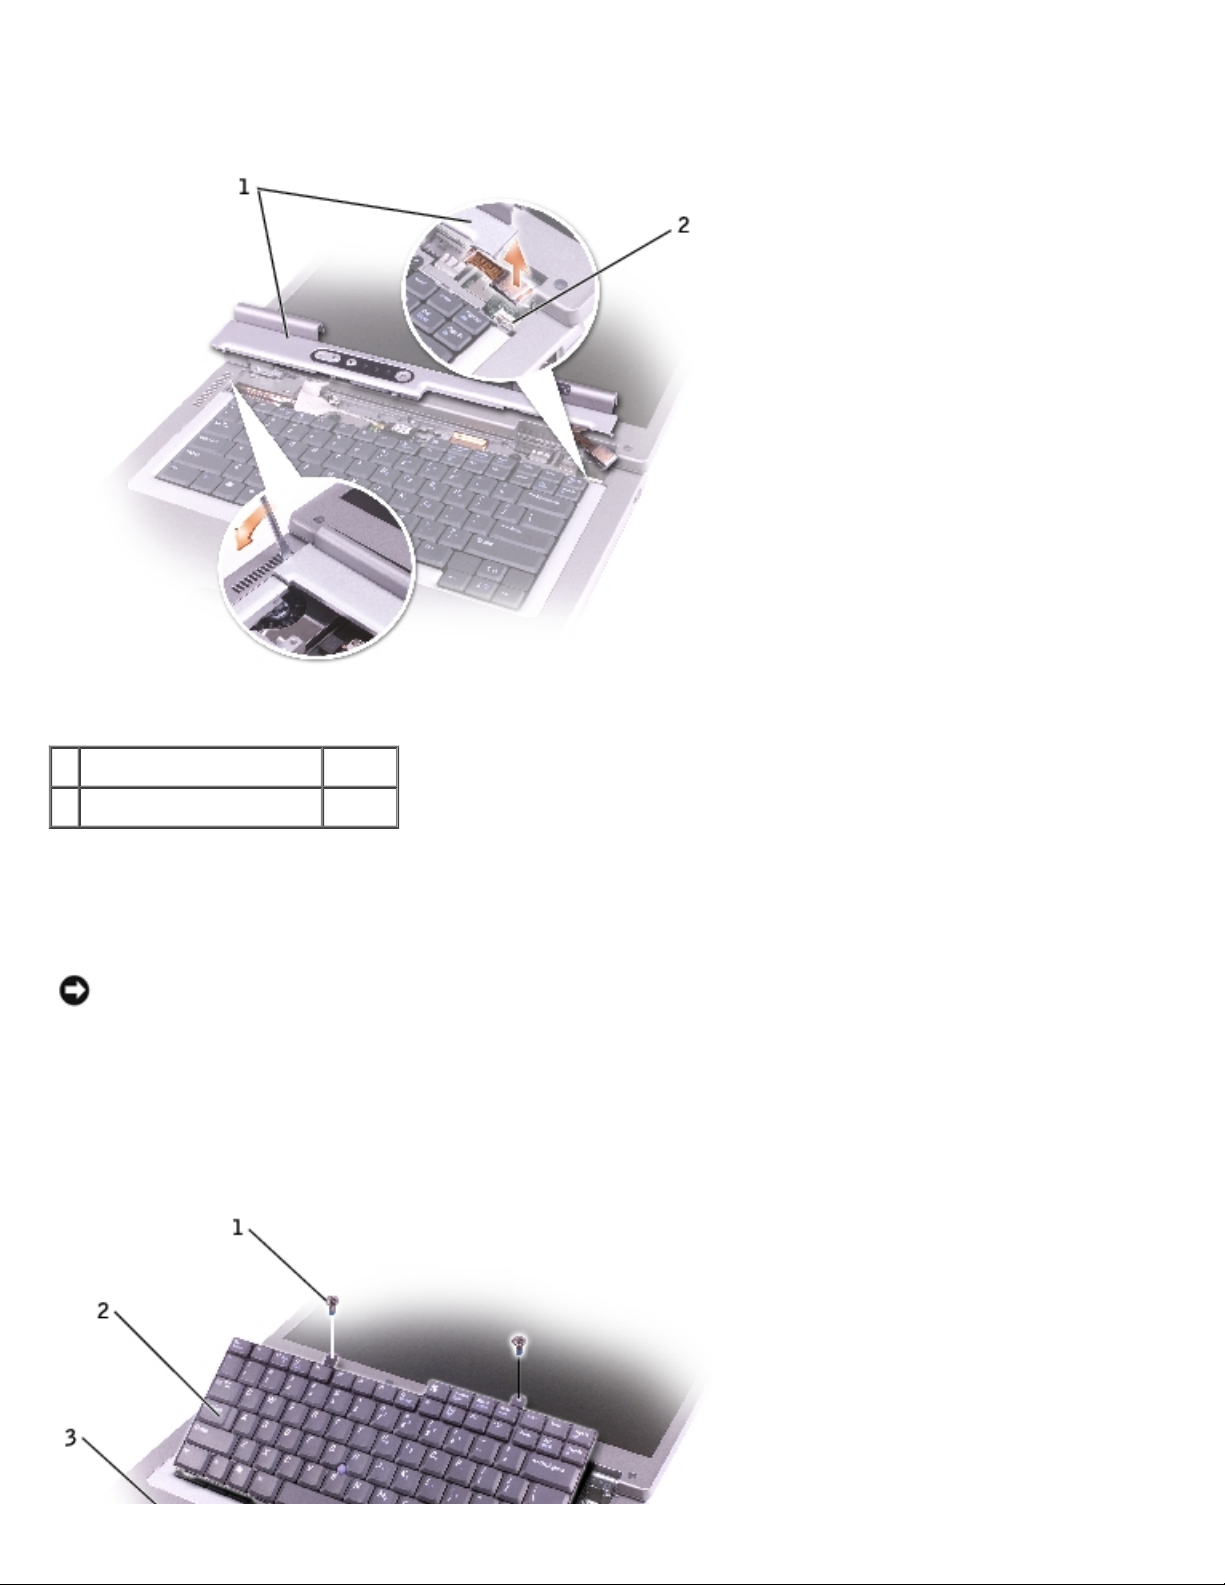
c. Disconnect the center-control-cover flex cable from the system board connector using the pull-tab.
d. Lift the center control cover away from the computer, and lay it aside.
1 center control cover 7T982
2 system board connector
4. Remove the keyboard:
a. Remove the two M2.5 x 6-mm screws across the top of the keyboard.
NOTICE: The keycaps on the keyboard are fragile, easily dislodged, and time-consuming to replace. Be careful
when removing and handling the keyboard.
b. Rotate the keyboard up and slide it forward.
c. Hold the keyboard up and slightly forward to allow access to the keyboard connector.
d. Pull up on the keyboard connector tab to disconnect the keyboard connector from the system board.
Page 3

1 M2.5 x 6-mm screws (2) 4911U
2 US keyboard service kit G1272
3 palm rest 0N037
Back to Contents Page
Copyright 1999 -2003 Dell Inc. For customers of the 50 United States only.
 Loading...