

Page 1
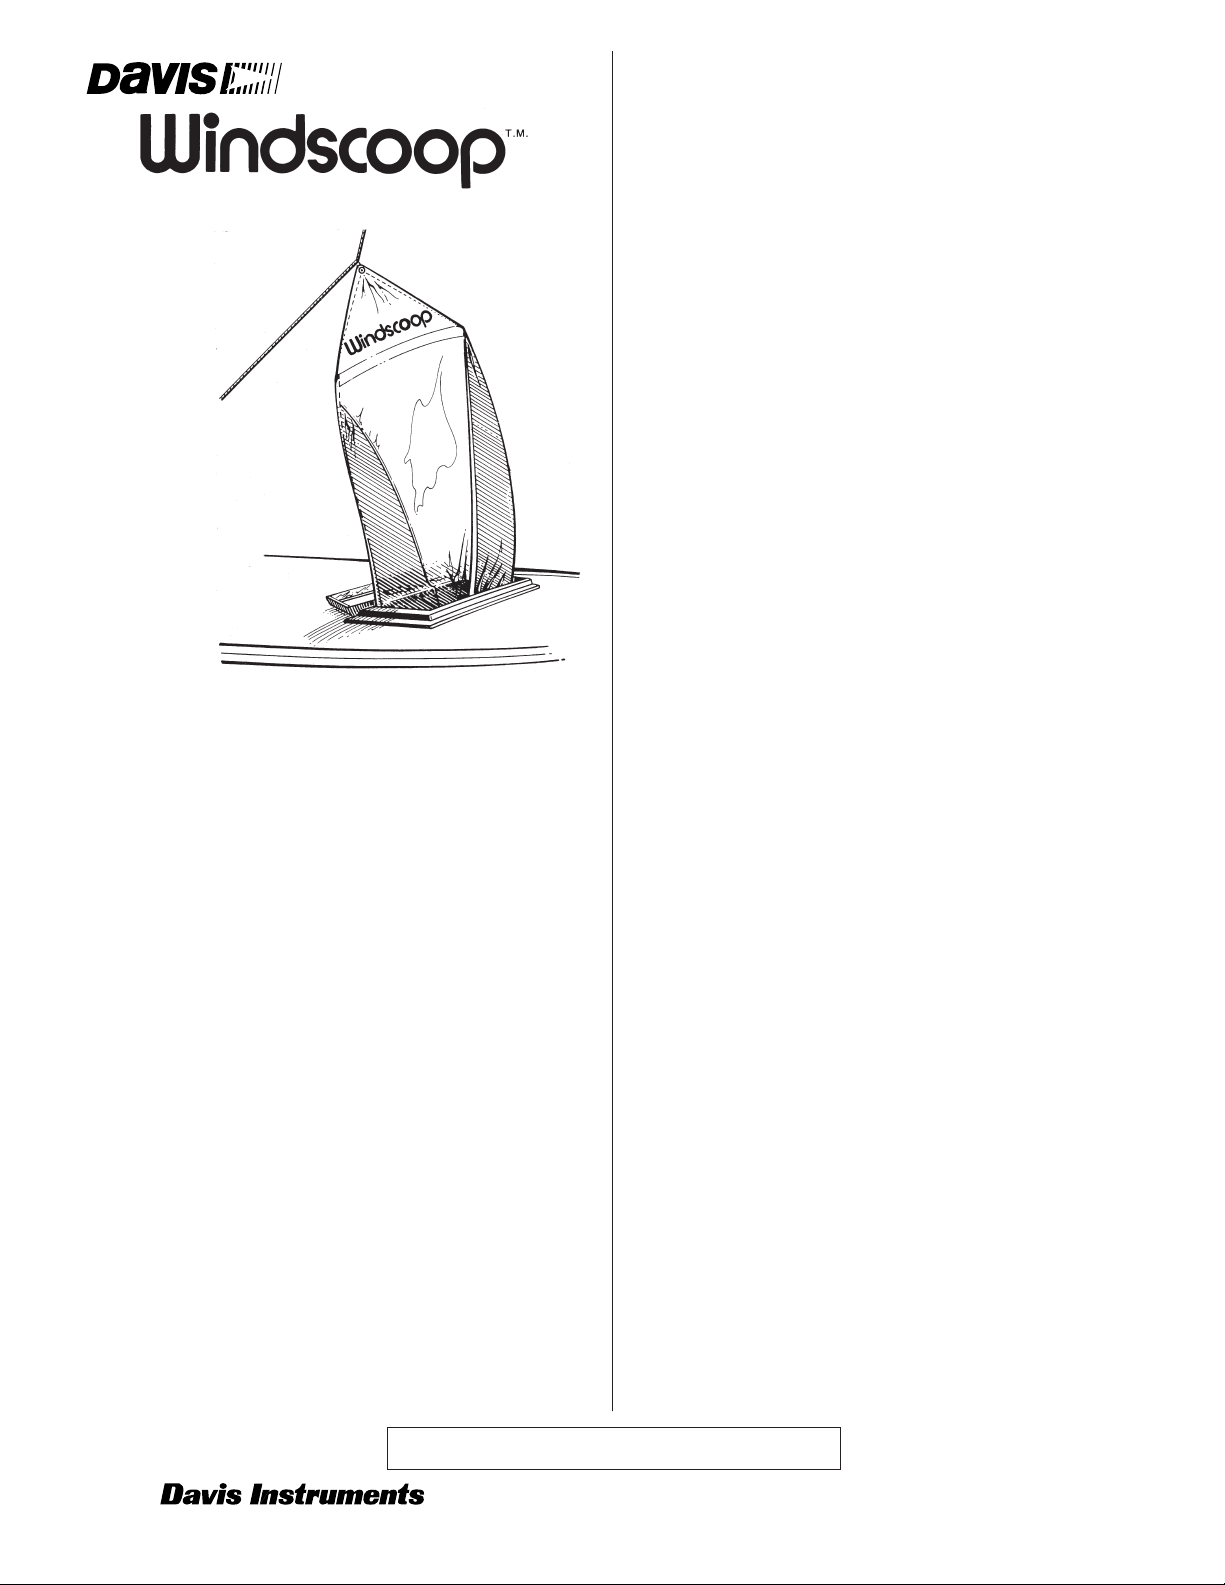
Ventilating Sail
Windscoop™ is made from the finest quality sail cloths and
other materials available. As with any sail, it should be
stowed when completely dry. Failure to do so may result in
mildew damage and/or dye transfer.
Caution: Line used to support the Windscoop should be
lightly tensioned. Excessive tension will cause weakening of
the grommets.
GENERAL ASSEMBLY
Attach each screw eye on the wood doweling to each of the
outer grommets on the Windscoop sail. Using a pliers or similar tool, bend each screw eye over to hold grommets securely
in place.
USING THE WINDSCOOP WITH SCREENS
If you intend to use screens with your Windscoop, there are
two ways of doing so.
If your screen fits in the very bottom of your hatch:
1. Remove the sail from the screw eyes.
2. Remove the screw eyes from the doweling.
3. Carefully put the screw eyes through the screen and then
retighten into the doweling.
4. Replace the Windscoop.
If your screen fits higher in your hatch:
1. Remove the sail from the screw eyes.
2. Take a piece of whipping twine and tie it to one of the sail’s
grommets.
3. Feed twine through the screen then tie onto the screw eye.
4. Repeat on the other side.
INSTALLATION ON A SAILBOAT
The Windscoop can be hung from a halyard, boom or roller
furling sheet, or anything else that might be handy.
1. Unfurl the sail, then place the doweling through the hatch or
companionway. If necessary, cut the wood doweling to a
shorter length to clear any obstructions near the underside
of your hatch. Be careful, however, not to cut it any shorter
than the diagonal length of the hatch.
2. Attach the head of the Windscoop to a halyard and raise, or
tie-off on a boom or roller furling sheet. If you tie-off onto a
boom or sheet, tie the sail high enough so that the Davron
tapes along each side are lightly tensioned.
Another suitable method—particularly effective on boats
whose forward hatch is very far forward—is to run a piece
of line from the forestay through the cringle (grommet) in
the head of the Windscoop, and then tie it off around the
mast.
3. If the wind is blowing consistently from one direction, the
Windscoop should be raised so that the doweling is lightly
tensioned against the underside of the hatch. If the wind is
shifting, fly the Windscoop loose enough so the entire unit
is able to turn as the the wind shifts. Any unpleasant noise
can usually be stoped with a piece of adhesive tape
wrapped around the doweling.
4. The Windscoop can usually be used in the rain by tying a
separate piece of rope to the head of the sail, then pulling
the head over enough to cover the hatch. Tie-off the rope to
a stanchion, stay, etc.
INSTALLATION ON A POWERBOAT
The Windscoop can be installed on most powerboats, but the
following additional hardware is required:
Aluminum tubing. 68" long x 7/8" outside diameter x .55"
wall thickness (1.7 m x 2.2 cm x 1.4 cm). Aluminum tubing is
available at most hardware stores.
Stanchion base fitting. Inside diameter 7/8" (2.2 cm).
Available at most marine chandleries. Or, as a less expensive
substitute, galvanized floor flange for 3/4" (1.9 cm) pipe plus a
copper male adapter, 3/4" x 3/4", to adapt copper tubing to
pipe thread.
Mounting screws appropriate to attach stanchion base or
floor flange to deck of boat.
How to install:
1. Attach stanchion base or floor flange to deck about 2"
(5.1 cm) forward of the hatch opening. The stanchion can
be mounted on any side of the hatch, but forward is preferable.
2. Drill 1/4" (6 mm) hole through aluminum tube about 1"
(25 mm) from either end.
3. Insert aluminum pole (the end without hole) into the stanchion base. If using floor flange, screw copper adapter into
flange and then insert aluminum pole.
4. Tie a piece of whipping twine or other small line to top
grommet of Windscoop and then thread through the hole on
the top of the aluminum pole. The Windscoop should be
raised so that the dowel rests as snugly as possible against
the underside of the hatch.
5. If necessary, cut the wood doweling to a shorter length to
clear any obstructions near the underside of your hatch. Be
careful, however, not to cut any shorter than the diagonal
length of the hatch.
#291
INSTALLATION
INSTRUCTIONS
3465 Diablo Ave., Hayward, CA 94545 U.S.A.
(510) 732-9229 info@davisnet.com www.davisnet.com
291_Inst.pdf October 2005
Replacement Parts R291B Nylon Storage Bag
 Loading...