

Crivit Z31953 User Manual [pl, cs, en, de]
IAN 103535
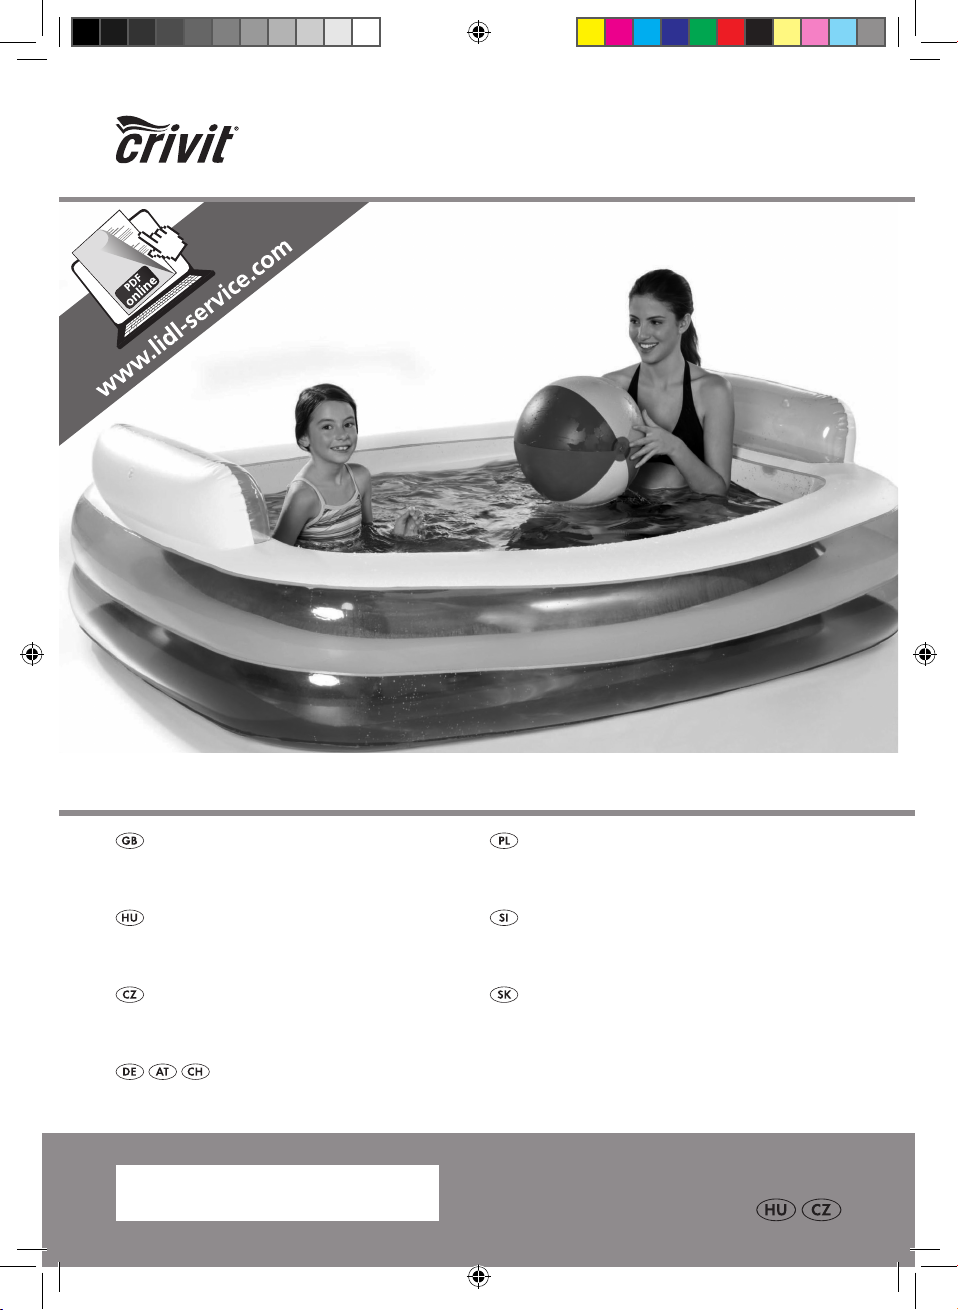
PaddlInG POOl
PaddlInG POOl
Operation and Safety Notes
FürdőMedenCe
Kezelési és biztonsági utalások
dětsKý Bazén
Pokyny pro obsluhu a bezpečnostní pokyny
PlansCHBeCKen
Bedienungs- und Sicherheitshinweise
BrOdzIK
Wskazówki dotyczące obsługi i bezpieczeństwa
Bazen
Navodila za upravljanje in varnostna opozorila
detsKý Bazén
Pokyny pre obsluhu a bezpečnostné pokyny
103535_Planschbecken_Cover_HU_CZ.indd 4 21.11.14 11:46

GB Operation and Safety Notes Page 4
PL Wskazówki dotyczące obsługi i bezpieczeństwa Strona 7
HU Kezelési és biztonsági utalások Oldal 10
SI Navodila za upravljanje in varnostna opozorila Stran 13
CZ Pokyny pro obsluhu a bezpečnostní pokyny Strana 17
SK Pokyny pre obsluhu a bezpečnostné pokyny Strana 20
DE / AT / CH Bedienungs- und Sicherheitshinweise Seite 23
103535_Planschbecken_Cover_HU_CZ.indd 5 21.11.14 11:46
A B
C D
3
ø approx / ca.
17.5 mm
4
5 6
ø approx / ca. 7.5 mm
1
2
7
3
103535_Planschbecken_Content_HU_CZ.indd 3 21.11.14 11:45
Paddling Pool
Intended use
This article is intended for use for playing / paddling.
This product is intended for private, outdoor use only.
The product is not intended for commercial use.
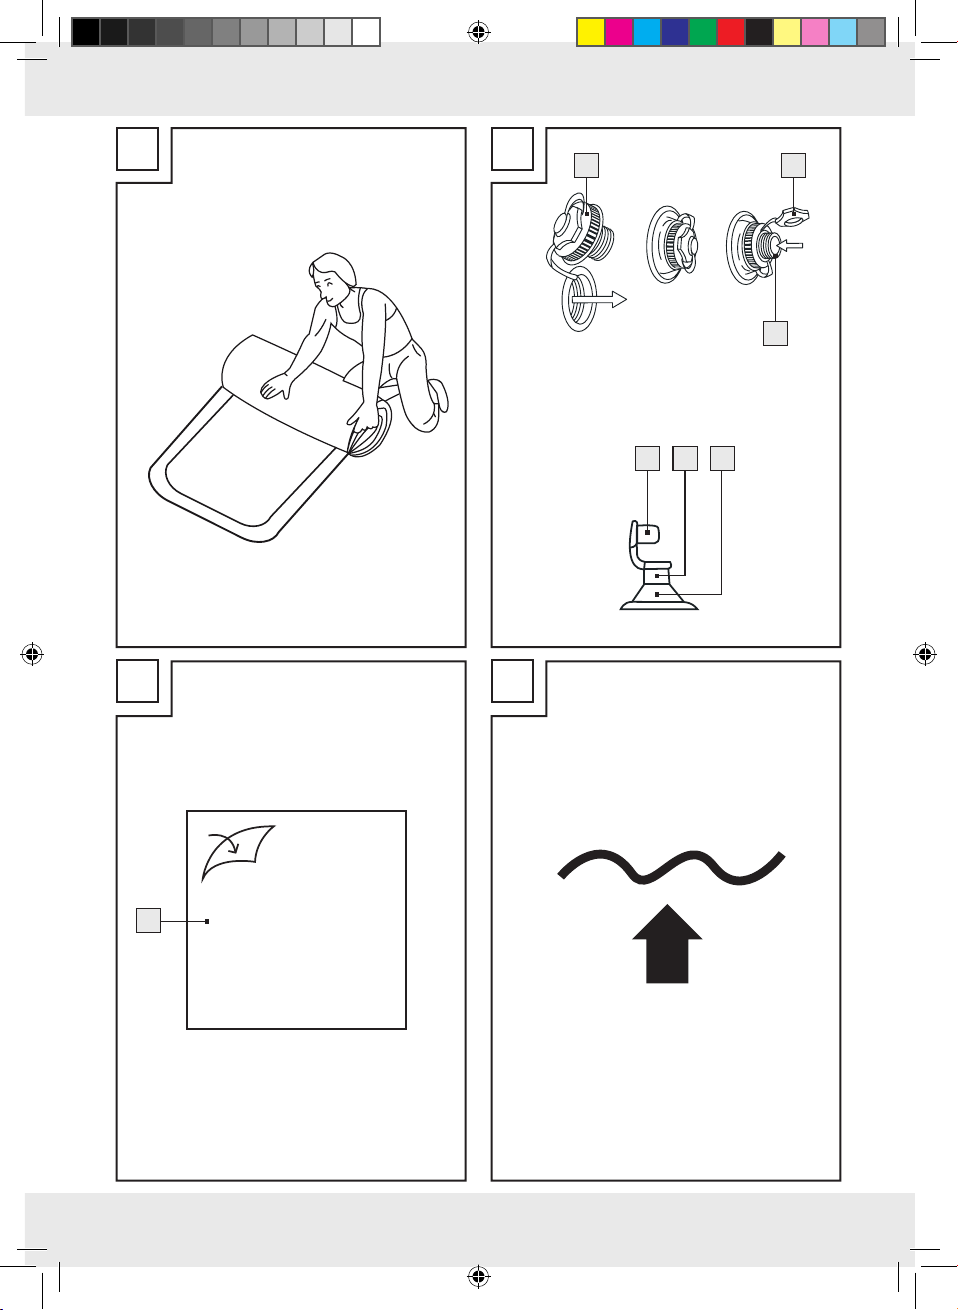
Description of parts
and features
1
End cap
2
Valve opening
3
Stopper
4
End cap
5
Valve opening
6
Valve (for pillow)
7
Patches for repairs
Technical data
Dimensions: approx.
196 x 145 x 41 / 58 cm
(when inflated)
Weight: approx. 3000 g
RISK OF
LOSS OF LIFE OR ACCIDENT
TO INFANTS AND CHILDREN!
Never leave children unsupervised with the
packaging material or the product. The packaging
material presents a suffocation hazard and there
is a risk of loss of life from strangulation and / or
drowning. Children often underestimate danger.
Always keep the product out of reach of children.
WARNING! Never leave your child
unattended – drowning hazard.
WARNING! Only for domestic use.
Children can drown in very small amounts of
water. Empty the pool when not in use.
Do not install the paddling pool over concrete,
asphalt or any other hard surface.
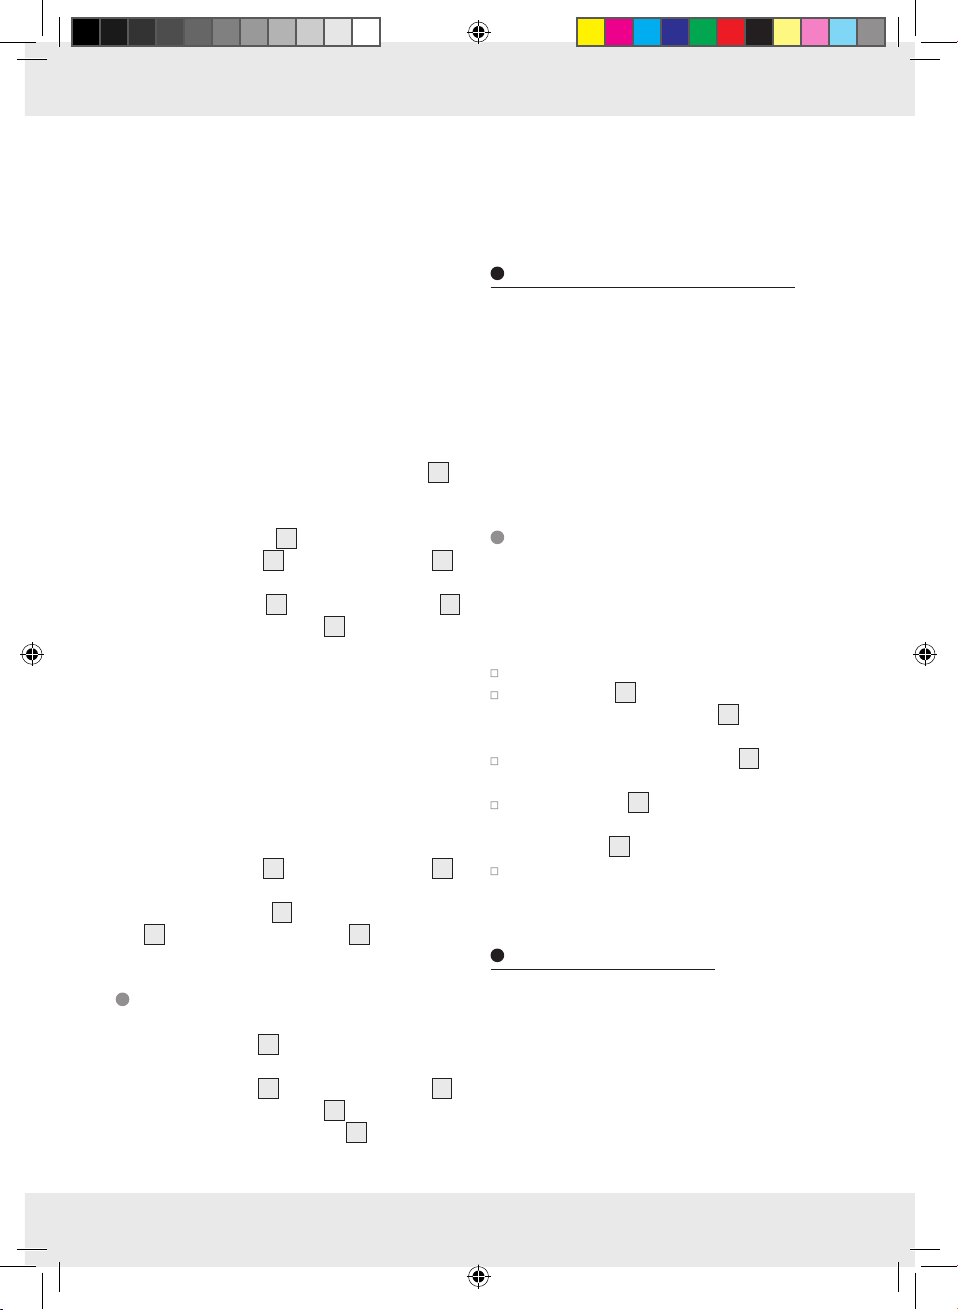
When filling with water, the maximum depth of
the water should not exceed the maximum water
level mark on the product. (see fig. D)
Once inflated, make sure that the product does
not come in contact with stones, gravel or other
sharp objects which could puncture the item.
Contents
1 paddling pool
2 screw-on-valve
2 patches for repairs
1 instruction manual
Operation
Note: Before using the product for the first time,
check it carefully for holes, porous places and seams
that are not airtight.
Recommendation: Pump the product up and
leave it alone for one day. Let a new product air
outside in fresh air for a couple of days.
Safety advise
Recommendation: Place the activity toy on a
level surface at least 2 m from any structure or
KEEP ALL THE SAFETY ADVICE AND INSTRUCTIONS IN A SAFE PLACE FOR FUTURE
obstruction such as a fence, garage, house, over-
hanging branches, laundry lines or electrical wires.
REFERENCE!
Avoid the risk of injury!
Pumping up the product
CAUTION! Inflatable plastic products react sensi-
tively to the cold and hot. That is why you should
4 GB
103535_Planschbecken_Content_HU_CZ.indd 4 21.11.14 11:45
never use the product when the ambient temperature
falls to below 15 ° C and rises above 40 ° C.
Otherwise damage to the product may result.
Note: Basically, only an adult should be responsible
for pumping the pool up. Make sure that you do
not pump too much air into the product. On no account should you use a compressor. Stop the process
when resistance increases during pumping and the
seams start to stretch. Otherwise the material might
tear. Only use manual pumps and / or pumps specifically designed for use with inflatable plastic products.
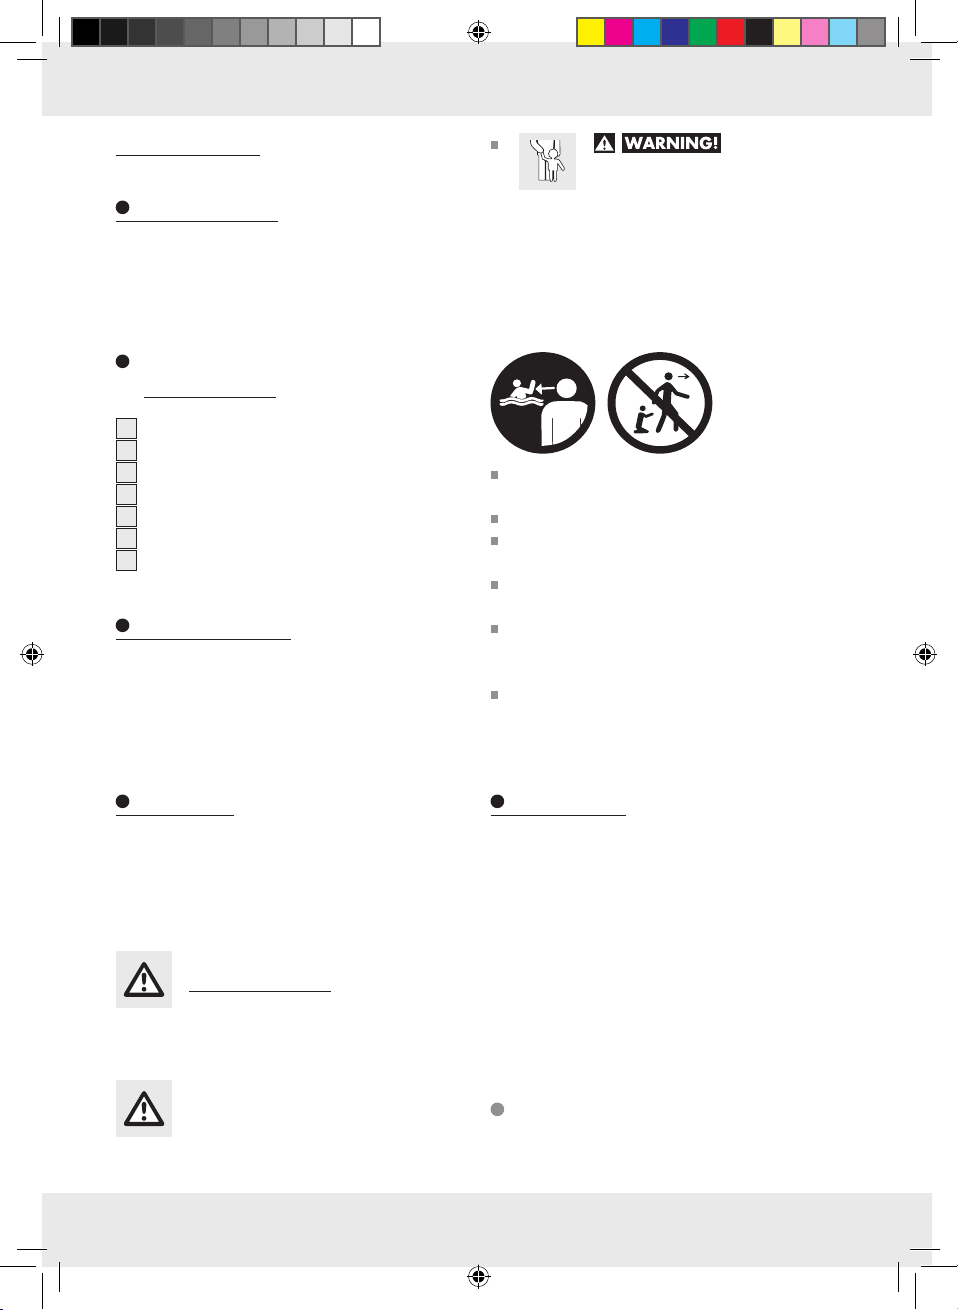
j Roll the product out first and then check for
holes, tears and other damage (see Fig. A).
Note: You will need a pump with conical adapter (ø approx. 7.5 mm) for the air valve
6
to
inflate the product. Use a pump with conical
adapter with a diameter of approx. 17.5 mm
for the screw valve
j Turn the end cap
2
.
1
of the valve opening 2
anti-clockwise off the air valve in order to open it.
j Take the end cap
in order to open the valve
4
off the valve opening 5
6
.
j Pump the product up.
IMPORTANT! Keep in mind that air tempera-
ture and weather conditions can affect the air
pressure inside inflatable products. In cold
weather the product behaves as if it has less air
pressure in it because the air inside contracts.
Under these conditions you may have to add
air. In hot weather the air inside expands. Under these conditions you may have to remove
air in order to avoid overfilling.
j Turn the end cap
1
of the valve opening 2
clockwise onto the air valve to close it.
j Place the end cap
5
in order to close the valve 6.
4
onto the valve opening
j Allow the air to escape completely.
j Slowly fold the product together (see Fig. A).
Note: Make sure that the product is completely
dry before folding it together.
Cleaning and Maintenance
J On no account should you use corrosive or
scouring detergents.
j Use a slightly damp, lint-free cloth to clean the
product.
Change the water of paddling pools frequently
(particularly in hot weather) or when noticeably
contaminated.
Repairing the product
Note: Minor damage can be repaired by the
owner using the supplied repair kit. Have any major
damage carried out at a specialist repair shop.
First let all the air escape from of the product.
Cut the patch 7 to suit the size of the hole.
Note: Ensure that the patch
7
is larger than
the hole and overlaps the edges of the hole.
Round off the sides of the patch 7 and pull
off the protective foil.
Place the patch 7 on the hole and press it
down firmly. If necessary, stand a heavy object
on the patch
7
.
Wait for 24 hours before you pump up the
product again.
Storage instruction
Deflating the product
j Make sure that the product is completely dry
both inside and out when wishing to store it for
j Turn the stopper 3 anti-clockwise to open the
air valve.
j Pull the end cap
in order to open the valve
j Press the sides of the air valve
4
off the valve opening 5
6
.
6
together using
any length of time. Otherwise mildew and
mould may form.
j Store the product in a dark, dry place – out of
reach of children.
j The ideal storage temperature is 10 - 20 ° C.
your thumb and index finger.
5 GB
103535_Planschbecken_Content_HU_CZ.indd 5 21.11.14 11:45
j Ensure that the product does not come into
contact with sharp objects during storage.
Disposal
The packaging is made entirely of recyclable materials, which you may dispose of
at local recycling facilities.
Contact your local refuse disposal authority for
more details of how to dispose of your worn-out
product.
Warranty
The device has been manufactured to strict quality
guidelines and meticulously examined before delivery.
In the event of product defects you have legal rights
against the retailer of this product. Your legal rights
are not limited in any way by our warranty detailed
below.
The warranty for this device is 3 years from the date
of purchase. Should this device show any fault in
materials or manufacture within three years from
the date of purchase, we will repair or replace it at our choice - free of charge to you.
The warranty period begins on the date of purchase.
Please keep the original sales receipt in a safe
location. This document is required as your proof of
purchase. This warranty becomes void if the device
has been damaged or improperly used or maintained.
The warranty applies to faults in material or manufacture. This warranty does not cover product parts
subject to normal wear, thus possibly considered
consumables (e.g. batteries) or for damage to fragile
parts, e.g. switches, rechargeable batteries or glass
parts.
6 GB
103535_Planschbecken_Content_HU_CZ.indd 6 21.11.14 11:45
Brodzik
Zastosowanie zgodne
z przeznaczeniem
Niniejszy artykuł przeznaczony jest do zabawy/
kąpieli. Artykuł ten przeznaczony jest jedynie do
prywatnego użytku. Produkt nie jest przeznaczony
do użytku komercyjnego.
Opis części
1
Zamknięcie nakładane
2
Otwόr zaworu
3
Korek
4
Zamknięcie nakładane
5
Otwόr zaworu
6
Zawόr (do poduszek)
7
Łatka naprawcza
Dane techniczne
Wymiary: ok. 196 x 145 x 41 / 58 cm
(w stanie nadmuchanym)
Masa: ok. 3000g
Zawartość
1 Brodzik
2 Zawory śrubowe
2 Łatki naprawcze
1 Instrukcja obsługi
Wskazówki
bezpieczeństwa
ZACHOWAĆ WSZYSTKIE WSKAZÓWKI
BEZPIECZEŃSTWA ORAZ INSTRUKCJE.
Unikać skaleczeń!
NIEBEZPIE-
CZEŃSTWO UTRATY ŻYCIA
LUB ODNIESIENIA WYPADKU
PRZEZ DZIECI! Nigdy nie należy pozostawiać
dzieci bez nadzoru z materiałem opakowaniowym oraz produktem. Istnieje niebezpieczeństwo uduszenia się materiałem opakowania i
niebezpieczeństwo utraty życia wskutek
udławienia się. Dzieci często nie doceniają
niebezpieczeństw. Dzieci trzymać zawsze z
dala od produktu.
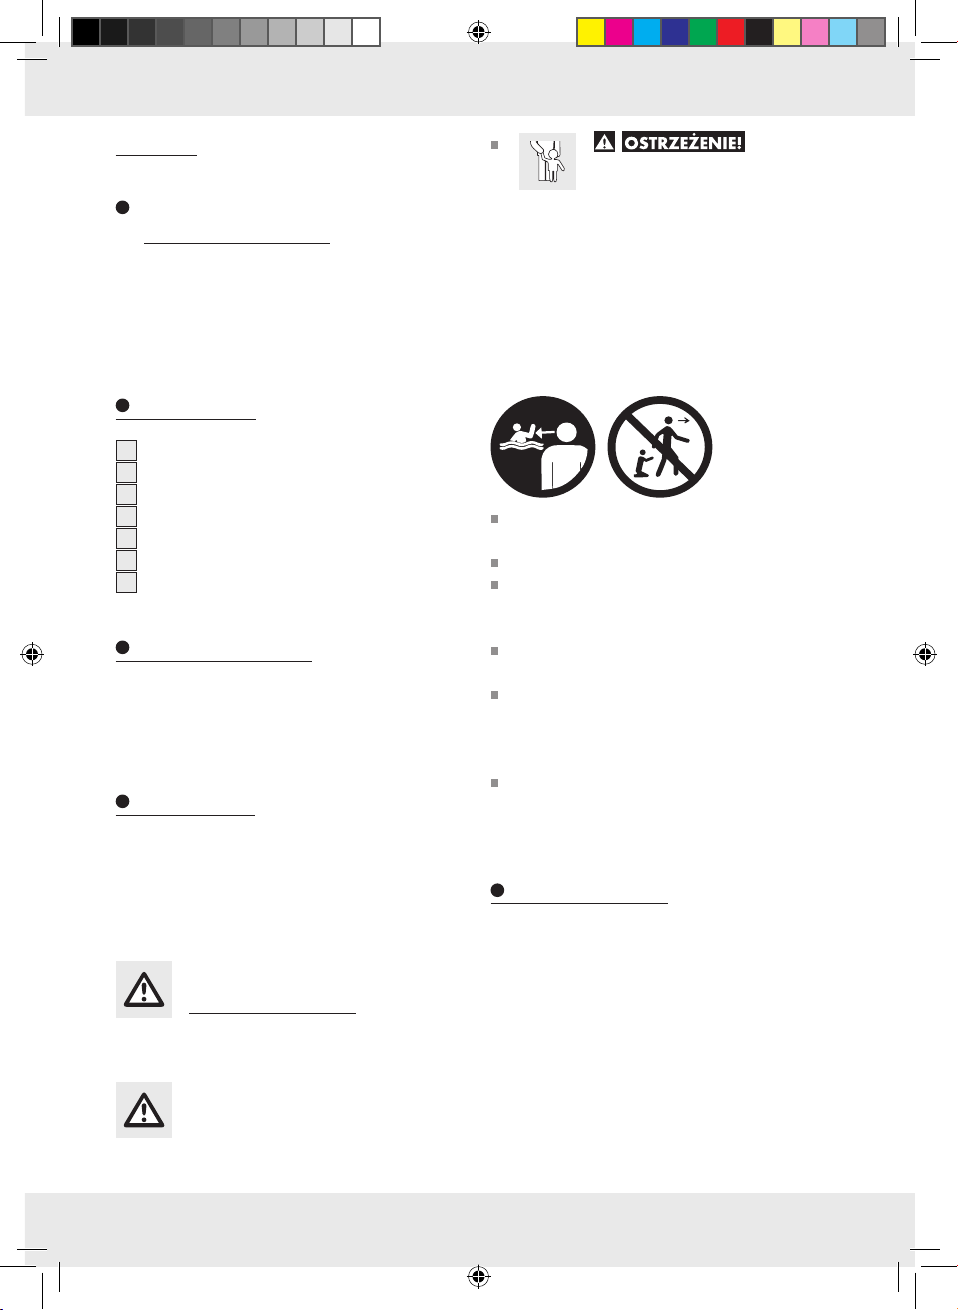
UWAGA! Nigdy nie pozostawiać dziecka
bez nadzoru – niebezpieczeństwo utonięcia.
UWAGA! Tylko do użytku domowego.
Dzieci mogą utopić się w małej ilości wody.
W przypadku nieużywania brodzik należy
opróżnić.
Brodzika nie należy ustawiać na betonie,
asfalcie lub innych twardych powierzchniach.
Przy napełnianiu wodą nie należy przekraczać
maksymalnej głębokości zgodnie z oznacze-
niem maksymalnego poziomu wody umiesz-
czonym na produkcie (patrz rys. D).
Należy zwrócić uwagę, aby nadmuchany bro-
dzik nie dotykał kamieni, żwiru i innych ostrych
przedmiotów, które mogą uszkodzić artykuł.
Sposób użycia
Wskazówka: Przed pierwszym użyciem produkt
należy dokładnie skontrolować pod względem
dziur, porowatych i nieszczelnych miejsc.
Zalecenie: Produkt należy nadmuchać i odczekać
jeden dzień. Nowe produkty należy wywietrzyć
przez kilka dni na świeżym powietrzu.
Zalecenie: Ustawić zabawkę ruchową na płaskiej powierzchni i przynajmniej w odległości 2 m
od innych obiektów lub przeszkód, jak np. płot, garaż, dom, wystające gałęzie, sznurki na pranie lub
przewody elektryczne.
7 PL
103535_Planschbecken_Content_HU_CZ.indd 7 21.11.14 11:45
Nadmuchać brodzik
UWAGA! Dmuchane produkty z tworzyw sztucznych
reagują w sposób wrażliwy na zimno i gorąco.
Dlatego produktu nie należy używać, jeśli
temperatura otoczenia jest niższa niż 15 °C lub
wyższa niż 40 °C. Może to spowodować
uszkodzenia produktu.
Wskazwka: Brodzik muszą nadmuchać z
zasady osoby dorosłe. Zwracaj uwagę na to, żeby
nie wpompować za dużo powietrza do produktu.
W żadnym wypadku nie używaj sprężarki. Wstrzymaj pompowanie, gdy podczas pompowania opór
rośnie i szwy napinają się. W przeciwnym razie
materiał może ulec rozerwaniu. Używaj wyłącznie
pompek ręcznych i / lub pompek, które są przeznaczone specjalnie do nadmuchiwanych produktów
plastykowych.
Nałożyć zamknięcie 4 na otwór zaworu 5,
aby zamknąć zawór
6
.
Wypuszczanie powietrza
Przekręcić korek 3 w kierunku przeciwnym
do ruchu wskazówek zegara, aby otworzyć
zawór powietrza.
Ściągnąć zamknięcie 4 z otworu zaworu 5,
aby otworzyć zawór
Ścisnąć kciukiem i palcem wskazującym boki
zaworu
6
.
Odczekać do całkowitego ujścia powietrza.
Ostrożnie złożyć produkt (patrz ilustracja A).
Wskazówka: Przed złożeniem należy się upew-
nić, czy produkt jest całkowicie suchy.
6
.
Najpierw rozwinąć produkt i sprawdzić, czy
nie występują w nim dziury, pęknięcia lub inne
uszkodzenia (patrz ilustracja A).
Wskazówka: Aby napompować produkt, do
zaworu powietrza
6
potrzebna jest pompka
ze złączem stożkowym (ø ok. 7,5 mm). Do zaworu śrubowego
2
należy użyć pompki ze
złączem stożkowym o średnicy ok. 17,5 mm.
Odkręcić zamknięcie 1 z otworu zaworu 2
w kierunku przeciwnym do ruchu wskazówek
zegara od zaworu powietrza, aby go otworzyć.
Ściągnąć zamknięcie 4 z otworu zaworu 5,
aby otworzyć zawór
6
.
Napompować produkt.
WAŻNE! Pamiętaj o tym, że temperatura
powietrza i warunki atmosferyczne oddziałują
na ciśnienie powietrza w produktach nadmuchiwanych. Przy zimnej pogodzie ciśnienie
powietrza w produkcie maleje, ponieważ powietrze kurczy się. W takich warunkach musisz
ewentualnie dodać powietrza. Przy upale
powietrze rozszerza się. W takich warunkach
musisz ewentualnie spuścić powietrze, aby
zapobiec przepełnieniu.
Przekręcić zamknięcie 1 na otworze zaworu
2
w kierunku zgodnym do ruchu wskazówek
zegara na zaworze powietrza, aby go zamknąć.
Czyszczenie i pielęgnacja
Nie należy stosować ostrych i agresywnych
środków czyszczących.
Do czyszczenia używać lekko zwilżonej,
niestrzępiącej się ściereczki.
Należy często zmieniać wodę w brodziku (przede
wszystkim w przypadku ciepłej wody) lub jeżeli
woda jest widocznie zanieczyszczona.
Q
Naprawa produktu
Wskazówka: Naprawy małych uszkodzeń
można wykonać we własnym zakresie za pomocą
załączonego zestawu naprawczego. W przypadku
większych uszkodzeń należy skierować się do fachowca.
j Należy całkowicie usunąć powietrze z
produktu.
j Łatkę
7
należy przyciąć odpowiednio do
wielkości dziury.
Wskazówka: Należy przestrzegać, aby
7
łatka
była większa niż dziura i wystawała
ponad jej krawędzie.
8 PL
103535_Planschbecken_Content_HU_CZ.indd 8 21.11.14 11:45
 Loading...