

Page 1
Owner's Manual
CRDFTSMnN
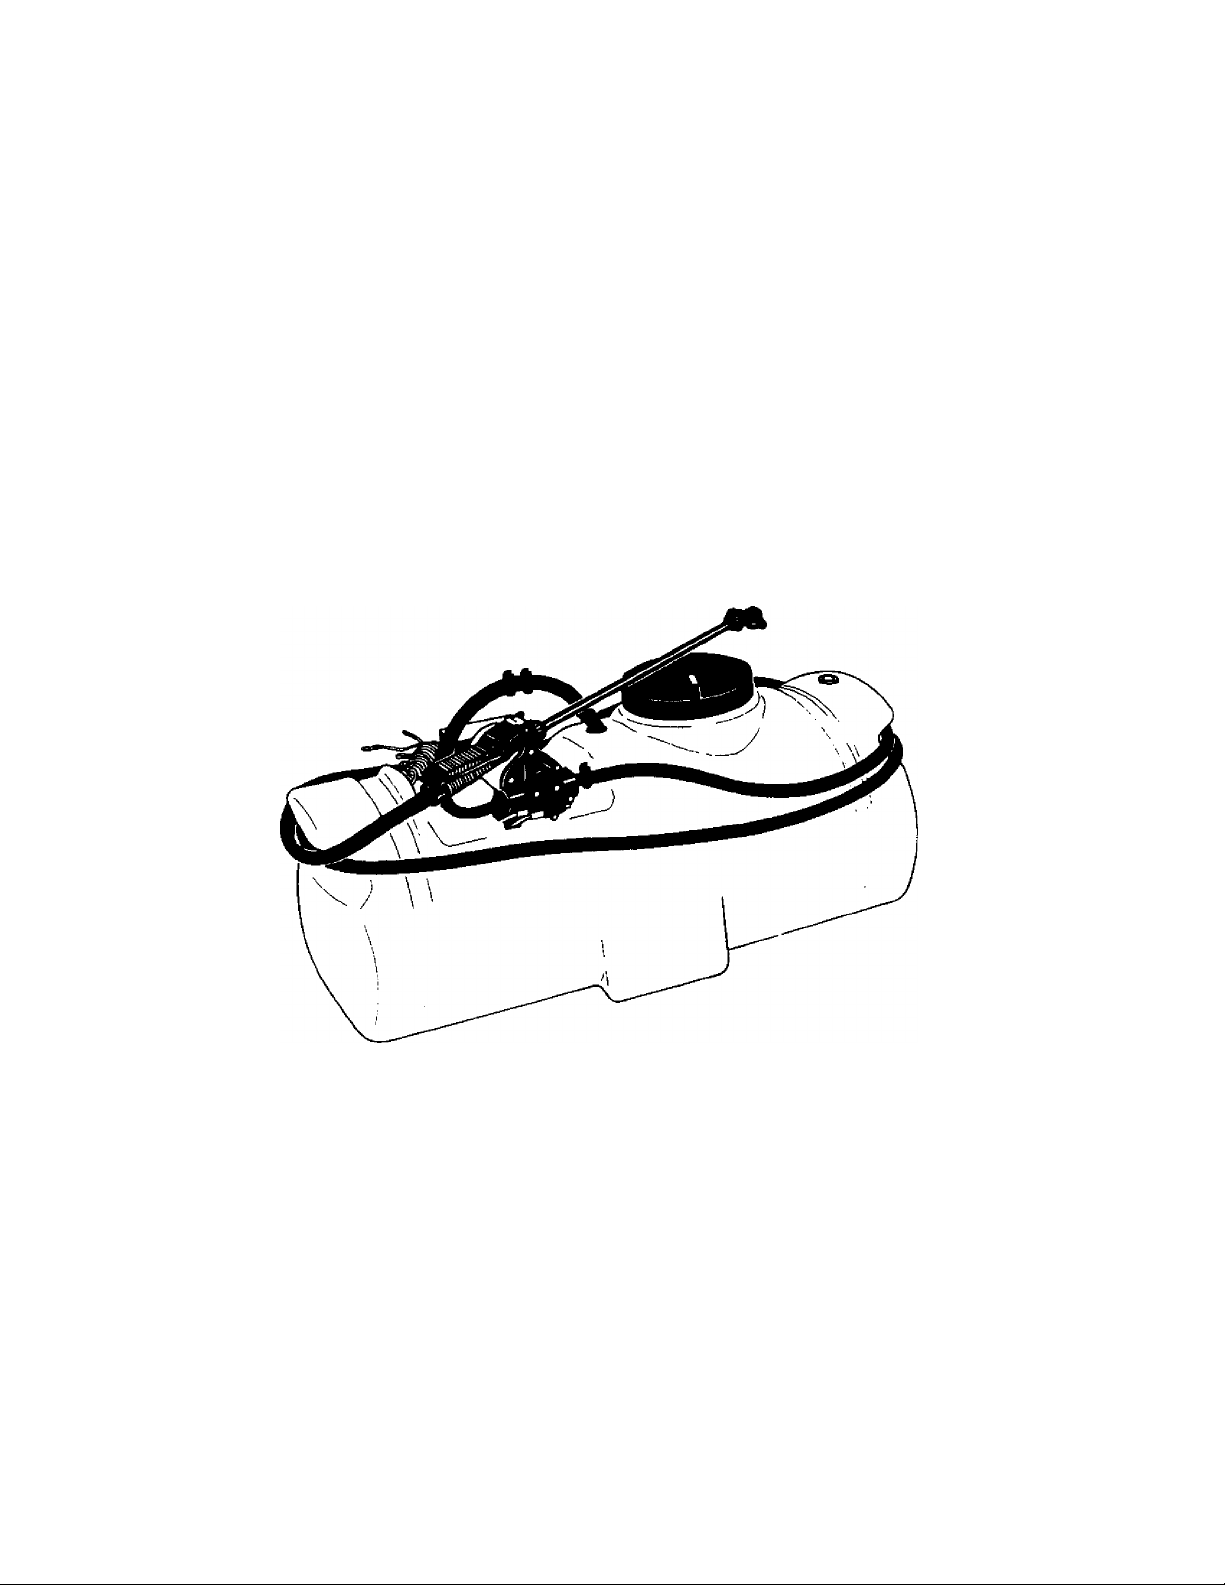
15 GALLON
SKID SPRAYER
Model No.486.24534
CAUTION:
Before using this product,
read this manual and follow
all Safety Rules and
Operating instructions.
Sears, Roebuck and Co., Hoffman Estates, IL 60179 U.S.A.
PRINTED IN U.S.A.
Safety
Assembly
Operation
Maintenance
Parts
Page 2
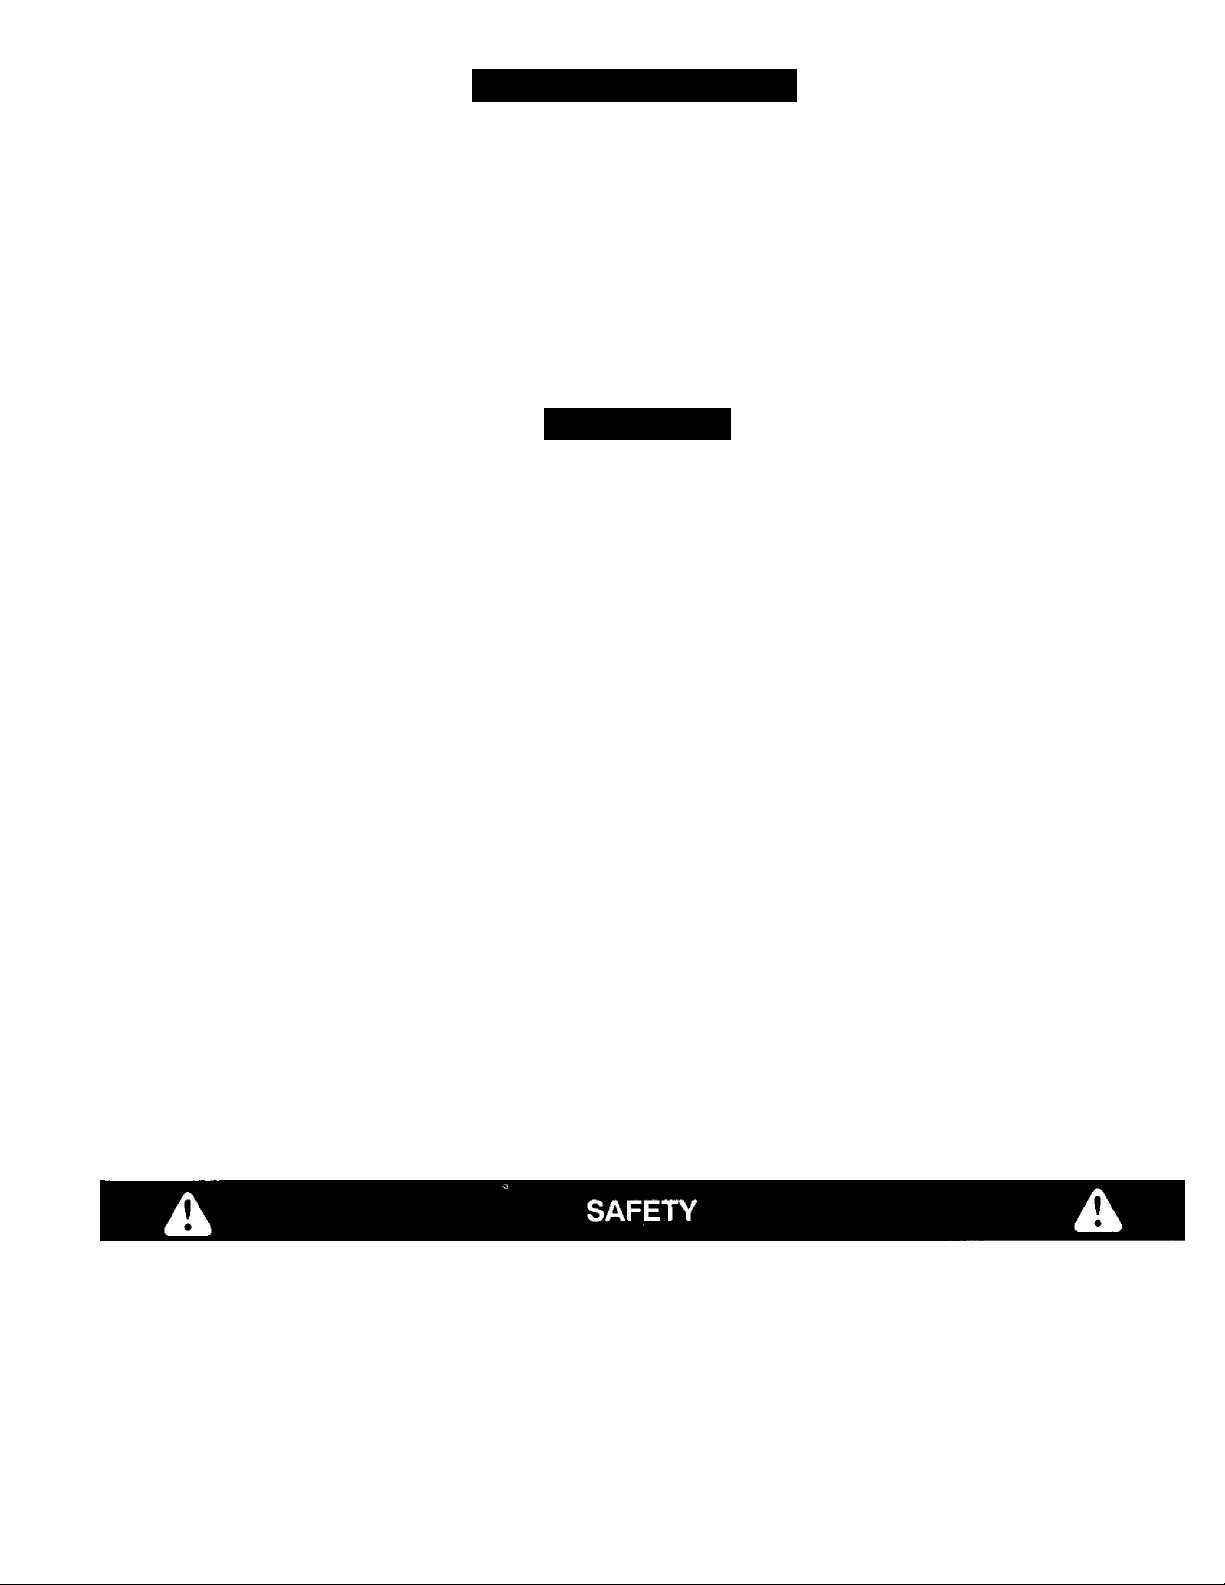
TABLE OF CONTENTS
SAFETY RULES..................................................................2
CARTON CONTENTS.........................................................3
ASSEMBLY.........................................................................3
OPERATION........................................................................4
MAINTENANCE
...........s....................................................
5
STORAGE...........................................................................5
REPAIR PARTS ILLUSTRATION.......................................7
REPAIR PARTS LIST
PARTS ORDERING/SERVICE
.........................................................
..........................
Back Page
WARRANTY
LIMITED ONE YEAR WARRANTY ON
For one year from the date of purchase, when this sprayer is maintained and iubricated according to the operating and
maintenance instructions in the owner's manual, Sears will repair any defect in materiai or workmanship free of charge.
If this sprayer is used for commercial or rental purposes, this warranty applies for only 90 days from the date of purchase.
This warranty does not cover repairs necessary because of operator negligence or abuse, including the failure to maintain
the equipment according to instructions contained in the owner’s manual.
WARRANTY SERVICE IS AVAILABLE BY CONTACTING THE NEAREST SEARS SERVICE CENTER/DEPARTMENT
IN THE UNITED STATES.
7
This warranty applies only while this product is in the United States.
This warranty gives you specific legal rights, and you may also have other rights which vary from state to state.
Sears, Roebuck and Co. D/817 WA. Hoffman Estates, Chicago, IL 60179
The model number and serial numbers will be found on a
decal attached to the sprayer tank.
You should record both the serial number and the date of
purchase and keep in a safe place for future reference.
Any power equipment can cause injury if operated improperly or if the user does not understand how to operate
the equipment. Exercise caution at all times, when using power equipment.
MODEL NUMBER:
SERIAL NUMBER:
DATE OF PURCHASE:
486.24534
Read this owners manual carefully before attempting
to assemble or operate this sprayer.
Read instructions and caution notes for handling and
mixing of materials purchased for spraying.
Look for this symbol to point out important safety precautions. It mean-Attention!!
Become alert!’. Your safety is involved.
• Wear eye and hand protection and protective clothing
when handling and applying lawn chemicals.
• Do not spray on windy days.
• Read chemical labels carefully.
Page 3
CARTON CONTENTS
1. Corrosion Resistant Polyethylene Tank
2. 12 Voit Motor and 35 PSI Pump
3. 12'6” Hose with Handgun
ASSEMBLY
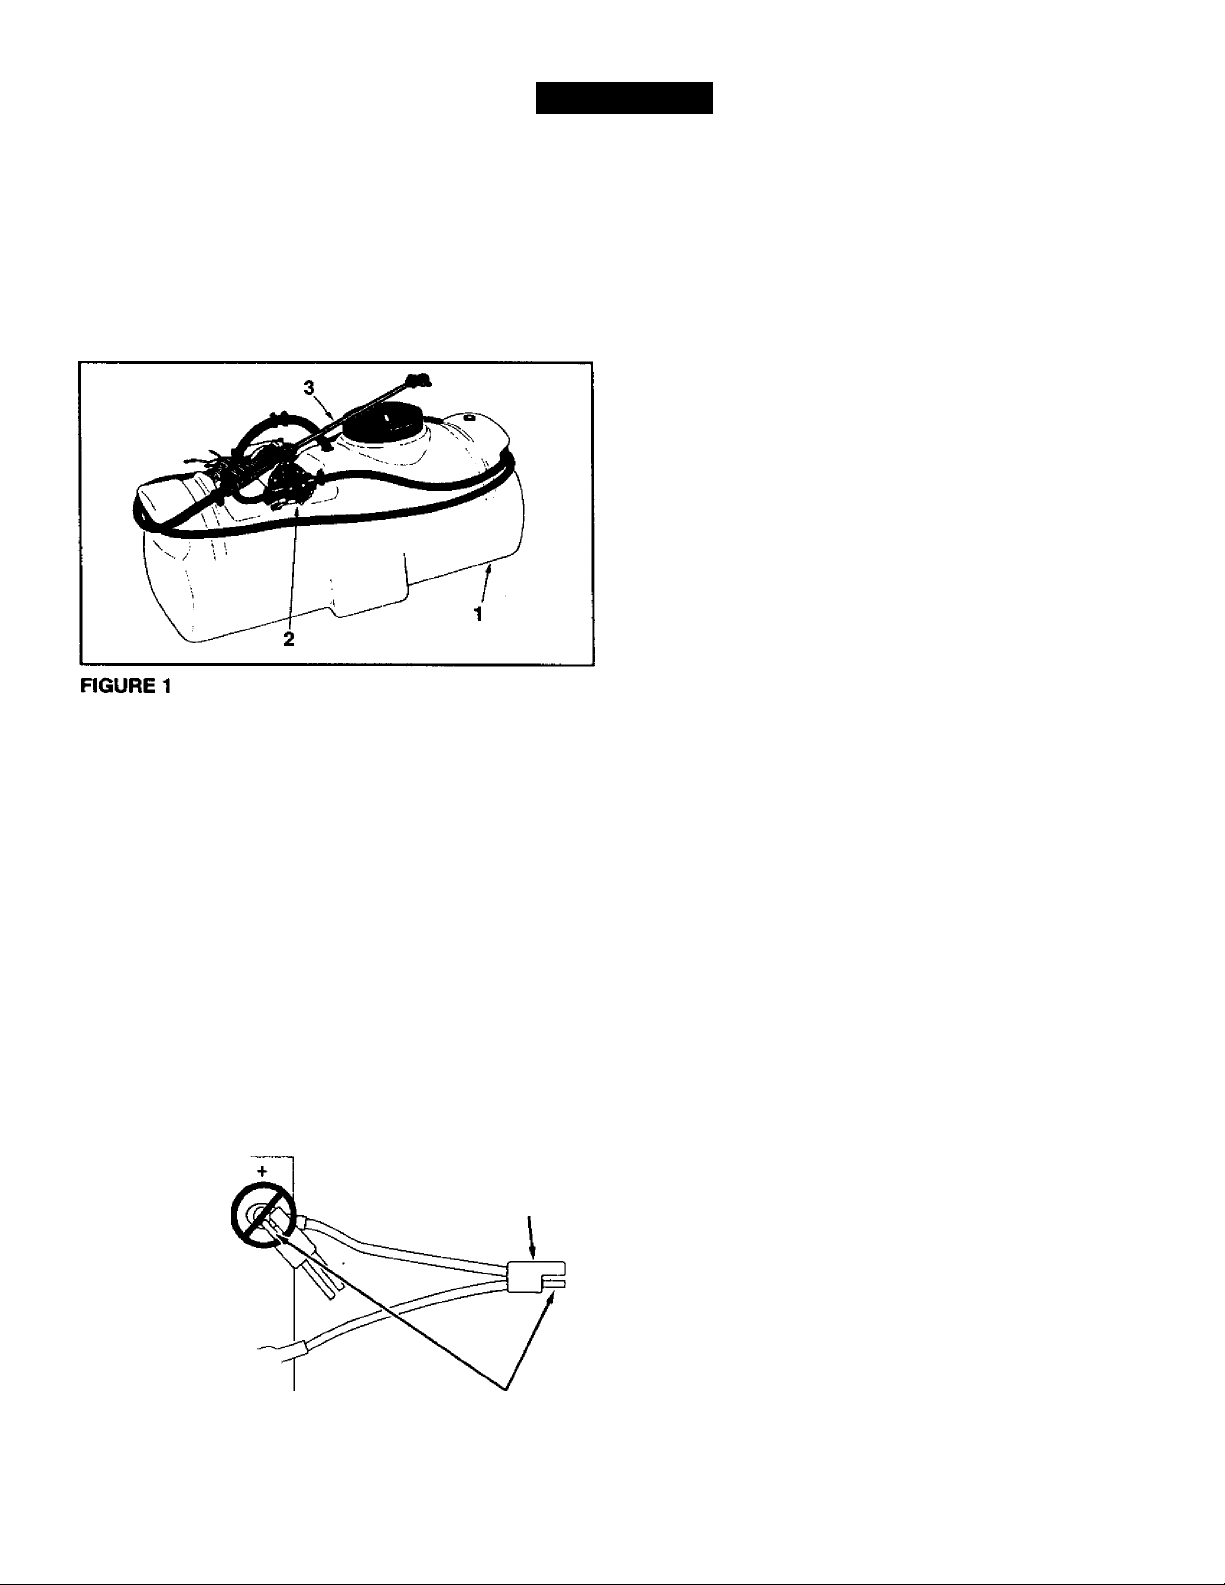
CONNECTING TO BATTERY
The sprayer is fully assembled at the factory. The only
assembly necessary is to hook up the wiring to a 12 volt
power source. The red wire of the two wire set must be
connected to the positive post on the battery, or the
"HOT" connection on a switch or ammeter. The brown
wire may be grounded or connected to the negative
battery post.
CAUTION: Never allow negative pin on
plug to come in contact with positive "HOT"
post on battery. Fire or explosion can result.
POSITIVE
"HOr
POST
NEGATIVE
POST CQ)
PLUG
12 VOLT TRACTOR BATTERY
FIGURE 2
NEGATIVE PIN
Page 4

OPERATION
KNOW YOUR SPRAYER
Read this owner's manual and safety rules before operating your sprayer.
Compare the illustratfon below with your sprayer to familiarize yourself with the various controis and their locations.
SPRAY GUN TRIGGER Turns the flow to the nozzle
on or off.
BEFORE STARTING
it is important to test the boom and spray gun with plain
water before attempting actual spraying. This will enable
you to check the sprayer for leaks and to adjust the spray
pattern. If a leak should occur, thread tape may be used
to better seal the fitting.
HOW TO START YOUR SPRAYER
• Once the sprayer is connected to a power source
the pump will start whenever a pressure drop is
caused by squeezing the spray gun trigger. A
pressure switch on the pump turns the motor on
when the system pressure drops below 35 psi.
HOW TO STOP YOUR SPRAYER
• The pump will turn of whenever a pressure buildup
to 35 psi is caused by releasing the spray gun
trigger.
NOZZLE Adjusts the spray pattern from a fine mist to
a straight stream.
USING YOUR SPRAYER
• The spray gun has an adjustable nozzle which allows
the spray pattern to be adjusted from a cone shaped
fine mist to a straight stream.
• Do not subject the pump to continuous rapid on and
off cycling (one second intervals) for long periods of
time. This occurs when the spray gun is adjusted for a
very low rate of flow.
• Disconnect the sprayer from the power source to
conserve energy from the battery during periods of
idleness. While the resting sprayer is connected, the
pump will run periodically as the system pressure
gradually drops below 35 psi.
• Stay clear of flowers, shrubs and evergreen trees
when spraying weed control solutions. Avoid contact
of the solution with these sensitive plants.
CAUTION: Wear eye protection, gloves
and protective clothing when handling
A
and working with lawn chemicals.
Page 5

CUSTOMER RESPONSIBILITIES
MAINTENANCE SCHEDULE
Fill in dates as you .
complete requiar service. /0,
Check for loose fasteners
Clean the strainer
Clean tank
X
MAINTENANCE
Service Dates
X
X
CHECK FOR LOOSE FASTENERS
• Before each use make a thorough visual check of
the sprayer for any bolts and nuts which may have
loosened. Retighten any loose bolts and nuts.
CLEANING STRAINER
• Periodically clean the strainer in the end of the intake
hose at the bottom of the tank. Remove the nylon
swivel nut from the hose, pull out the screen and flush
it with clear water.
• Drain all water out of the sprayer, paying special
attention to the pump and handgun. These items are
especially prone to damage from chemicals and
freezing weather.
CLEANING TANK
• After each use, fill the tank part way with water, start
the sprayer and allow clear water to be pumped
through the plumbing system and out through the
handgun. Use the handgun to thoroughly wash ail
internal parts of the tank and the outside of the tank.
• Refill the tank about half full with plain water and a
chemical neutralizer and repeat the cleaning instruc
tions above. Flush the entire sprayer with the neutral
izing agent. Follow the chemical manufacturers
instructions for disposal of all wash or rinsing water.
• The sprayer should be winterized before storage by
pumping a 50-50 solution of water and R. V. anti
freeze through the entire plumbing. Proper care and
maintenance will prolong the life of the sprayer.
Page 6

Page 7

REPAIR PARTS FOR 15 GALLON SKID SPRAYER MODEL 486.24534
Ref.
No.
47752
1
2 47001
45022
3
45024
4
47002
5
45180
6
45032 1
7
45040
8
47078
9
43910 4
10
47005
11
46276
12
Part
No.
Qty.
Description
Tank, 15 Gallon
1
Pump and Motor
1
Hose, 1/2" ID (14" Lg.)
1
Cap Strainer
1
Hose. 3/8" ID (10" Lg.)
1
Hose Clip
1
Swivel Nut, 3/4" Garden Hose
Screw, 10-24 X 1/2" Lg.
1
Screw, 10-24 X 3/4" Lg.
4
Flat Washer, #10
Hose Reducer, 1/2" x 3/8"
1
1 Adapter, 3/4" GH x 1/2" Barb
1
Ref.
No.
13
14
15
16
17
18
19
20
21
22
23
Part
Qty.
No.
45026
47393
47406
45085
45086
45025
46073
46287
736-0722 1
46700
47405
47793
Description
Hose Clamp, 3/8"
2
Hose, 1/4" ID (12'6" Lg.)
1
Spray Gun
1
1 Terminal, Male
Terminal, Female
2
Hose Clamp, 1/2"
1
Connector with Wire
1
1 Plug
Lock Washer, 3/16"
1 Lid, Tank
Hose Clamp, 1/4"
1
Owner's Manual
1
Page 8

For in-home major brand repair service:
Call 24 hours a day, 7 days a week
1-800-4-MY-HOME“ (1-800-469-4663)
Para pedir servicio de reparación a domicilio -1-800-676-5811
In Canada for all your service and parts needs call
Au Canada pour tout le service ou les pieces
For the repair or repiacement parts you need:
Call 7 am - 7 pm, 7 days a week
-1-800-665-4455
1-800-366-PART (1-800-366-7278)
Para ordenar piezas con entrega a domicilio -1-800-659-7084
For the location of a Sears Parts and Repair Center in your area:
Call 24 hours a day, 7 days a week
1-800-488-1222
For information on purchasing a Sears Maintenance Agreement
PRINTED IN U S A.
or to inquire about an existing Agreement:
Call 9 am - 5 pm, Monday - Saturday
1-800-827-6655
The Service Side cf Sears
FORM NO. 47793 (2/00)
 Loading...