

Page 1
CONTENTS
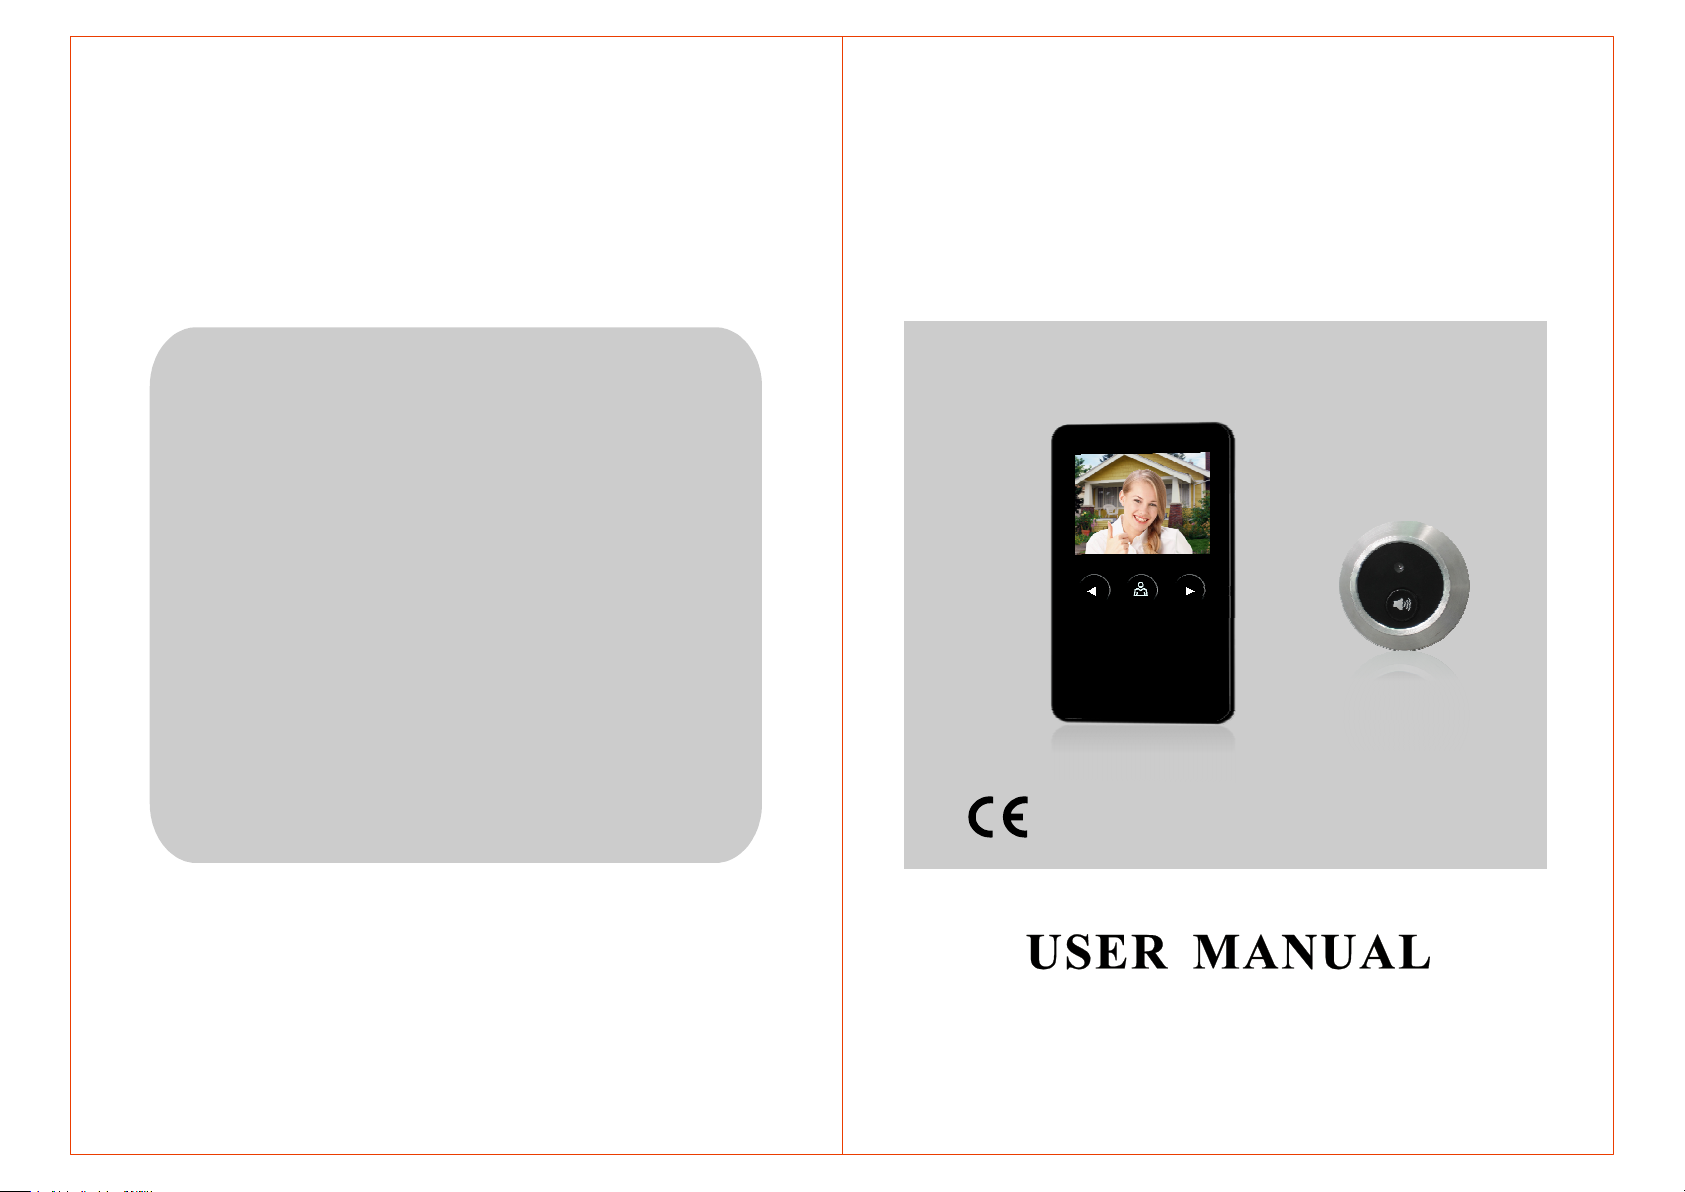
2.8" Color Video Electronic
Peep-hole Viewer
Product Description......................
Features......................................1
Package Contents ........................1
Installation Note...........................2
Installation Process......................3
Operation Introduction ................4
Usage Description on SD Card ......7
USB Interface ..............................7
Specifications..............................8
Trouble Shooting .........................9
Safety Warning...........................10
1
MODEL:RL-M281
Page 2

Product Description
The RL-M281 Color Video Electronic Peep-hole Viewer can be used to
call and monitor outside for 24 hours, giving you thecombined benefit of
security and convenience. It is a product very suitable for villa, single house,
hotel, office etc .
Features
· ″
2.8 TFT screen with low power consumption, no radiation and high
definition.
·
Damage-proof, water-proof, oxidation-proof and abrasion-proof panel
outdoor unit.
·
Ultra-thin indoor unit leads the fashion trend.
Package Contents
INSTALLATION NOTE
NOTE:
Avoid hard shake , beating and collision ,otherwise the internal exact
components maybe be damaged .
Do not expose the outdoor unit to strong light or sunshine.
Cut off the power supply before installation.
Do not install the outdoor unit in the environment of high humidity, high
temperature, dust or chemical pollution.
Keep more than 30cm away fromAC power supply to avoid external
interference.
Keep it away from water and magnetic field.
Outdoor unit X 1Indoor unit X 1
Screws Connector X 1 Adapter X 1
1 2
Bracket for indoor unit X 1 Manual X 1
Wrench X 1 Installation stud X 1Installation stud X 1
Manual
Page 3

INSTALLATION PROCESS
OPERATION INTRODUCTION
Please followthe steps to install the units:below
Step1 Step2 Step3 Step4
Step5 Step6 Step7 Step8
Step9 Step10 Step11
INDOOR UNIT
1
LED indicator
TFT display
2
Right arrow
3
Monitoring button
4
Left arrow
5
6
Extended-slot
Indicating Li-battery charging status
View a visitor s image displayed on TFT screen’
Browse all the photos recorded on SD card
Monitor outside
Set time and date for captured pictures
Extended-slot for SD card
78USB interface
1. Drill a hole ( D=13mm) on the door at the height of 150cm from the ground or
use existing hole where Cat-eye is located.
2.
Mount the external connector on the bracket by using 3 screws.
3.
Screw off the installation stud.
4.
Take the outdoor unit into the hole.
5. Fix both outdoor unit and the bracket with installation stud.
6. Fasten connection cable.
7. Take the front panel according to step7
8. Push the indoor unit along the limited-slot on the bracket.
9. Fasten the indoor unit.
10.Connect with the Li-battery.
11.Put on
3 4
off
the front panel and finish installation.
Terminal
9 Installation hole
Download all photos via a USB cable
20-pin terminal connected to the external connector
Fix the indoor unit on it with screws
Page 4

OUTDOOR UNIT
Browsing mode
Press the monitoring
button on the indoor
unit
Switch the image
displayed on the screen
Press the right arrow
button to view photos
recorded on SD card
Press it again
to view next
image
Pinhole camera
1
Call button
2
3
Installationstud
4
Connection cable
VISITOR CALL
◆
Monitoring mode
Capture visitor s image outside to send to TFT display
Call indoor unit by pressing this button
Keep outdoor unit mounted on the door
Connect indoor unit to outdoor unit
Indoor unit is in standby status
The Visitor presses
the button on
call
outdoor unit
Press the monitoring
button on the indoor
unit
Two continuous tones
are heard inside
The screen will be on
Two seconds later, the visitor s
image will automatically display on
the screen for 10s and picture
will be captured
Press the monitorbutton
again to capturethepicture
’
The screen will be
off automatically 10
second later
The screen will be
off automatically 10
second later
Press the left arrow
button to choose the
image you intend to delete
DEL?
Press leftarrow again to delete,
NY
press right arrow to choose N,
press left arrow again to cancel.
Press monitoring
button to return
to monitoring
status
The system will automatically return to the standby mode if there is no operation
in 10 seconds .
Time ate mode& d
Press the monitoring
button on the indoor
unit
Press the monitoring
button to choose the
item .
Switch the image
displayed on the screen
Press the left arrow
button to go into
date & time mode
Press the left arrow
to increase andright
arrow to decrease.
Time ate& d on
the blue screen
1.This setting will stamp the and on a photo recorded in the SD card.time date
2.After finishing the setting and hold monitoring button for 3s to return to the
monitoring mode.
NOTICE:
1.The picturecan be stored in the SD card or internal memory.
2.The screen will display after the SD card is installed.
Enable SD CARD
3. The system will automatically return to the standby mode if there is no
operation in 10 seconds .
5 6
Page 5

USAGE DESCRIPTION ON SD CARD
SD card
extended
slot
Professional SD card
recommended
On the left side of the Indoor Unit there is an SD card extension slot for the
installation of SD card. You can use a SD card to store the images. It s
’
recommended to use professional card.
1. In standby mode , insert the card, align it with the slot (golden side
facing the user) ,push the card gently into the device and a beep sound
will be heard. Push the SD card gently again to get out the card.
2.3.If the unit is without SD card, the screen will show and
images will be saved in the .
internal memory
If the unit is with SD card, the screen will show
Disable SD CARD
Enable SD CARD.
USB INTERFACE
LED indicator
USB
interface
Note:
PC
2.If you have the indoor unit connected to personal computervia a USB cable,
you can download or view photos recorded on the SD card. Meanwhile, you
can find the blue LED indicator in upper right corner to indicate the charging
status.
3.If the SD card is inserted, connect the indoor unit with your PC via USB
cable, double click [ ] ,and you will find [ ],
my computer portable disk H
double click it.
Portable disk H:
4. And now you can see the folder as below, all the photos are recorded in it :
DICM
5. Take the SD card off, and you can view the pictures recorded on the internal
memory. Follow the operation steps as above.
SPECIFICATIONS
82mm
55mm
20mm
15mm
135mm
Ф12mm
Camera
View angle
Screen
Resolution
Working duration
working current
Power supply
Battery duration
Charging times
Picture format
Picture size
Internal memory
300 000 Pixels
o
78
〃
2.8
320 X 234
10 seconds
280mA.
Li-battery
3600 h
500 times
JPEGstandard
80~110KB
<80PCS/8MB
1.If the indoor unit is of low power ,press monitoring button and image will
become poor, LOW POWER will show on the screen and blink to indicate
that it should be charged with the adapter.
In charging status , two continuous tones are heard meanwhile the blue
screen without image appears if the call button is pressed, it is suggested
to take the indoor unit down before charging.
7
8
Page 6

Trouble Shooting Safety Warning
No Video / Audio
after calling
NoAudio from
indoor unit when
calling
Indoor unit fails
to save images
Video faulty after
calling
Make sure all connections are secured or properly
·
connected.
Make sure there is nothing obstructing the view of
·
camera.
Check if the Li-battery need to be recharged.
·
Check if the Li-battery need to be recharged.
·
Make sure all connections are secured or properly
·
connected.
Make sure neither the microphone nor speaker is
·
interfered by strong magnetic objects.
Check if the SD card is in normal operation,
·
The capacity of SD card is full and need to delete
·
unnecessary images.
Make sure all connections are secured or properly
·
connected.
Check if the Li-battery need to be recharged.
·
Power adapter warning: Only the provided power adapter can be used“ ”
The battery disposing instruction and the waste bin symbol should be added,
please find the following instructions for your reference:
·
Do not dispose of electrical products in the general waste and ensure the
used product or batteries are disposed safely according to the local
authority and regulations.
· “
Battery warning: Caution:Risk of explosion if battery is replaced by an
incorrect type. Dispose of used batteries accordingto the instructions.
”
9
10
 Loading...