

Page 1
INSTALLATION MANUAL
VW TDI Rapid Power Module
Applications Rapid Power Module Number
Volkswagen Jetta Sedan 2.0L TDI 2009 44633
Volkswagen Jetta Wagon 2.0L TDI 2009 44633
Page 2

TABLE OF CONTENTS
TROUBLESHOOTING:
If you have questions during the installation of this product,
please visit www.bullydog.com/Product_Updates.php.
The latest version of these instructions can be found at the same
location. Technical support is available by calling 866-bullydog (866-285-5936).
TABLE OF CONTENTS
INTRODUCTION ..........................................................................................................PG. 1
PARTS DESCRIPTIONS ............................................................................................ PGS. 23
INSTALLATION .......................................................................................................PGS. 47
OPERATING THE FLIP SWITCH ......................................................................................PG. 8
INTERNET UPDATES, UPDATE AGENT .......................................................................... PG. 10
INTRODUCTION
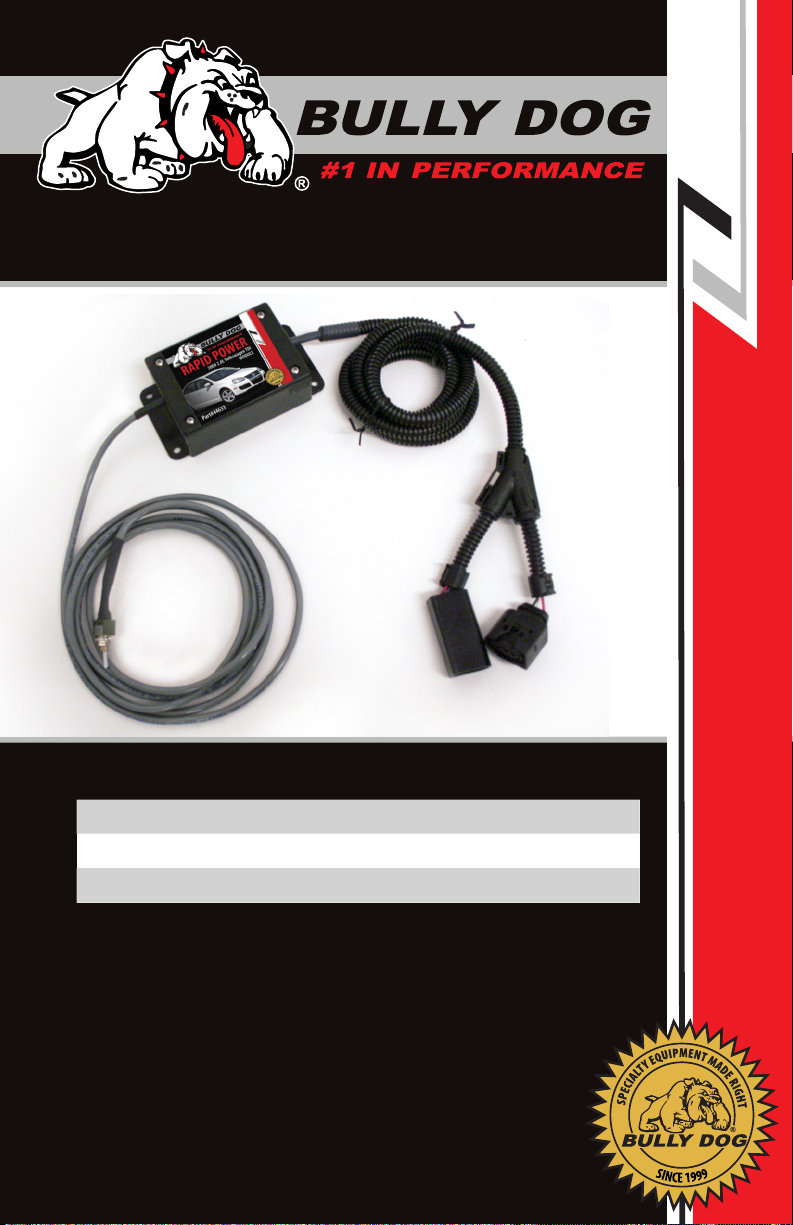
You have just purchased the most technologically advanced power module available for the 2009
Volkswagen 2.0L TDI. The Rapid Power module is the safest and longest lasting module on the market.
The Rapid Power Module for the ‘09 Volkswagen is adjustable on-the-y with two adjustable power
levels: + 10 and +15 horsepower. The Rapid Power module also comes with free technical support, just
call: 1-866-285-5936.
This instruction set outlines how to install and operate the Rapid Power module on the Volkswa-
gen 2.0L TDI 2009. Always remember to remove the module from the vehicle before taking it in for any
kind of service as the module may interfere.
Bully Dog recommends installing a pyrometer gauge to monitor exhaust gas temperature when using
any product to increase horsepower.
1
Page 3
Product Description
Product Description:
This section displays the parts included in the package and describes the main parts of the module.
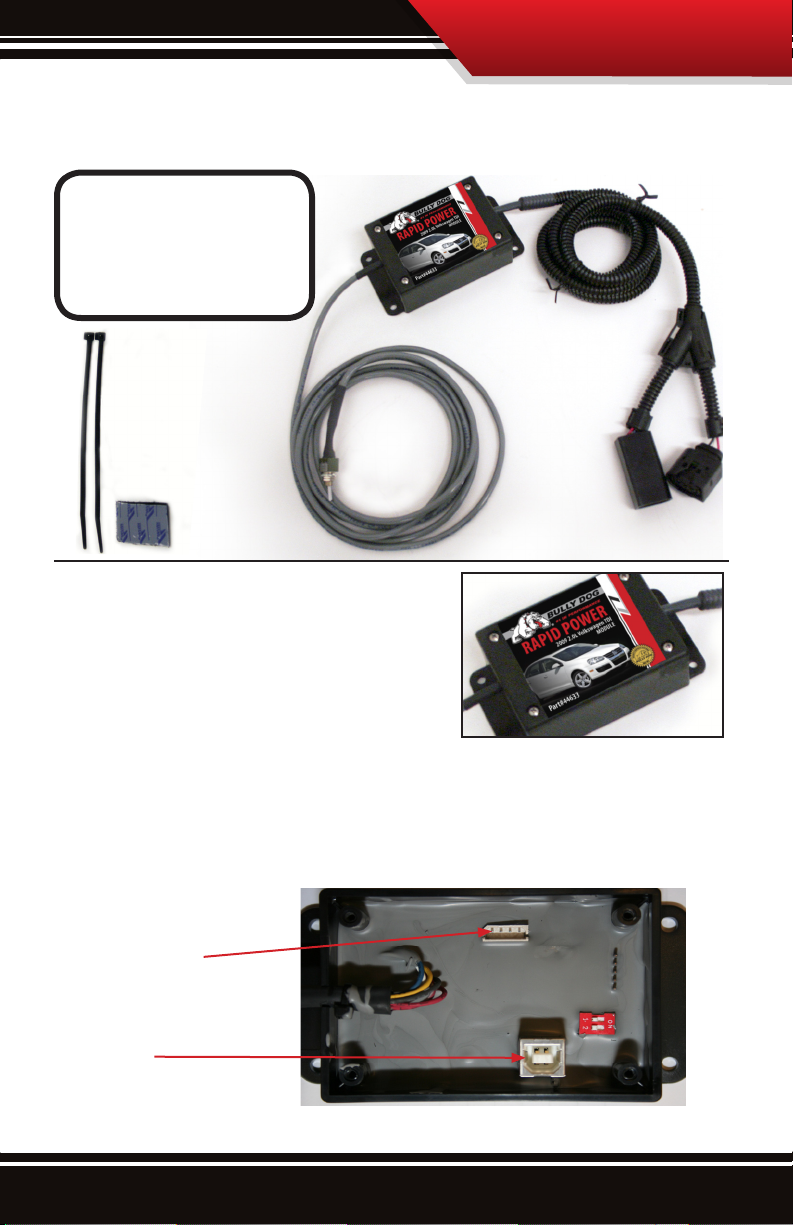
Packaging Contents:
1. Rapid Power Module with Wir-
ing Harness and Power Switch
2. Zip Ties
3. Velcro
THE MODULE BOX: The module box contains the electronics
that will allow your vehicle to produce more horsepower. It is very
important that this module is mounted away from all moving or
hot parts. The box should be placed in an area protected from dirt
and moisture.
POWER SWITCH PORT: The Power switch must be plugged into
the Power switch port to interface with the module programming and switch horsepower levels on-the-y.
USB PORT: The USB port which is used to update the module when new updates come available through the
Bully Dog Update Agent. The USB port can be accessed by simply unscrewing the four screws on the top of the
module enclosure.
Power Switch Port
USB Port
2
Page 4
Product Description
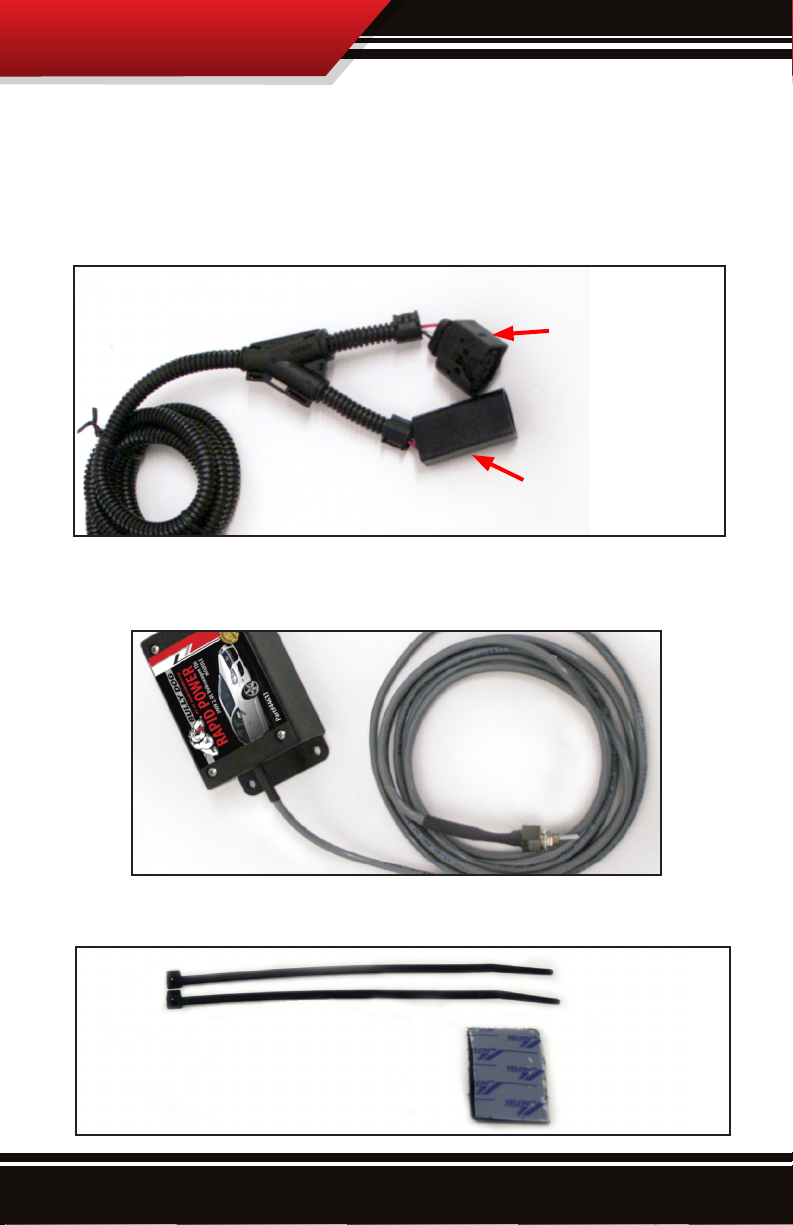
THE WIRING HARNESS: The wiring harness is made up of the cable coming from the box and a cable with two
plugs. The wiring harness allows the Rapid Power Module to connect to your vehicles engine. At the end of the
wiring harness are two plugs, one male and one female plug. These plugs will connect directly to the vehicles
engine and wiring harness requiring no modication of the vehicle.
Module Female Plug
Module Male Plug
POWER SWITCH: The Power Switch comes already hooked up to the Rapid Power module, the power switch
can be left in the engine bay or installed somewhere within the interior of the vehicle for easy access.
MOUNTING GEAR: The zip ties and velcro are included to secure the module and harness.
3
Page 5

Installation
Installation:
Installation is very simple, the total time it takes to install this module is about 20 minutes.
ENGINE OVERVIEW DIAGRAM: The engine overview diagram below shows the 2.0L TDI Volkswagen engine
and where on the engine the Fuel Rail Pressure Sensor is located. Move to the next page where the installation
instructions begin.
Engine Overview 2.0 L ‘09
Fuel Rail Pressure Sensor
Warning: Do not attempt to perform
installation of any type on the vehicle while the engine is running.
4
Page 6

Installation
1.Make sure vehicle’s engine is o.
2.Remove the vehicle engine cover to gain
access to the Fuel Rail Pressure sensor. To
remove the engine cover gently but rmly
pull upward on the front of the engine cover.
The engine cover will remove very easily so if
it seams dicult try pulling it upward from a
dierent location to avoid breaking the grommets that hold the engine cover in place.
3. Once the engine cover is removed locate the fuel rail pressure sensor plug, the sensor plug
is on the passenger side of the engine and is connected to the end of the common fuel rail.
Pressure sensor plug
Common Fuel Rail
4. Disconnect the pressure sensor plug from the common rail. The release mechanism for
the plug is located on the bottom side of the plug; a tool may be neccessary to gain enough
leverage to disconnect the plug. To understand how the release mechanism works look at
the module female plug, it is identical to the pressure sensor plug.
5
Page 7

Installation
5. Connect the female module plug to the rail pressure sensor male end (the end that is
xed to the common rail). Make sure that the locking mechanism is fully secured, the locking mechanism will make a snapping sound when the plugs are completely connected.
6. Connect the remaining two plugs together: the module male plug and the stock female
pressure sensor plug. This will complete the installation of the plug set. Tuck these two connected plugs next to the fuel rail pressure sensor plug at the end of the fuel rail.
6
Page 8

Installation
7. With the plug set connection complete move the module away from moving parts and
start the engine, the engine should run just as it normally would. If the engine does not
start check the plug connections to make certain they are secure. If the plug connections are
secure and the engine does not start or it runs rough the module will need to be updated
online through the Update Agent.
8.Secure the module and the wiring harness as far away from heat and moving parts as
possible using the velcro and zip ties that are included in the package.
9. With the module secured, run the ip switch to a location that is convenient for switching.
The switch can be secured in the engine bay or the switch can be run into the interior of the
vehicle through the re wall. For instructions on using the switch see the next page.
7
Page 9
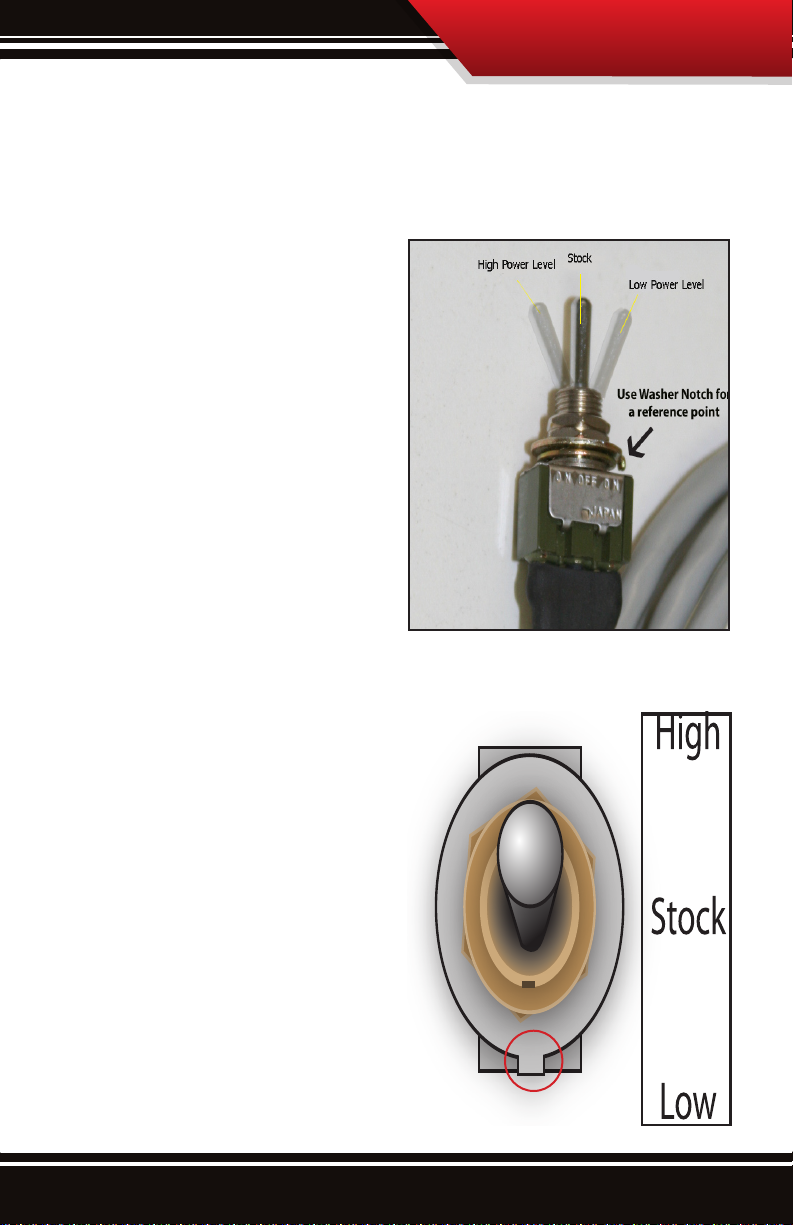
Operating the Power Switch:
Changing power levels on the y is as easy
as ipping the power switch, the important
thing to remember is which position is
which power level. Notice that on one end
of the power switch is a notch on a washer
that points away from the top of the switch.
If the the toggle switch is nearest to that
notch then the current power setting is set
to the low setting, the middle setting is
stock and the opposite setting is the highest
power setting. See the descriptions below
for a reference to how each power setting is
aecting the engine.
Power Switch
POWER SETTINGS:
HIGH: The high power setting represents a
15% gain in power, the power will be most
notible during turbo spool up and on the
top end.
STOCK: This setting will not change anything
about the way the car drives, this setting is
usable for situations when another person is
driving the vehcile other than the owner of
the vehicle.
LOW: The low power setting represents a
10% gain in power.
NOTCH
8
Page 10

9
Page 11

Update Agent
UPDATE AGENT
IMPORTANT: The information on this page is applicable to all electronic products made by Bully Dog.
If new udpates come available for the Rapid Power Module, those updates will only be available
through the Update Agent. The Update Agent is an internet update program designed by Bully Dog
Technologies to update Bully Dog products. The Update Agent is free of charge and all updates available through the Update Agent are free of charge as well.
How to Get the Update Agent:
• Update Agent CD: included in your Rapid Power package
is the Update Agent CD. This CD contains the Update Agent
and all other necessary components to make the Update
Agent work on your PC.
• Online Download Center: To acquire the Update Agent
online simply visit Bully Dog’s web site www.bullydog.
com/download_center.php to access the Download Center
and download it for free.
10
Page 12

Bully Dog Technologies, LLC is a team built on integrity that is dedicated to leading the vehicle performance
industry with an uncompromising code of ethics demonstrated in the soundness of its employees, excellent
customer service and superior products.
UNLEASH THE POWER
WITH BULLY DOG PERFORMANCE PRODUCTS
Watch Dog Fuel Reformulator
Intake Systems
For a full listing of Diagnostic Trouble Codes go to: www.bullydog.com/DTC.php
Clothing
See More at: bullydog.com
Doc.# BD44631-99 v1
®
For Free Technical Support
Call: 866-bullydog (866-285-5936)
 Loading...