

Braven 650, 625s, 600 Owner's Manual

THANK
YOU
Thank you for choosing the BRAVEN SIX Series, the
world's
most
talented line
of
portable wireless speakers.
BRAVEN is the first high-fidelity wireless speaker
to
combine amazing sound quality with a multi-tasking
speakerphone and mobile phone charger.
Now
you can
amplify your mobile life and enjoy your music, movies
and games the way they were meant
to
be heard. And
with BRAVEN's built-in backup battery you will never
have
to
worry about your phone or
mp3
player running
out
of
battery while you'
re
on-the-go.
BRAVEN puts the power
of
a live performance
in
the
palm
of
your hand.
BRAVEn
CONNECTING
TO
YOUR
BRAVEN
Connect
to
your BRAVEN speaker wirelessly
through Bluetooth ®.
Daisy-chain and connect
wired (non-Biuetooth®)
devices
to
your BRAVEN speaker with the
included 3.5mm audio cable.
CHARGING
YOUR
BRAVEN
Use the micro USB port on the right side
of
the
speaker
to
charge your BRAVEN. Use the USB
port on the left side
to
charge external devices.
CONTENTS
GET
TO
KNOW
YOUR BRAVEN ........................ ....................................................... 4
CHARGING .............................................................................................................. 5
TURN ON
& SYNC ................................................................................................... 6
EXTERNAL CHARGING ................................................... ......................................... 7
SPEAKERPHONE ............................................. .
....................................................... 8
DEVICE CONTROL & DAISY-CHAINING .................................................
..
................ 9
TROUBLESHOOTING .............................
..
................................ .............................
..
1 0
DEVICE SPECIFICATIONS ........................................................................................
11
WARNINGS & CAUTIONS ........................................................................................ 12
LEGAL INFORMATION .................. ........................................................................... 13
BRAVEn
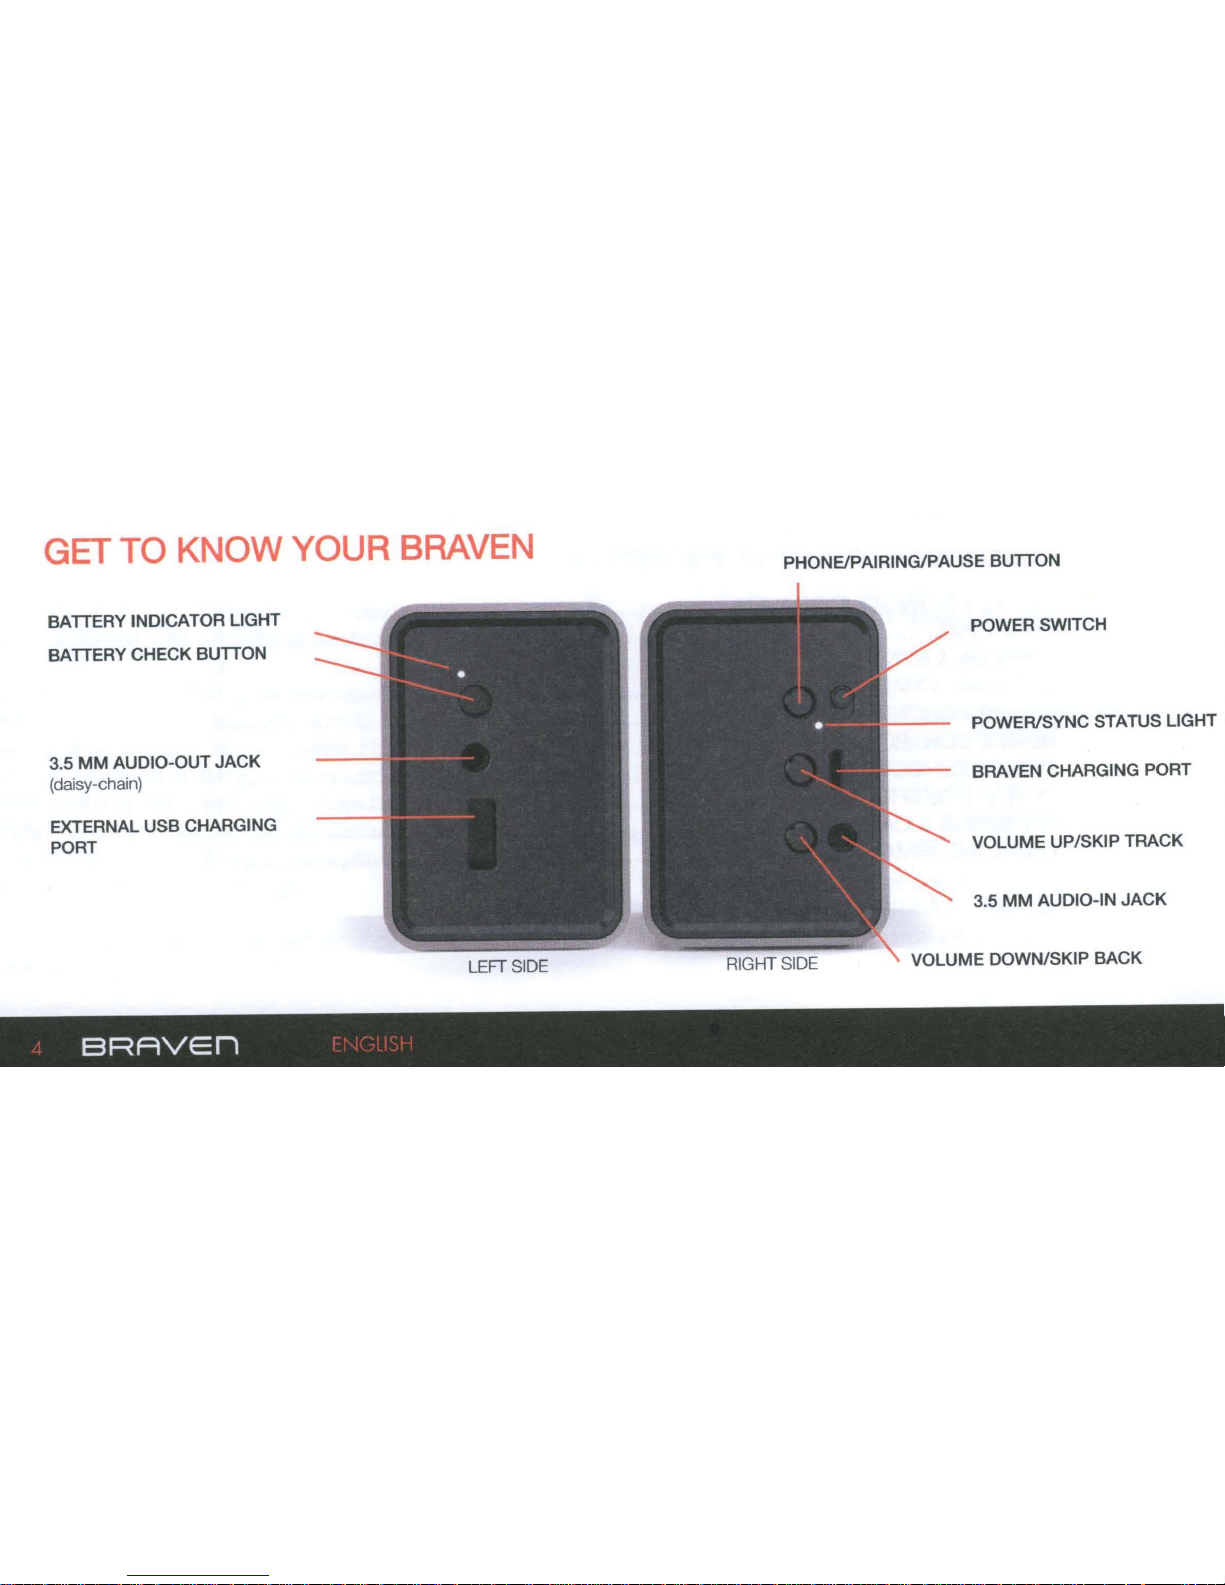
GET
TO
KNOW
YOUR
BRAVEN
BATTERY INDICATOR LIGHT
BATTERY CHECK BUTTON
3.5
MM
AUDIO-OUT
JACK
(daisy-ch
ain)
EXTERNAL
USB
CHARGING
PORT
BRAVEn
LEFT SID
E
PHONEJPAIRING/PAUSE BUTTON
POWER SWITCH
POWER/SYNC STATUS LIGHT
BRAVEN CHARGING PORT
VOLUME UP/SKIP
TRACK
3.5
MM
AUDIO-IN
JACK
VOLUME DOWN/SKIP
BACK
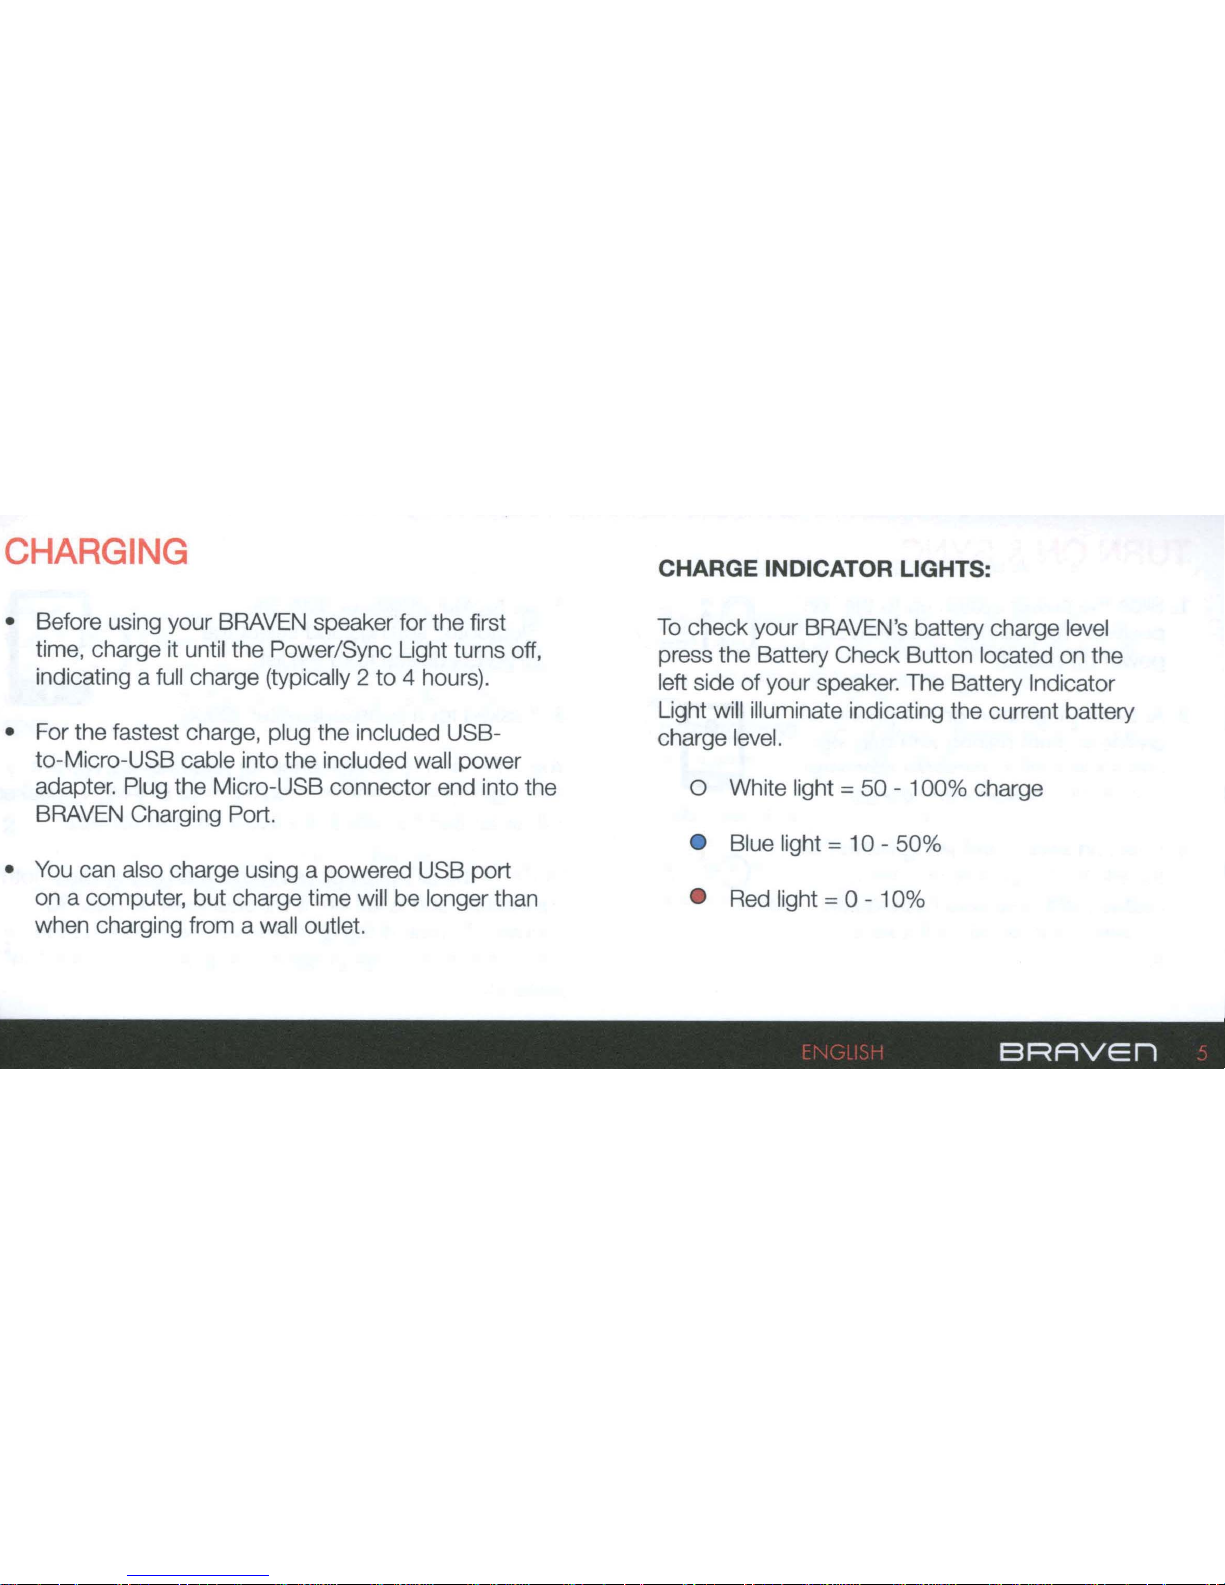
CHARGING
• Before using your BRAVEN speaker
for
the first
time, charge it until the Power/Sync Light turns off,
indicating a full charge (typically 2
to
4 hours).
• For the fastest charge, plug the included USBto-Micro-USB cable into the included wall
power
adapter. Plug the Micro-USB connector end into the
BRAVEN Charging Port.
• You can also charge using a powered USB port
on a computer,
but
charge time will be longer than
when charging from a wall outlet.
CHARGE INDICATOR LIGHTS:
To
check
your BRAVEN's battery charge level
press the Battery Check Button located on the
left side
of
your speaker. The Battery Indicator
Light will illuminate indicating the current battery
charge level.
0 White light =
50
- 1
00%
charge
• Blue light = 1 0 -
50%
• Red
light= 0-10%
BRAVEn
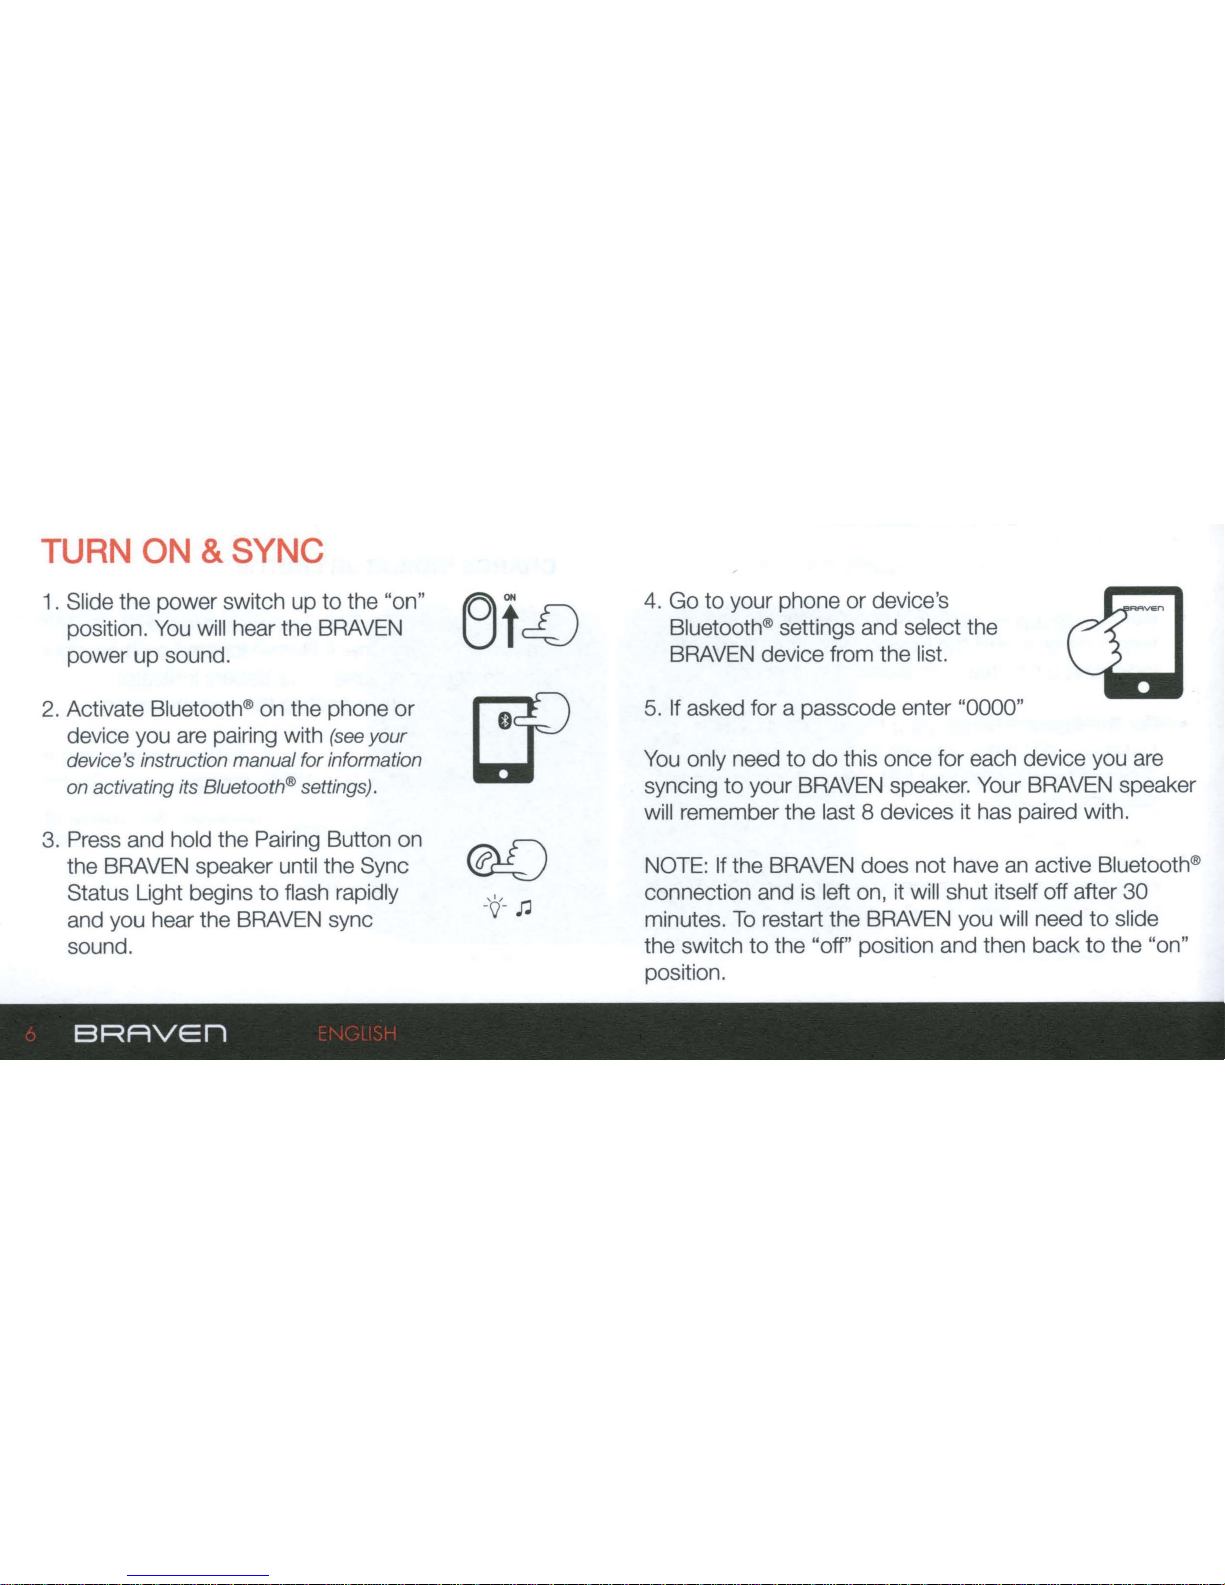
TURN ON & SYNC
1 . Slide the power switch
up
to
the "on"
position. You will hear the BRAVEN
power
up
sound.
2. Activate Bluetooth® on the phone
or
device you are pairing with (see
your
device's instruction manual for information
on
activating its Bluetooth ® settings).
3.
Press and hold the Pairing Button on
the BRAVEN speaker until the Sync
Status Light begins
to
flash rapidly
and you hear the BRAVEN sync
sound.
BRAVEn
4. Go
to
your phone
or
device's
Bluetooth® settings and select the
BRAVEN device from the list.
5. If asked for a passcode enter "0000"
You only need
to
do
this once for each device you are
syncing
to
your BRAVEN speaker. Your BRAVEN speaker
will remember the last 8 devices it has paired with.
NOTE: If the BRAVEN does not have an active Bluetooth®
connection and is left on, it will shut itself off after
30
minutes.
To
restart the BRAVEN you will need
to
slide
the switch
to
the "off" position and then
back
to
the "on"
position.
 Loading...