

Tutorial

Introduction
Introduction
The tutorial is divided into multiple lessons. Each lesson stands on its own and
does not require you to build on existing lessons.
The lessons provide step-by-step instructions on how to achieve the desired
results. Some lessons present multiple ways to accomplish a certain task.
Note: All lessons assume that 4in. (101.5 mm) tape is installed in the printer.
© 2012 Brady Corporation. All Rights Reserved.
Y2113334
Revision A
ii BBP®85 Label Printer
Tutorial

Contents
Before Starting ....................................................................................1
Lesson 1: Creating a Simple Text Label ...........................................2
Enter Text ..............................................................................................................2
Change Font Size .................................................................................................2
Highlight Text ........................................................................................................3
Format Text ...........................................................................................................3
Justify Text ............................................................................................................3
Frame an Object ...................................................................................................4
Set Label Fixed Length .........................................................................................4
Preview a Label .....................................................................................................4
Clear a Label and Return Home ...........................................................................4
Lesson 2: Adding Graphics to Labels ..............................................5
Lesson 3: Adding Serialization & Barcode Data ..............................7
Add Text Serialization ...........................................................................................7
Add Barcode Data .................................................................................................8
Lesson 4: Using a Template to Create a Label ................................9
Contents
Lesson 5: Saving and Opening a File .............................................10
Save a Label File ................................................................................................10
Open a Saved Label File .....................................................................................10
Delete a Label File ..............................................................................................10
Lesson 6: Creating Pipe Markers ....................................................11
Lesson 7: Creating QuickLabels .....................................................13
Lesson 8: Changing ObjectColors ...................................................14
BBP®85 Label Printer
Tutorial
xi
1 Tutorial
1
2
3
Before Starting
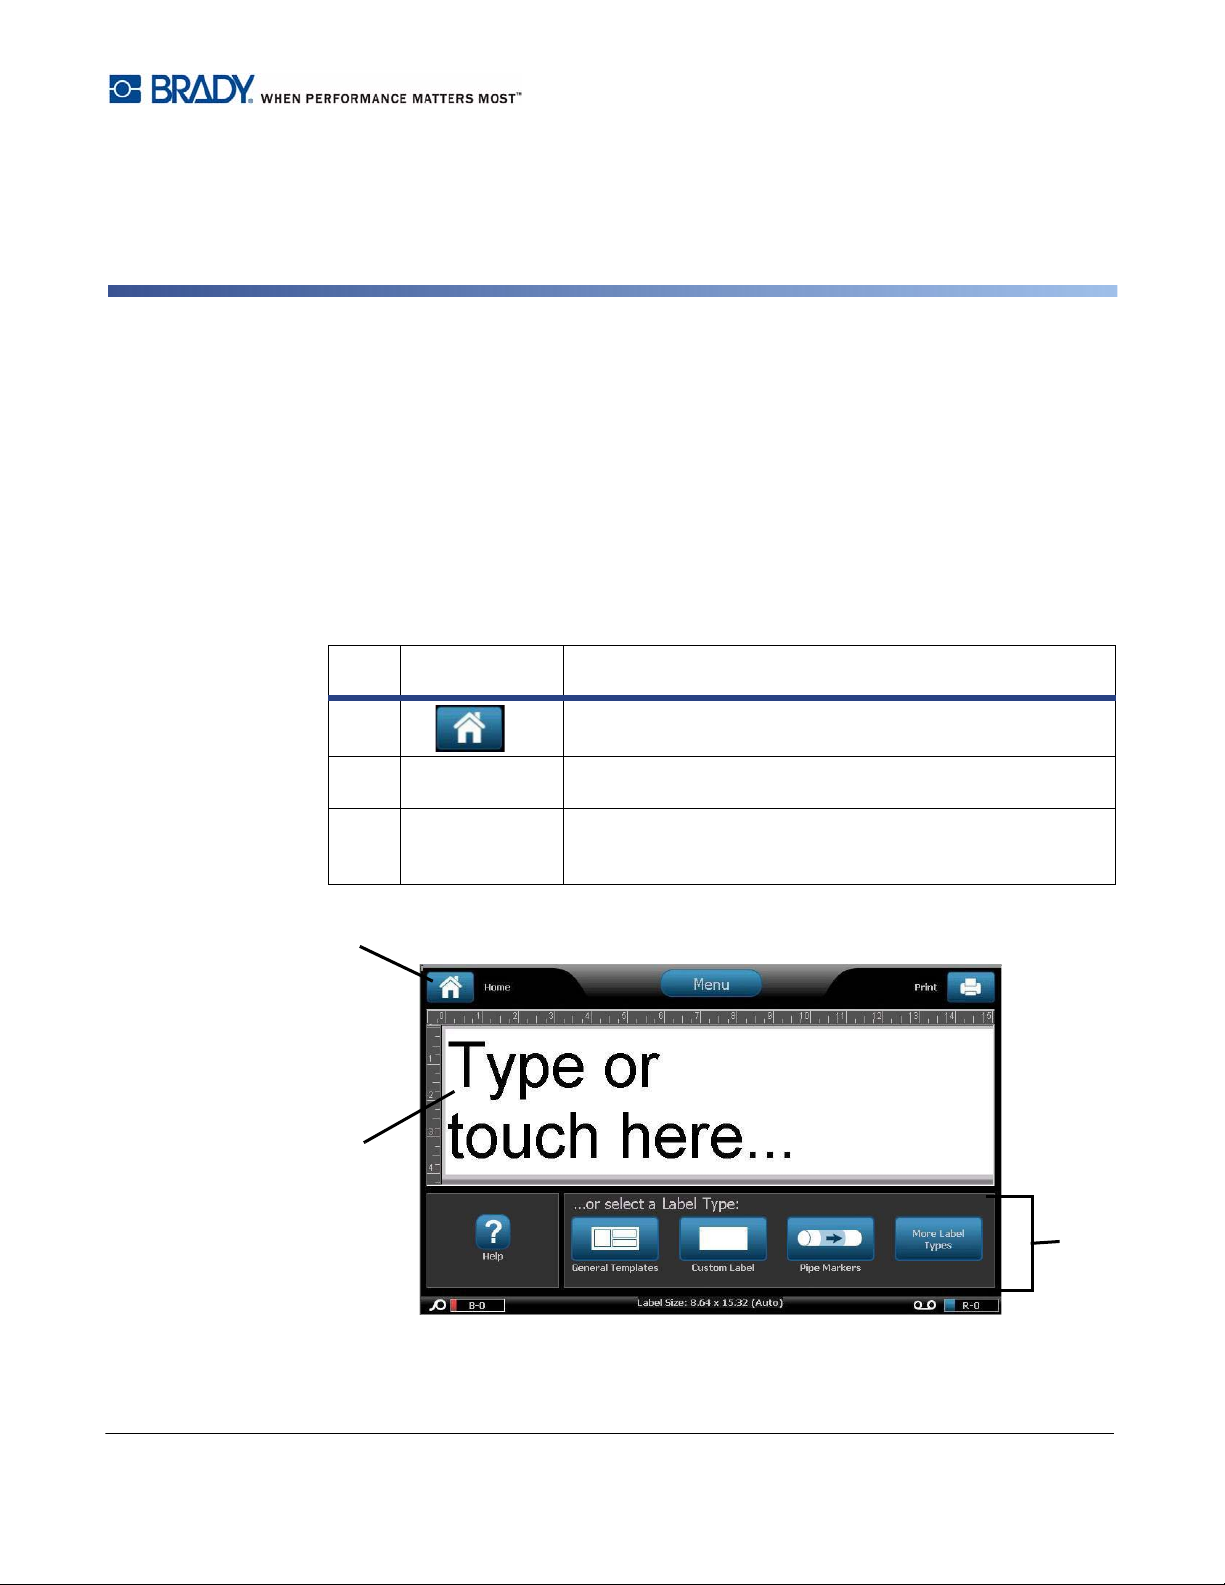
Before starting, you should understand the sections of the display screen that will be used
in these tutorials.
The Home page automatically displays when you first start the printer. The sections of the
Home page that you will be using for these lessons are:
Item
Icon Description
#
Home
1
2
Editor
3
Control Panel
: Returns you to the Home page from anywhere in the
application. Button is greyed out on the Home page.
Text or object entry area. Type, touch or select objects to
display and edit in this area.
Primary area for selecting all of your options for creating,
editing and working with labels and objects. The panel
changes depending on what option is selected.
BBP®85 Label Printer Tutorial 1
Lesson 1: Creating a Simple Text Label
Lesson 1: Creating a Simple Text Label
This lesson shows you how to create a simple label, adding formatting attributes
and revising the label before printing. For more information on the techniques
used in this lesson, see “Create Labels” on page 3-1 and “Printing Labels” on
page 5-3 of the user’s manual.
Note: Whenever there is text that you should enter, the word is highlighted in Blue.
All other actions are highlighted in bold.
Enter Text
1. From the Home page, type: EXIT. The text size is maximized to fit the entire
width of the installed tape (e.g., 252 pts).
2. Add a new line by pressing Enter. The text size is reduced so that both lines
will fit the entire width of the installed tape (e.g., 126 pts).
3. On the second line, type:
LEFT.
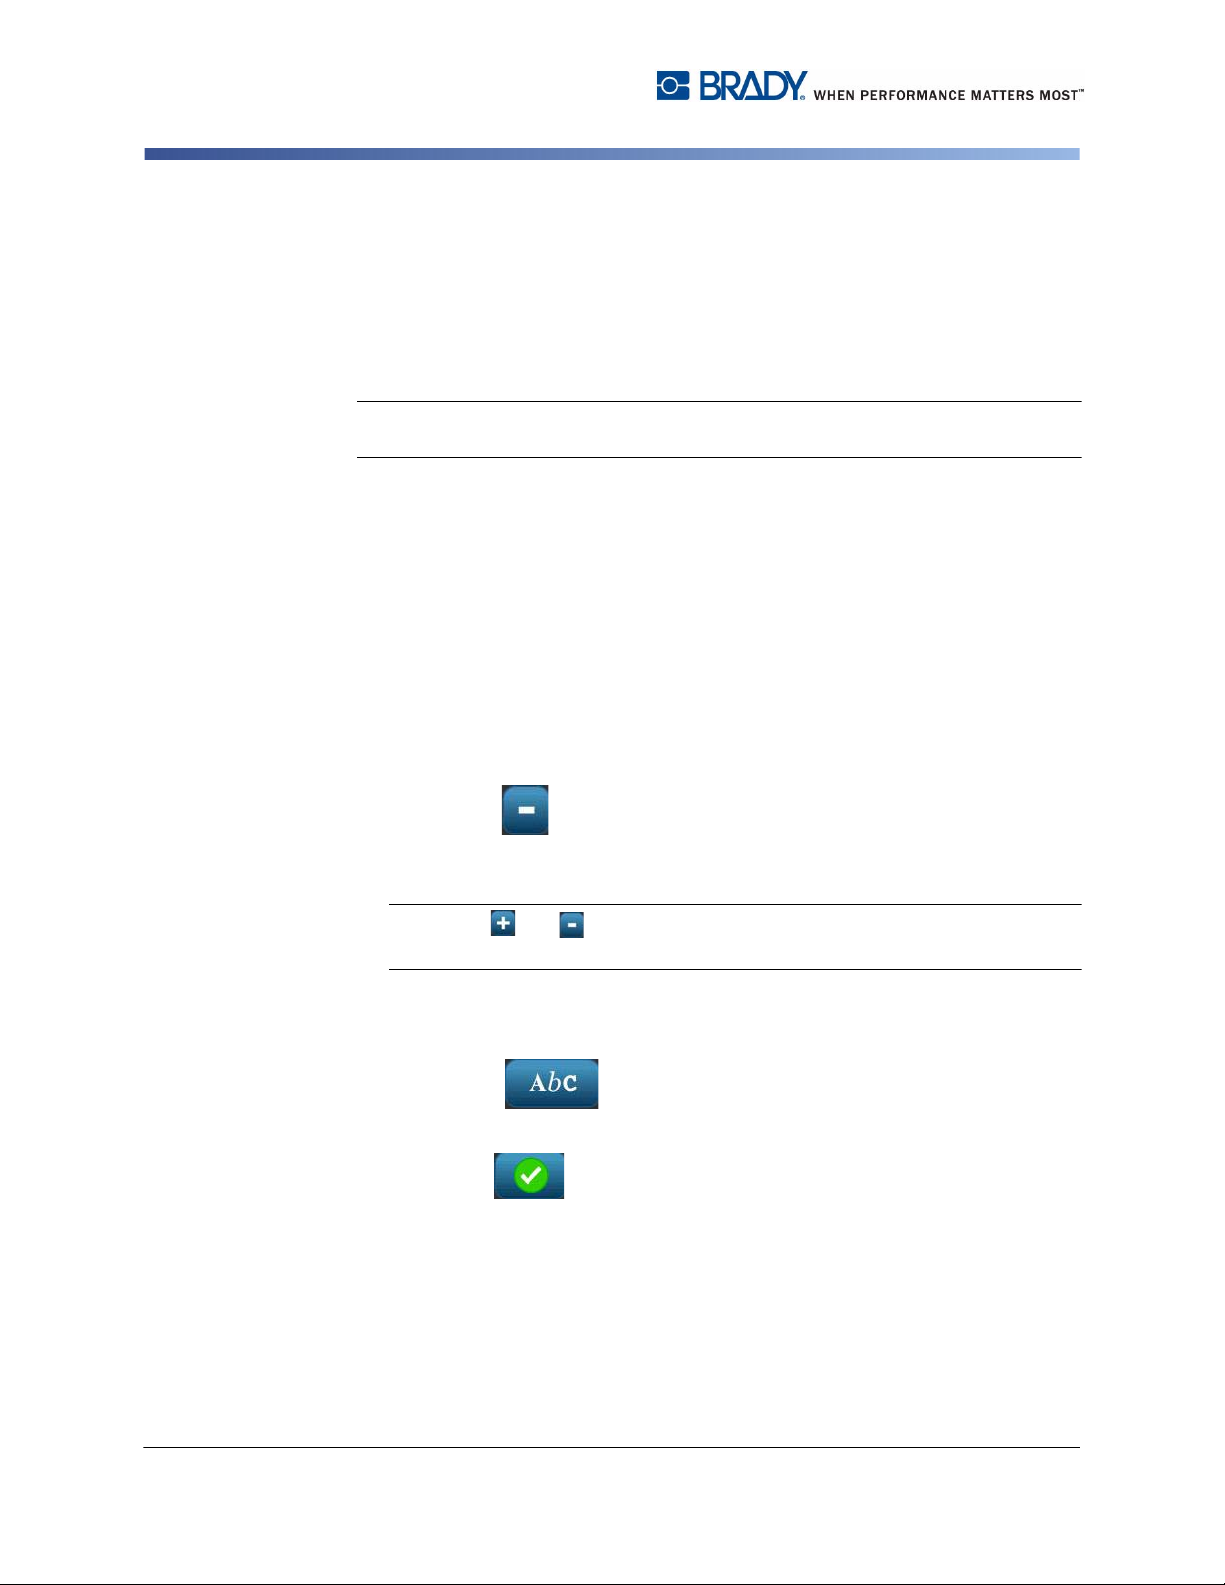
Change Font Size
To decrease the font size:
1. Touch Size twice. Each time you press the button, the font size will
change. For example, if the font size was 126 pts to start, pressing Size twice
will reduce it to 80 pts.
Note: The and size buttons change the font size for all of the text in the
text object.
To change font size for one word in a text object:
1. Touch the word Exit.
2. Touch Font
3. In the Size dialog, type:
4. Select OK or press Enter.
100 (pts).
2 BBP®85 Label Printer Tutoria
l
Highlight Text
You can use the keyboard navigation keys [KLIJ] to move the cursor around in
a text box. You can also touch a word to highlight it.
1. Use [I or J] to move the cursor to the beginning or end of the word Left.
2. Hold the Shift key and press [I or J] until the entire word is highlighted.
- or -
Touch the word Left.
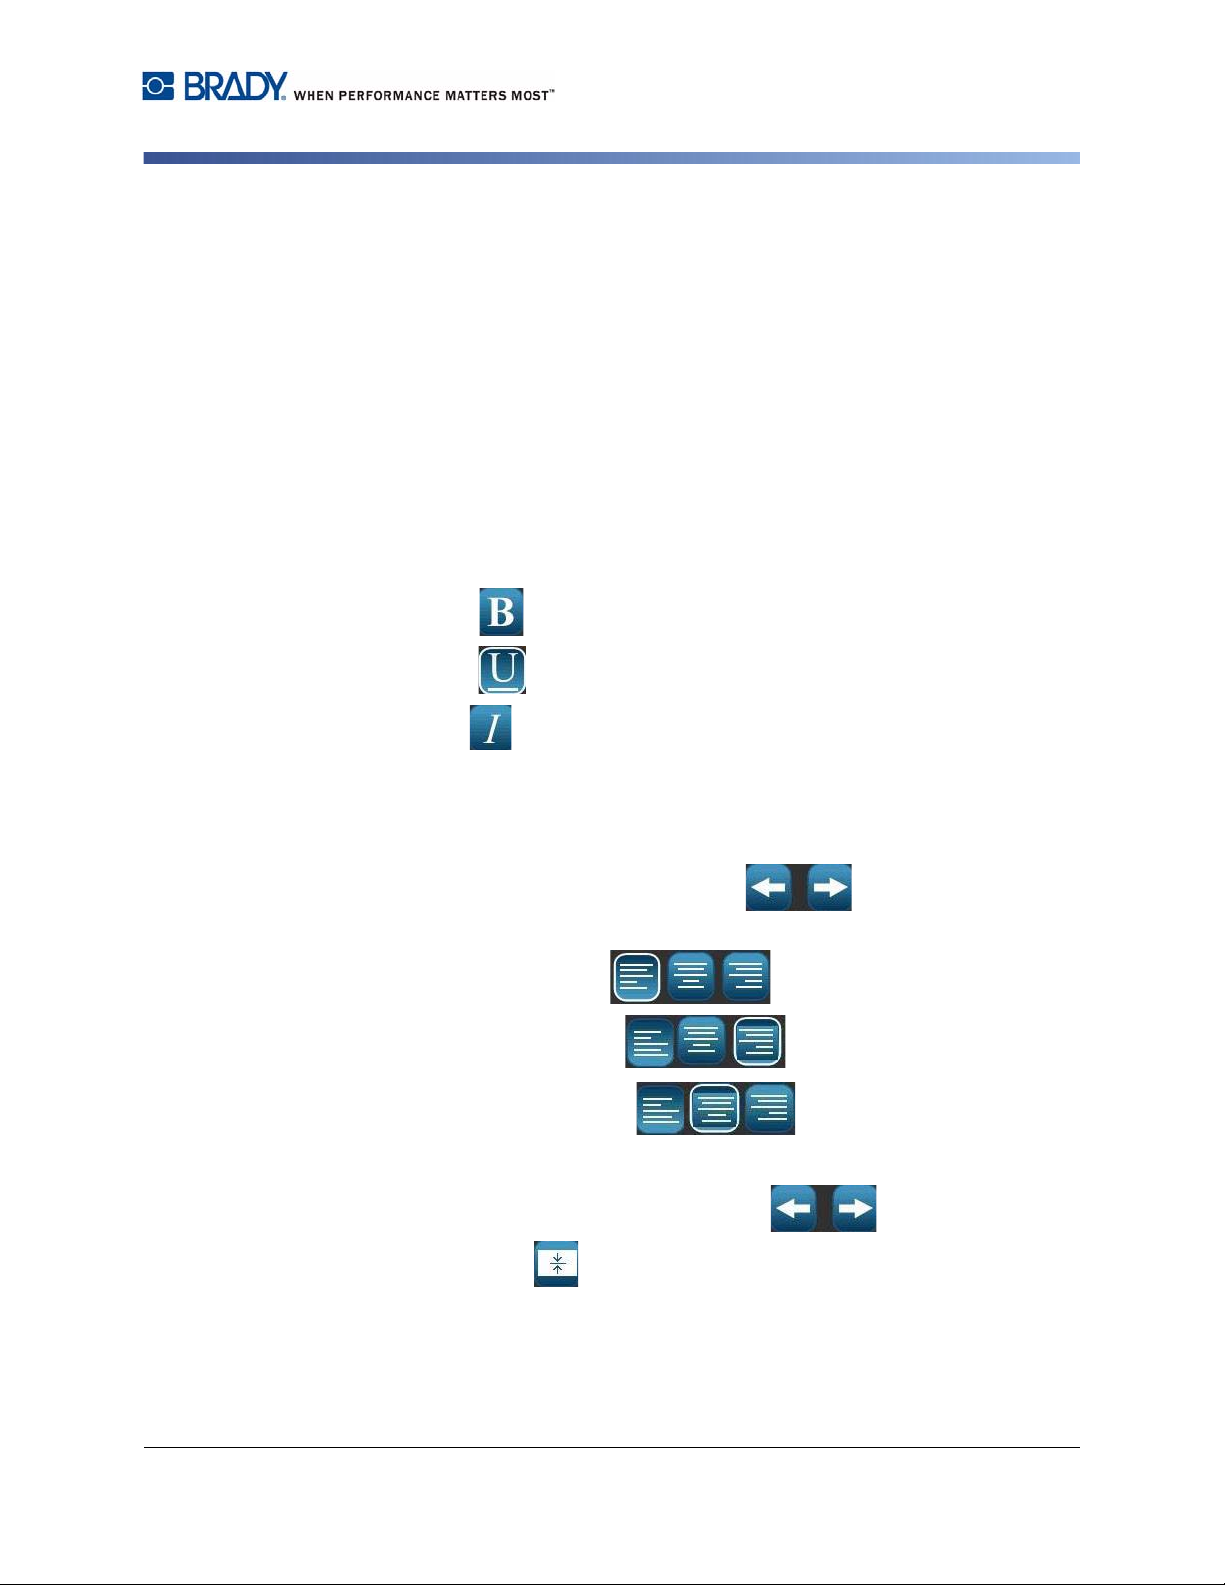
Format Text
You can change the format of a word by pressing one of the format buttons on the
control panel. The action is immediately reflected in the Editor. Pressing the
button again, returns the highlighted text to its original state.
Lesson 1: Creating a Simple Text Label
1. Select
2. Select
3. Select
Justify Text
To justify text in an object:
1. Touch the right arrow of More Options .
2. In the Justification area:
•
Justify Left: Select
•
Justify Right: Select
•
Justify Center: Select
3. In the Center on Label area, center the text on the label:
B . The word is immediately bolded.
U . The word is immediately underlined.
I . The word is immediately italicized.
.
.
.
• Touch the right arrow of
Touch Vert
•
BBP®85 Label Printer Tutorial 3
.
More Options
.

Lesson 1: Creating a Simple Text Label
Frame an Object
1. Touch More Options until you get to the Object Frame options.
2. In the Object Frame options, select Rounded . The framed object is
immediately shown in the display.
Set Label Fixed Length
1. Touch Menu .
2. Select Size & Orientation .
3. Select Fixed Length .
4. In the Length field, type:
12
5. Select OK .
Preview a Label
1. Create a simple label using the previous procedures.
2. Touch Print .
3. Select Preview . Your label is displayed in the preview window.
4. Select Start Print to print, or Cancel to exit the Print Preview
screen.
Clear a Label and Return Home
1. From anywhere in the label, press Home .
2. If asked to save changes, select No.
4 BBP®85 Label Printer Tutoria
l

Lesson 2: Adding Graphics to Labels
Lesson 2: Adding Graphics to Labels
1. From the Home page, touch anywhere in the Editor.
2. Select Graphic . The box on the left shows the available graphic
categories. As you touch a category, the available graphics for that category
will display in the box on the right.
3. In the Category list, use the up or down arrows to scroll to the
Warning category.
4. Select any of the available graphics to add it to your label. The graphic size is
maximized to fit the entire width of the installed tape.
5. To resize the graphic, use the Size or just like text.
To set a specific graphic size:
1. Touch the graphic.
2. Touch the right arrow of More Options .
3. Select Exact Size & Position .
4. In the Object width field, enter
5. Select OK . The graphic width is sized proportionally to
2 in. [50.8 mm].
2.
BBP®85 Label Printer Tutorial 5

Lesson 2: Adding Graphics to Labels
To move objects on the label:
There are three ways to move objects on a label:
1. Drag and Drop:
a. Touch and hold the object.
b. Drag the object to the desired location on the label.
2. Use Keyboard:
a. Touch the object.
b. Use the keyboard navigation keys [KLIJ] to move the object left, right,
up or down on the label.
c. Press Shift plus [KLIJ] keys to move the object in larger increments.
3. Exact Size & Position:
a. If you are not already there, touch More Options to get to the
Exact Size & Position option.
b. Select Exact Size & Position .
c. In the Distance from left edge box, enter
1.
d. Select OK .
6 BBP®85 Label Printer Tutoria
l

Lesson 3: Adding Serialization & Barcode Data
Lesson 3: Adding Serialization & Barcode Data
In this lesson, you will learn how to apply text and barcode serialization to labels
and redefine the sequence numbering. For more information on the techniques
used in this lesson refer to “Converting Text or Barcode to Variable Data” on
page 4-31 of the user’s manual.
Add Text Serialization
1. From the Home page, touch anywhere in the Editor to add an object.
2. Select Serial & Date/Time .
3. Select Serial Text .
4. In the Starting value box, enter
5. Touch the Ending value check box.
6. In the Ending value box, enter
7. Touch in the Before Serial dialog box, and type:
1.
10.
PART #
8. Select OK . The text object is converted to serial and the first value is
displayed on the screen.
BBP®85 Label Printer Tutorial 7

Lesson 3: Adding Serialization & Barcode Data
Preview Text Serialization
To preview all of your labels in the series.
1. With the serialized label in the Editor window, touch Print .
2. Select Preview . Note the Label number indicates 1 of 10.
3. Select Next Label to scroll through all of the serialized labels in your
file.
4. Cancel to exit the Print Preview screen.
Add Barcode Data
1. From the Home page, touch anywhere in the Editor to add an object.
2. In the Add Object panel, select Barcode .
3. In the Data value field, type:
4. Select OK .
5. Scroll through the More Options buttons to view the available attributes you
can change.
8 BBP®85 Label Printer Tutoria
123456
l

Lesson 4: Using a Template to Create a Label
Lesson 4: Using a Template to Create a Label
1. From the Home page, select General Templates .
2. In the Category field, touch With Sign Headers.
3. Select the 2
4. Touch the sign header placeholder.
5. From the Sign Header options on the right, touch Caution. This header is
added to your template.
6. Touch the text box to select it.
7. Type your
8. Press Enter.
9. Type your
10. Touch the graphic placeholder.
11. From Category list, choose a category and select a graphic.
nd
template (sign header on top, text and graphic below).
First name.
Last name.
BBP®85 Label Printer Tutorial 9

Lesson 5: Saving and Opening a File
Lesson 5: Saving and Opening a File
In this lesson, you will learn how to save labels as a file for use at a later date,
open a saved label file and delete a label file. For more information on the
techniques used in this lesson, refer to “Save a Label File” on page 6-1,
“Open a Label File” on page 6-2 and “Delete a Label File” on page 6-3 of the
user’s manual.
Save a Label File
1. From the Home page, type: TEXT.
2. Select Menu .
3. Select Save File .
4. Type the file name:
5. Select OK .
LABEL
6. Select Menu and select No to clear the label and return to the Home
page.
Open a Saved Label File
1. Select Menu .
2. Select Open File .
3. Select LABEL. It will automatically open in the Editor.
4. Select Menu and select No to clear the label and return to the Home
page.
Delete a Label File
1. Select Menu .
2. Select Delete File .
3. Select LABEL.
4. At the prompt to delete the file, select Yes . The file is deleted from the labels
list.
5. Select Cancel to return to the previous menu.
10 BBP®85 Label Printer Tutoria
l

Lesson 6: Creating Pipe Markers
Lesson 6: Creating Pipe Markers
In this lesson, you will learn how to create, save, open and delete a standard pipe
marker label.
Note: To create a rollform or symbol/arrow pipe marker, see the user manual.
To create a standard pipe marker:
1. From the Home page, select More Label Types .
2. Select Pipe Markers . The Pipe Marker application will load.
3. Select Create New File .
4. From the Pipe Marker Style dialog, select Standard
5. In the Dimensions dialog, choose: 4 in (>10 in).
6. Select Next.
7. In the Pipe contents dialog, use the down arrow to scroll to the category
Other.
8. Select Next .
9. In Legend line 1, enter: TOXIC.
10. Select Next .
11. In the Graphics dialog, select Change Category .
12. Use the down arrow to scroll to the category WHMIS.
13. Select the icon .
14. Select Next .
15. In the Arrows dialog, select Left.
16. Select Finish . The new pipe marker is displayed in the Editor.
BBP®85 Label Printer Tutorial 11

Lesson 6: Creating Pipe Markers
To save a pipe marker:
1. With the pipe marker displayed, select Menu .
2. Select Save File .
3. In the File name dialog, enter a file name for the pipe marker.
4. Select OK . The pipe marker is saved.
To open an existing pipe marker:
1. From the Pipe Marker control panel, select Open Saved File .
2. In the Open File dialog, select the label: Fire Pipe Marker.
To delete a pipe marker:
1. In the Pipe Marker control panel, select Menu .
2. Select Delete File .
3. In the Delete File dialog, select the label Fire Pipe Marker.
4. At the prompt, select Yes.
12 BBP®85 Label Printer Tutoria
l

Lesson 7: Creating QuickLabels
Lesson 7: Creating QuickLabels
In this lesson, you will learn to create a QuickLabel by entering the label ID and by
browsing to the label.
Note: After creating the label, you can edit the objects by using the procedures
from “Lesson 1: Creating a Simple Text Label” on page 1-2 and “Lesson 2:
Adding Graphics to Labels” on page 1-5.
To create a QuickLabel using the label ID:
1. From the Home page, select Select More Label Types .
2. Select QuickLabel
3. In the Label ID dialog, type or touch: 301
4. Select OK. The label is immediately loaded in the Editor.
To browse for a QuickLabel:
1. From the Home page, select Select More Label Types .
2. Select QuickLabel
3. In the Label ID dialog, touch Browse .
4. In the Category list, select Fire.
5. Select label 358.The label is immediately loaded in the Editor.
BBP®85 Label Printer Tutorial 13

Lesson 8: Changing Object Colors
Lesson 8: Changing Object Colors
This lesson shows you how to change the color of ribbon or media for text,
barcodes and graphics. For more information on the techniques used in this
lesson, see xxx in the user’s manual.
Note: Whenever there is text that you should enter, the word is highlighted in Blue.
All other actions are highlighted in bold.
Change Object Color
1. Touch any object in the Editor to select it.
2. In the Control Panel, touch the color selector .
3. In the Object Color dialog, touch a color, then touch OK.
4. If requested, change the ribbon to the color indicated in the prompt.
5. Touch Print .
6. Select Preview . Your label is displayed in the preview window.
7. Select Start Print to print, or Cancel to exit the Print Preview
screen.
14 BBP®85 Label Printer Tutoria
l

© 2012 Brady Worldwide, Inc. All Rights Reserved.
 Loading...