

Page 1
0820
BHD14
HARLEY DAVIDSON SADDLEBAG SPEAKER KIT
FITS SELECT 2014+ HARLEY DAVIDSON ROAD GLIDE AND
STREET GLIDE MOTORCYCLES
Page 2
BHD14
Harley Davidson
Saddlebag Speaker Kit
Congratulations on
your purchase of a
POWERSPORTS Speaker System.
It has been engineered to bring you
the highest level of performance.
Its quality will afford you years of
listening pleasure.
The BOSS Audio Systems BHD14 Saddlebag Speaker kit
allows the addition of 6”x9” rear speakers to easily be
installed into your existing factory bag lids. The included
cut out template makes the cutting painless and installation
a breeze. This rear speaker upgrade is designed to work
perfectly with our BHD3F front kit (sold separately). This
BHD14 fits 2014+ Harley Davidson Road Glide and Street
Glide models. Simply plug in to the BHD3F (sold separately) amplifier for a complete audio upgrade without the
hassle of serious modifications or paint.
BHD14
Harley Davidson
Saddlebag Speaker Kit
Installation
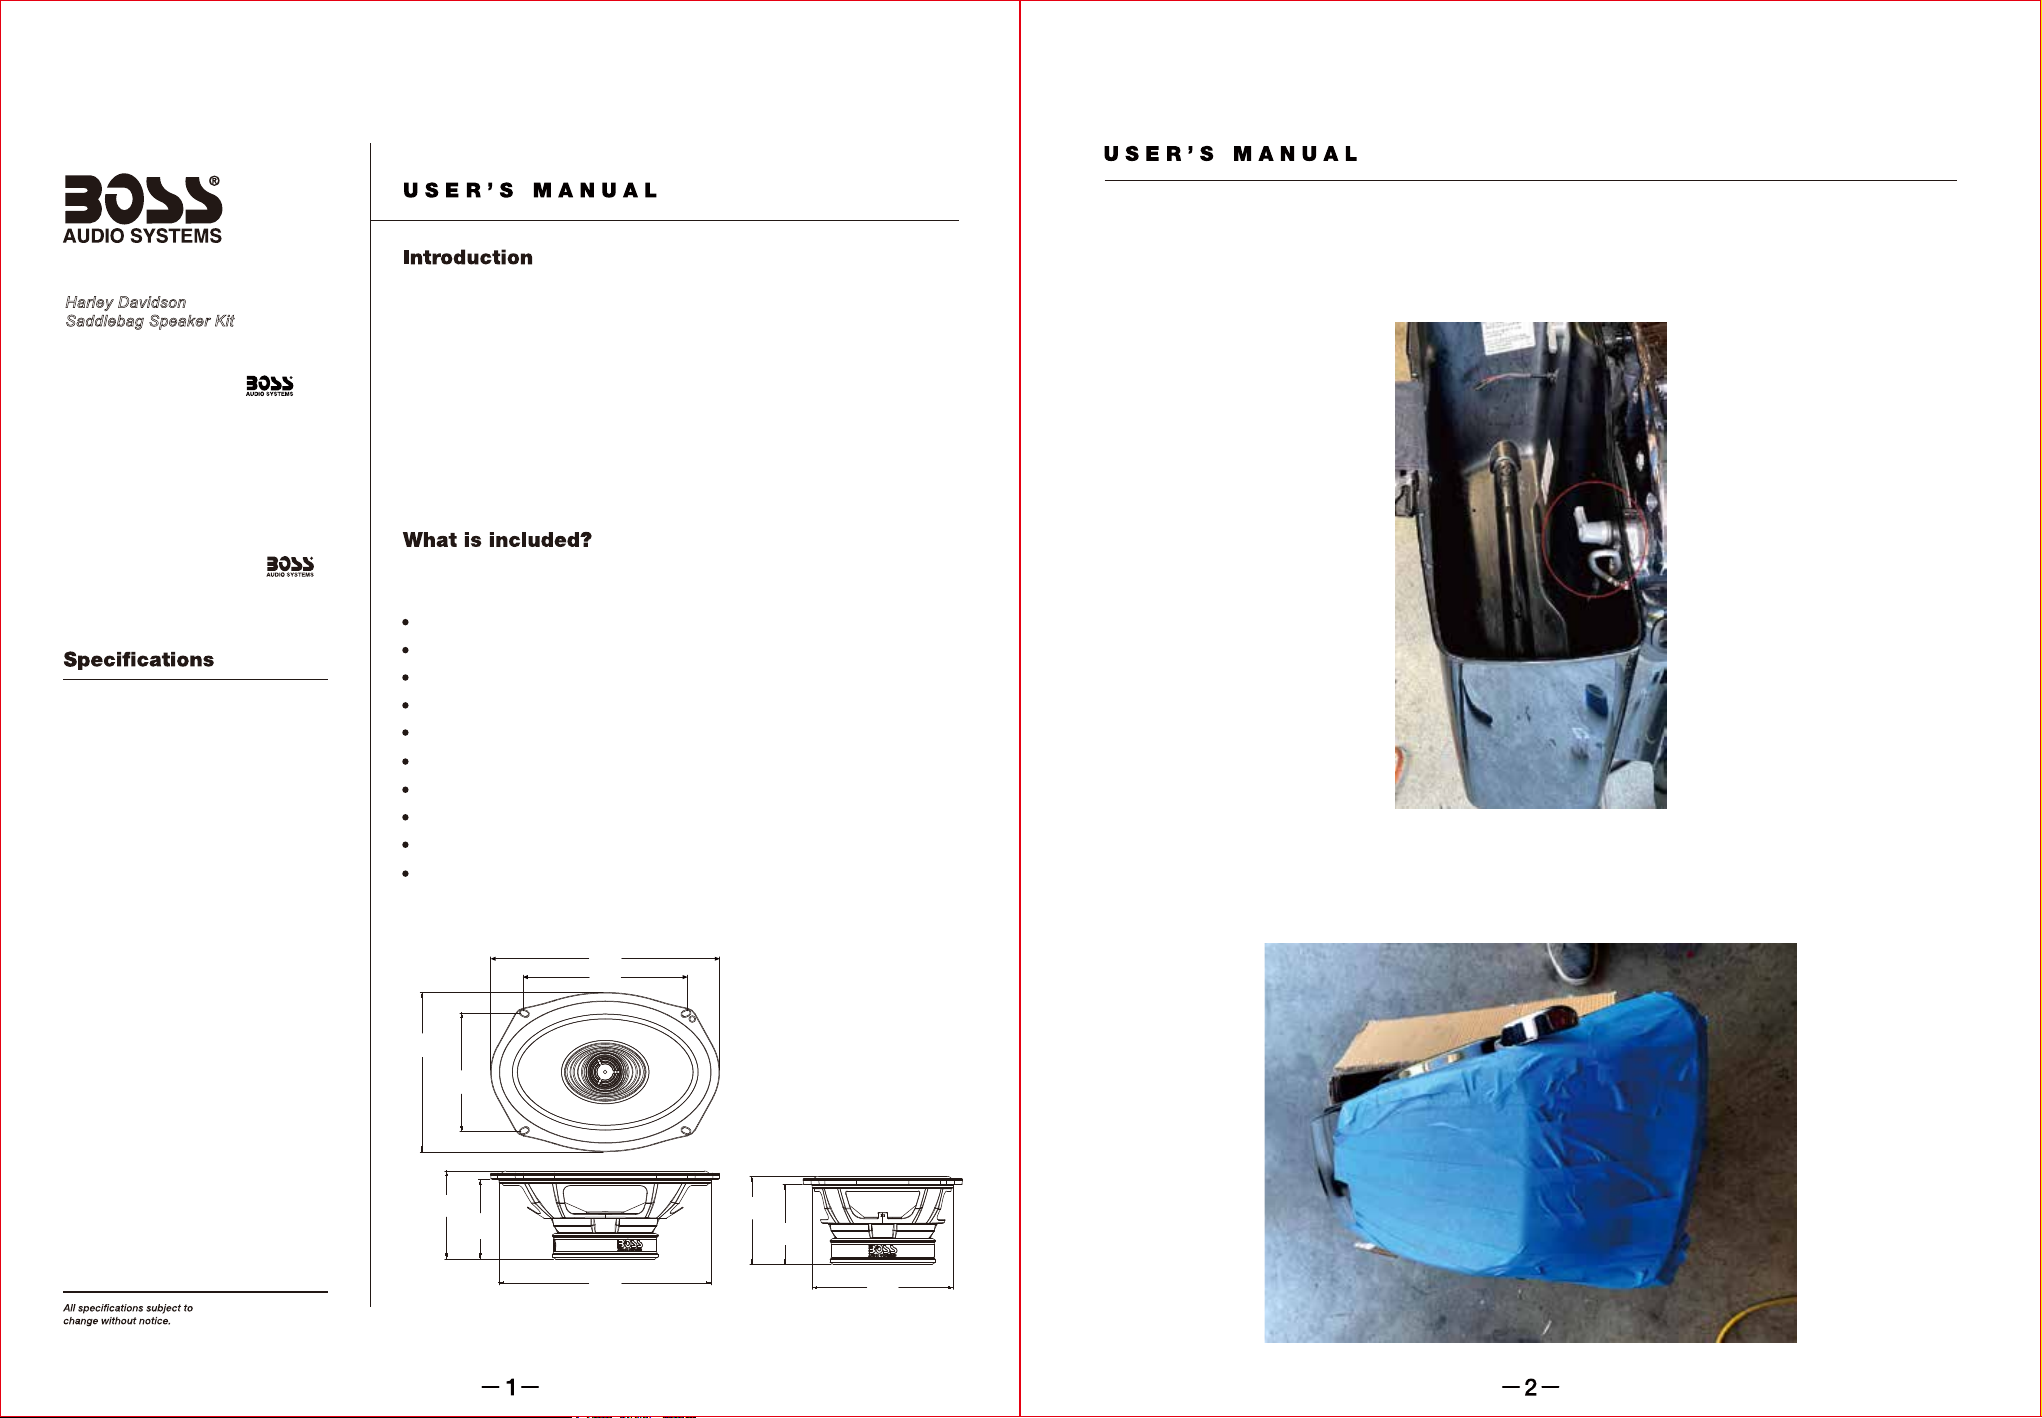
1. Remove Saddle Bags from motorcycle.
(Note: Inside the bag you will find 2 pins that hold the bag in place. Turn pins to remove bags)
Thank you for making your
choice for POWERSPORTS
entertainment!
Mid Bass Driver:
6”x9” (152x229mm)
poly injection cone
rubber surround
Tweeter:
1” (25mm) Silk dome tweeter
Crossover network:
Built-in
Impedance:
4 Ohms
Power Capacity:
150W RMS
Frequency Response:
70Hz - 20kHz
Sensitivity:
93dB (1 watt/1 meter)
Dimensions:
9-1/4” (W) x 6-1/2” (H) x 3-1/2”(D)
(234 (W) x 164 (H) x 89 (D) mm)
Before you begin installation please check that your system
contains the following contents:
(2) 6”x9” (152x229mm) 2-way speakers
(2) Saddlebag speaker grilles
(2) 6”x9” (152x229mm) bottom speaker protectors
(2) 6”x9” (152x229mm) plastic mounting rings
(2) Red colored templates
(1) Wire cable
(1) Screw bag (4x20mm 8pcs, 4x12mm 10pcs)
(2) Wire clamps
(10) Plastic gaskets for speaker
(12) Nylon wire straps
Dimensions:
9.2”
(234mm)
6.7”
(169mm)
6.5”
(164mm)
4.8”
(122mm)
2. Place a soft cover on secure table, then place the Bag on to table to avoid causing any
scratching or damage to the bag.
3. With masking tape, cover the front edge of the bag lid where you will be placing the cutting template.
Weight (in gift box):
13.23 Ibs (6kg)
3.5”
(89mm)
3.2”
(82mm)
8.6”
(218mm)
3.5”
(89mm)
3.2”
(82mm)
5.7”
(145mm)
Page 3

BHD14
Harley Davidson
Saddlebag Speaker Kit
BHD14
Harley Davidson
Saddlebag Speaker Kit
4. Test fit the template to make sure you have all painted surfaces covered with masking tape and
that the template can be firmly mounted with no gaps.
5. Place template on bag lid and drill a screw in either one of the two center holes. Before drilling in
the second screw, double check that the template is still in position and has not shifted. After that
has been confirmed, drill the second screw into position. Now your template should be in place
and have no visible gaps between the template and the bag lid.
6. With a 5/16 drill bit begin to drill out the 15 pilot holes on the template.
7. Using a jig saw or rotary drill, begin to cut along the template lines until all cuts have been made.
Use care and go slow to ensure you make accurate cuts.
8. Remove template and masking tape.
9. Carefully sand the newly cut edges so that there is no debris or hanging material left from cutting.
10. If there is not a stock wire hole for wiring in the rear of bag on the side facing the tire, please drill
out a hole using the 5/16 drill. This hole is to be used to run wires out of the bag lids.
11. Take the bottom speaker mounting plate and top speaker grill mounting plate and sandwich the
bag lid so the bottom plate is on the inside of the bag lid and the top grill mounting plate is on the
outer side of bag lid.(Figure A, Page 5)
12. Use the provided 4 screws and secure the two plates together, making them tight so no gaps can
be seen on the outer grill bag lid plate and the bag lid itself.(Figure A, Page 5)
Page 4

BHD14
Harley Davidson
Saddlebag Speaker Kit
BHD14
Harley Davidson
Saddlebag Speaker Kit
13. Speaker mounting- Place the 6x9 speaker in first, then the plastic 6x9 speaker cover from the
bottom of the Speaker mounting plate. Using the 4 screws provided, secure both the 6x9 speaker
and the plastic 6x9 speaker cover in place. Please make sure the speaker screws are tight but do
not overtighten.
Figure A
Speaker
Grille
Saddlebag
Lid
14. Attach speaker wires to speaker then run the wires and attach them to the source unit. Note to
not run the wiring anywhere near, hot parts, fuel components, or moving parts.
Plug or
Connector
Cable
Clamp
15. Double-check all connections and all your screws to ensure they are secure before going out on
your first audio adventure!
Mounting
Ring
Speaker
Bottom speaker
protector
Mounting
Screw
 Loading...