

Page 1
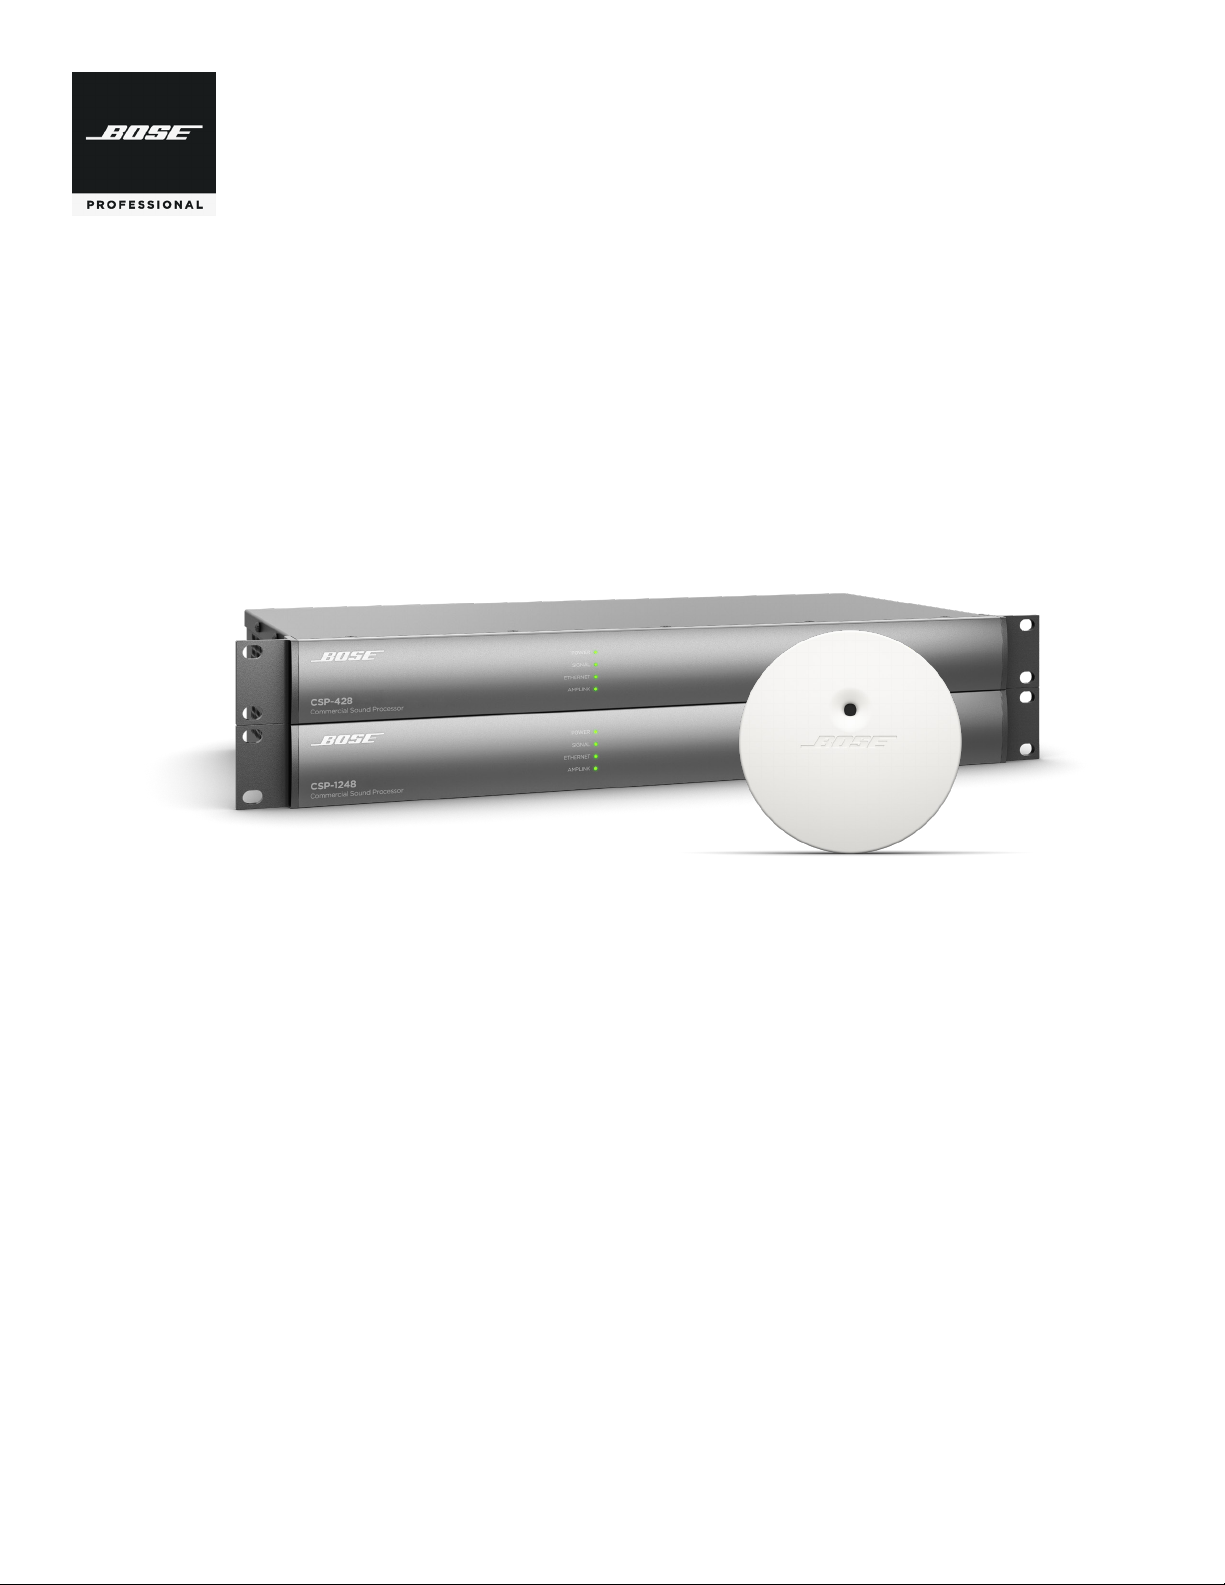
Bose CSP & AVM-1
AutoVolume
Application Guide
Page 2

Contents
PRO.BOSE.COM
Overview 3
AVM-1 Sense Microphone 3
General Installation Guidelines .............................................................................................................................................................3
Guidelines for Installation of Multiple Microphones .................................................................................................................... 3
Bose CSP-428/CSP-1248 Commercial Sound Processors 4
AutoVolume Controls ..............................................................................................................................................................................4
AutoVolume Calibration ......................................................................................................................................................................... 5
Relative Gain Oset (Advanced) ................................................................................................................................................ 7
Recalibration ........................................................................................................................................................................................ 7
Confirmation/Testing ....................................................................................................................................................................... 8
2 • English Bose CSP & AVM-1 AutoVolume • Application Guide
Page 3
PRO.BOSE.COM
Overview/AVM-1 Sense Microphone
Overview
This document provides information about Bose AutoVolume, an ambient noise compensation (ANC) function,
available on Bose CSP processors.
AutoVolume compensation continuously monitors and adjusts the output level based on the ambient noise
detected in a listening area. This feature requires the Bose AVM-1 sense microphone accessory, which must be
calibrated before it can be used for the first time.
AutoVolume compensation is designed to work only in background music applications where you want
program audio to be at a lower level than the ambient noise. AutoVolume compensation is not designed to
work in applications where you want program audio to rise above the level of ambient noise.
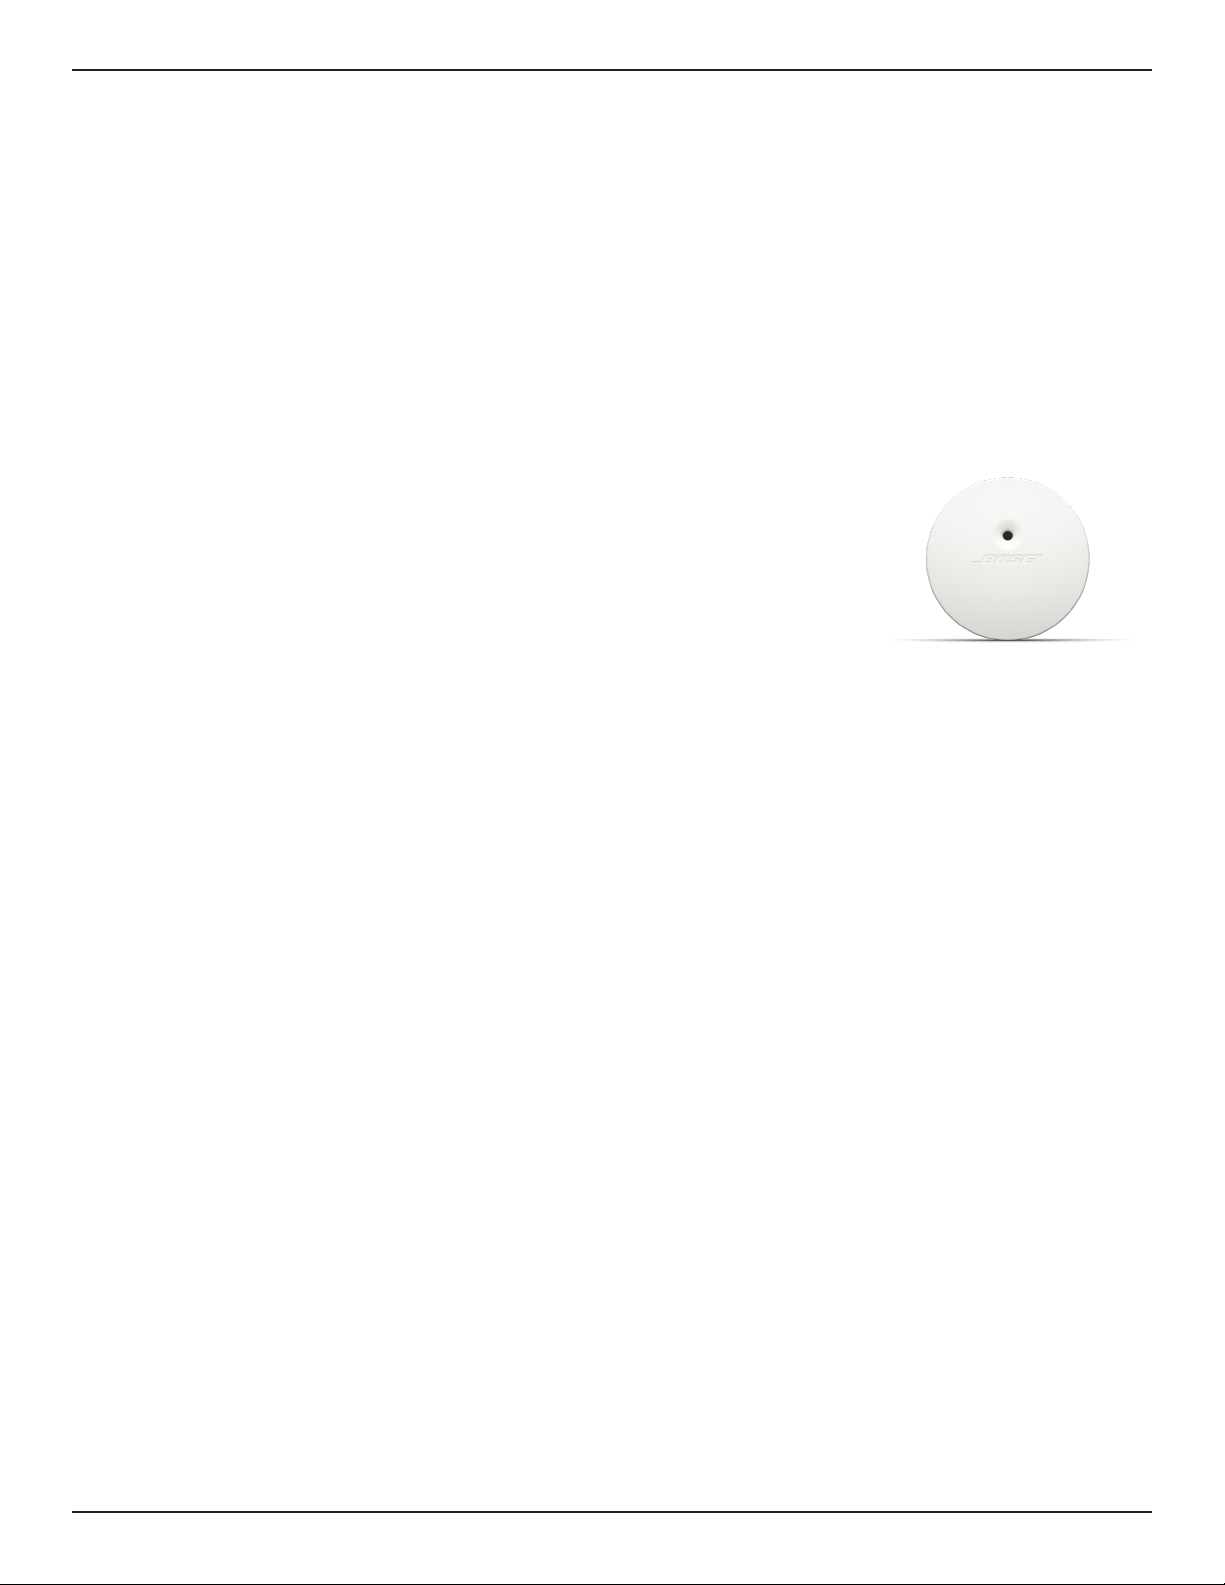
AVM-1 Sense Microphone
For complete installation instructions, see the installation guide included with
the AVM-1 or online at PRO.BOSE.COM.
General Installation Guidelines
Before installing the AVM-1 sense microphone, please note the following:
Do not install the AVM-1 in a ceiling or ceiling tile that is thicker than
2.5 centimeters (1 inch).
Avoid placing the AVM-1 near vents, HVAC equipment, or other machinery that could produce vibrations
or sounds that would be detected by the microphone.
We recommend using wire no longer than 610 meters (2,000 feet) to connect the AVM-1 to the Bose CSP.
Use shielded twisted-pair plenum wire (AWG 28 to AWG 20 [0.08 mm2 to 0.52 mm2]).
We recommend installing the AVM-1 in a ceiling directly above the center of the area where ambient noise
is likely to occur. If the ceiling is less than 3.6 meters (12 feet) high, install the AVM-1 in a wall rather than
the ceiling.
Place the AVM-1 at least 1.8 meters (6 feet) from loudspeakers and at or above the height of the highest
loudspeaker. Make sure other loudspeakers are not pointed directly at the AVM-1. This will reduce the
possibility of the microphone detecting sounds that are not part of the ambient noise.
We recommend installing the AVM-1 in a ceiling, but if you must install the AVM-1 in a wall, place the AVM-1
at least 3 meters (10 feet) above the ground and no higher than 7.3 meters (24 feet). In addition, place the
AVM-1 at least 0.9 meters (3 feet) away from any boundary or structure (ceiling, HVAC materials, pipes, etc.).
Guidelines for Installation of Multiple Microphones
If you plan to install two or more AVM-1 microphones:
Maintain at least 10.7 meters (35 feet) between microphones.
Do not install multiple AVM-1 microphones if the loudspeakers in the room are installed at a height greater
than 7.6 meters (25 feet).
If the loudspeakers in the room are installed at a height of 3.7 meters to 7.6 meters (12 feet to 25 feet),
install one AVM-1 for every 324 square meters (3,600 square feet).
If the loudspeakers in the room are installed at a height less than 3.7 meters (12 feet), install one AVM-1 for
every 162 square meters (1,800 square feet).
Assign each AVM-1 to a unique listening area in the CSP Configuration Utility, and calibrate each AVM-1
for its assigned listening area. Configure the space as though it were divided into separate rooms with
physical walls, each with a single AVM-1 and with independent loudspeakers and controllers.
English • 3Application Guide • Bose CSP & AVM-1 AutoVolume
Page 4

Bose CSP-428/CSP-1248
PRO.BOSE.COM
Bose CSP-428/CSP-1248 Commercial Sound Processors
For complete instructions on installing a Bose CSP
and accessing its CSP Configuration Utility, see the
installation guide included with the Bose CSP or online
at PRO.BOSE.COM.
AutoVolume Controls
The AutoVolume Calibration section on the
Configuration > Listening Areas page of the CSP
Configuration Utility includes the following settings:
AutoVolume Microphone: Select the AutoVolume
Microphone input that you want to configure and
calibrate from the AutoVolume Microphone drop-
down menu.
AV: OFF/ON: Click the AV toggle to enable or disable
the AutoVolume function in the selected listening area.
Note: You can also enable/disable AutoVolume for
a listening area on the Configuration > Schedules
page or by using ControlSpace Remote (CSR).
Relative Gain: Determines the volume dierence
between the background noise and the input
assigned to the listening area.
Note: You can use the up and down arrows or type
directly in the field to adjust the relative gain.
Note: When AutoVolume is enabled, you can
control this value by using a ControlCenter digital
zone controller or the ControlSpace Remote
(CSR) app.
Advanced: Opens the Relative Gain Oset window.
The Relative Gain Oset value sets the baseline
volume level of the listening area. Adjusting this value
increases or decreases the overall volume in the
listening area.
Note: The Relative Gain Oset value is
determined by the AutoVolume calibration
algorithm. This advanced setting can be adjusted,
but it should be used with caution.
Note: The Advanced setting appears only after
the AVM-1 microphone in the selected listening
area has been calibrated and the toggle is set to
AV: ON. For instructions on adjusting the Relative
Gain Oset value, see Relative Gain Oset
(Advanced) (Page 7).
4 • English Bose CSP & AVM-1 AutoVolume • Application Guide
Page 5

PRO.BOSE.COM
AutoVolume Calibration
To calibrate AutoVolume compensation:
1. Ensure that the system hardware installation is complete and
all components are properly connected.
2. Ensure that all inputs that were configured with a Type of
AutoVolume Microphone are included in the AutoVolume
Microphone drop-down menu, and select the AutoVolume
microphone that you want to calibrate.
3. Click the Calibrate (or Recalibrate, if applicable) button that
corresponds to the AutoVolume microphone that you want
to calibrate.
Note: The button label changes from Calibrate to Recalibrate
after the AVM-1 microphone in the selected listening area has
been calibrated.
The AutoVolume Calibration window appears.
4. Confirm that the AutoVolume microphone installation is
complete and that there is no ambient noise.
Click Yes, Continue to proceed with calibration.
The Step 1 of 4 window appears.
Bose CSP-428/CSP-1248
5. As the system plays pink noise, use an SPL meter and adjust
the calibration level in the window. When you are finished,
click Yes, Continue.
The Step 2 of 4 window appears.
6. Set the Area Gain, Min Gain (minimum), and Max Gain
(maximum) gain for the listening area in the window. When
you are finished, click Continue.
Note: In this step, area gain is used to adjust the level of the
program material currently being played in the listening area.
Use the up/down arrows or type directly in the text box to
adjust the Area Gain until you reach the desired minimum
and maximum gain levels, and then set the respective Min
Gain and Max Gain values. The Min Gain and Max Gain
settings represent the levels between which the AutoVolume
algorithm will make adjustments.
English • 5Application Guide • Bose CSP & AVM-1 AutoVolume
Page 6

Bose CSP-428/CSP-1248
The Step 3 of 4 window appears, and the system plays the
active input for one minute.
Next, the Step 4 of 4 window appears, and the system plays
pink noise for approximately four minutes.
7. If the calibration process is successful, the Calibration
Success window appears. If the process is not successful,
the Calibration Failure window appears. In either case,
click OK to close the window.
AutoVolume calibration may fail if the process cannot obtain
an adequate source level. This may be due to installation
issues or any of the following conditions:
The loudspeaker tap settings are too high.
The maximum output gain is less than −20 dB.
The input is not operating.
The input level is too low.
Note: After successful calibration, you must set the toggle to
AV: ON to enable AutoVolume compensation.
After AutoVolume calibration is complete, the AutoVolume
function maintains the Relative Gain that you configured for
the listening area.
PRO.BOSE.COM
6 • English Bose CSP & AVM-1 AutoVolume • Application Guide
Page 7

PRO.BOSE.COM
Bose CSP-428/CSP-1248
Relative Gain Oset (Advanced)
The Relative Gain Oset value sets the baseline volume level of the listening area. Adjusting this value
increases or decreases the overall volume in the listening area.
Note: The Relative Gain Oset value is determined by the AutoVolume calibration algorithm. This advanced
setting can be adjusted, but it should be used with caution.
To adjust the Relative Gain Oset value:
1. Complete the AutoVolume calibration procedure as described in AutoVolume Calibration (Page 5).
2. Play program material in the AutoVolume listening area.
3. Adjust the Relative Gain setting (in the AutoVolume Calibration section of the Configuration > Listening
Areas page) to increase/decrease the overall volume in the listening area. Alternatively, if you have set up
a ControlCenter digital zone controller for the listening area, you can use it to adjust the relative gain.
Notes:
Adjustments should be made in increments no larger than 3 dB.
Adjustments will take eect after a set amount of time, as follows:.
Increasing gain takes 60 seconds.
Decreasing gain takes 120 seconds.
Wait one to two minutes after adjusting the gain to ensure it is within the appropriate range.
4. When you are satisfied with the volume level of the room, apply the Relative Gain value to the Relative
Gain Oset value. For example, if you adjust the Relative Gain to +3.0 and the calibration results in a
Relative Gain Oset of −16.5, then you would change the Relative Gain Oset to −13.5.
i. Click Advanced (next to the Recalibrate button).
Note: The Advanced setting appears only after the AVM-1 microphone
in the selected listening area has been calibrated and the toggle is set to
AV: ON.
The Relative Gain Oset window appears.
ii. In the Relative Gain Oset window, use the up/down arrows or type
directly into the text box to specify the Relative Gain Oset.
iii. When you are finished, click Close.
Note: Use caution when adjusting the Relative Gain Oset. Increasing the Relative Gain Oset allows the
user to increase the Relative Gain from −10 to +6 dB. Setting the Relative Gain Oset too high can lead
to a situation in which the user can adjust the Relative Gain too high as well. This can cause the system
to “run away” (program audio continues to increase until the Max Gain setting is reached, and may not
decrease in level until the system is restarted). This occurs when the microphone detects the program
audio from the loudspeakers at a level that is higher than the ambient noise level.
Recalibration
Recalibrate AutoVolume compensation if any of the following items change:
the location of an AVM-1
the listening area’s physical layout or acoustic dampening
the model or position of any loudspeaker in the room
the equalization of a loudspeaker or equalization of a listening area
the firmware of the Bose CSP
English • 7Application Guide • Bose CSP & AVM-1 AutoVolume
Page 8

Bose CSP-428/CSP-1248
PRO.BOSE.COM
Confirmation/Testing
To ensure that AutoVolume is functioning properly, we recommend the following:
Use a point-source loudspeaker to project ambient noise into the room.
When increasing the volume level of the ambient noise, allow 60 seconds for the algorithm to begin
increasing the volume level of the program audio.
When decreasing the volume level of the ambient noise, allow 120 seconds for the algorithm to begin
decreasing the volume level of the program audio.
When configuring settings in the AutoVolume Calibration section of the Configuration > Listening Areas
page in the CSP Configuration Utility:
Set the Relative Gain to its maximum value of 10 dB.
Increase the volume level of ambient noise in the room until the Relative Gain reaches the Max Gain value.
Reduce the volume level of ambient noise in the room and verify that the volume decreases appropriately.
In general, microphones can detect sound at greater distances and at lower and higher frequency
ranges than the human ear. Vibrations or sounds outside of your hearing range may be detected by the
microphone during calibration, which will cause the volume level of the program audio to be louder than
desired. You can compensate for this by lowering the Relative Gain value.
The AVM-1 sensing microphone’s detection area is limited when it is installed in a low ceiling, as shown in
the following illustrations. When a listening area is more crowded, noise is concentrated in the area closest
to the microphone, which has greater influence over the volume level of the program audio. You can
compensate for this by lowering the Relative Gain setting to a negative value.
High-ceiling installation Low-ceiling installation
8 • English Bose CSP & AVM-1 AutoVolume • Application Guide
Page 9

©2019 Bose Corporation, All rights reserved.
Framingham, MA 01701-9168 USA
PRO.BOSE.COM
Rev. 00
August 2019
 Loading...