

Bonaire 5 Star Silhouette User Manual
Owner’s Manual
Please keep this important manual in a safe place. It is the owner’s responsibility to
ensure that regular maintenance is carried out on this Silhouette. Failure to do so
will void all guarantees beyond statutory and legal requirements.
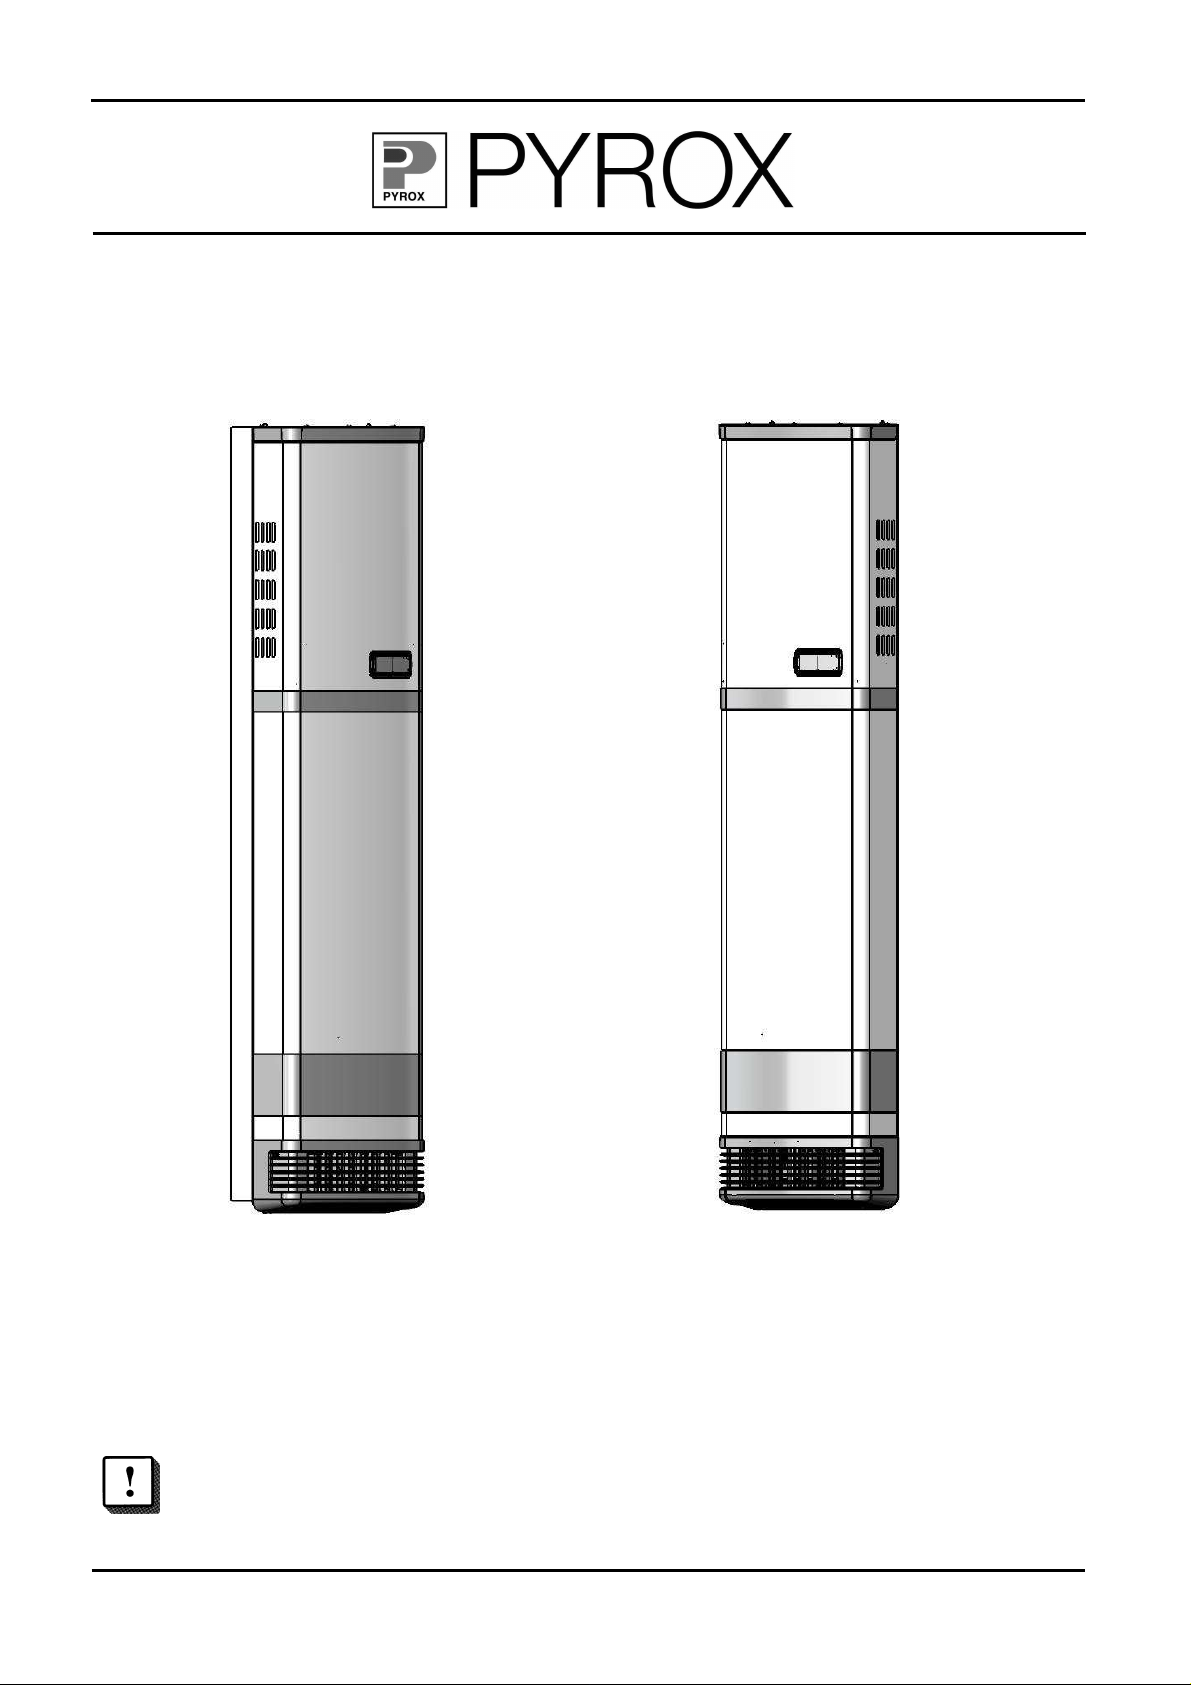
5 Star Silhouette
4740001, 4740011
E
Table of Contents
LECTRONIC SILHOUETTE
I
NTRODUCTION
........................................................................................................................3
Safe Operation...................................................................................................................3
U
NIT OPERATION
Start-Up Sequence....................................................................................................................4
Using the Controls.........................................................................................................................4
Turning the Unit ON or OFF ......................................................................................................5
Clock Setup...............................................................................................................................5
Child Lock .................................................................................................................................5
Error Codes...............................................................................................................................5
Controlling the Unit....................................................................................................................6
W
ARRANTY
Standard Warranty........................................................................................................................8
PROOF OF PURCHASE.............................................................................................................12
PERIODS OF WARRANTY.........................................................................................................14
.....................................................................................................................4
.............................................................................................................................8
Page 2

E
Introduction
LECTRONIC SILHOUETTE
Introduction
Thank you for purchasing this Pyrox product. It has been designed to give you excellent service.
Now it is installed, you are no doubt anxious to run it and enjoy the far-reaching warmth. Before you
do, take a few minutes to read through this instruction booklet and discover how to get the very best
from your heater. After you have read it, we suggest you store these instructions in a safe place for
future reference. If you have any questions of problems relating to your new heater, do not hesitate
to get in touch with your dealer / installer or your nearest Climate Technologies office.
The Australian designed and manufactured Pyrox 5 Star Gas Silhouette Wall Furnace has been
thoroughly life tested and carries the Australian Standards gas and electrical approvals.
SAFE OPERATION
1.
Ensure this unit has been installed by a
qualified, licensed gas fitter and that the
240V power point has been installed by a
qualified, licensed electrician.
2.
It is essential to have any existing power
point to which the appliance might be
connected checked by a qualified electrician
to ensure that the power point has the
correct polarity and earthing.
3.
Each Pyrox Gas heater is factory set to
operate on a particular type of gas. DO
NOT use any type of gas other than that
specified on the appliance and packaging.
4.
Clearances – See Fig 1.
4.1. DO NOT drape clothing, towels etc on
or over the heater. Maintain a
clearance of 3 metres in front of the
heater.
4.2. DO NOT place articles on or against
the Silhouette – at least 300 mm
clearance
4.3. DO NOT cover the outlet louvres of the
4.4. DO NOT use or store flammable
4.5. DO NOT store or spray aerosols in the
4.6. DO NOT use an extension cord, power
5.
DO NOT MODIFY THIS APPLIANCE
Silhouette.
materials near the Silhouette
vicinity of the Silhouette while it is
operating.
board or double adaptor with this
appliance.
Page 3
E
Operating the Unit
LECTRONIC SILHOUETTE
Unit Operation
This appliance is not intended for use by young children or infirm persons unless
they have been adequately supervised by a responsible person to ensure that they
can use the appliance safely.
Young children should be supervised to ensure they do not play with the appliance.
Start-Up Sequence
1. Before starting ensure the protective membrane has
been removed from the control decal.
2. Press the ON / OFF button.
3. The heater will start in the Manual mode of operation.
Within 10 seconds the gas valve will open and the
sparker will function. Ignition will commence on a low gas
rate.
4. Within 5 seconds of ignition the flame sensor will prove
the flame.
5. Within 20 seconds the fan will operate on low fan speed.
6. The Gas Valve Level and Fan Speed can be adjusted to
desired point.
7. Alternatively the heater can be set to Automatic mode.
• The gas valve will now modulate according to the
sensing of the room thermistor.
• Once the heater has reached the set temperature,
the flame will extinguish and the fan will continue to
run for at least one minute.
• Once the room temperature drops approximately
2oC, the heating sequence will restart.
U
SING THE CONTROLS
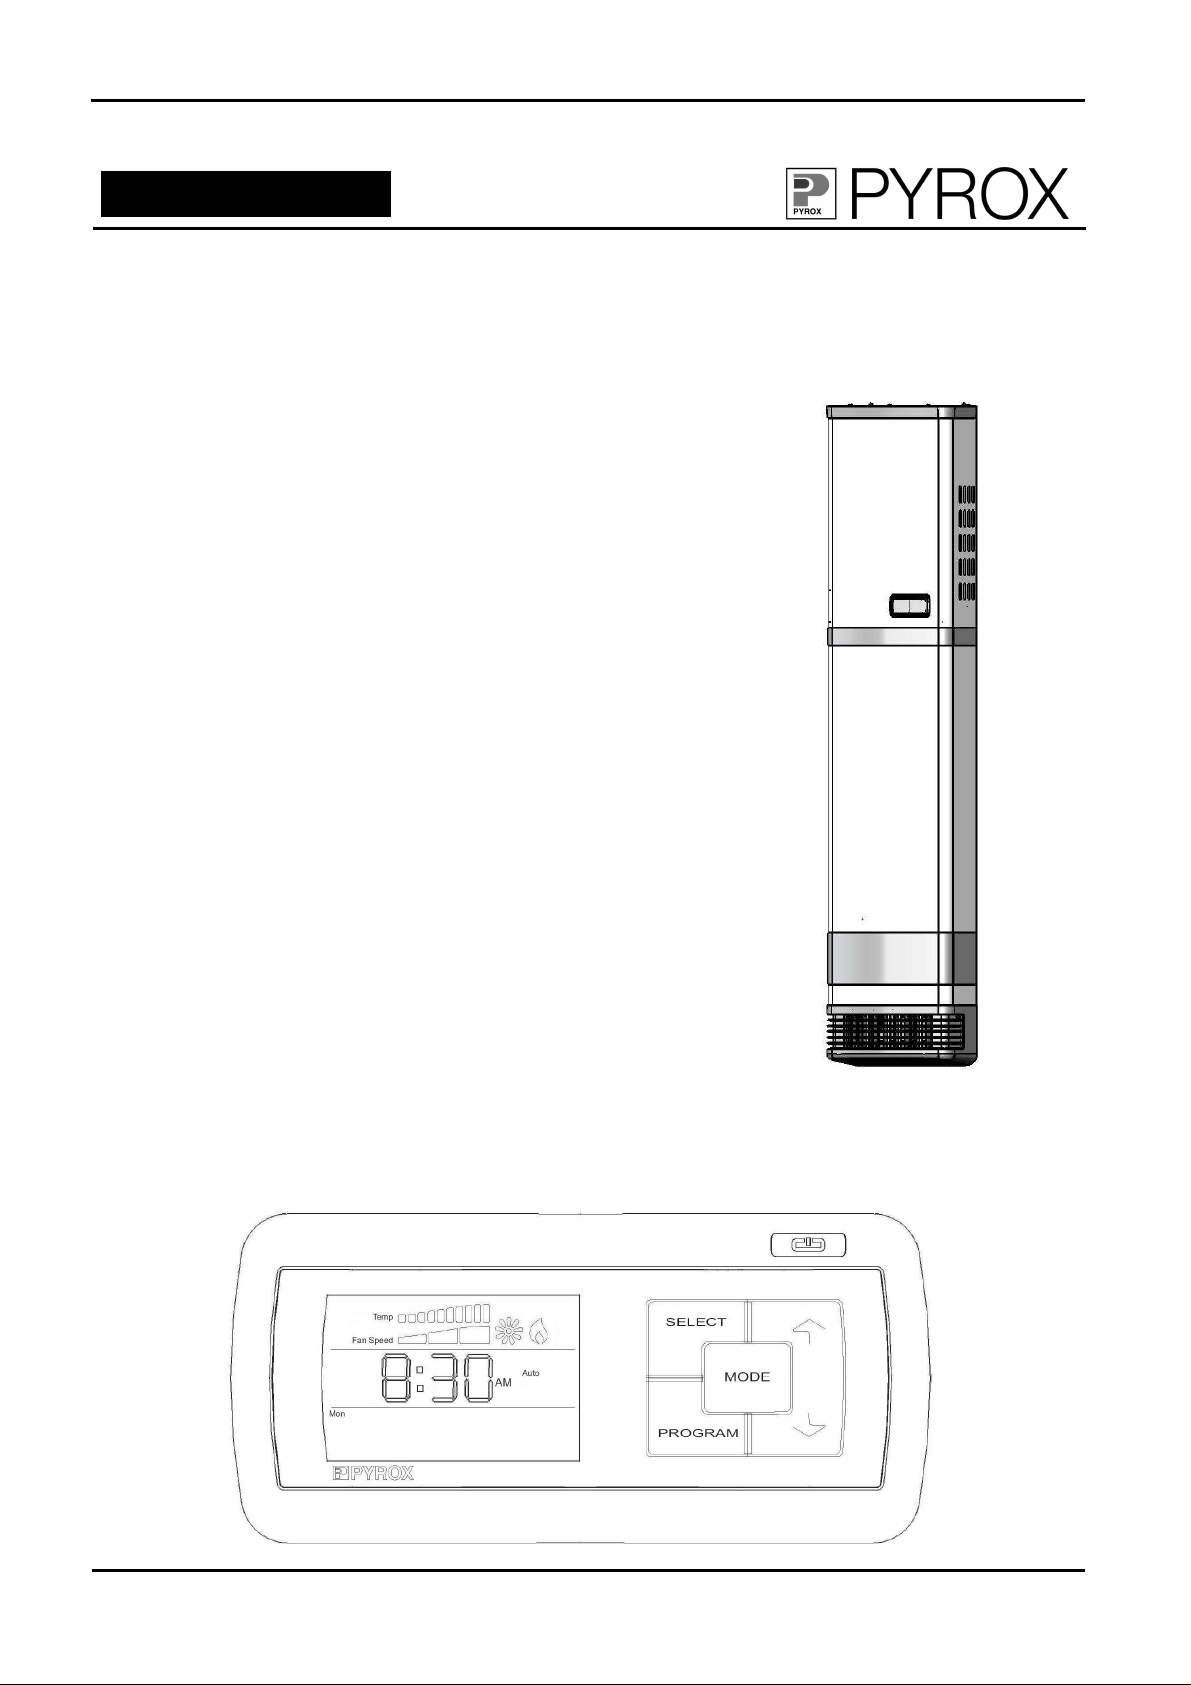
The user interface consists of a display, a push button for turning the unit on and off and five touch
buttons. The touch buttons are named SELECT, PROGRAM, MODE, UP and DOWN. There is also
a buzzer that emits a short beep for valid user action and a longer beep for invalid user actions.
Page 4
E
Operating the Unit
LECTRONIC SILHOUETTE
Turning the Unit ON or OFF
Press and hold the on/off button for approximately one second.
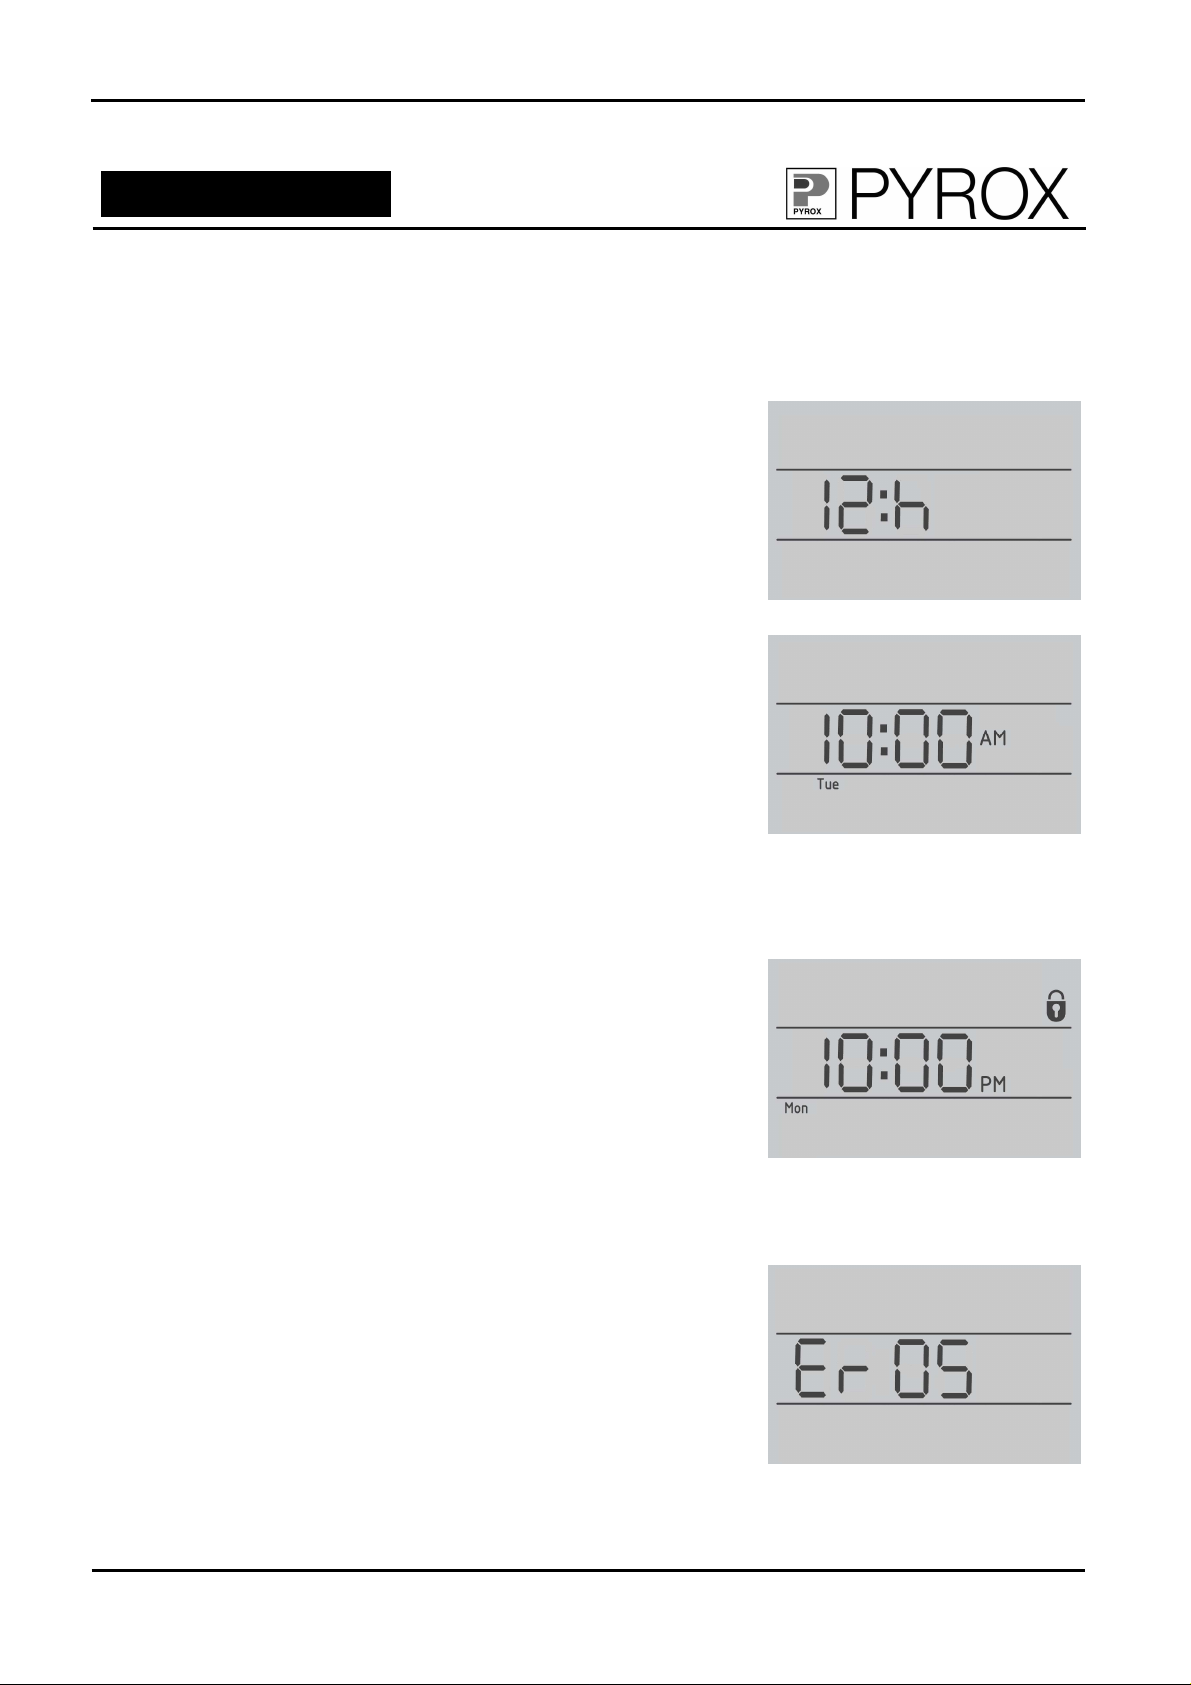
Clock Setup
The clock can be changed by firstly touching the MODE button
for approximately 3 seconds. The clock format screen will
display.
If 24-hour clock format is desired, then touch either the UP or
DOWN button.
To change the hours touch the SELECT button. The hours will
flash. The hours are changed by touching either the UP or
DOWN buttons. If the button is touched continuously the
speed of change will increase. To change the minutes touch
the SELECT button. The minutes will flash. The minutes are
changed by touching either the UP or DOWN buttons. To
change the day, touch the SELECT button. The day will flash.
The days are changed by touching either the UP or DOWN
buttons. Then touch the SELECT button to return to the
previous state.
Time setup is now complete.
Child Lock
To engage the Child Lock touch the UP and DOWN together.
When the child lock is engaged any button touches or pressing
ON/OFF will be ignored and the Lock icon will display. To
disengage touch the UP and DOWN together for 3 seconds.
Error Codes
When the unit malfunctions, the error code Er will be
displayed. The unit can be reset by powering the unit OFF (2
seconds minimum) then ON. Should the malfunction persist,
call Climate Technologies Service for assistance and advise
the error code.
Page 5
 Loading...