

Page 1
Installation Instructions
Precision Sport Shifter
2004 and up Pontiac GTO
(see www.bmracing.com for the latest vehicle fitment applications and model years)
Part Number 45043
©2010, 2005, 2004 by B&M Racing and Performance Products
This B&M Precision Sport Shifter has been designed to work on most 2004 and up Pontiac GTO model vehicles
equipped with a manual transmission. It has been engineered to greatly reduce shift throw and improve shifter feel. Check
the parts and tools lists at the beginning of these instructions for the supplied parts and the tools required to install your
B&M Precision Sport Shifter. Installation of this B&M Precision Sport Shifter can be accomplished by anyone with
minimal mechanical experience.
INTRODUCTION
This B&M Precision Sport Shifter can be installed in less than two hours by carefully following the instructions. Read
all instructions first to familiarize yourself with the parts, tools, and procedures. This kit contains all the parts necessary
to install the shifter .
Please note that vehicles used in competition or vehicles that my experience extreme vibration and/or heat may
require lock wiring (safety wiring) and/or other methods to prevent some fasteners from loosening.
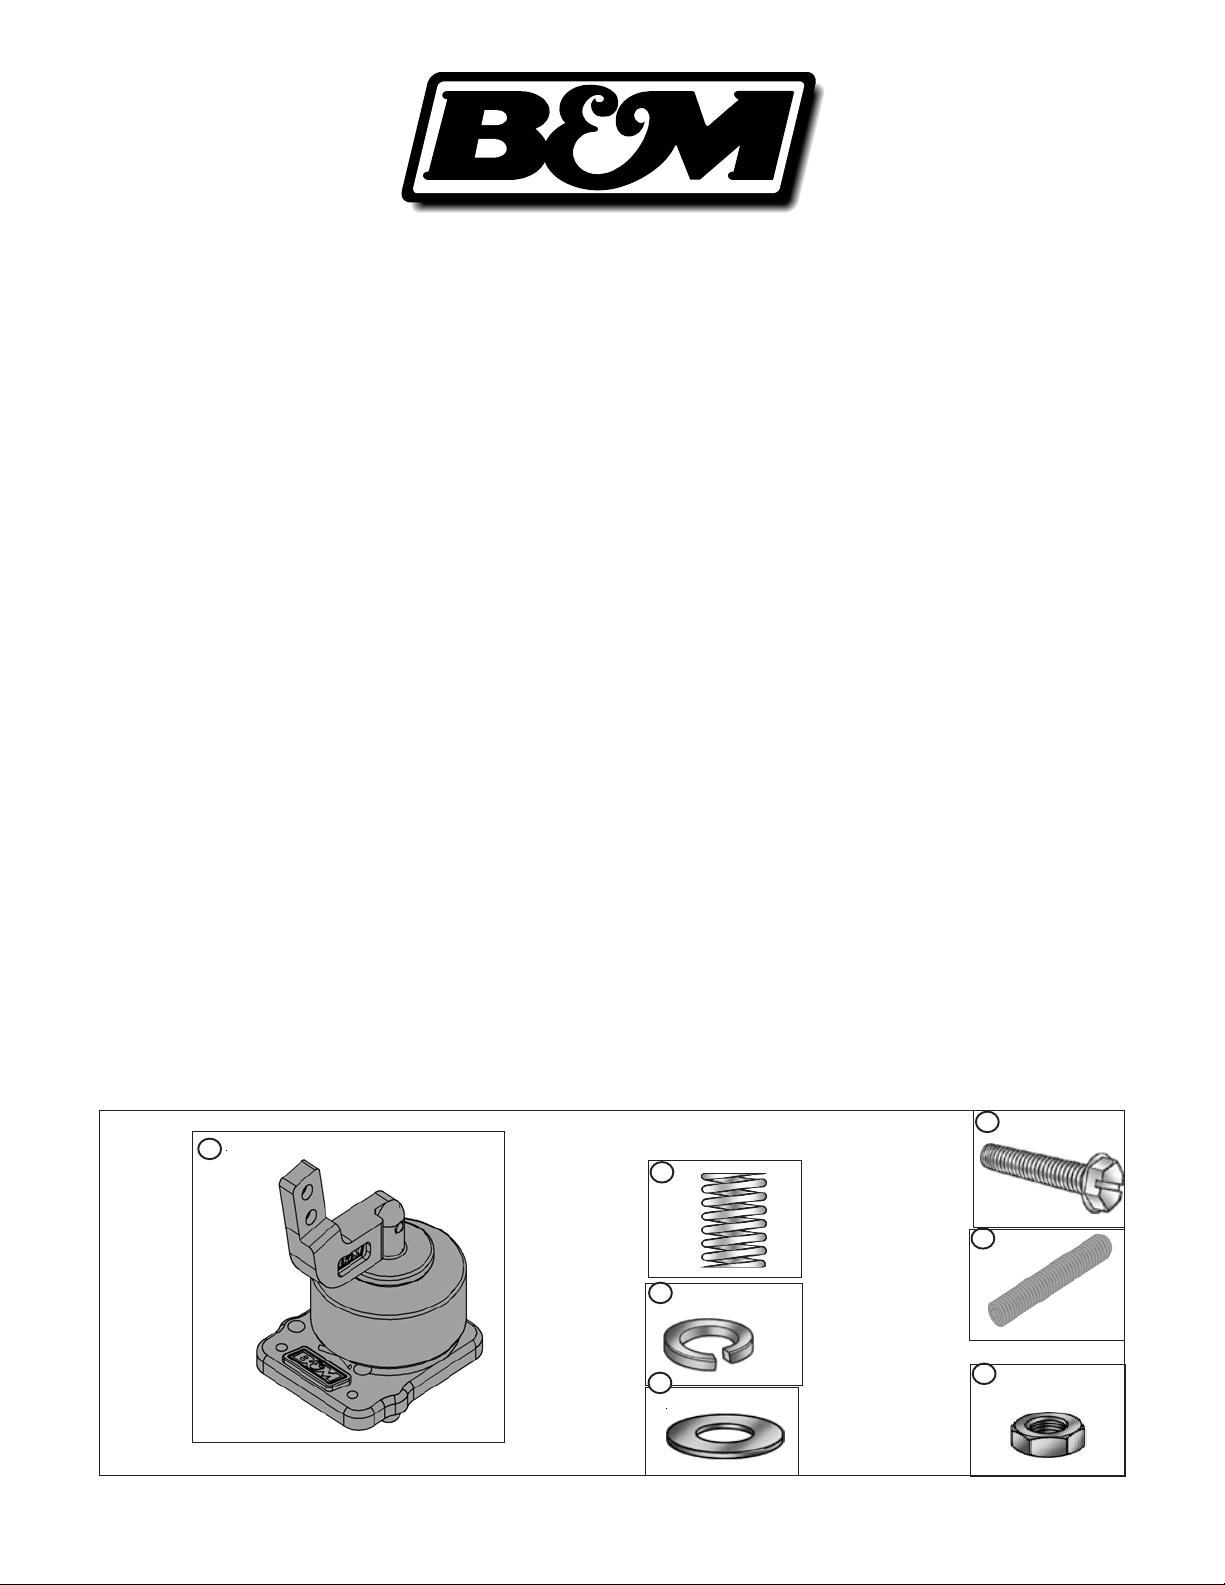
Shifter
1/4-20 bolt (2)
A
Spring (2)
Lock washer (2)
Flat Washer (2)
PARTS
B
M8 x 50mm Set
screw (2)
C
D
Thin M8 Hex Nut (2) G
E
F
Printed in the U.S.A.
9500806-03
Page 2
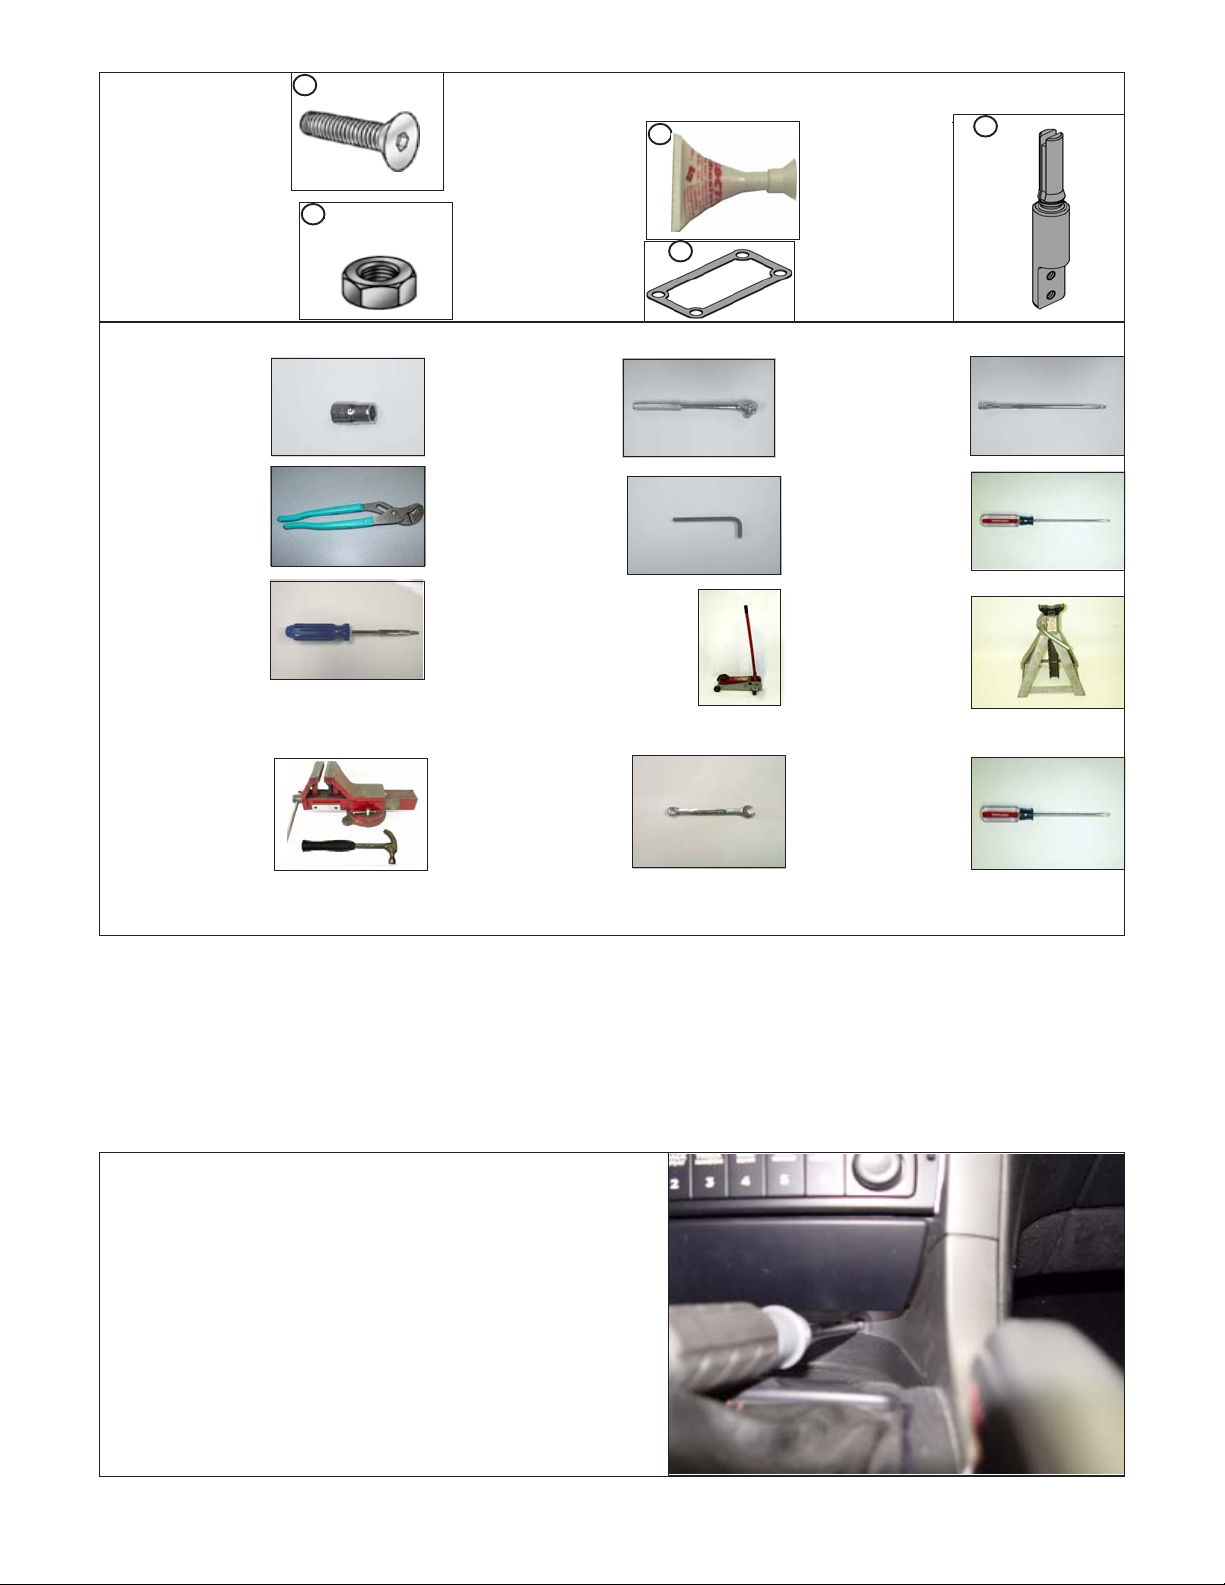
5/16-18 bolt (2)
H
PARTS (CONTINUED)
Thread Adhesive
J
Top Stick
L
M8 Hex Nut (2)
Socket(13 &10mm)
Pliers
Torx 25
Vise & Hammer
I
Trans Gasket
K
TOOLS
Socket Drive
Hex Wrench
(1/4, 3/16, 5/32, 4 & 6mm)
Wrench (13mm & 3/4)
Screwdriver (flat)
Jack
Extension
Jack Stands (x4)
Screwdriver (phillips)
DISASSEMBLY
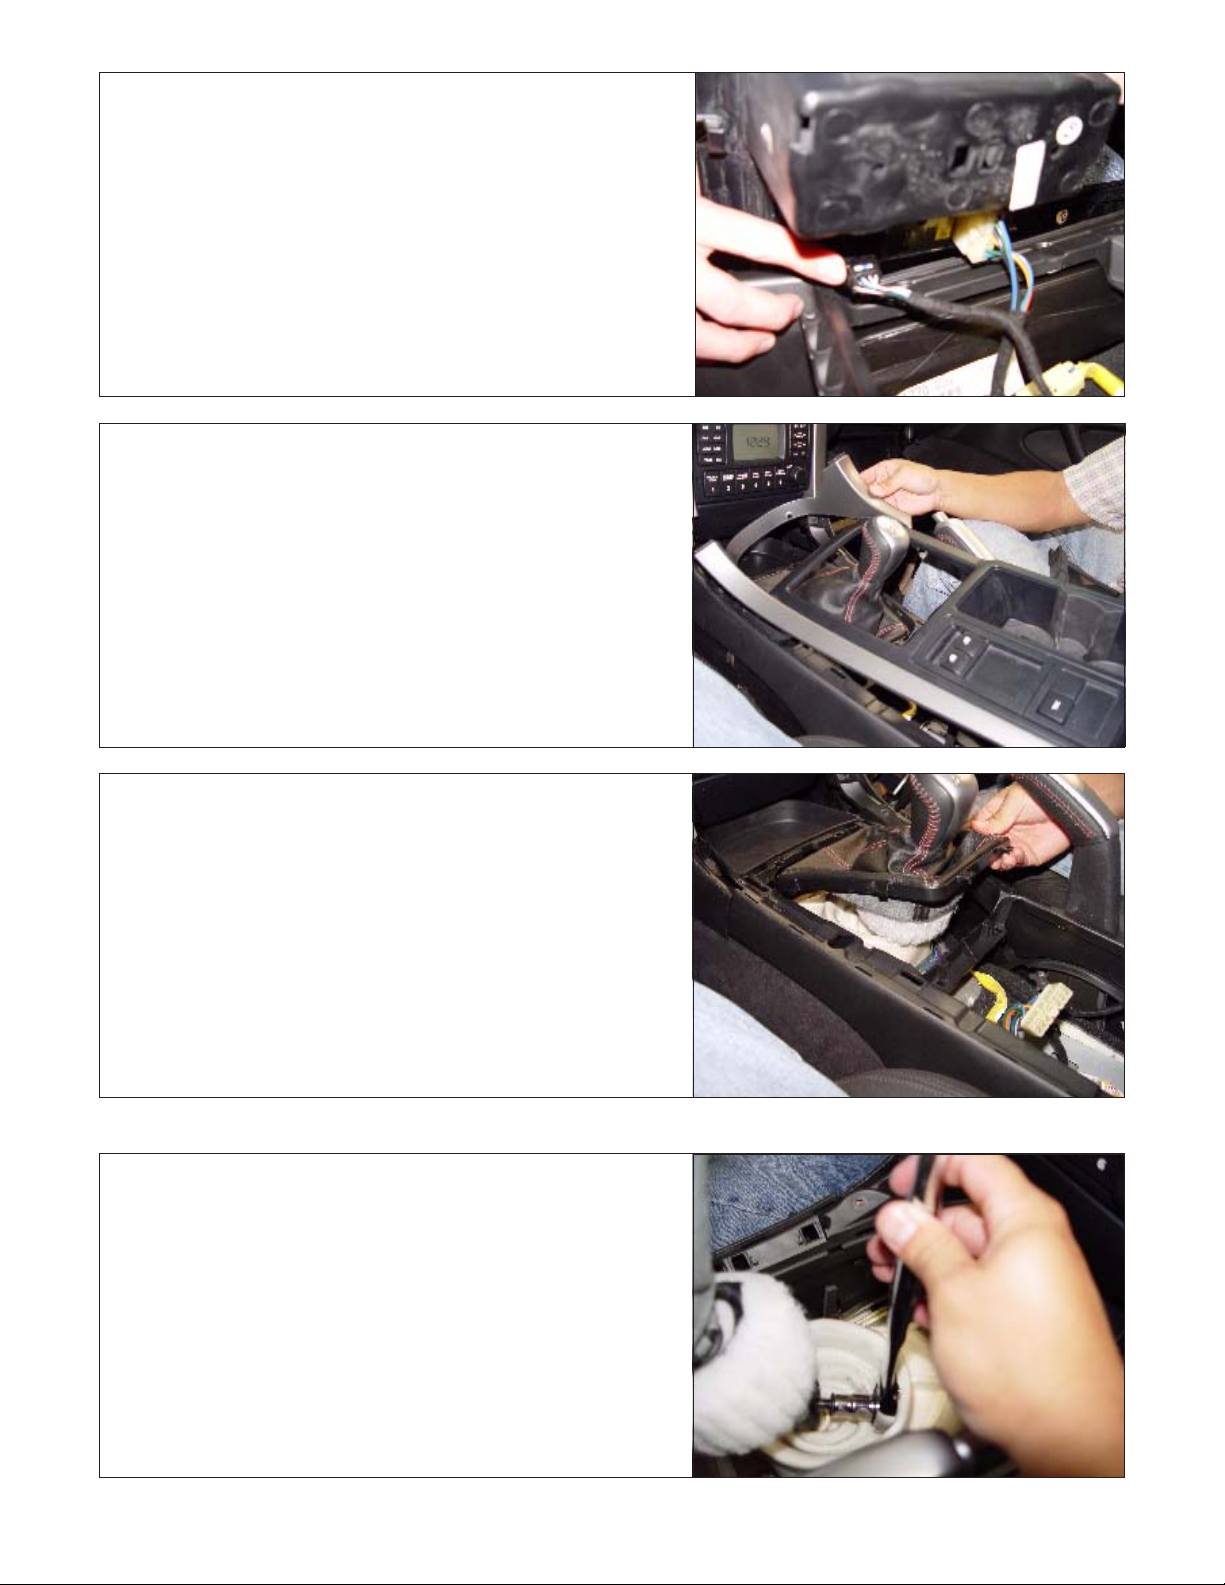
STEP 1. Remove screw at front of console.
TOOL: Screwdriver (philips)
Page 3
STEP 2. Lift up storage compartment at rear of center console
and pull up on center console. Unplug wire connectors
for windows and traction control.
STEP 3. Pull up and remove center console.
STEP 4. Pull up on plastic retainer for shift boot.
STEP 5. Remove bolts (2) securing top stick of stock shifter.
TOOLS: 10mm socket & Drive.
Page 4

STEP 6. Raise vehicle.
TOOLS: Jack, Jack stands (4)
STEP 7. Remove nuts (4) holding down rubber boot.
TOOLS: 13mm socket, Extension, Drive & 13mm wrench.
STEP 8. Remove rubber boot.
STEP 9. Remove torx screws (4) holding down shift cover and
remove.
TOOLS: T-25 drive screwdriver.
Page 5

STEP 10. Remove bolts (4) and screws (3) holding down shifter.
TOOLS: 1/4" socket, Extension, Drive & Screwdriver
(phillips)
STEP 11. Pull out entire stock shifter assembly, including o-ring.
STEP 12. Remove bolts (2) holding down GTO trans base.
TOOLS: 6mm Hex, Extension & Drive
OPTIONAL: Front (2) bolts of GTO trans base can be
removed, GTO trans base removed and
gasket can be replaced.
GTO Trans base
STEP 13. Remove stock knob by holding stick in vise and hitting
knob with wrench.
TOOLS: 3/4" Wrench, Hammer & Vise
Page 6

STEP 14. Install B&M shifter using (2) 1/4-20 bolts, (2) lock
ASSEMBLY
washers, (2) M8 nuts, (2) M8 thin nuts and (2) M8
washers.
(SEE DIAGRAM BELOW FOR DETAILS)
TOOLS: Screwdriver (flat), Hex Wrench (6mm), thread
adhesive, and wrench (13mm)
NOTE: FAILURE TO USE THREAD ADHESIVE COULD
RESULT IN SHIFTER MALFUNCTION.
Torque 1/4-20 bolts to 8-10 ft-lbs.
Caution do not overtorque bolts!!
Torque M8 thin nuts to 8-10 ft-lbs.
Torque M8 nuts to 15 ft-lbs.
Leave approx. 0.9" of M8 set
screw thread above GTO Trans
after locking down GTO Trans.
M8 NUT
M8 LOCKWASHER
M8 FLAT WASHER
B&M BASE
M8 THIN NUT
GTO TRANS
GTO TRANS GASKET
.9"
STEP 15. Reinstall rubber boot.
NOTE: On some earlier models a black boot was used
which may need some trimming of the opening to
allow for full gear engagement of 1, 3 & 5th gear.
Or you can replace the black boot with the newer
white boot, GM P/N: 92169196.
STEP 16. Install top stick L using (2) 5/16-18 bolts and
thread adhesive.
TOOL: 3/16 Hex and adhesive.
Torque bolts to 26 ft./lbs. (35 N/m)
NOTE: FAILURE TO USE THREAD ADHESIVE COULD
RESULT IN SHIFTER MALFUNCTION.
L
Page 7

STEP 17. OPTIONAL: For more self-centering action, you can add
the (2) springs B .
TOOL: 5/32 Hex & thread adhesive.
Torque bolts to 13 ft./lbs. (17 N/m)
NOTE: FAILURE TO USE THREAD ADHESIVE COULD
RESULT IN SHIFTER MALFUNCTION.
STEP 18. Reinstall nuts (4) holding down rubber boot.
TOOLS: 13mm socket, Extension, Drive & 13mm wrench..
THREAD
ADHESIVE
B
STEP 19. Lower vehicle
TOOLS: Jack, Jack stands (4)
STEP 20. Install shift knob and boot by firmly pushing knob
onto B&M shifter and snap boot back in.
Page 8

STEP 21. Reinstall wires onto windows and T/C switches on
center console.
STEP 24. Reinstall center console.
STEP 25. Reinstall screw for console.
TOOLS: Screwdriver (phillips)
STEP 26. Be sure all the parts have been securely tightened
and shifter engages into each gear.
Page 9

STEP 27. Enjoy!!
Page 10

 Loading...