

Blaupunkt KEY WEST CD169 Owner's Manual

Robert Bosch Corporation
Sales Group —
Blaupunkt Division
2800 South 25th Avenue,
Broadview, Illinois 60153
Bosch Group
V
O
L
168 WATTS
KEY WEST CD169
PWR
MUTE
OPEN
T
U
N
/
T
R
K
SENS
SC/PS
AUD
XBASS
RPT
MIX
TS
E-1
Precautions
• Avoid installing the unit where it would be subject to high
temperatures, such as in direct sunlight or a hot air stream
from the heater, or where it would be subject to dust, dirt, or
excessive vibration.
• Do not turn on the unit if the temperature inside the car is
very high. Always cool down the unit before usage. Parking
your car in direct sunlight will result in a temperature rise.
• If the unit does not turn on, check the connections first. Then
check whether the fuse at the back of the unit is blown.
• Carefully read this manual before using the unit. If you encounter any problems that are not covered in this manual,
please consult the dealer where you purchased the unit or
the dealer nearest to you.
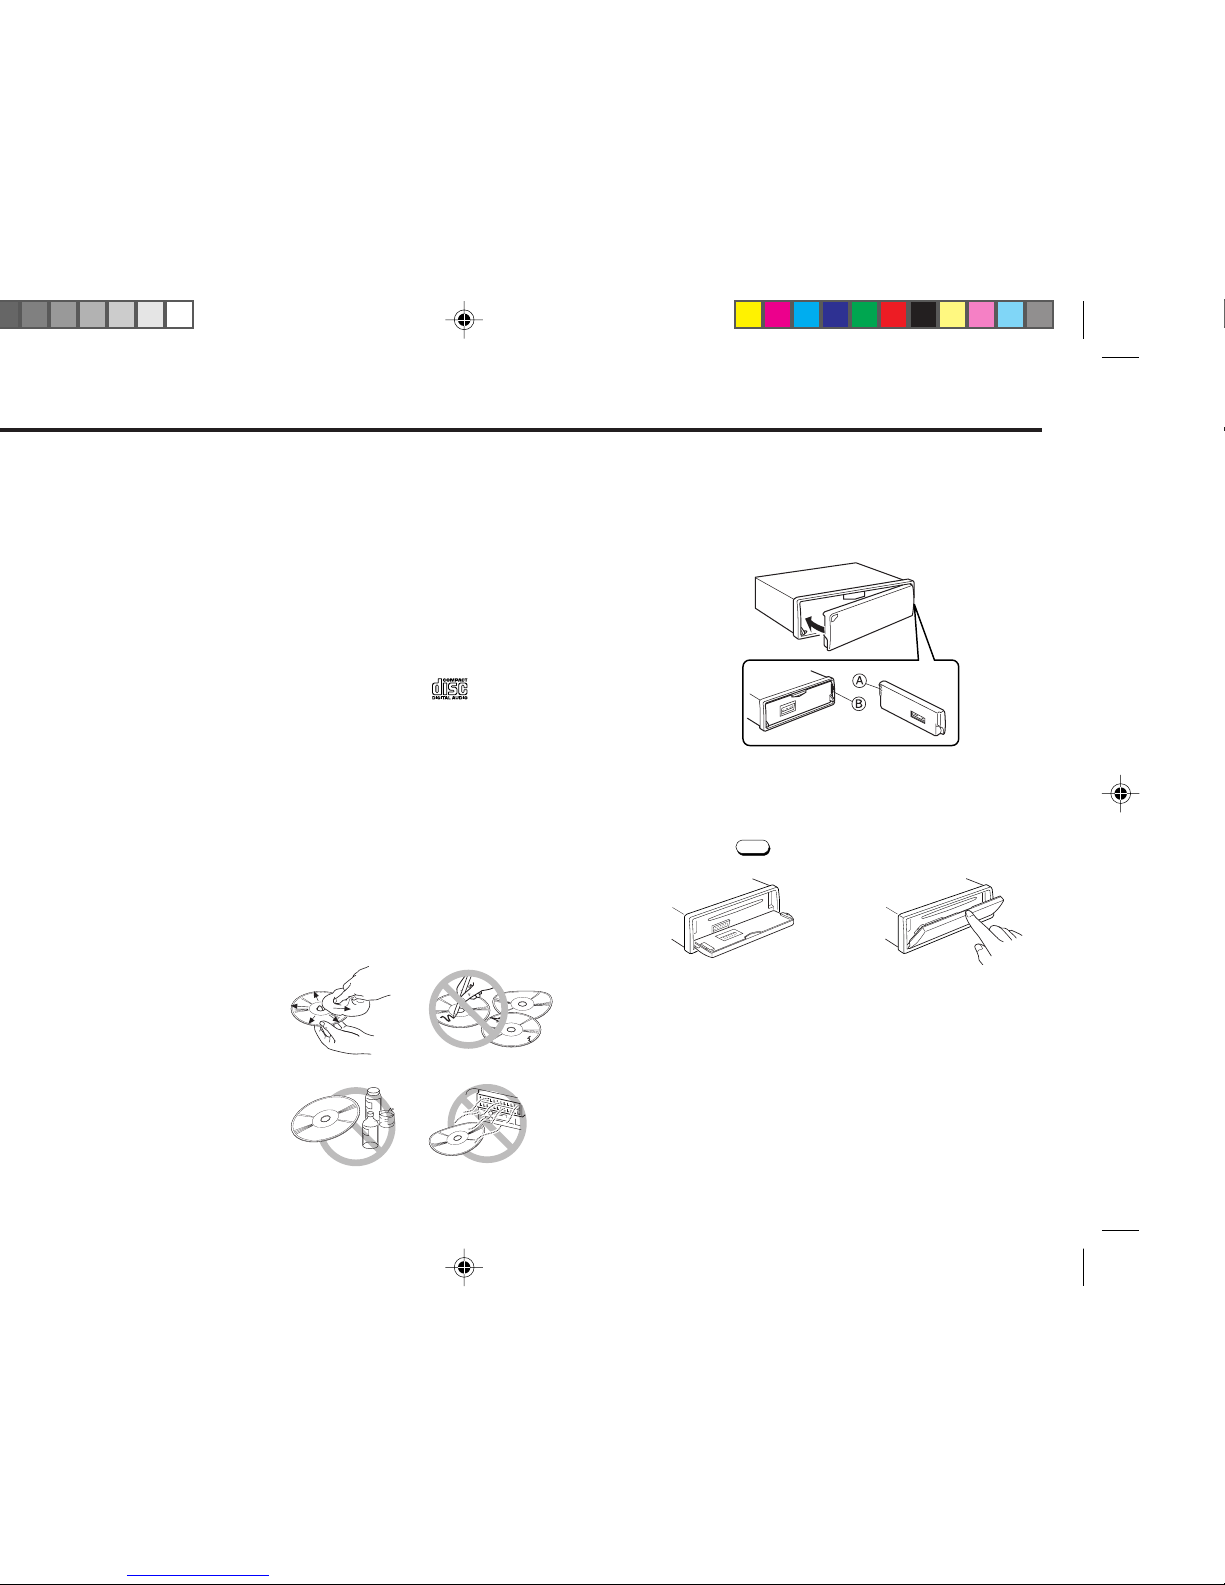
• This unit has been designed specifically for playback of compact discs bearing the
mark. Other discs cannot be
played.
Handling Compact Discs
• Be careful when removing a compact disk after the play-
back is completed because the disk may be extremely hot.
• Do not expose compact discs to direct sunlight or any heat
source.
• Check all compact discs before playing, and discard cracked,
scratched or warped discs.
• Wipe dirty or damp discs outward from the center with a
soft cloth.
• Do not use any solvents such as commercially available
cleaners, antistatic spray, or thinner to clean the compact
discs.
Attaching the Front Panel
Place the right hand side of the front panel so that the parts
A of the front panel are engaged with the parts B of the unit
as shown below. Then push the left hand side of the front
panel until it is securely locked.
Handling the Front Panel
Front Panel Open / Close
Panel open
Press the
OPEN
.
Panel close
Raise the front panel with your
finger until it locks in place.
E-2
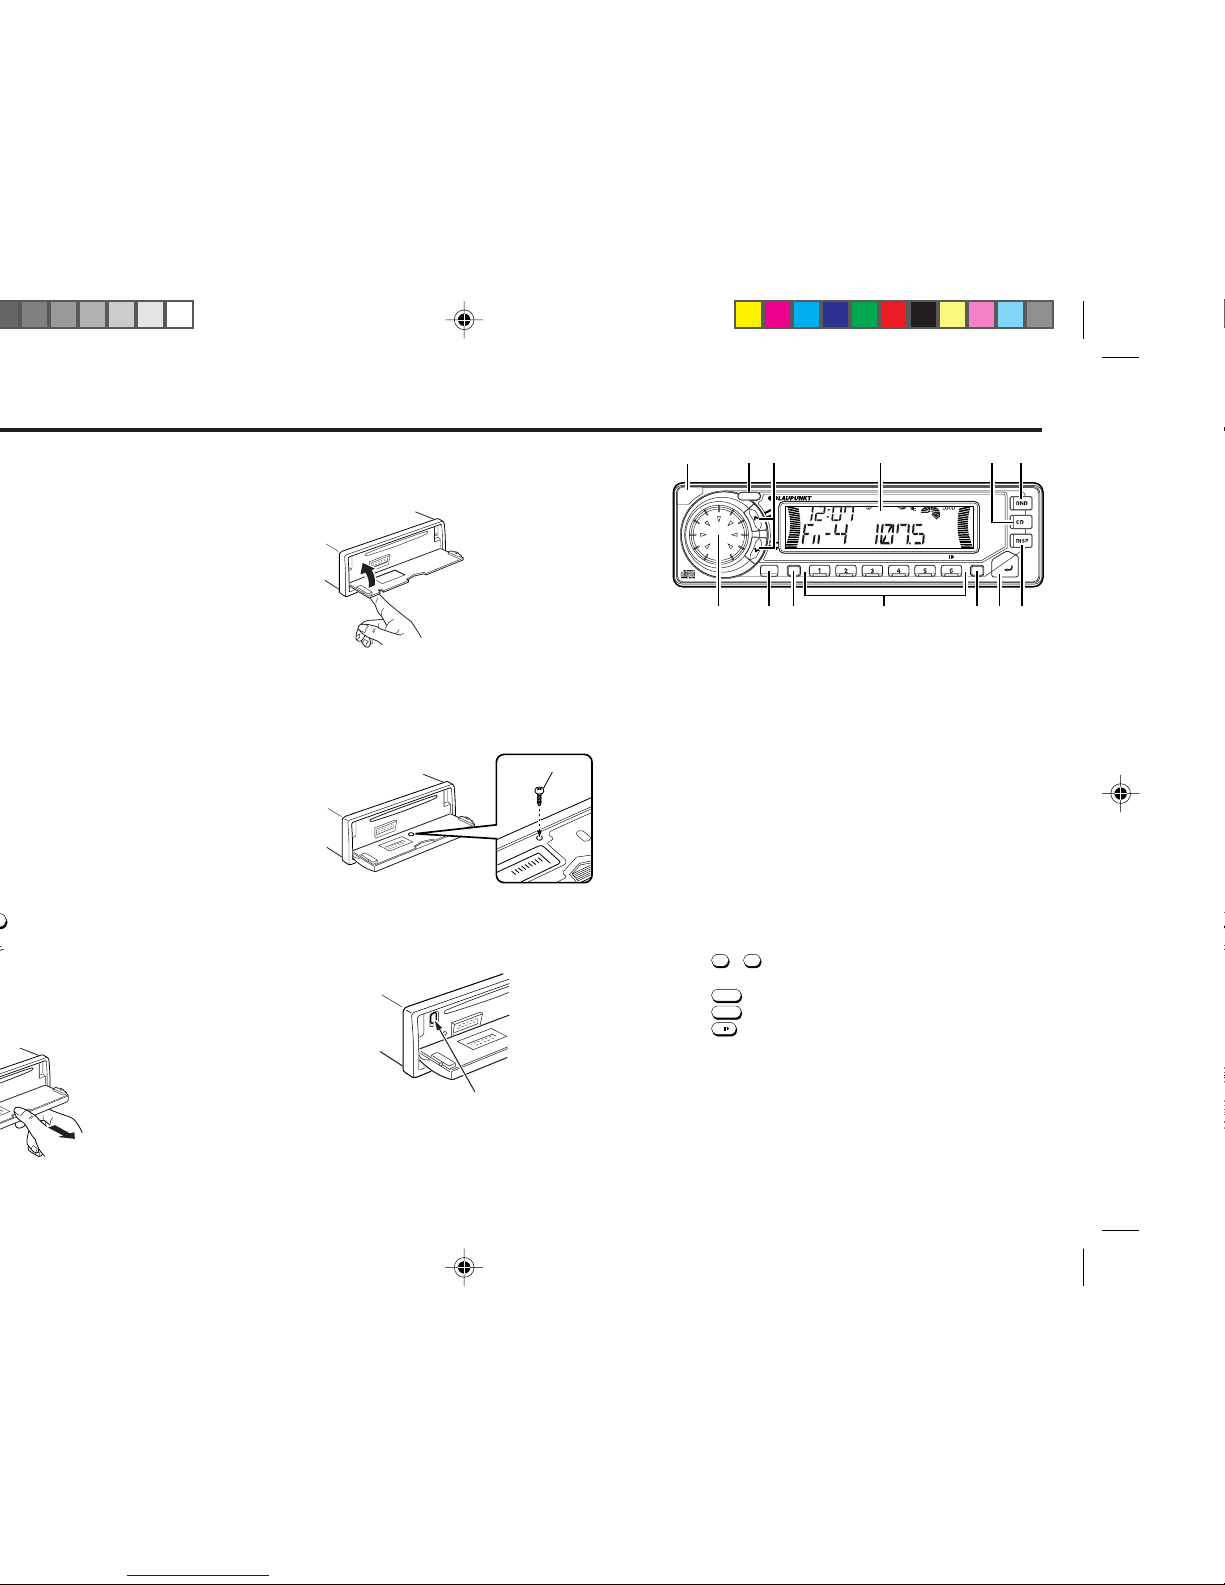
Identification of Controls
1 OPEN button
2 PWR button
Turns the power of the unit on or off.
3 TUN/TRK button
Used to tune in to the desired station.
4 LCD Display window
5 CD button
Switches the CD playback mode.
6 BND/TS button
Selects the AM/FM Band & T ravel Store.
7 DISP button
Mode selector. Clock adjustment. Display priority setting.
8 MUTE/SENS button
Muting the sound. Switches the seek sensitivity between
local and distance.
9 XBASS button
Boosting the bass sound.
10 PRESET MEMORY button
During radio reception :
1
- 6; For Preset memory
During CD mode :
4/MIX
; For Mix play
5/RPT
; For Repeat play
6/
; For Pause
11 SC/PS button
Scan tuning. Preset scan tuning. Scan play in CD mode.
12 AUD button
Audio control selector; Bass, Treble, Loudness, Balance
& Fader.
13 Dial
Adjusts the volume level/bass/treble/balance/fader.
Storing the station names. Select Alpha-numeric characters.
V
O
L
168 WATTS
KEY WEST CD169
PWR
MUTE
OPEN
T
U
N
/
T
R
K
SENS
SC/PS
AUD
XBASS
RPT
MIX
TS
123
6
8
9
10
5
12
13
7
11
4
3.Close the inner cover.
Do not leave inner cover in the down position unless the
front pannel is in place.
firmly to open the flip down front panel.
Security
Bolt the front panel with the screw (supplied) in the inner
cover as shown below, to protect the front panel from
robbery and from getting lost.
EJECT button
Ejecting the CD
Press recessed button located to the left behind the Front
Panel.
SCREW
E-3
pressed for more than 2 seconds.
MUTE / SENS
again.
to turn on the unit.
to display “ CLK ADJ ”.
within 3 seconds to flash the “ 12 ”
MUTE / SENS
to flash the “ 00 ” (MIN ADJ).
4. Press the
DISP
to display “ CLOCK 12 ”.
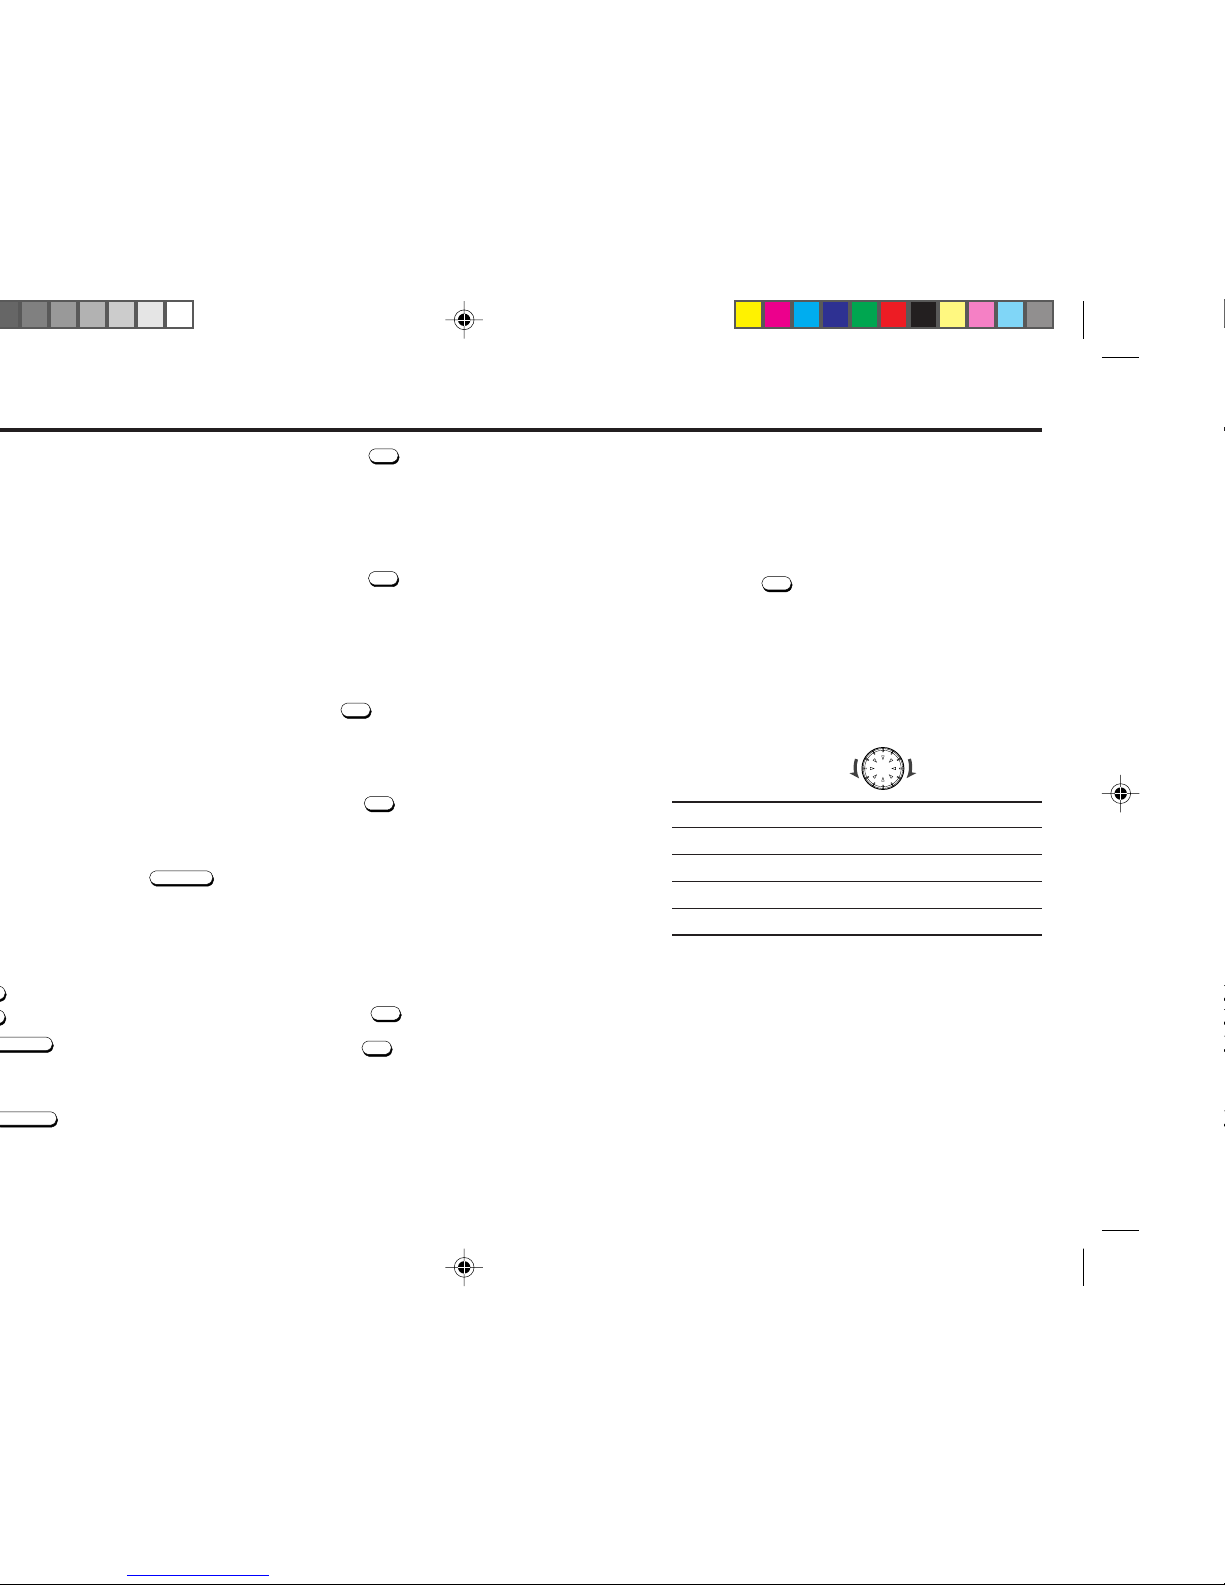
5. Rotate the dial to select the 12 or 24-hour time mode.
Each time you rotate the dial, the mode changes or
toggles as follows;
CLOCK 12
ÔÔ
ÔÔ
Ô CLOCK 24
6. Press the
DISP
momentarily. The clock is activated.
Ignition-off Clock Recall
The display will illuminate showing the time and then automatically shut off after 5 seconds.
Press the
DISP
while the ignition switch is in the “ OFF ” posi-
tion.
Mode Selector
Each time the
DISP
is pressed, the display window will change
over as shown below;
Priority ➜ STN CALL ➜ LEVEL 1 ➜ Temporary ( NO NAME )
CLOCK 12 CLK ADJ METER 1
Display priority setting
Display Priority can be set for the following two items;
• Frequency and Station Name.
Example
To set Station Name to the Display Priority.
1. Press the
DISP
three times, and the temporary display
appears in the display window.
2. Hold the
DISP
pressed for more than 2 seconds.
“ NO NAME” or any station name blinks once to indicate
that Station Name is selected for the Display Priority.
After 5 seconds, the display mode will automatically return to the Display Priority showing either “NO NAME” or
the station name.
Tip
Frequency Display is initially set as the Display Priority,
and Station Name (“NO NAME”) is set to “Temporary”.
Adjusting the Sound Characteristics
1. Press the
AUD
to select the desired adjustment mode.
BASS 0 ➜ TREBLE 0 ➜ LOUD OFF(LOUDNESS)
R0 F0(FADER) L0 R0(BALANCE)
2. Rotate the dial to adjust the selected item.
Adjust within 3 seconds after selecting the item.
After 3 seconds, the dial functions as volume control.
Use the following tables as a guide for adjusting the settings in each mode.
BASS BASS -5 BASS +5
TREBLE TREBLE -5 TREBLE +5
LOUD LOUD OFF LOUD ON
BALANCE L9 R0(Full left) L0 R9(Full right)
FADER R9 F0(Full rear) R0 F9(Full front)
➜
➜
➜
➜
➜
➜
➜
 Loading...