

Page 1
Einbauanleitung
Fitting Instructions
instructions
lstruzioni di montaggio
Inbouwinstrukties
Monteringsanvisning
lnstrucciones de montaje
Instru@es de montagem
de montage
5edienu~gsan~eitung
Operation
lnstrucciones de
Instru@fio
instructions
Mode d’emploi
struzioni d’uso
uiksaanwijzing
Bruksanvisning
de
manejo
serviG0
Page 2
English
Preparatory steps
Loading the disc magazine
Figure 1
Figure 2
Note:
Inserting the disc magazine
Figure 3
Figure 4
Figure 5
Note:
Removing the disc magazine
Figure 6
Attention: Failure to open the door completely may very likely
Notes on moisture condensation
On a rainy day or when the temperature varies considerably
moisture may condense on the laser lens and the unit will not
operate properly.
In this case remove the disc and wait for about one hour until
the moisture has evaporated.
Notes on CD
A
playing. To optain optimum sound, handle the disc as follows:
Keep the CD clean, and handle the disc by its edge only.
If required, clean the disc with an optional cleaning cloth. Wipe
the disc surface from the middle towards the edge!
Do not use any
or a conventional cleaning agent intended for analog discs!
Do not stick paper or tape anywhere on the disc!
Do not expose the disc to direct sunlight or high temperatures.
To load the magazine, move it into the position
shown in the picture (arrow up).
Pull out the empty tray.
To be sure that all trays are correctly loaded with
the right orientation, never remove more than one
disc tray at a time.
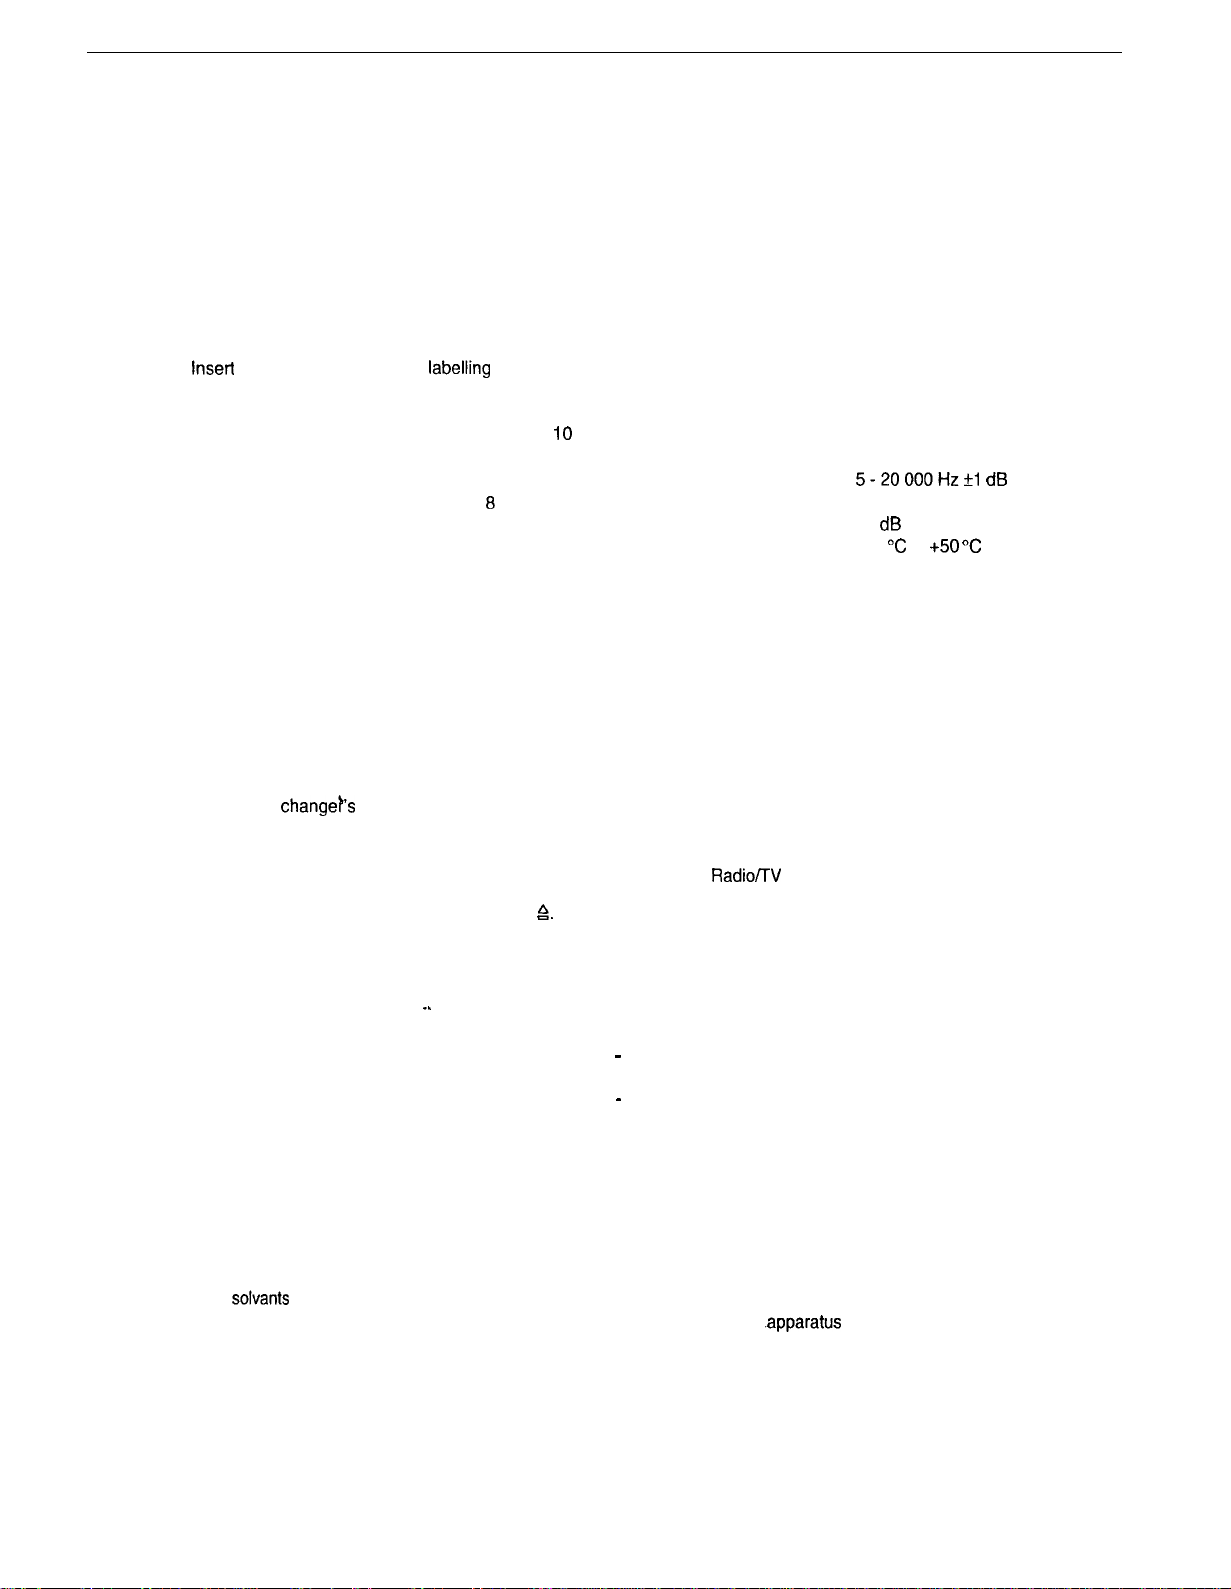
Insert
one CD per tray with the labelling facing up.
Insert the tray with the disc into the magazine until it
stops (locks).
You can load the magazine with a maximum of
discs. You can also leave individual disc trays
unoccupied.
Make sure not to use discs measuring 8 cm in
diameter. Avoid getting fingerprints or scratches on
the CD. After having removed a CD tray, take care
that the disc lying on it does not fall down.
You may leave individual disc trays empty, though
you should insert all of the trays into the magazine.
Slide the door to the rightmost position.
Insert the magazine with the arrow showing up until
it stops and locks.
Close the door sliding it back to the leftmost
position.
Be sure that the slider is always closed. This will
protect the changeps laser lens against
contamination.
Make sure to open the door completely moving it to
the rightmost end and press the Eject button 8.
The magazine will come out automatically.
result in damages of the changer and the magazine!
.’
contaminated or damaged CD can produce drop-outs in
solvants
such as benzine, thinner, antistatic spray
10
Do not leave the discs in a car parked in the sun.
High temperatures in the car can damage the disc.
Notes on
Do not expose the magazine to high temperatures and humidity.
Store the magazine where it is not exposed to direct sunlight
(not on the dashboard or rear shelf)!
Protect the magazine against vibration!
Operation
Please refer to car stereo’s owner’s manual.
Technical data
Frequency response:
Wow and flutter:
Signal-to-noise ratio: 94
Operating temperature:
(Subject to modifications without notice)
FCC warning for USA
The equipment has been tested and found to comply with the
limits for a Class B device, pursuant to Part 15 of the FCC
Rules. These limits are designed to provide reasonable
protection against harmful interference in a residential
installation. This equipment generates, uses, and can radiate
radio frequency energy, and, if not installed and used in
accordance with instructions, may cause harmful interference
with radio communications. However, there is no guarantee that
radio interference will not occur in particular installation. If this
equipment does cause harmful interference to radio or television
reception, which can be determined by turning the equipment off
and on, the user is encouraged to contact the dealer or an
experienced
You are cautioned that any changes or modifications not
expressly approved in this manual could void your authority to
operate this equipment.
The shielded interface cable recommended in this manual must
be used with this equipment in order to comply with limits for a
digital device pursuant to Sub-part B of Part 15 of the FCC rules.
Caution
-
-
Safety certification
This Compact Disc Player is made and tested to meet exacting
safety standards. It meets FCC requirements and complies with
safety performance standards of the US Department of Heath
and Human Services.
Notice:
This Class B digital
Canadian Interference-Causing Equipment Regulations.
Warranty: Refer to radio warranty.
the disc magazine
5-20000Hz+l dB
below measurable limit
dB
-10 “C to
RadioflV
The use of optical instruments with this product will increase
eye hazard.
Because the laser beam in this compact disc player is
harmful to the eyes, do not attempt to disassemble this
cabinet. Refer servicing to qualified personnel only.
technician for help.
.apparatus
meets all requirements of the
+50 “C
Page 3

l an ein Blaupunkt-Autoradio mit Disc-Management-System.
l to a Blaupunkt car stereo with Disc Management System.
l a un autoradio de Blaupunkt avec Systeme Disc Management.
l a un autorradio Blaupunkt con Disc Management System.
l ad un’autoradio Blaupunkt dotata di un sistema Disc-Management.
l op een Blaupunkt autoradio met DSC (Disc Management System).
l till en Blaupunkt bilstereo med Disc Management System.
l a
urn
auto-radio Blaupunkt corn sistema Disc-Management.
CDCA071
br
braun, brown,
hnlin hnm
rt
rot, red, rouge, rosso, rood,
bl
blau,
blue.
grau,
gr
or
grey, gris, grigio, grijs,
orange, orange, orange, aranqio,
marron,
m~rri\n
bleu, blu, blauw, bla, azul,
orangefargad, naranja, car de laranja
bllwt
blau/wei8, blue/white,
blauw/wit, bltivit,
azullblanco, azul/branco
marrone.
cat&&o
bleu/blanc,
rod, rojo,
azul
gra,
gris, cinzento
oranje,
blulbianco,
vermelho
1
Kl.30 r --
1
Battery
1
/
/
Sperrzunge, Blocking tongue,
Languette de
Linguetta di bloccaggio,
Blokkeertong,
Lengijeta de bloqueo, Ressalto
deb>,
blocage,
Spbrrtunga,
,
\
6197
1
Battery
1
Blaupunkt-Werke GmbH
+
Bosch Gruppe
K7NKD
8
622 400
969
PM
864-1020-00
Page 4

Einbauanleitung l Fitting / Installation Instructions l Notice d’installation l lstruzior
Mitgelieferte Befestigungsteile l Supplied Mounting Hardware l Materiel de montage fourni l
Ferreteria de montaje suministrada l Componenti di fissaggio
Meegeleverde montagematerialen l Medfijljande monteringsdetaljer l Elementos de fixa@o fornecidos
comprese nella
fornitura l
@
x2
Zur besonderen Beachtung
.
Bei
der Wahl des Einbauortes ist folgendes zu beachten:
Der Tank darf durch die Blechschrauben nicht
-
Unter der
-
Ersatzreifen, Werkzeug usw. dtirfen durch die Blechschrauben nicht beschgdigt werden. Achten Sie
-
.
.
daB
lnstallieren Sie das Gerat nicht an einem Ort,
der Temperaturen
-
dcr
der Regen oder Feuchtigkeit ausgesetzt ist.
-
der
-
der starken Vibrationen ausgesetzt ist.
-
Fi.ir
sicheren und stabilen Einbau verwenden Sie ausschliel3lich die mitgelieferten Befestigungsteile.
@
x2
beschidigt
Flgche,
auf die das
die Herausnahme des Ersatzreifens. Werkzeuqs usw. nicht durch das
iiber 55”
sich
in der
NBhe
von Warmluflausl~ssen
Staub
oder Schmutz ausgesetzt ist.
Ger.3
montiert werden
C (7.B in einem in der Sonne geparkten
(lici7ung
werden.
soll,
dtirfen
sich
usw.) befindet.
keine
I
Precautions
.
Choose the mounting location carefully, observing the following:
The fuel tank must not be damaged by the tapping screws.
-
There should be no wire harnesses nor any tubes located under the place where you are going to install the unit.
-
The spare wheel, tools or other equipment in or under the trunk must not be blocked or damaged by the screws
-
.
.
or the unit itself.
Do not install the unit at a place,
which is exposed to temperatures of more than 55” C (e.g. in a car parked in the sun).
-
which is close to hot air outlets (heating, etc.).
-
which is exposed to rain or humidity.
-
which is exposed to dust or dirt.
-
which is exposed to considerable vibrations.
-
Be sure to use only the supplied mounting hardware for a safe and secure installation.
A
071+
A 072
(5 4
Wagen)
A 071
Drahte
oder Rohrleitungen befinden.
Gertiit
behindert wird.
ausgesetzt
ist
0.3
xl
such
darauf,
Page 5

LASER PRODUCT
Vor der Montage die drei Transportsicherungsschrauben entfernen.
Undo the three transport security bolts before you start with the installation.
Avant d’effectuer le montage, enlever les trois vis de securite de transport.
Prima di effettuare il montaggio svitate le tre viti di fissaggio per sicurezza di trasporto.
Verwijder voor de montage de drie transportbeveiligingsschroeven.
lnnan monteringen skall de tre transportsakringsskruvarna av
Remover
instalacion.
Antes de montar e necessario retirar OS tres parafusos de seguranca de transporte.
10s
tres tornillos de seguridad de transporte antes de comenzar con la
Iagsnas.
.
Horizontaler Einbau l Horizontal Installation l Installation horizontale de I’appareil l
Montaggio orizzontale l Horizontale montage l Horisontell montering l Montagem horizontal
lnstalacidn
.
0
So gekennzeichnete
0
Cover the holes marked -> using the adhesive sticker @ (for dust protection).
0
Couvrir les trous marques de => avec I’autocollant @ (protection antipoussiere).
e
I fori cosi contrassegnati vanno coperti con un nastro adesivo @ (protezione
I$
Dek de met fi gemerkte gaten af met de stickers @ (bescherming tegen stof).
t$
De markerate halen tacks med dekaler @ (demmaskydd).
Cubra
10s
huecos marcados I$ mediante
0
Orificios marcados assim, devem ser cobertos corn adesivos @ (proteccao contra
L&her
mit Aufkleber @ abdecken (Staubschutz).
10s
adhesivos @ (protection contra polvo).
contra
la polvere).
~6).
horizontal l
Page 6

Vertikaler Einbau l Vertical Installation l installation verticale l
Vertikale montage l Vertikal montering l Montagem vertical
Instalacih
vertical l Montaggio verticale l
.
40
.
 Loading...