

Binatone Speakeasy 17 User Manual
1
Speakeasy 17
Speakeasy 17
SpeakEasy 17
REDIAL/
PAUSE
FLASH/ESC
If you need help …
The Binatone Help Line is available
0845 345 9677
from 9.00 am to 5.00 pm, Monday
to Friday, on
Calls are charged at Local Call rate.
Or visit our website:
www.binatonetelecom.com
2
SpeakEasy 17
REDIAL/
PAUSE
FLASH/ESC
-When the instruction simply say 'press' a button, this means you should
press it briefly then release it.
-When the instruction say 'press and hold' a button, this means you should
Important:
keep it pressed until the display changes or you hear a tone.
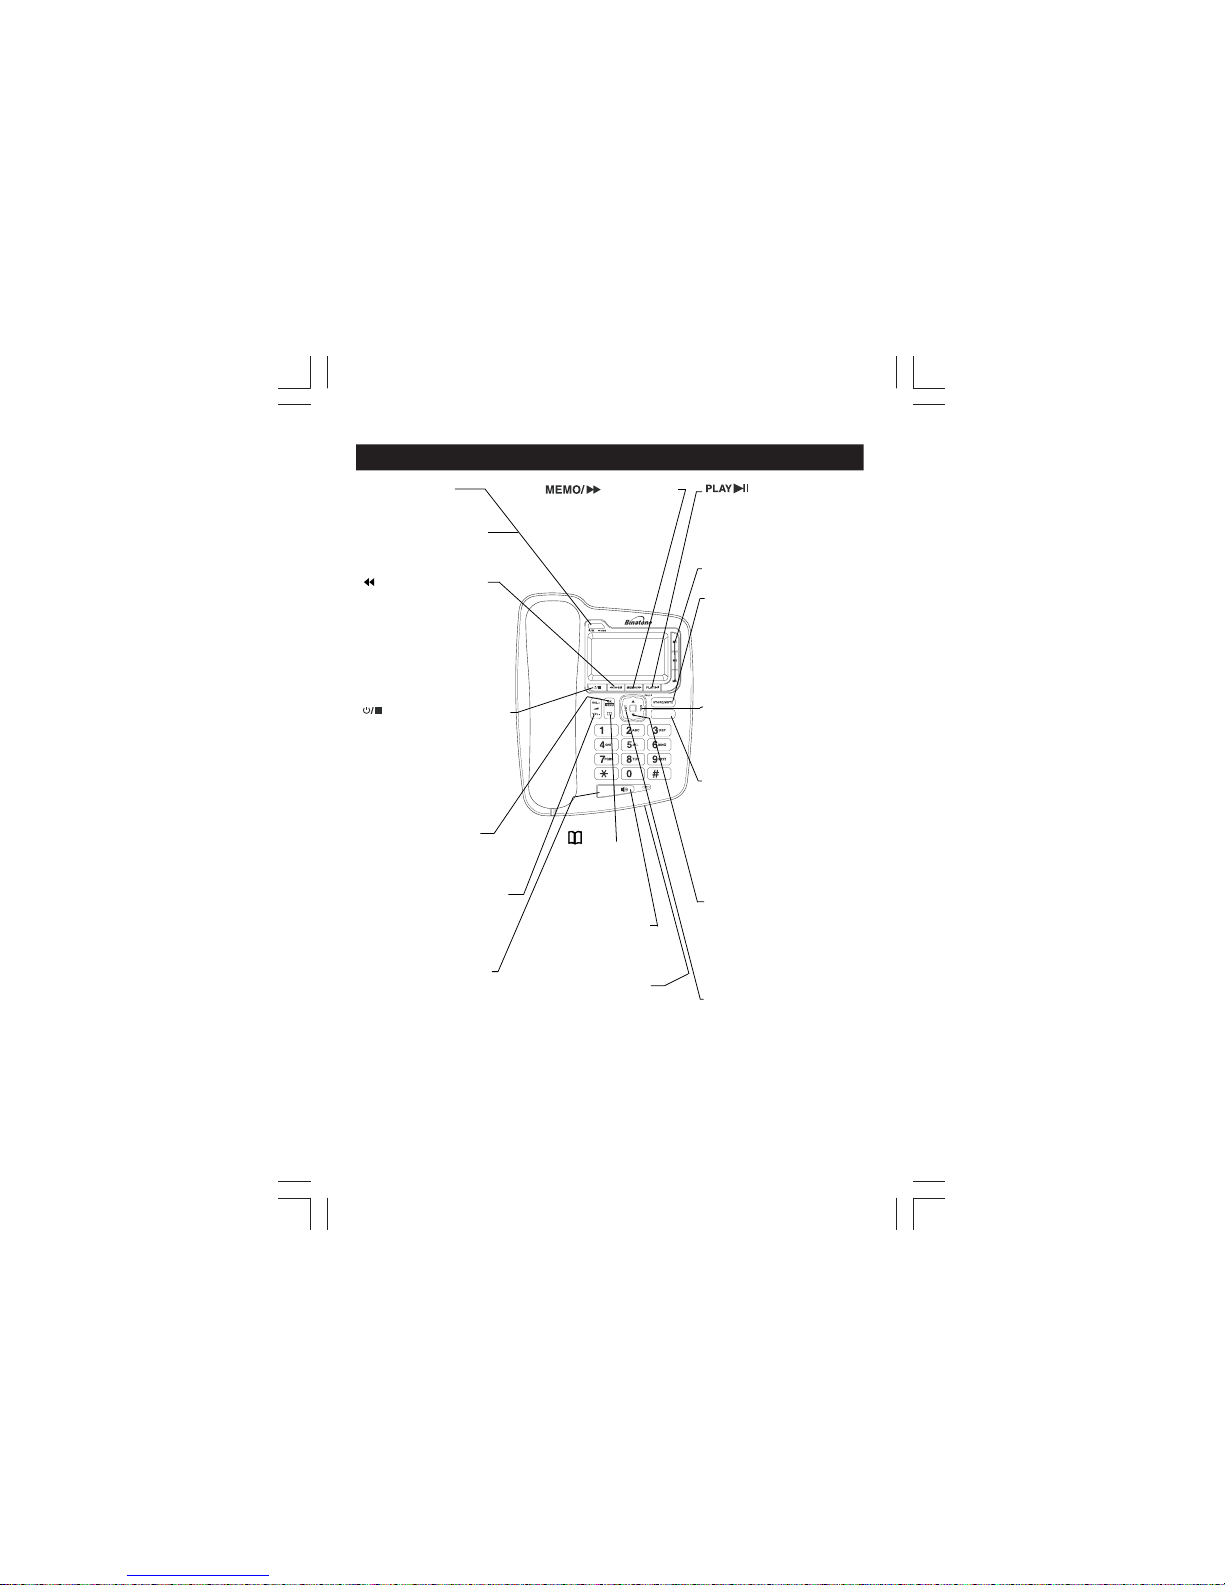
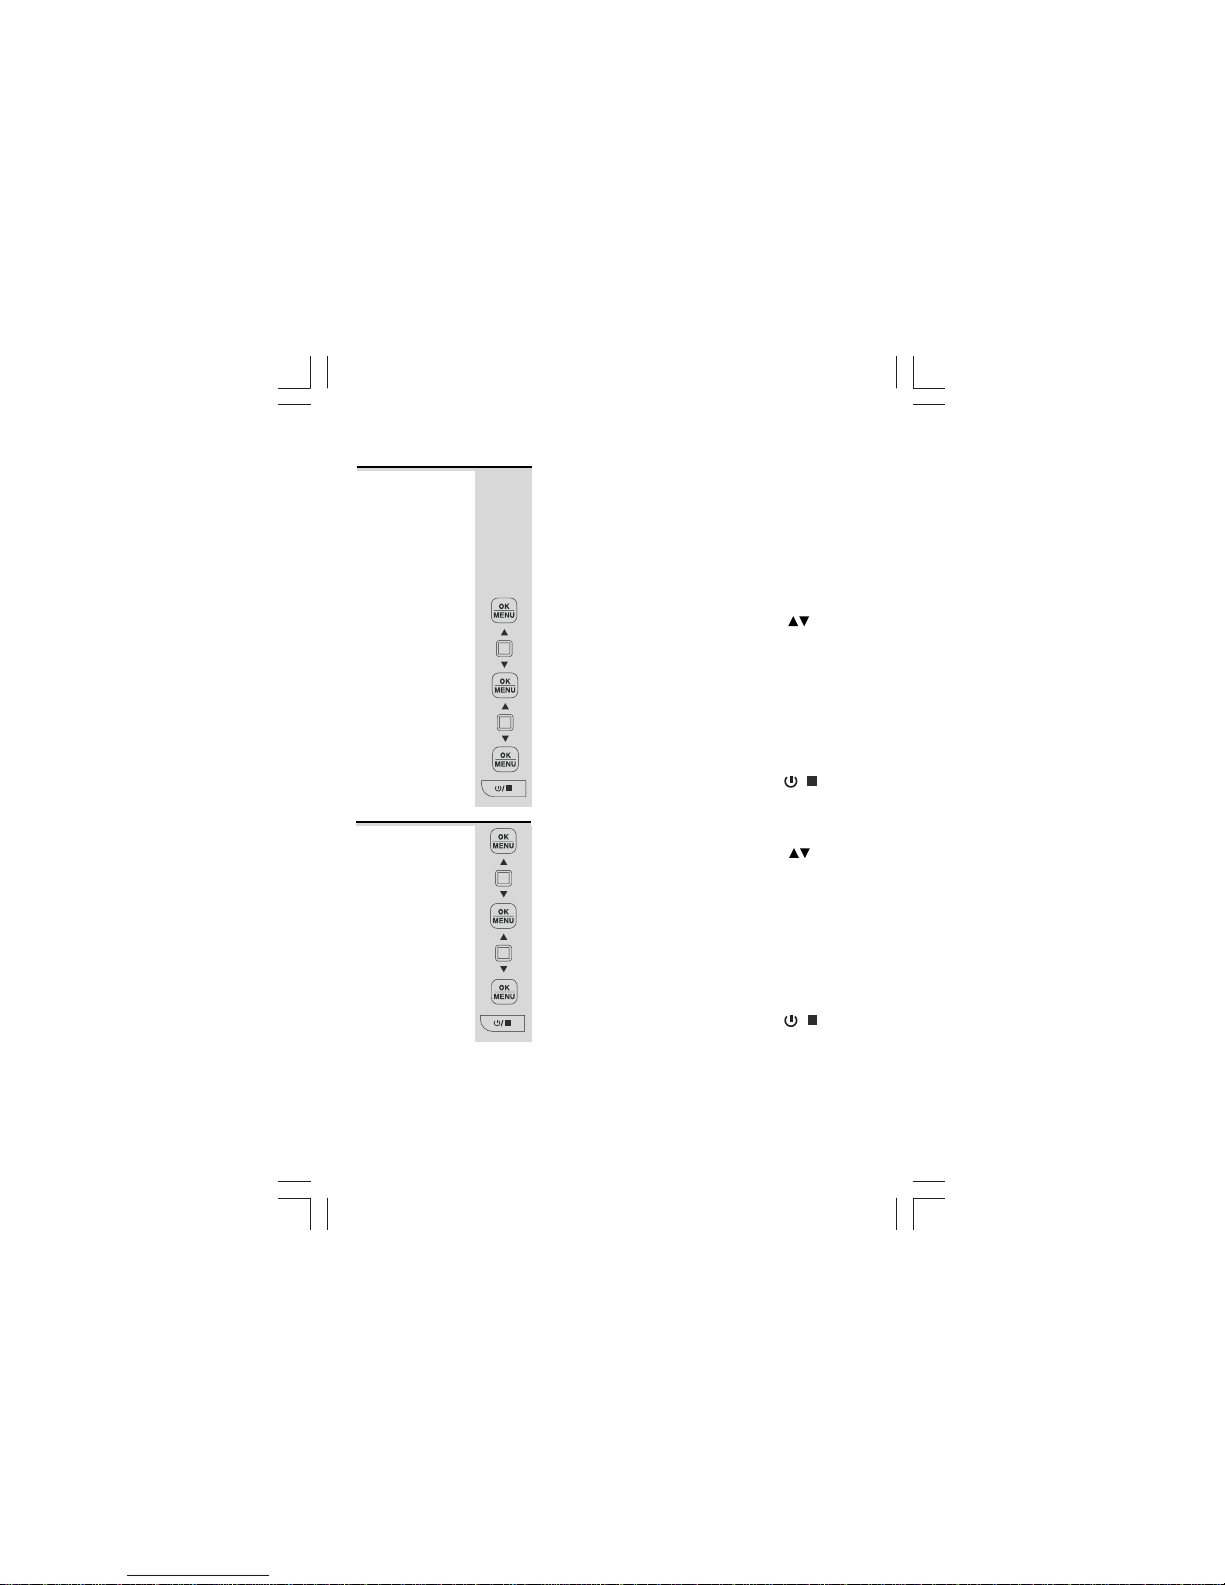
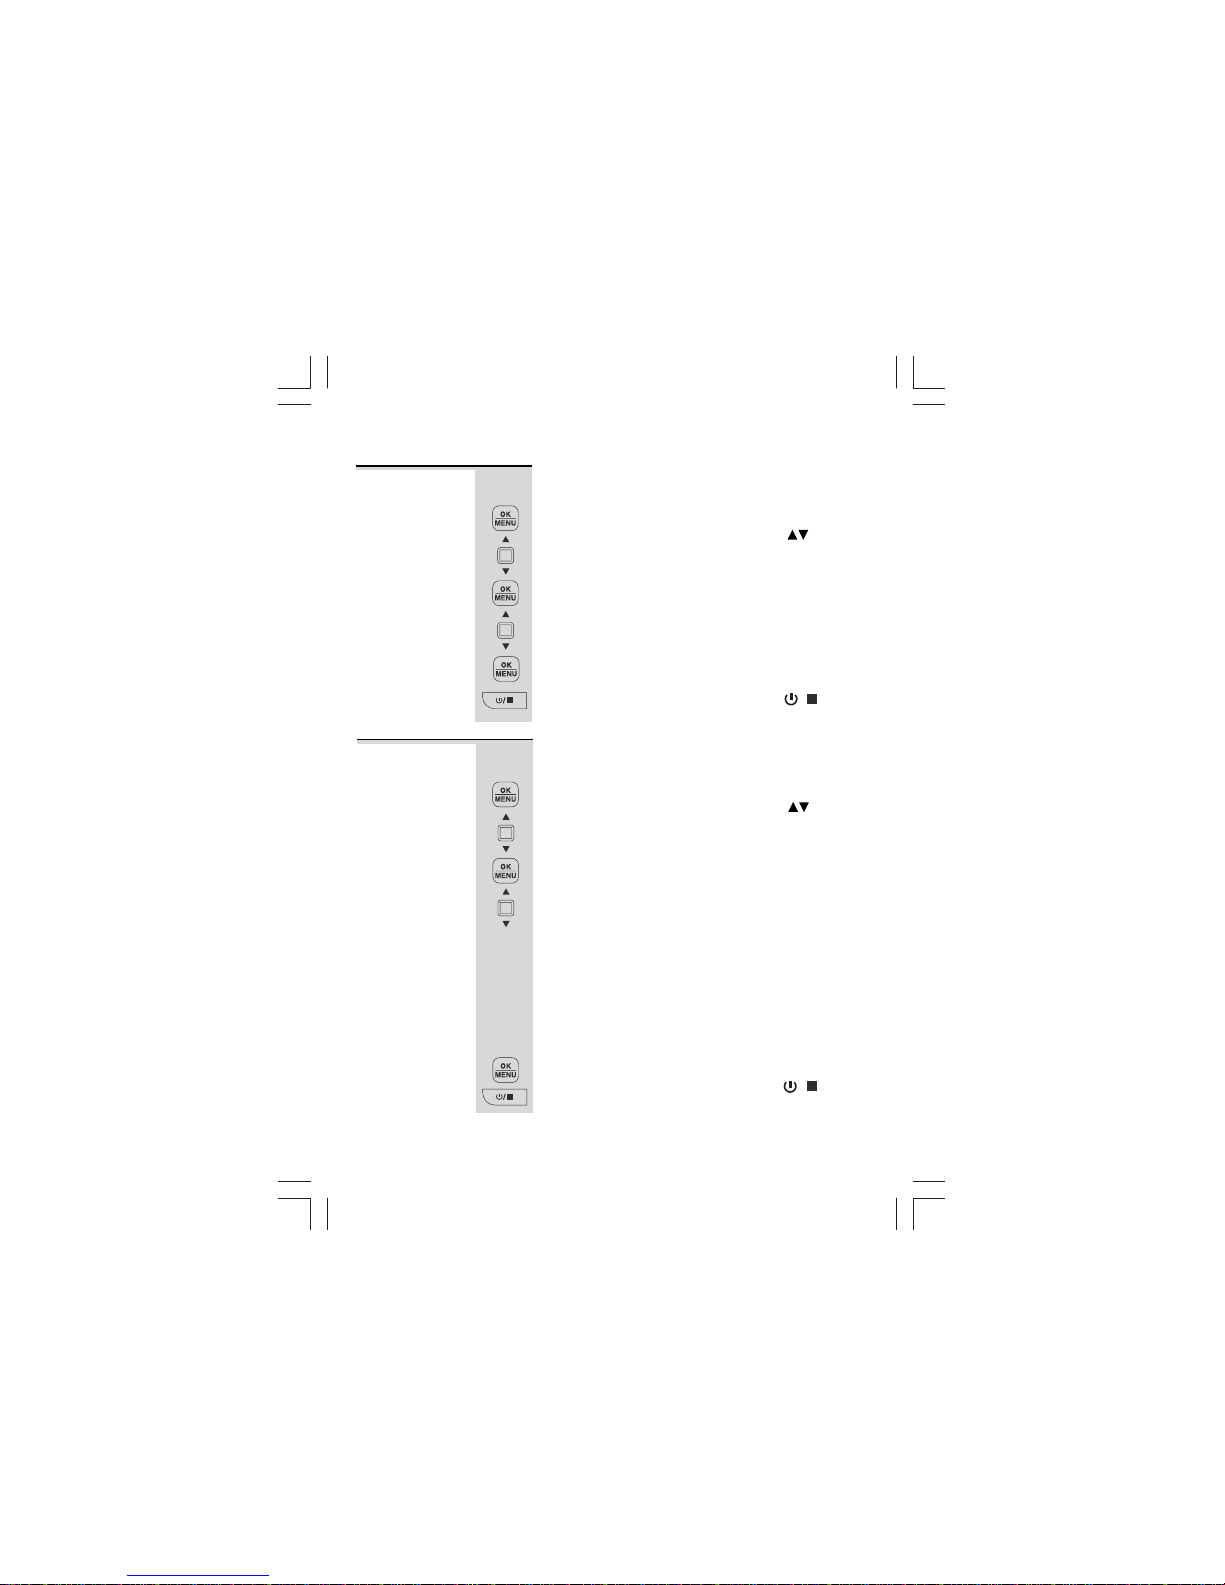
- In standby, press to
access the caller display
- In lists, press to scroll
through options.
UP-DOWN (Calls)
Buttons
records.
OUT Button
- Press to view the Redial
list in standby mode or
during a call.
- You may need the
Recall (Flash) function if
your phone is connected to
a PBX, or if you use BT
Calling Features.
- When in menus or predialling, press to exit from
the function.
FLASH/ESC Button
- Press to delete individual
messages, memos, stored
numbers or Caller Display
records.
DEL (Delete) Button
- Press during a call to
mute the microphone or
mouthpiece.
- In standby, press to
store the (M1, M2 and
M3) one touch memory
dialling buttons
STORE/MUTE Button
- Press to play back
messages and memos.
Press to pause playing of
a memo or message.
PLAY/PAUSE
M1, M2, M3 one
- Touch
Memory Buttons
Button
- In standby, press and
hold to record a memo.
Press during message
playback to skip to the
next message.
Button
- Turns ON when the TAM
is on. Flashes when you have
new TAM messages.
MESSAGE light
This is on when phone
is on a call.
IN USE light
-In standby, press to play
your current OGM, or press
and hold to record a new
outgoing message.
- During playback, press
once to repeat the current
message or press twice
to skip back to the previous
message.
/OGM Button
- Press to enter the Options
Menu to set the Date, Time
and other phone/TAM settings.
MENU/OK Button
Button
- Press to stop
recording or playback.
In standby, press and
hold to switch the
answering machine ON or
OFF, and when the TAM
is on press to select
OGM1 or OGM2.
(ANSWER ON/OFF)
- Press to access the Redial
lists when in standby mode.
Press to insert a pause
when dialling.
PAUSE/REDIAL
- Press to adjust the volume
message playback.
SPEAKER Volume
SPEAKERPHONE Button
Microphone
- For
speakerphone use and
answering machine
OGM & Memo recording.
- Press to make, answer,
or end a call using the
speakerphone.
- Press to access
the Phonebook
records.
(PHONEBOOK)
Button
control
during Speakerphone or
Button
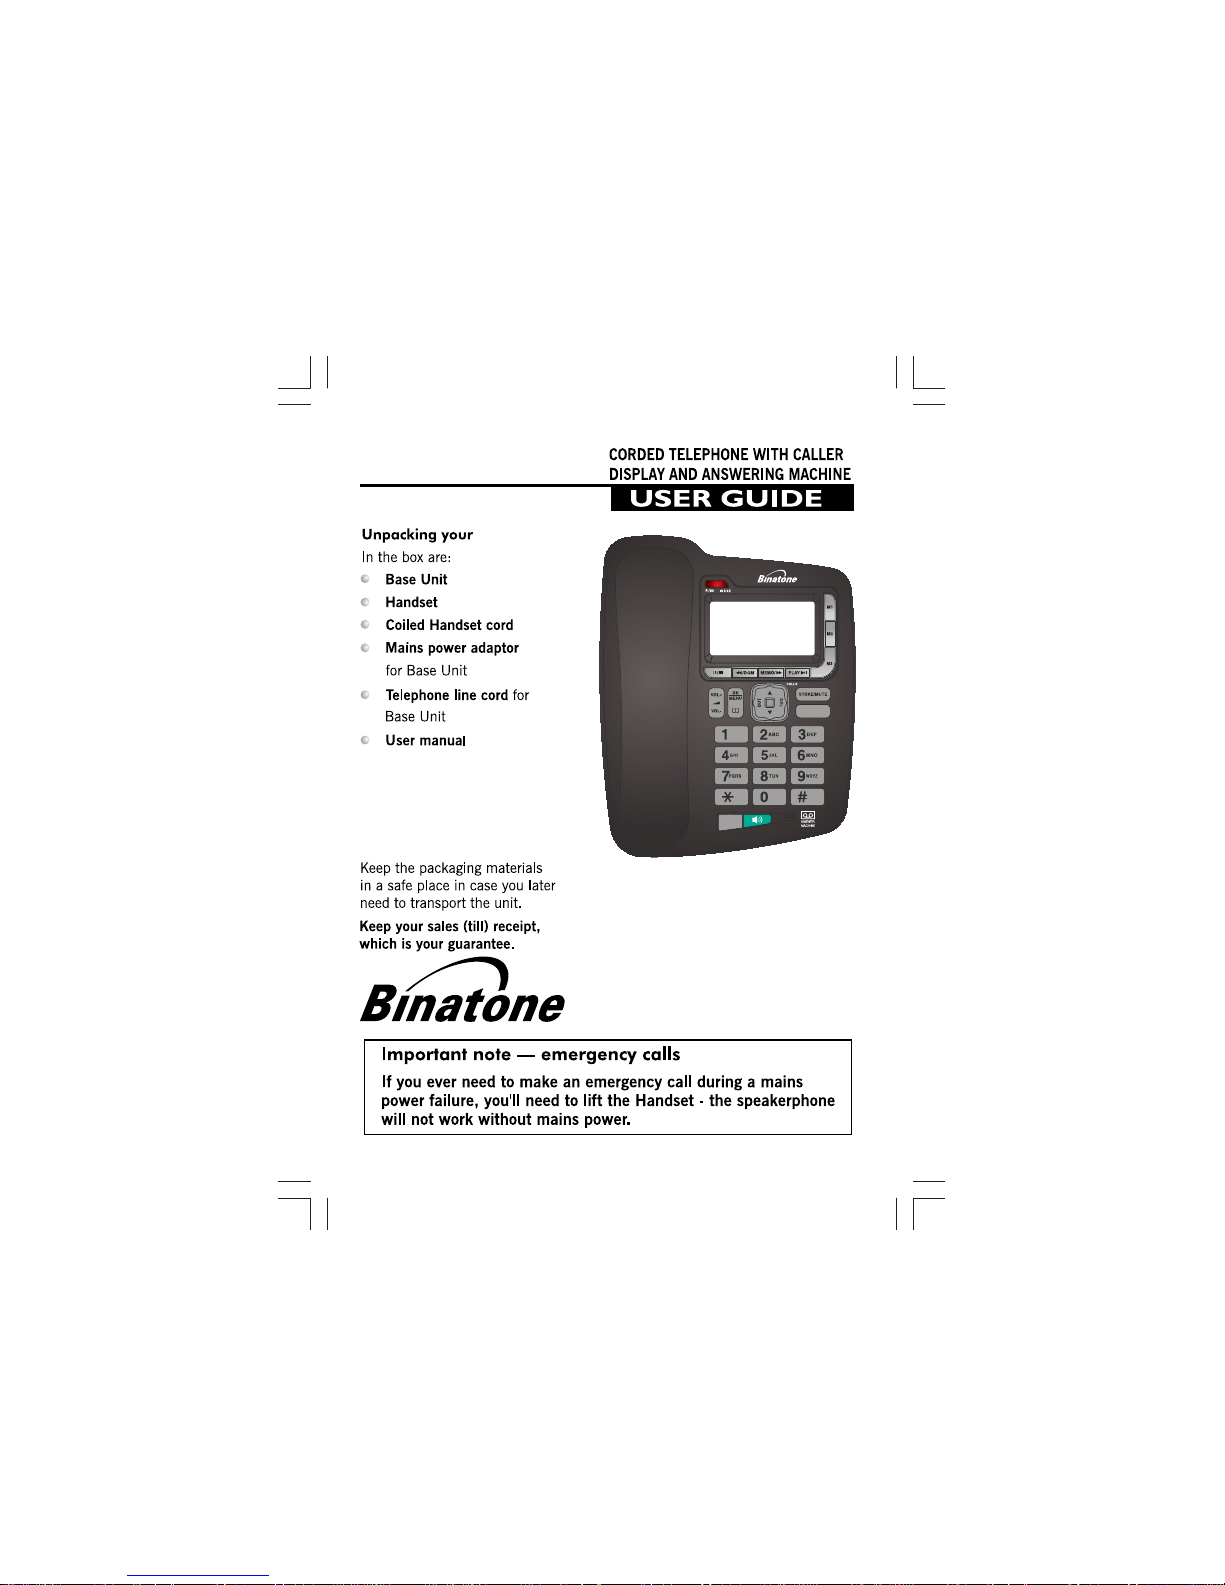
1. Where to find it
For Evaluation Only.
Copyright (c) by Foxit Software Company, 2004
Edited by Foxit PDF Editor
3
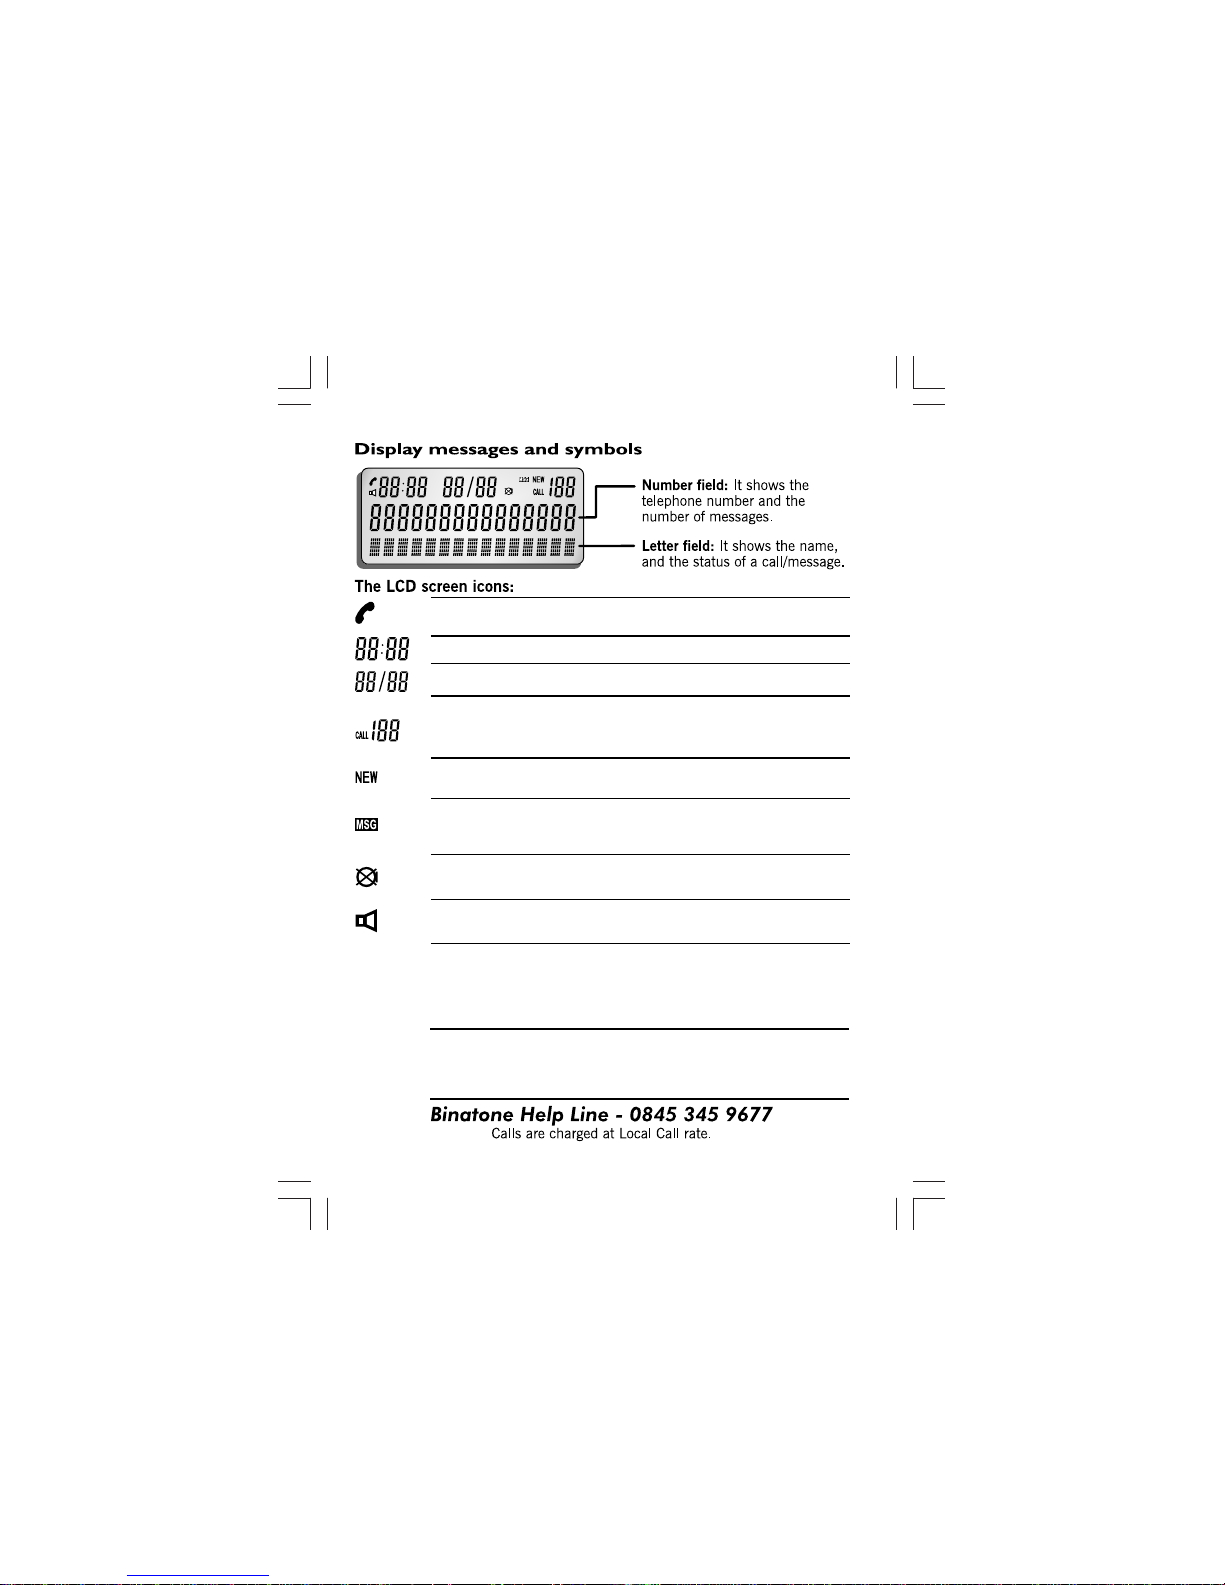
Phone
You are connected to the telephone line - your
Handset is ‘offhook’.
Time Displays the time.
Date/Month Displays the date and month.
Speakerphone
Appears when the speakerphone function is
turned ON.
Appears when you press the MUTE button to
Message
Appears when viewing a Caller display entry
where an answering machine message was
NEW
records.
Caller Display
Record
Shows the total number of Caller Display records
when the caller display is being received or when
the call list is being viewed.
mute the mouthpiece or microphone.
Appears when viewing New Caller Display
recorded.
XX
Indicates the total number of answering machine
messages recorded (XX from 00 to 59) and the
total number of caller display records saved (YY
from 00 to 99) . When steady on, there are no
new entries in either list.
Flashing alternately with the screen above,
indicates the number of new answering machine
messages recorded and the number of new
MESSAGES
CALLS
YY
XX
YY
NEW
NEW
caller display records received.
For Evaluation Only.
Copyright (c) by Foxit Software Company, 2004
Edited by Foxit PDF Editor

4
1. Locating the Base unit
The Base unit should be placed on a level surface, in a position where:
the mains adapter plug will reach an easily accessible 230-V AC
extension socket.
might get wet.
machines, microwave ovens, TVs, fluorescent lights, etc.
2. Plug the coiled handset cord into the Handset. Plug the other end into
the jack on the left side of the Base unit.
3. Place the Handset on
the Base unit.
4. Plug the telephone line cord into
the PHONE LINE jack at the
end into your telephone line socket
5. Plug the power supply cord into
the POWER jack at the bottom of
into a 230V AC, 50Hz mains
socket, with the switch on the
socket set to OFF
6.Switch ON the mains power at
the socket. Wait while the
7.Lift the Handset and check
Make sure the plugs
or extension socket.
display shows INITIALISATION,
Answering
machine on.
Announcement one
before
the display changes to the
“
”
standby screen.
cable.
bottom of the Base unit. Plug the other
Note:The Speakeasy 17
Base unit must be used
only with the Switch
Electronics Co.,Ltd.5E-AD070042-B.
Always use the telephone
line cord supplied with your
Phone. Other telephone
line cords may not work.
to Modular
Wall jack
for Dial tone in the earpiece.
Note: The base unit doesn't require a battery.
the telephone line cable will reach your telephone line socket or
it is not close to a sink, bath or shower, or anywhere else where it
switched mains supply socket - never try to lengthen the mains power
it is not close to other electrical equipment - fridges, washing
the Base unit. Plug the other end
then the announcement
click into place.
adapter Shen Zhen G.EREDIT
2. Installation
For Evaluation Only.
Copyright (c) by Foxit Software Company, 2004
Edited by Foxit PDF Editor
5
Binatone Help Line - 0845 345 9677
Calls are charged at Local Call rate.
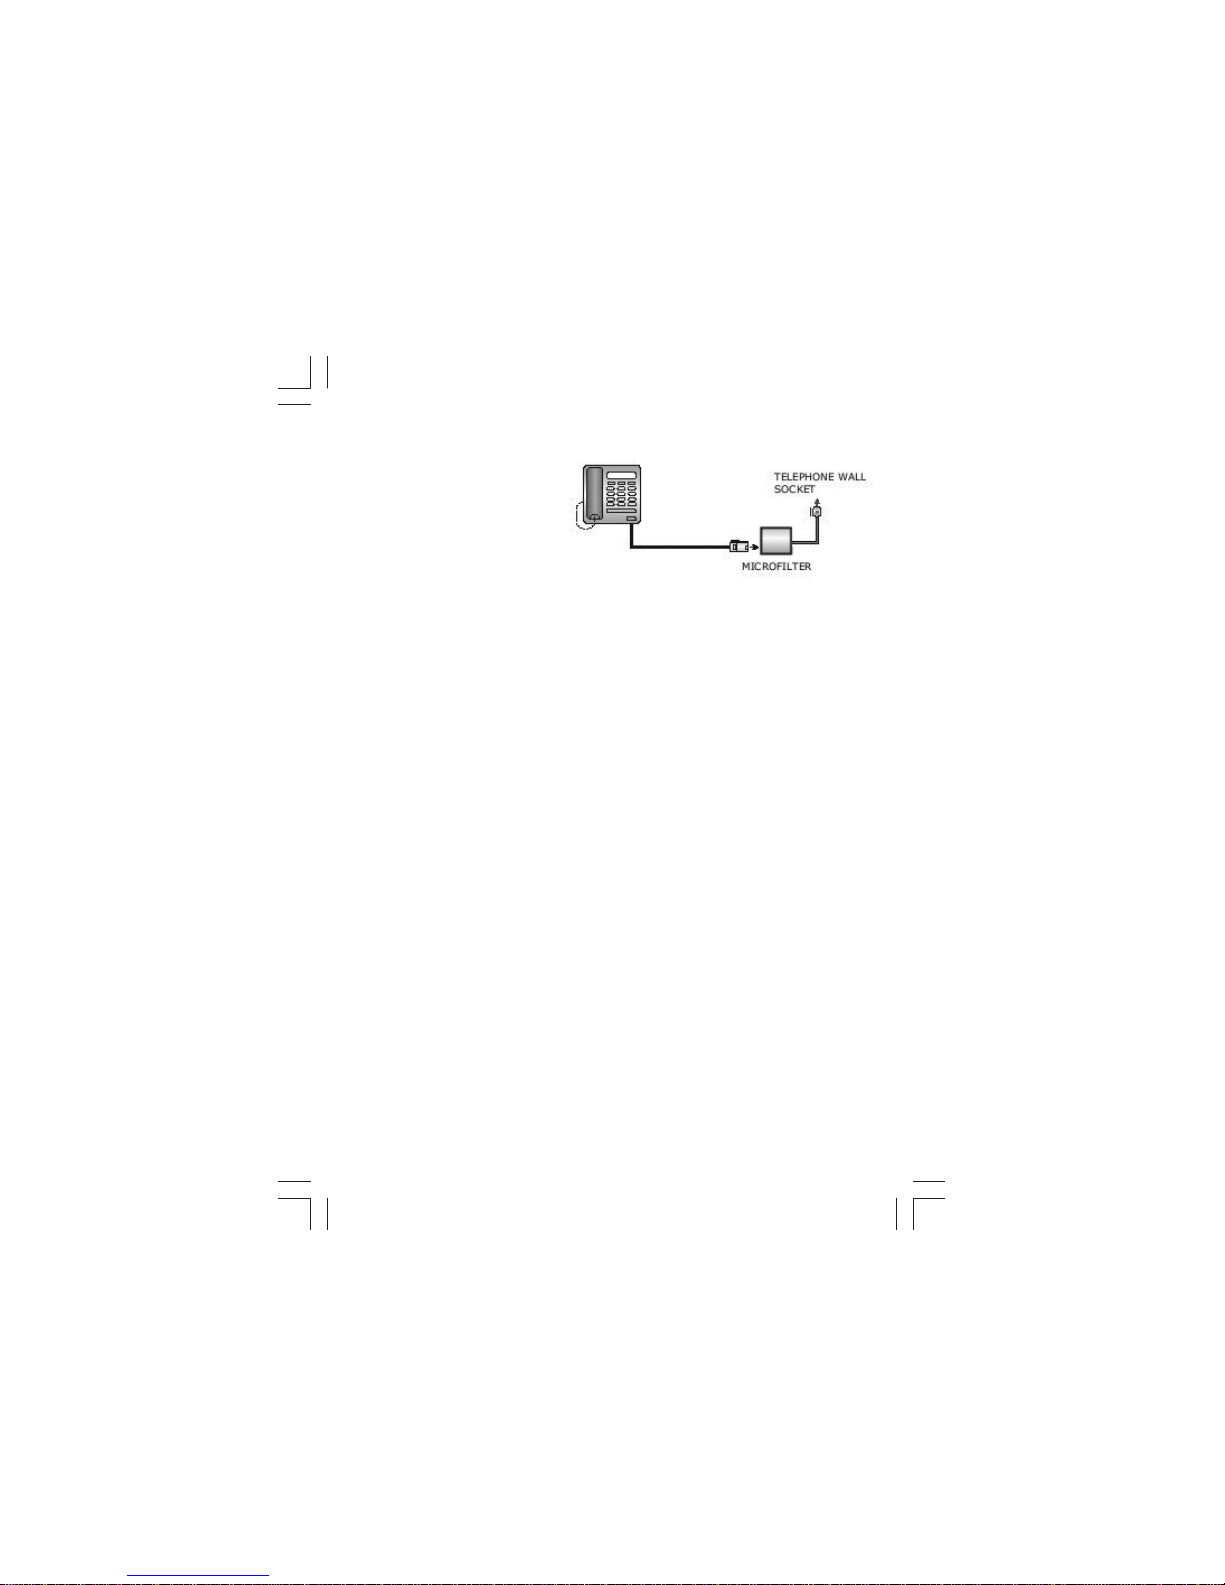
If you have a
Broadband line
If you connect your telephone to
insert a micro-filter between the
otherwise you may get
interference between the telephone and the broadband,
which could cause problems.
a line with a broadband
connection, you will need to
In a home with broadband, every telephone must have a micro-filter connected,
not just the one at the telephone point that your modem is connected to.
If you need more broadband micro-filters, contact your broadband supplier.
telephone and the telephone line,

6
Binatone Help Line - 0845 345 9677
Calls are charged at Local Call rate.
The following section details how to set up your telephone.
SET LANGUAGE
SET TIME/DATE
SET FLASH TIME
LCD CONTRAST
MESSAGE LENGTH
RINGS TO ANSWER
REMOTE ACCESS
TAM HD: ON/OFF
Note: The system will time out if you leave more than
10 seconds between key presses.
!
With the phone in standby mode;
1 Press OK/MENU button.
Ö The display shows
OPTIONS MENUOPTIONS MENU
OPTIONS MENUOPTIONS MENU
OPTIONS MENU
.
2 Press UP button to go to the language setting.
Ö
The display shows
SET LANGUAGESET LANGUAGE
SET LANGUAGESET LANGUAGE
SET LANGUAGE
.
3 Press OK/MENU button to confirm.
4 Press UP or DOWN button to select ENGLISH
(default), FRANCAIS, or DEUTSCH.
5 Press OK/MENU button to confirm.
6 Continue with programming, or press /
button to return to standby mode.
SET
LANGUAGE
EXIT OPTION
Ö
To set the Answering Machine
3. Setting up the Speakeasy 17
Press the MENU button to enter the Options menu and
then use the UP or DOWN buttons to cycle through the
following options:
recording quality / total recording time. (ON gives up
to 20 minutes of higher quality, OFF gives up to 40
minutes of lower quality.)

7
Binatone Help Line - 0845 345 9677
Calls are charged at Local Call rate.
1 Press OK/MENU button.
Ö The display shows
OPTIONS MENUOPTIONS MENU
OPTIONS MENUOPTIONS MENU
OPTIONS MENU
.
2 Press UP or DOWN button until the display
shows
SET TIME/DATESET TIME/DATE
SET TIME/DATESET TIME/DATE
SET TIME/DATE
.
3 Press OK/MENU button to confirm.
The‘year’ will be blinking.
SET TIME/
DATE
(see section 8) the time and date will be set
automatically, but the year may still need to be
Ö
Note: If you subscribe to the caller display service
stamp gives the correct day.
adjusted to ensure the answering machine time
4 Press UP or DOWN button to set the year.
5 Press OK/MENU button to confirm.
Ö The ‘month’ will be blinking.
6 Press UP or DOWN button to set the month.
7 Press OK/MENU button to confirm.
Ö The ‘date’ will be blinking.
8 Press UP or DOWN button to set the date.
9 Press OK/MENU button to confirm.
Ö The ‘hour’ will be blinking.
10 Press UP or DOWN button to set the hour.
11 Press OK/MENU button to confirm.
Ö The ‘minutes’ will be blinking.
12 Press UP or DOWN button to set the minutes.
13 Press MENU/OK button to confirm the TIME and
DATE setting.
14 Continue with programming, or press /
button to return to standby mode.
When setting the ' hour it is in 24 hour
Ö
mode only.
Setting up continue...
For Evaluation Only.
Copyright (c) by Foxit Software Company, 2004
Edited by Foxit PDF Editor
8
Binatone Help Line - 0845 345 9677
Calls are charged at Local Call rate.
1
Press OK/MENU button.
Ö The display shows
OPTIONS MENUOPTIONS MENU
OPTIONS MENUOPTIONS MENU
OPTIONS MENU
.
2
Press UP or DOWN button until the display
shows
SET FLASH TIMESET FLASH TIME
SET FLASH TIMESET FLASH TIME
SET FLASH TIME
.
3 Press OK/MENU button to confirm.
SET FLASH
TIME
4
Press UP or DOWN button to select 100MS
(default), 300MS, 600MS or 1000MS.
Setting up continue...
You may need the Recall function if your phone is
connected to a PBX, or if you use BT Calling
Features.
Flash is another name for the R (Recall) button,
and the normal UK requirement is for 100ms, but
some PBX may need a longer time, in which case
you can change the setting from the Options Menu.
5 Press OK/MENU button to confirm.
6 Continue with programming, or press /
button to return to standby mode.
1 Press OK/MENU button.
Ö The display shows
OPTIONS MENUOPTIONS MENU
OPTIONS MENUOPTIONS MENU
OPTIONS MENU
.
2 Press UP or DOWN button until the display
shows
LCD CONTRASTLCD CONTRAST
LCD CONTRASTLCD CONTRAST
LCD CONTRAST
.
3 Press OK/MENU button to confirm.
4 Press UP or DOWN button to select your
comfor table display viewing level (1~5). The
default setting is 3.
5 Press OK/MENU button to confirm.
6 Continue with programming, or press /
button to return to standby mode.
LCD
CONTRAST
For Evaluation Only.
Copyright (c) by Foxit Software Company, 2004
Edited by Foxit PDF Editor
9
Binatone Help Line - 0845 345 9677
Calls are charged at Local Call rate.
1 Press OK/MENU button.
Ö The display shows
OPTIONS MENUOPTIONS MENU
OPTIONS MENUOPTIONS MENU
OPTIONS MENU
.
2 Press UP or DOWN button until the display
shows
MESSAGE LENGTHMESSAGE LENGTH
MESSAGE LENGTHMESSAGE LENGTH
MESSAGE LENGTH
.
3 Press MENU/OK button to confirm.
4 Press UP or DOWN button to select 1 or 2
minutes. The default setting is 2 minutes.
5 Press OK/MENU button to confirm the MESSAGE
LENGTH setting.
6 Continue with programming, or press /
button to return to standby mode.
MESSAGE
LENGTH
Setting up continue...
To set the maximum recording time for each
incoming message or memo message on the
Answering Machine.
To set the number of rings before the machine
answers a call;
1 Press OK/MENU button.
Ö The display shows
OPTIONS MENUOPTIONS MENU
OPTIONS MENUOPTIONS MENU
OPTIONS MENU
.
RINGS TO
ANSWER
2 Press UP or DOWN button until the display
shows
RINGS TO ANSWERRINGS TO ANSWER
RINGS TO ANSWERRINGS TO ANSWER
RINGS TO ANSWER
.
3 Press OK/MENU button to confirm.
4
Ö
5 Press OK/MENU button to confirm.
6 Continue with programming, or press /
button to return to standby mode.
Press UP or DOWN button to select TOLL SAVER,
2,3,4,5,6,7,8, or 9 rings.The default setting is 5.
Use 'TOLL SAVER' when checking your
Speakeasy 17 for messages from a remote location
using a long distance service or from a pay phone.
The Answering machine responds after the 2nd ring
only if you have a new message recorded. If there
are no new messages, the phone will answer after
the 4th ring. You can then hang up after the 3rd
ring to avoid paying for the call.
For Evaluation Only.
Copyright (c) by Foxit Software Company, 2004
Edited by Foxit PDF Editor

10
Binatone Help Line - 0845 345 9677
Calls are charged at Local Call rate.
1 Press OK/MENU button.
Ö The display shows
OPTIONS MENUOPTIONS MENU
OPTIONS MENUOPTIONS MENU
OPTIONS MENU
.
2 Press UP or DOWN button until the display
shows
REMOTE ACCESSREMOTE ACCESS
REMOTE ACCESSREMOTE ACCESS
REMOTE ACCESS
.
3 Press OK/MENU button to confirm.
Ö
4 Press UP or DOWN button to set the first digit
REMOTE
ACCESS
5 Press OK/MENU button to confirm.
Ö
6 Press UP or DOWN button to set the second
digit of the REMOTE ACCESS code.
7 Press OK/MENU button to confirm.
Ö
Setting up continue...
The third digit of the code will be blinking.
The second digit of the code will be blinking.
of the REMOTE ACCESS code.
The first digit of the code will be blinking.
The REMOTE ACCESS is a three-digit code you
need if you call away from home to check your
messages. The default is 321. You can change
it to any three digits you want.
8 Press UP or DOWN button to set the third
digit of the REMOTE ACCESS code.
9 Press OK/MENU button to confirm the REMOTE
ACCESS setting.
10 Press /STOP button to return to standby mode.
For Evaluation Only.
Copyright (c) by Foxit Software Company, 2004
Edited by Foxit PDF Editor

11
Binatone Help Line - 0845 345 9677
Calls are charged at Local Call rate.
1 Press OK/Menu button.
Ö
The display shows
TAM HD:
ON/OFF setting
OPTIONS MENUOPTIONS MENU
OPTIONS MENU
OPTIONS MENU
OPTIONS MENU
.
2
Press UP or DOWN button until display shows
3
Press OK/Menu button to confirm.
Ö
4
5
TAMHD:ON (or OFF).
quality will be higher, but it will only save up to
With the compression rate set to OFF the
recording quality will be lower, but it will
save up to about minutes of messages.
setting.
about 20 minutes of messages.
Setting up continue...
Press OK/Menu button to confirm the TAM HD
Press UP or DOWN button to select ON or OFF.
The ON (or OFF) will be blinking.
Two different compression rates (ON and OFF) are
provided for you to select the recording quality/
total recording time of incoming messages.
With the compression rate set to ON the recording.
40
For Evaluation Only.
Copyright (c) by Foxit Software Company, 2004
Edited by Foxit PDF Editor
 Loading...