

Page 1
The #1 Source for Donut and Bakery Equipment www.belshaw.com
OPERATOR’S MANUAL
TECHNICAL SUPPLEMENT
PARTS AND ELECTRICAL DIAGRAMS
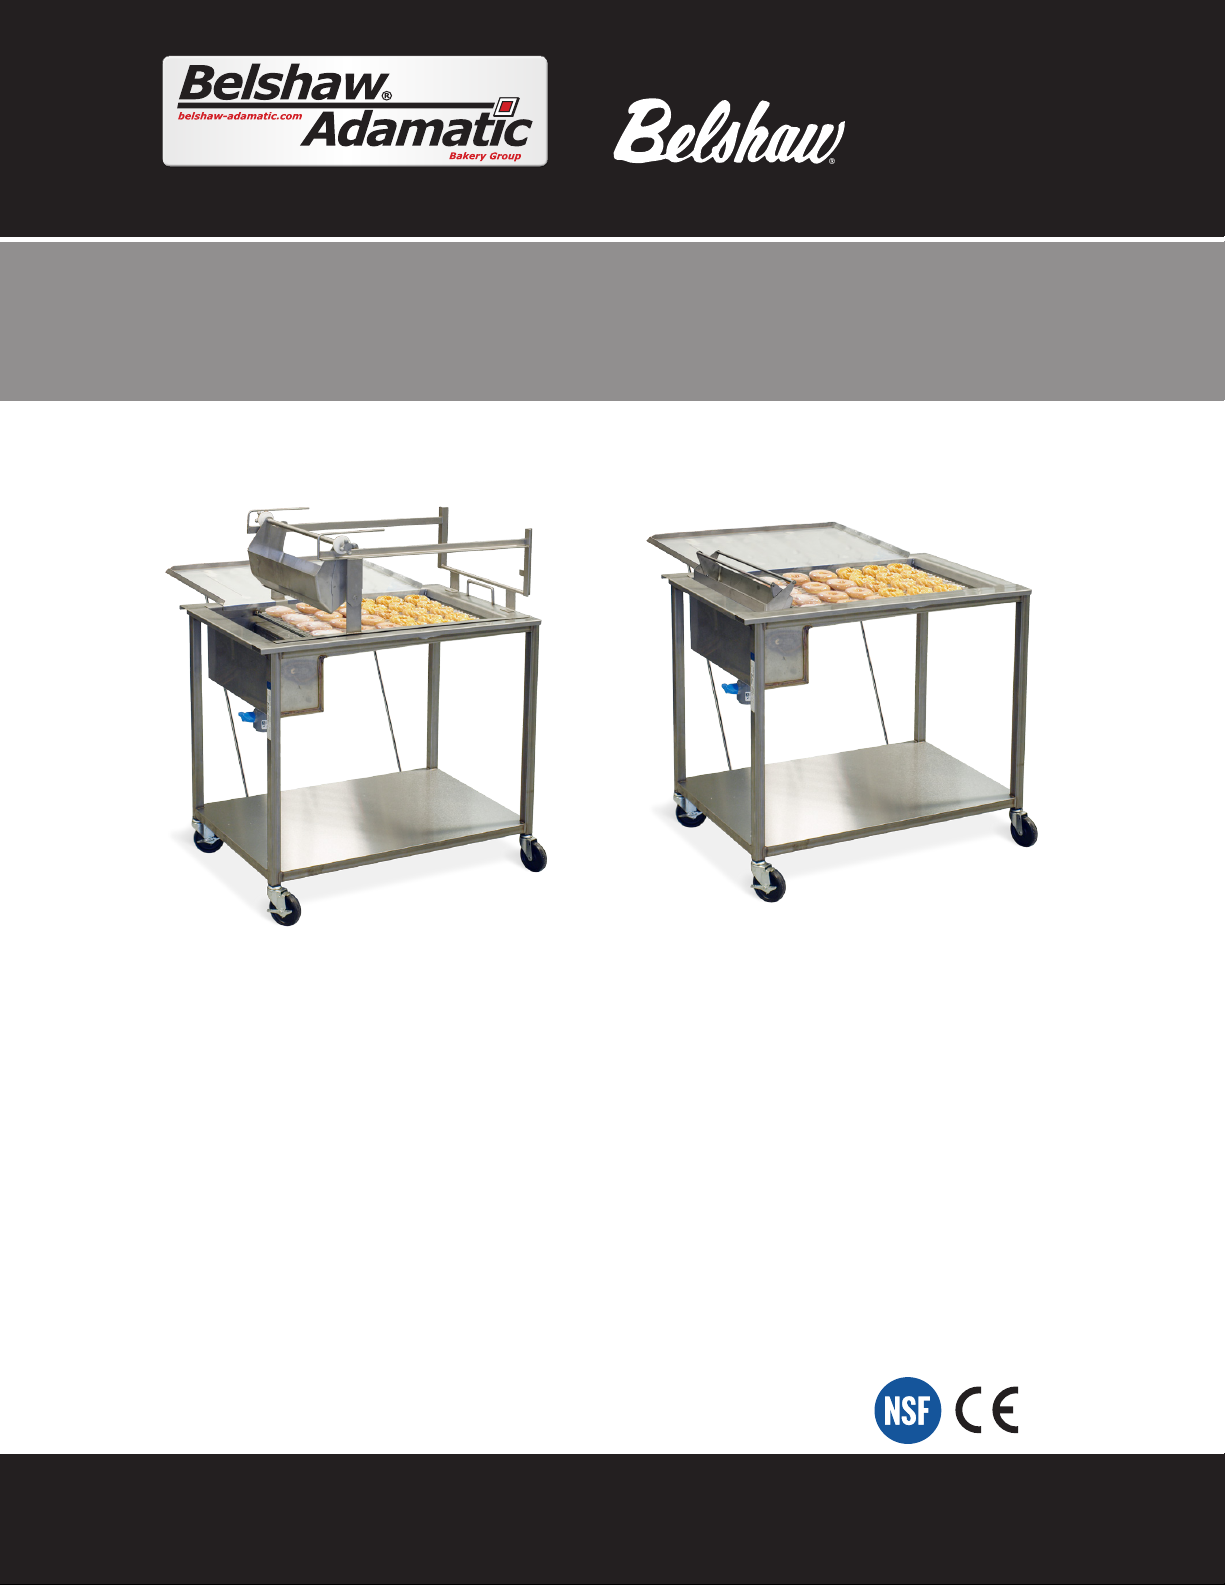
Donut Glazers
HG18EZ • HG18C
SUPPORT
USA/Canada 1-800-578-2547
International (+1) 206-322-5474
Email service@belshaw.com
Web www.belshaw.com
Page 2

Donut Glazer
HG18EZ
Owner’s Manual
Belshaw-Adamatic Bakery Group
814 44
Auburn, WA 98001 USA
Phone: (206) 322-5474 Fax: (206) 322-5425
Email: service@belshaw.com
TH
ST NW, Suite 103
●
HG18C
http://www.belshaw.com
Page 3

2
BELSHAW-ADAMATIC FREIGHT
DAMAGE POLICY
Belshaw-Adamatic has made every
effort to insure that your equipment
arrives in excellent condition. For
your protection, please inspect your
shipment for any signs of damage that
may have occurred during transport.
Please note any damage that is found
during inspection and file a freight
claim with the shipping company
immediately. Acceptance of damaged
equipment may become the
responsibility of the acceptor.
Keep This Manual For Future
IMPORTANT
Reference.
EQUIPMENT RECORD
Please provide the information below when you correspond with us
about your machine.
Purchased by _____________________________________________________
Installed by ______________________________________________________
Date of installation _________________ Model number _________________
Serial number ____________________________________________________
030116
MN-1755EN
Belshaw-Adamatic Bakery Group
814 44th Street NW, Suite 103
Auburn, WA 98001 USA
Phone: (206) 322-5474 Fax: (206) 322-5425
Email: service@belshaw.com http://www.belshaw.com
Belshaw-Adamatic Bakery Group HG18EZ/HG18C Glazer OM, MN-1755EN
CALL 800-578-2547 or EMAIL service@belshaw.com for SUPPORT
Page 4

3
Contents
ABOUT THE HG18EZ AND HG18C GLAZERS ........................................................................................................ 4
1 ASSEMBLY – HG18EZ GLAZER ................................................................................................................... 5
I
NITIAL CLEANING AND SANITATION .................................................................................................................................. 5
A
SSEMBLING THE GLAZER ............................................................................................................................................... 5
2 ASSEMBLY – HG18C GLAZER ..................................................................................................................... 7
NITIAL CLEANING AND SANITATION .................................................................................................................................. 7
I
A
SSEMBLING THE GLAZER ............................................................................................................................................... 7
3 ASSEMBLY – KETTLE COVER AND DRAIN TRAY .......................................................................................... 8
I
NSTALLING THE KETTLE COVER ........................................................................................................................................ 8
I
NSTALLING THE DRAIN TRAY (OPTIONAL) ........................................................................................................................... 9
3 OPERATION – HG18EZ GLAZER ................................................................................................................11
G
ENERAL USE OF THE GLAZER ........................................................................................................................................ 11
O
PERATING THE GLAZER ............................................................................................................................................... 11
4 OPERATION – HG18C GLAZER ..................................................................................................................13
ENERAL USE OF THE GLAZER ........................................................................................................................................ 13
G
O
PERATING THE GLAZER ............................................................................................................................................... 13
5 CLEANING ...............................................................................................................................................14
C
LEANING THE GLAZER ................................................................................................................................................. 14
6 MAINTENANCE .......................................................................................................................................15
5 PARTS .....................................................................................................................................................16
P
ARTS LIST, HG18EZ GLAZER ........................................................................................................................................ 16
P
ARTS LIST, HG18C GLAZER ......................................................................................................................................... 19
P
ARTS LIST, DRAIN TRAY FOR HG18EZ AND HG18C ......................................................................................................... 22
Belshaw-Adamatic Bakery Group HG18EZ/HG18C Glazer OM, MN-1755EN
CALL 800-578-2547 or EMAIL service@belshaw.com for SUPPORT
Page 5

4
About the HG18EZ and HG18C Glazers
The HG18EZ and HG18C Glazers are
designed to glaze donuts on the top
and sides with an even distribution of
glaze.
• The HG18EZ Glazer uses the
EZLift rail system. The glaze
applicator slides on a frame
above the glazer.
• The HG18C Glazer has no
frame. The glaze applicator is
held directly by the operator.
The HG18EZ and HG18C Glazers are
designed to be used on a level floor.
The HG18EZ and HG18C Glazers
produce 0.0 dB(A) of equivalent Aweighted sound pressure at
workstations. This has been
determined because there is no
machine-driven operation. Operation
of HG18EZ and HG18C Glazers is by
a human operator.
Thorough understanding of how to
safely operate, clean, and maintain the
The HG18EZ and HG18C Glazers will
prevent production delays and injuries.
The operator must work safely at all
times, read and follow the instructions
in this manual, and heed all warnings,
including the following:
DO NOT OVERFILL the Glaze
Kettle. If glaze overflows the
Kettle, it could cause someone to
slip on the floor and be seriously
injured.
BE CAREFUL never to get glaze,
water, or other materials on the
floor. If anything does get spilled
on the floor, clean the area
immediately. Materials on the floor
can cause people to slip or fall,
resulting in serious injury or loss of
life.
TO AVOID damaging the glazer,
never use force to assemble,
disassemble, operate, clean, or
maintain it.
TO PREVENT damage to the
Kettle, never scrape it with a
metal object. Use only a plastic or
rubber bowl scraper.
Belshaw-Adamatic Bakery Group HG18EZ/HG18C Glazer OM, MN-1755EN
CALL 800-578-2547 or EMAIL service@belshaw.com for SUPPORT
Page 6

5
1 Assembly – HG18EZ Glazer
Initial Cleaning and Sanitation
1. REMOVE the HG18EZ Glazer
from box and discard all packing
materials.
2. WASH, RINSE AND SANITIZE all
the parts of the HG18EZ Glazer
before use. (See Cleaning,
Section 3.)
Assembling the Glazer
1. PLACE the Lower Shelf (8) onto
the bottom of the Frame (5).
2. INSERT the Glazer Kettle (10)
onto the Frame (5). (See Figure
1.)
3. PLACE the Screen Support (9)
onto the Kettle (10).
4. INSERT the Drain Valve (6)
onto the drain under the Glaze
Kettle. (10).
Notes:
5. Cover (2) is optional
6. Sloping Kettle: Your glazer may
have a sloping Kettle (12),
rather than box shaped
Figure 1, Glazer Assembly
Belshaw-Adamatic Bakery Group HG18EZ/HG18C Glazer OM, MN-1755EN
CALL 800-578-2547 or EMAIL service@belshaw.com for SUPPORT
Page 7

6
7. ASSEMBLE the Upper Frame
(7) onto the Screen Support
(9) by inserting the pin on the
Upper Frame into the top of the
slot on the Screen Support and
sliding it down. (See Figure 2.)
8. ASSEMBLE the Glaze
Applicator onto the top of the
Upper Frame, aligning the
rollers with the tracks (See
Figure 3.)
Figure 2, Screen Support Slot
Figure 3, Upper Frame Assembly
Note: The optional Glaze Kettle
Cover (2) can be installed onto the
kettle after the Upper Frame and
Screen Support are removed. (See
Figure 1.)
Belshaw-Adamatic Bakery Group HG18EZ/HG18C Glazer OM, MN-1755EN
CALL 800-578-2547 or EMAIL service@belshaw.com for SUPPORT
Page 8

7
2 Assembly – HG18C Glazer
Initial Cleaning and Sanitation
1. REMOVE the HG18C Glazer
from box and discard all packing
materials.
2. WASH, RINSE AND SANITIZE all
the parts of the HG18C Glazer
before use. (See Cleaning,
Section 3.)
Assembling the Glazer
1. PLACE the Lower Shelf (6) onto
the bottom of the Frame (9).
2. INSERT the Glazer Kettle (12)
onto the top of the Frame (9).
3. PLACE the Screen Support (10)
onto the Kettle (12).
4. INSERT the Drain Valve (11)
onto the drain under the Glaze
Kettle (12).
Notes:
• Cover (3) is optional
• Sloping Kettle: Your glazer
may have a sloping Kettle
(12), rather than box shaped
Figure 4, HG18C Glazer Assembly
Belshaw-Adamatic Bakery Group HG18EZ/HG18C Glazer OM, MN-1755EN
CALL 800-578-2547 or EMAIL service@belshaw.com for SUPPORT
Page 9

8
3 Assembly – Kettle Cover and Drain Tray (optional)
The Drain Tray is optional with HG18EZ and HG18C glazers.
Installing the Kettle Cover (optional)
1. Find the four Cover Support
Brackets (Figure 5).
Figure 5, Kettle Cover support
brackets
2. Place the Lower Support
Brackets on the lower bar of the
frame (Figure 6). The Lower
Support Brackets are smaller
than the Upper Support
Brackets. Lift the bottom shelf if
necessary.
Figure 6,
Kettle Cover support brackets
3. Place the Upper Support
Brackets on the upper bar of the
frame (Figure 7). Lift the kettle
up if necessary.
Figure 7, Upper support brackets
Belshaw-Adamatic Bakery Group HG18EZ/HG18C Glazer OM, MN-1755EN
CALL 800-578-2547 or EMAIL service@belshaw.com for SUPPORT
Page 10

9
4. Install the Kettle Cover on the
side of the Glazer (Figure 8).
Figure 8, Kettle Cover installed on
side of glazer
5. Or, place the cover over the top
of the Glazer Kettle (Figure 9).
Installing the drain tray (optional)
1. Find the Drain Tray support
brackets (Figure 10)
Figure 10, Drain Tray support
brackets
2. Place the Drain Tray support
brackets on the lower bar of the
frame (Figure 11)
Figure 9, Glazer with cover on
Belshaw-Adamatic Bakery Group HG18EZ/HG18C Glazer OM, MN-1755EN
CALL 800-578-2547 or EMAIL service@belshaw.com for SUPPORT
Figure 11, Drain Tray support
brackets
Page 11

10
4. Make sure that the Drain Tray
Support Rod is inserted into the
Mounting Brackets under the
Drain Tray (Figure 12)
Figure 12, Brackets under Drain Tray
Install the Drain Tray (Figure 13)
Figure 13, Installing the Drain Tray
Belshaw-Adamatic Bakery Group HG18EZ/HG18C Glazer OM, MN-1755EN
CALL 800-578-2547 or EMAIL service@belshaw.com for SUPPORT
Page 12

11
3 Operation – HG18EZ Glazer
General Use of the Glazer
To use the HG18EZ Glazer, SET a
screen of donuts onto the Screen
Support, then PASS the Glaze
Applicator over the donuts by the
frame-supported applicator on the
HG18EZ Glazer.
The Glaze Applicator is designed to
give uniform glaze coverage to donuts.
Any excess glaze will drain back into
the reservoir.
Operating the Glazer
1. After the HG18EZ Glazer has
been cleaned, sanitized and
assembled, POUR glaze into the
glaze reservoir section of the
Kettle (Kettle will hold
approximately 30 pounds of
glaze).
2. TILT the Upper Frame assembly
up, placing the Glaze
Applicator into the Glaze
Reservoir (See Figure 14.)
Figure 14, Filling Position
3. Allow the Applicator to FILL
with glaze.
4. PLACE a screen of donuts on top
of the Screen Support, locating
it on the pins.
5. SPREAD the Glaze Applicator
handles apart to close the
bottom of the applicator.
Belshaw-Adamatic Bakery Group HG18EZ/HG18C Glazer OM, MN-1755EN
CALL 800-578-2547 or EMAIL service@belshaw.com for SUPPORT
Page 13

12
7. TILT the Upper Frame assembly
down lifting the Glaze
Applicator out of the Kettle
(See Figure 15)
Figure 15, Tilt Upper Frame Down
8. ROLL the Glaze Applicator over
the donuts and return it to the
reservoir end to the Kettle. (See
Figure 16.)
9. TILT the Upper Frame assembly
up again, placing the Glaze
Applicator back into the
reservoir.
10. REMOVE the screen of donuts
and place a new screen on the
Screen Support.
11. REPEAT steps 2 through 10
IMPORTANT
Casters with brakes can be locked
during operation to keep glazer
stationary. DO NOT forget to
unlock brakes on wheels after
operation, as most bakery floors
are very hard on rubber wheels.
Figure 16, Glazing Position
Belshaw-Adamatic Bakery Group HG18EZ/HG18C Glazer OM, MN-1755EN
CALL 800-578-2547 or EMAIL service@belshaw.com for SUPPORT
Page 14

13
4 Operation – HG18C Glazer
General Use of the Glazer
To use the HG18C Glazer, PLACE a
screen of donuts onto the Screen
Support, then PASS the Glaze
Applicator over the donuts by hand.
The Glaze Applicator is designed to
give uniform glaze coverage to donuts.
Any excess glaze will drain back into
the reservoir.
Operating the Glazer
1. After the HG18C Glazer has
been cleaned, sanitized and
assembled, POUR glaze into the
glaze reservoir section of the
Kettle (Kettle will hold
approximately 30 pounds of
glaze).
6. SPREAD the Glaze Applicator
handles apart to close the
bottom of the applicator.
7. MOVE the Glaze Applicator
over the donuts about 3 inches
(75 mm) above them
8. Return the Glaze Applicator to
the reservoir end of the Kettle.
9. REMOVE the screen of donuts
and place a new screen on the
Screen Support.
10. REPEAT steps 2 through 9.
2. PLACE a screen of donuts on top
of the Screen Support, locating
it on the pins.
3. SQUEEZE the Glaze Applicator
handles together to open the
bottom and allow glaze enter.
4. LOWER the Glaze Applicator by
hand into the Glaze Reservoir.
5. Allow the Applicator to FILL
with glaze.
Belshaw-Adamatic Bakery Group HG18EZ/HG18C Glazer OM, MN-1755EN
CALL 800-578-2547 or EMAIL service@belshaw.com for SUPPORT
Page 15

14
5 Cleaning
Cleaning the Glazer
For your safety, observe the following
warnings throughout the entire
cleaning process.
Once a day, clean as explained below:
1. DRAIN/DISCARD unused glaze.
2. REMOVE the following parts from
the HG18EZ/HG18C Glazer:
Glaze Applicator
Upper Frame (HG18EZ only)
Screen Support
Kettle
3. WASH each of the above parts
with mild soap and hot water
then RINSE and SANITIZE.
IMPORTANT
Casters with brakes can be locked
during operation to keep glazer
stationary. DO NOT forget to unlock
brakes on wheels after operation, as
most bakery floors are very hard on
rubber wheels.
WARNING
Thoroughly clean and dry the floor
if glaze, water, and/or other
materials are spilled. Materials
spilled on the floor can cause
serious injury or loss of life.
4. WIPE down the Frame with
damp cloth with mild soap and
hot water and SANITIZE.
5. REASSEMBLE in reverse order.
(See Assembly, Sections 1 and
2.)
Belshaw-Adamatic Bakery Group HG18EZ/HG18C Glazer OM, MN-1755EN
CALL 800-578-2547 or EMAIL service@belshaw.com for SUPPORT
Page 16

15
6 Maintenance
In order to ensure the intended and
safe operation of the HG18C or
HG18EZ Glazer, follow all procedures
and instructions listed in the manual.
Belshaw-Adamatic Bakery Group HG18EZ/HG18C Glazer OM, MN-1755EN
CALL 800-578-2547 or EMAIL service@belshaw.com for SUPPORT
Page 17

16
Glazer
QTY
Part Number
Description
1 4 FT6-0120
Caster Socket, 18 Ga. 125, RT-Poly
2
REF
HG18-0020
Cover, Kettle
3 2 HG18-0031-4
Swivel Caster, 4”
4 2 HG18-0031B-4
Swivel Caster w/Brake, 4”
5 1 HG18-8001
Frame
6 1 HG18-9001
Low-Pressure CPVC Ball Valve
7 1 HG18EZ-0535
Frame, Upper
8 2 HG18EZ-7036
Shelf, Flat
9 2 HG18EZ-8018
Support, Screen
10 1 HG18EZ-8019
WLDT, Kettle, 2-Piece
11 4 905-0054-1.25
Plastic End Cap 1-1/4 SQ BLK
Applicator
QTY
Part Number
Description
1 2 HG18-0003
Hinge Stud
2 1 HG18EZ-0033
Main Shaft
3 2 HG18EZ-0057
Glazer Roller
4 2 HG18EZ-0527
Clamping Knob, ½-13 Thread
5 1 HG18EZ-6006
Handle; Adj. Flow Applicator, Outer Shell
6 1 HG18EZ-7030
Glaze Applicator, Adj. Flow, Side Outer Shell
7 1 HG18EZ-7031
Glaze Applicator, Adj. Flow, Side Inner Shell
8 2 903-0979
SST. ¼-20 x 0.75 Hex Head Machine Screw
9 2 903-7531SS
SST. ¼ Flat Washer, Regular
5 Parts
Parts list, HG18EZ Glazer
ITEM
(See Figure 16, Parts List, HG18EZ Glazer Body)
ITEM
(See Figure 17, Parts List, HG18EZ Glaze Applicator)
Belshaw-Adamatic Bakery Group HG18EZ/HG18C Glazer OM, MN-1755EN
CALL 800-578-2547 or EMAIL service@belshaw.com for SUPPORT
Page 18

17
Figure 16, Parts List, HG18EZ Glazer Body
Belshaw-Adamatic Bakery Group HG18EZ/HG18C Glazer OM, MN-1755EN
CALL 800-578-2547 or EMAIL service@belshaw.com for SUPPORT
Page 19

18
Figure 17, Parts List, HG18EZ Glaze Applicator
Belshaw-Adamatic Bakery Group HG18EZ/HG18C Glazer OM, MN-1755EN
CALL 800-578-2547 or EMAIL service@belshaw.com for SUPPORT
Page 20

19
Glazer
QTY
Part Number
Description
1 4 FT6-0120
Caster Socket, 18 Ga. 125, RT-Poly
2
REF
HG18-0020
Cover, Kettle
3 2 HG18-0031-4
Swivel Caster, 4”
4 2 HG18-0031B-4
Swivel Caster w/Brake, 4”
5 1 HG18-8001
Frame
6 1 HG18-9001
Low-Pressure CPVC Ball Valve
8 2 HG18EZ-7036
Shelf, Flat
9 2 HG18EZ-8002
Support, Screen
10 1 HG18EZ-8019
WLDT, Kettle, 2-Piece
11 4 905-0054-1.25
Plastic End Cap 1-1/4 SQ BLK
Applicator
QTY
Part Number
Description
1 1 HG18-0088
Handle; Glaze applicator inner shell
2 1 HG18-0087
Handle; Glaze applicator outer shell
3 1 HG18-0086
Glaze applicator side – inner shell
4 2 HG18-0085
Glaze applicator side – outer shell
5 2 HG18-0003
Hinge Stud
6 4 903-7531SS
SST. ¼ Flat Washer, Regular
7 4 903-0979
SST. ¼-20 x 0.75 Hex Head Machine Screw
Parts list, HG18C Glazer
ITEM
(See Figure 18, HG18C Glazer Body)
ITEM
(See Figure 19, HG18C Glaze Applicator)
Belshaw-Adamatic Bakery Group HG18EZ/HG18C Glazer OM, MN-1755EN
CALL 800-578-2547 or EMAIL service@belshaw.com for SUPPORT
Page 21

20
Figure 18, Parts List, HG18C Glazer Body
Belshaw-Adamatic Bakery Group HG18EZ/HG18C Glazer OM, MN-1755EN
CALL 800-578-2547 or EMAIL service@belshaw.com for SUPPORT
Page 22

21
Figure 19, Parts List, HG18C Glaze Applicator
Belshaw-Adamatic Bakery Group HG18EZ/HG18C Glazer OM, MN-1755EN
CALL 800-578-2547 or EMAIL service@belshaw.com for SUPPORT
Page 23

22
Drain Tray
QTY
Part Number
Description
1 2 HG18-0042
Drain Tray Support Bracket
2 1 HG18EZ-6002
Drain Tray Support Rod
3 1 HG18EZ-8004
Drain Tray
Parts list, Drain Tray for HG18EZ and HG18C
(Drain Tray is optional)
ITEM
Belshaw-Adamatic Bakery Group HG18EZ/HG18C Glazer OM, MN-1755EN
CALL 800-578-2547 or EMAIL service@belshaw.com for SUPPORT
Figure 20, HG18EZ/HG18C Drain Tray
 Loading...