

Page 1

Dear customer!
Thank you for choosing this quality produc t from ASKO. We hope it will meet
your expectations and fulfil your needs for many years to come. Scandinavian
design combines clean lines, ever yday functionality and high quality. These are key
characteristics of all our products and the reason they are greatly appreciated
throughout the world.
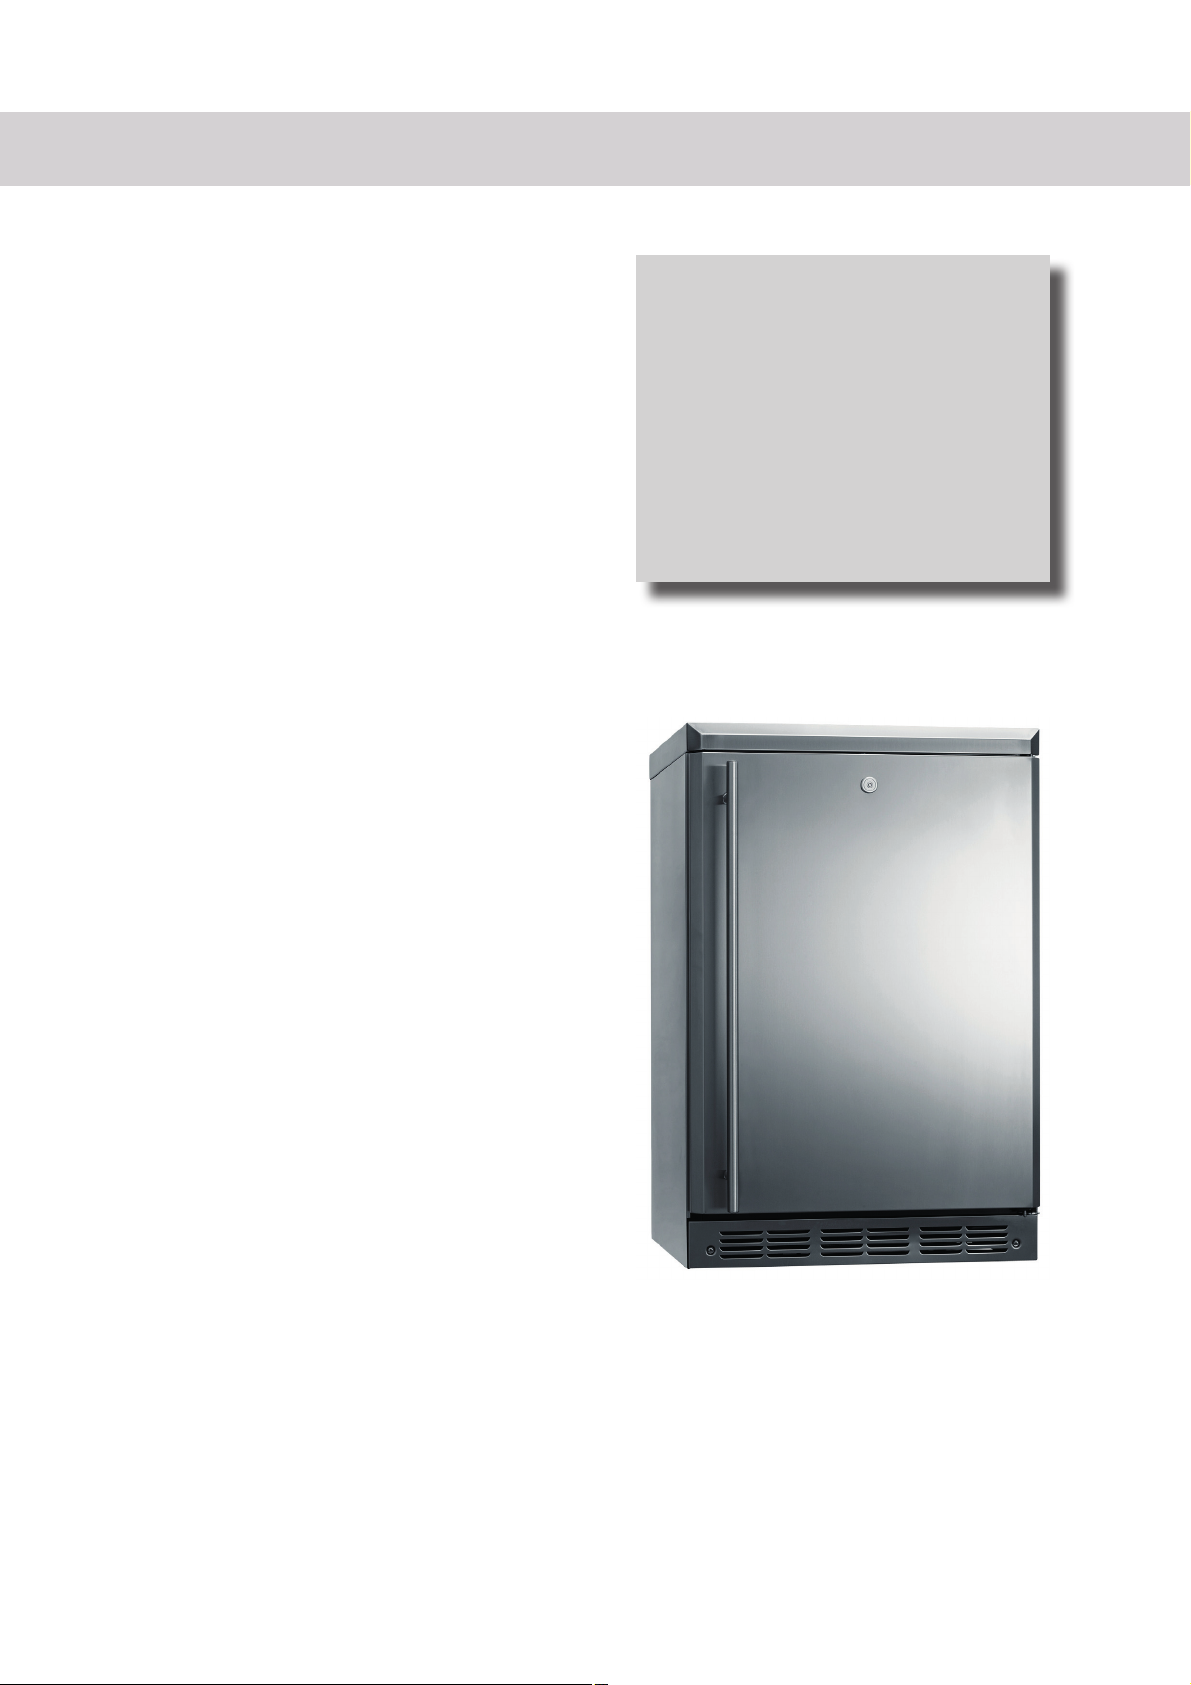
Instructions for use
Outdoor refrigeration
R2303
Page 2
Safety
Thank you for your trust and for buying this appliance.
We hope it will successfully serve the purpose for many
years.
Outdoor/indoor refrigerator used in households is
intended for storing food at temperatures higher than
0°C.
Safety considerations for outdoor
applications
Use this appliance only for its intended use as described
in this manual.
Do not operate the unit where the temperature will
•
go below 7°C or above 49°C.
Ensure the outdoor/indoor refrigerator is not installed
•
in a location prone to standing water.
Choose a level location that can withstand 120 kg.
•
Route the power cord so that it does not present a
•
trip hazard.
Exterior surface can be hot in direct sunlight conditions.
•
Use caution.
Ensure the chosen location does not present a tip-over
•
situation.
Make sure dishes cool prior to storing them in the
•
outdoor/indoor refrigerator. Certain types of glass,
ceramic, earthenware or other glazed utensils retain
heat. Hot dishes can cause the cold glass shelves to
break.
Content
Safety 2
Important 3
Before Putting Into Use 4
Energy Saving Tips 5
Important 5
Placing and Installation 6
Operation Control 7
Maintenance and Cleaning 9
Trouble-Shooting Guide 10
Installation Instructions 11
Rating plate
The rating plate of the appliance, with information
specific to the model you purchased is located in the
interior of the appliance.
Page 3
Important
This appliance must be properly connected to the
electrical power supply (see: Connecting to the Power
Supply).
Always disconnect the appliance from power
supply before replacing the light bulb, cleaning and/or
attempting any repairs.
When disconnecting the appliance from the wall
outlet always hold the plug with your hand, and never
pull the cord.
The appliance is manufactured in compliance with all
•
relevant safety standards; however, it is recommended
that persons with impaired physical, motional, or mental
abilities, or persons with inadequate experience and
knowledge, do not use the appliance without due
supervision. The same recommendation applies to
minors using the appliance.
For the sake of the environmental protection be careful
•
not to damage the rear wall of the appliance or any
part of the sealed refrigerating system when moving
the appliance.
The refrigerating system on this appliance is filled with
•
refrigerant and oil. If the appliance is damaged, handle
it with care and dispose of it in accordance with
environmental protection requirements. (See Our Care
for the Environment).
If the power cord is damaged it may be replaced by the
•
manufacturer, his service personnel or other qualified
personnel only in order to avoid possible injuries.
Changing the direction of door opening may also be
•
performed by the after-sale ser vice personnel only!
Do not store flammable, vaporizing or explosive
•
materials in the cooler, like for example explosives or
sprays containing flammable substances like propane,
butane, pentane, etc. Such sprays are clearly marked
with adequate symbols for danger on the exterior of
the package.
Bottles with high alcohol content must be tightly sealed
•
and stored in upright position.
Warning: Ventilation slots on the appliance or built-in
•
element should always be kept clean and unobstructed.
Warning: Do not use any mechanical accessories
•
when thawing the refrigerator, except for those
explicitly recommended by the manufacturer.
Warning: To prevent any pollution be careful not to
•
damage the insulation or refrigeration tubes at the rear
wall during the installation, cleaning and disposal of the
appliance.
Warning: Do not use any electrical devices inside the
•
appliance, except for those explicitly recommended by
the manufacturer.
The symbol on the product or on its packaging
indicates that this product may not be treated as
household waste. Instead it shall be handed over to the
applicable collection point for the recycling of electrical
and electronic equipment. By ensuring this product is
disposed of correctly, you will help prevent potential
negative consequences for the environment and human
health, which could otherwise be caused by inappropriate
waste handling of thisproduct. For more detailed
information about recycling of this product, please
contact your local city office, your household waste
disposal service or the shop where you purchased the
product.
Page 4

Before Putting Into Use
WARNING
Before connecting the appliance to the mains supply,
leave it stand for about 2 hours, which will reduce a
possibility of malfunctions in the refrigeration system due
to transport handling.
Clean the appliance, and be thorough, especially in the
•
interior (See Cleaning and Maintenance).
These instructions for use are intended for the user.
•
They describe the appliance and its correct and safe
use. They were prepared for various types/models of
refrigerators therefore you might find in it description
of some functions and of accesories that your appliance
does not have.
Caring for your stainless steel
Stainless Steel—We strongly advise applying a
commercially available stainless steel cleaner to preserve
and protect the fine finish monthly.
Remove packaging
Remove corner blocks and foam drawer stops.
•
Remove all packing material and tape.
•
Before using, be sure all packing materials and tape
have been removed.
If you are discarding an old refrigerating-freezing
•
appliance, remove the doors to reduce the danger of
children being trapped inside.
We Care for the Environment
Our products use environmentally friendly packaging,
•
which can be either recycled or disposed of in an
environmentally friendly manner. To this end, individual
packaging materials are clearly marked.
These instructions are printed either on recycled paper
•
or chlorine free bleached paper.
When your appliance finally wears out, please tr y not
•
to burden the environment with it; call your nearest
authorised service agent. (See Disposing of the Worn
Out Appliance).
Disposal of Old Appliances
Once your appliance becomes obsolete, dispose of it
•
immediately.
• If the appliance is equipped with a door lock
mechanism, please make sure the lock is broken and /
or permanently disabled, to prevent suffocation for
children accidentally locked inside during play.
The appliance contains refrigerating agent and
•
insulation materials requiring specific decomposition
procedure. Consult your local organization, authorized
to deal with such materials, or call your dealer. Be
careful not to damage the piping on the rear panel of
the appliance.
Attention
This outdoor/indoor refrigerator must be properly
leveled to ensure correct door alignment and door
closure.
Connect power:
Plug the power cord into the correctly earthed wall
•
outlet which must never be located directly behind the
appliance.
Check to make sure power is on by opening the door
•
to see if interior light turns on.
Slide product into the cutout:
Carefully, slide the appliance into the opening. Be careful
not to entangle power cord. Note: The door should
protrude 2.5 cm beyond the surrounding cabinets.
Set temperature controls:
The temperature controls are preset. Allow 24 hours for
temperature to stabilize.
Page 5

Energy Saving Tips
Try not to open the door too often, especially during
•
hot and humid weather.
Check periodically if the appliance is sufficiently
•
ventilated (adequate air circulation behind the
appliance).
If the door gasket is damaged and/or not sealing
•
properly, energy consumption will be substantially
higher. To restore efficiency, replace the door gasket.
The condenser grill located on the (exterior) rear
•
wall should always be kept clean, free of dust and dirt
accumulated from kitchen fumes (see Cleaning the
Appliance).
Always follow strictly the instructions described in
•
sections Positioning and Energy Saving Tips, otherwise
the consumption of energy is increased.
to open the door too often, especially during hot and
humid weather.
•
Try not
Page 6

Placing and Installation
Choosing the Right Place
This appliance is for indoor or outdoor use. Allowed
ambient temperature depends on the model (class) of
the appliance and is indicated on the rating plate of the
appliance.
Do not operate the unit where the temperature will
•
go below 7°C or above 49°C.
Exterior surface can be hot in direct sunlight conditions.
•
Use caution.
Never place the appliance near heat radiating devices. In
case the distance to the heat emitting device is too short,
it may require the installation of an insulation panel.
Placing the Selfstanding Appliance
Place the appliance firmly on a solid base. The appliances
have adjustable legs. Use them to level the appliance.
Level
Use a adjustable wrench to turn the leveling legs and
•
raise or lower the product.
Adjust carefully, the outdoor/indoor refrigerator should
•
be level and plumb with cabinetry, and should align with
adjacent toekick height.
Placing the Built-in
Cut-out dimensions:
Height: 877 mm minimum
Width: 603 mm minimum
Depth: 610 mm
Do not operate the unit where the temperature will
•
go below 7°C or above 49°C.
Surface can be hot in direct sunlight conditions. Use
•
caution.
Never place the appliance near heat radiating devices. In
case the distance to the heat emitting device is too short,
it may require the installation of an insulation panel.
1. Turn Right to lower
2. Turn Left to raise
Connection to Power Supply
The refrigerator should be connected to a properly
earthed power supply socket that is accessible when the
refrigerator is installed.
Do not use extension cords or power supply boards.
The power supply is to be 240V, 50 Hz.
The connection to the mains supply and earthing have to
be made according to current standards and regulations.
The appliance resists temporary voltage tolerance up to
-6 to +6 %.
Page 7

Operation Control
Temperature control
The operating temperatures of the outdoor/indoor
refrigerator range from 1°C to 7°C. Do not operate the
unit where the temperature will go below 7°C or above
49°C.
The temperature display shows the actual temperature of
the outdoor/indoor refrigerator. The actual temperature
may vary slightly from the set temperature based on
factors such as door openings, amount of food and
outside/room temperature.
After making adjustments, allow 12 to 24 hours for the
outdoor/indoor refrigerator to reach the temperature
you have set and before making any further adjustments.
To change the temperature settings, press the + and pads until you reach the desired set temperature. After
several seconds, the display will return to the actual
temperature. The actual temperature will remain on the
display while the unit moves toward the set temperature.
Allow 12 to 24 hours for the outdoor/indoor refrigerator
to reach the temperature you have set and before
making any adjustments to the initial setting.
CAUTION: Before closing the door, make sure the
lock pin does not protrude beyond the top of the
door, to prevent potential damage to the cover or
cabinetry.
Fan
Fan improves the even distribution of temperature and
decreases dew upon storage shelves.
Fan operation is stopped when the refrigerator door is
opened.
Note: Energy consumption is increased during fan
operation.
Child Lock
The child lock feature prevents unwanted
changes to your temperature settings. After the
desired temperature is set, the temperature can be
locked. To lock, press both the + and – pads at the
same time for five seconds. To unlock, press both +
and - pads for five seconds.
Unit ON/OFF
Hold down the on/off pad for 3 seconds to turn the
refrigerator off. To turn back on press the on/off pad.
Key ejecting lock
Keep the keys out of reach of children. Store the
keys in a safe place. Keys for the spring-loaded lock
are automatically ejected. Keys will not remain in
the lock while the door is opened or closed.
NOTE: Two keys are included.
Pull-out drawers
The telescopic shelves pull out so bottles can
conveniently be added or removed.
The upper telescopic shelf can be removed to store
larger bottles.
To remove :
1. Pull the telescopic shelf
out to the STOP position.
2. Push the tab on right
drawer guide down while
pulling the tab on left guide
up, and pull the shelf out.
To re p l ace :
To replace, insert the sides of the drawer back into the
guides and push until the tabs snap into place.
Make sure the tabs on the drawer guides are fully
engaged before loading any bottles. Pull the drawers
out all the way to the STOP position and push back in
several times to make sure tabs snap into place.
Page 8

Loading tips and suggestions
The two telescopic shelves hold five bottles each and
•
are loaded with necks facing the rear. Tall bottles should
not be loaded on the bottom shelf because they may
prevent the door from closing.
Do not block the thermistor, located on the right-hand
•
side, just above the third shelf of the outdoor/indoor
refrigerator. Blocking the thermistor could impair the air
circulation and temperature control.
Do not allow children to climb, stand or hang on the
•
appliance shelves or door.. They could seriously injure
themselves and possibly cause damage to the appliance.
Wood drawer fronts
The telescopic shelf fronts on the appliance are
unfinished wood. Wooden parts are protected with a foil
which is to be removed. During use, oil from hands may
accumulate and stain the wood.
Natural wood may vary slightly in grain and color.
Condenser
Be sure that nothing obstructs the required air flow
openings in the front of the cabinet.
For best performance, brush or vacuum lint and dirt from
the condenser once a year.
To replace a shelf, open the door completely to avoid
potential damage to the gasket. Tilt the shelf to one side
at an angle and slide toward the back wall, placing one
side onto the shelf support. Place the other side onto
the opposite shelf support. Ensure rear locking tabs are
engaged. When installed properly, the shelf will not slide
forward when gently pulled.
QuickSpace™ Shelf
This shelf splits in half and slides under itself for storage
of tall items on the shelf below.
Step 1: Lift the back edge of the front half of the shelf.
Step 2: Pull slightly forward.
Step 3: Lower the back edge of the front half of the shelf
while sliding it underneath the back half.
The entire Quick Space shelf can be removed and
replaced (see Glass Shelves section).
Remove the cover from the bottom rear of the
Outdoor/Indoor refrigerator to access the condenser.
Glass shelves
Tempered glass shelves in the outdoor/ indoor
refrigerator are removable for easy cleaning or for storing
larger items.
To remove a shelf, open the door completely to avoid
potential damage to the gasket. Lift up on the back of the
shelf slightly. Tilt the shelf to one side at an angle while
pulling forward.
Page 9

Maintenance and cleaning
Automatic defrosting
There is no need to defrost the refrigerator, because
ice depositing on the inner back wall is defrosted
automatically. Ice is depositing on the inner back wall
during the compressor operation; later on, when the
compressor is not operating ice is defrosting and
water drops collect and drain through the outlet in the
inner back wall into the drain pan situated above the
compressor, from where it evaporates.
Cleaning the appliance
Disconnect the power supply before cleaning the
appliance.
Do not use coarse or aggressive cleaning agents as
you can damage the surface.
Cabinet
Your new stainless steel unit can maintain its new luster
for the life of the product if maintained as described
below. Keep the outside clean. Regularly polish the
stainless steel exterior to preserve and protect the fine
finish. Do not apply to plastic and rubber components.
To avoid scratching the fine finish of the stainless steel,
wipe in the same direction as the grain when polishing
or cleaning any stainless steel surface. The grain on the
outdoor/indoor refrigerator runs top to bottom on all
sides and front to back on the top canopy.
For regular cleaning, use clean water and a soft cloth. If
stains persist, wash with mild soap using a soft cloth or
non-abrasive pad.
Warranty does not cover damage due to
improper cleaning methods.
Light bulb replacement
Unplug the appliance before replacing the light bulb.
To remove the light shield, push in the tab on the left side
of the shield and lower it.
Replace with a 15 watt appliance bulb.
In the event of power failure
If power fails, you can maintain interior temperature
longer by keeping the door closed. Open the door only
when necessary to avoid the loss of cold air.
Do not store or use gasoline or other flammable
vapors and liquids in the vicinity of this or any other
appliance.
Drain hole
Periodically check the drain hole and channel for any
debris. If the drain is blocked, condensation will not drain
properly.
To check and clean the drain hole, remove the bottom
two glass shelves. Sweep a damp cloth along the channel
in the back of the outdoor/indoor refrigerator. Use a
finger to sweep away any debris from the drain hole.
Interior
Wash the inside with mild soap and water or baking soda
and water. Do not use an abrasive powder, solvent, polish
cleaner or undiluted detergent.
Door gasket
The vinyl gasket may be cleaned with mild soap and
water, a baking soda solution or a mild scouring powder.
Rinse well.
After cleaning the door gasket, apply a thin layer of
paraffin wax or petroleum jelly to the door gasket at the
hinge side. This helps keep the gasket from sticking and
bending out of shape.
Page 10

Trouble-shooting guide
Sometimes you may come across a minor problem
during the operation of the appliance.
Please refer to the troubleshooting guide below to assist
you in identifying some of the possible causes which in
most cases does not require a service call.
Trouble Check
The Appliance Fails
to Operate After
Connecting it to the
Power Supply
Continuous Operation
of the refrigeration
System
Water is Leaking From
the Appliance
• Check if the socket is powered and make sure the appliance is switched on.
(thermostat knob in operating position).
• The door is frequently opened or left open for long periods of time.
• The door is not properly closed possibly an alien particle between the doors, sagging
door, door gasket damaged, etc.).
• Excessive quantity of warm food inserted at once.
• The reason may be inadequate ventilation of the compressor and condenser (check
the air circulation behind the appliance and clean the condenser).
• Water usually leaks from the appliance if the drain outlet is blocked, or if the defrost
water drips past the collecting groove.
• Clean the blocked outlet with a plastic straw.
Useful tips
Temperature within the appliance is not cool enough:
Is the temperature setting adequate (see Operation
•
and Control)?
Does the thermometer indicate correctly?
•
Is the ventilation system operating properly?
•
Noise related problems
Cooling of the refrigerating and freezing appliances is
provided by the cooling system, which incorporates a
compressor and a fan – these devices produce certain
noise. The level of noise emitted largely depends on the
location and proper use of the appliance.
During the operation of the compressor, certain noise
•
of liquid flow may be detected, and during idle periods
the circulation of refrigeration liquid is heard. This is a
normal condition and has no impact on the life cycle of
the appliance.
Immediately after starting the appliance, the operation
•
of the compressor and the flow of refrigerant may be
louder than usual. This is not a sign of any malfunction,
and has no impact on the life cycle of the appliance.
Gradually the noise will be reduced.
Sometimes unusual and stronger noises may be detected,
which are rather unusual for the appliance. Such noises
are often the result of the inappropriate installation:
The appliance must be perfectly horizontal and installed
•
on a solid floor.
It should not touch the walls or adjacent cupboards.
•
are often the result of the inappropriate installation:
The appliance must be perfectly horizontal and installed
•
on a solid floor.
It should not touch the walls or adjacent cupboards.
•
Page 11

Installation guide
Installation dimensions
The Outdoor/Indoor refrigerator can be a free
standing model or can be build in using the cut-out
dimensions below.
When building in the Outdoor/Indoor refrigerator, be
sure to allow for a full door swing so you have full
access to the pull-out full extension drawers.
The top canopy may be removed when installing
under a countertop.
The door MUST BE closed when removing or
replacing the top canopy. To avoid damage, the top
canopy must clear the left hinge center locking plate
and right hinge.
CAUTION: Under side edges of the stainless steel
canopy top may be sharp. Wear heavy-duty work
The Outdoor/Indoor refrigerator is a factor y set for a
110°door swing. When installed in a corner:
Allow 130mm minimum clearance on the hinge side
•
for the 90°door swing and to allow racks to slide out.
Allow 380mm minimum clearance on the hinge side
•
for a full 110°door swing.
Remove the 3 screws from the back of the top canopy
•
(A).
Using heavy-duty work gloves, lift up on the top canopy
•
back (B) and slide it forward until it unlatches from the
unit (C).
Lift the top canopy up and off of the unit.
•
NOTE: Keep the top canopy and screws for future
free-standing installations.
NOTE: When installing the unit in a free-standing
configuration, the top canopy must be left in place.
Choose the location:
This products may be closed in on the top and three
•
sides as long as the front is unobstructed for air
circulation and proper access to the door.
Do not operate these products where the temperature
•
will go below 7°C or above 49°C.
Install toekick
The toekick has a cutout on the left and right sides.
Remove the plug on the left side and reinstall on the
right side. If you choose to install the stainless steel
toekick, reinstall the plug on the right side of that
toekick.
Install original screws and spacers or screws and
•
spacers supplied with the stainless steel toekick.
Install screws through the spacer standoff, toekick
and into the base as shown.
Page 12

Asko Appliances, 534 82 Vara, Sweden
www.asko.com
2020195 Asko Outdoor Refrigeration EN
Ver01
en (11-15)
 Loading...