

Page 1
Last Rev Date: 14/01/14
Page 1 of 8
Fitting instructions# 3787952
Copyright © 2005 by ARB Corporation Limited. All rights reserved, this document must not be reproduced without the express authority of ARB Corporation Ltd
Part Number:
5421100 & 5421110
Product Description: UNDER VEHICLE PROTECTION.
Suited to vehicle/s: 120-150 SERIES TOYOTA PRADO AND FJ CRUISER.
Please place these instructions in vehicle glovebox when complete.
REGARDING VEHICLES EQUIPPED WITH SRS AIRBAG;
When installed in accordance with these instructions, the vehicle protection panels do not affect operation
of the SRS airbag.
ALSO, NOTE THE FOLLOWING:
This product must be installed exactly as per these instructions using only the hardware supplied.
Do not use this product for any vehicle make or model, other than those specified by ARB.
Do not remove labels (if any) from this product.
This product or its fixing must not be modified in any way.
The installation of this product may require the use of specialized tools and/or techniques
These instructions are correct as at the publication date. ARB Corporation Ltd. cannot be held
responsible for the impact of any changes subsequently made by the vehicle manufacturer
During installation, it is the duty of the installer to check correct operation/clearances of all
components
Work safely at all times
Unless otherwise instructed, tighten fasteners to specified torque
WARNING
Australian enquiries sales@arb.com.au
North & South American enquiries sales@arbusa.com
Other international enquiries exports@arb.com.au
ARB 4x4 ACCESSORIES
Corporate Head Office
42-44 Garden St Tel: +61 (3) 9761 6622
Kilsyth, Victoria Fax: +61 (3) 9761 6807
AUSTRALIA 3137
Page 2
Last Rev Date: 14/01/14
Page 2 of 8
Fitting instructions# 3787952
Copyright © 2005 by ARB Corporation Limited. All rights reserved, this document must not be reproduced without the express authority of ARB Corporation Ltd
www.arb.com.au
IMPORTANT INFORMATION.
GENERAL CARE AND MAINTENANCE
By choosing ARB vehicle protection, you have bought a product that is one of the most sought after
4WD products in the world. Your under vehicle protection panels are a properly engineered, reliable,
quality accessory that represents excellent value.
While these panels have been engineered for strength and functionality care and good judgment
should be taken when traversing difficult off-road conditions to minimise damage to panels and
vehicle.
During servicing when panels are removed ensure fasteners are re-fitted to the correct torque
values.
Inspect panels visually on a regular basis. Dirt and foreign matter should be washed out to minimise
build-up around hot components. BE VERY CAREFULL when removing foreign matter with hands
while vehicle is hot or running. Replace any components as necessary. This service can be
performed by your local authorized ARB Stockist.
FITTING REQUIREMENTS
BASIC TOOL KIT
INC 3/8 DRIVE SOCKET SET
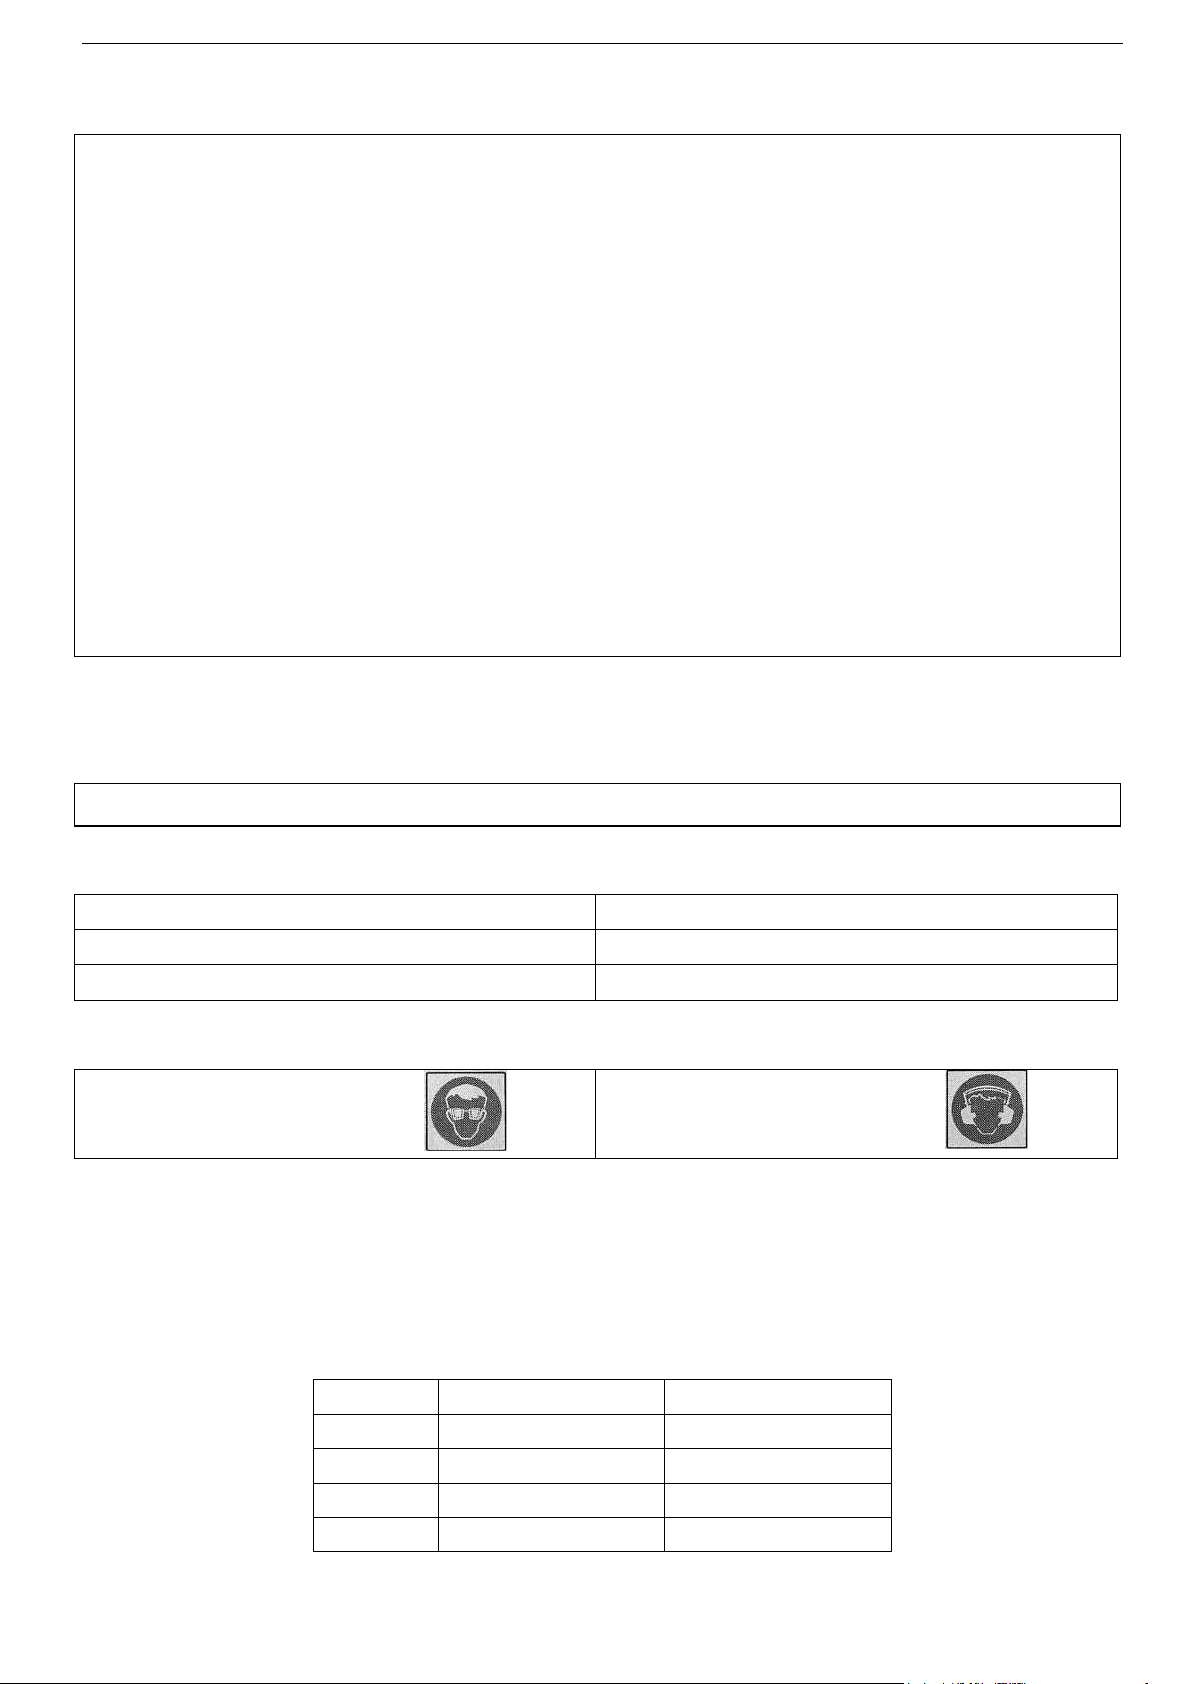
Protective eyewear
Hearing protection
SIZE
Torque Nm
Torque lbft
M6
9Nm
7lbft
M8
22Nm
16lbft
M10
44Nm
32lbft
M12
77Nm
57lbft
REQUIRED TOOLS FOR FITMENT OF PRODUCT:
HAVE AVAILABLE THESE SAFETY ITEMS WHEN FITTING PRODUCT:
NOTE: ‘WARNING’ notes in the fitting procedure relate to OHS situations, where to avoid a
potentially hazardous situation it is suggested that protective safety gear be worn or a safe work
procedure be employed. If these notes and warnings are not heeded, injury may result.
FASTENER TORQUE SETTINGS:
Page 3

Last Rev Date: 14/01/14
Page 3 of 8
Fitting instructions# 3787952
Copyright © 2005 by ARB Corporation Limited. All rights reserved, this document must not be reproduced without the express authority of ARB Corporation Ltd
PARTS LISTING
APPLICATION.
PART NO.
QTY
DESCRIPTION
FIT FRONT
PANEL
6522821
6522836
6151300
6151303
5811006
6151434
4581046
4581044
1
1
2
3
2
2
2
2
FRONT UVP ASSEMBLY 150 SERIES
FRONT UVP ASSEMBLY 120 & FJ
NUT CAGE M6
NUT CAGE M8
SPACER (120 PRADO)
SHCS M8 X 70 (120 PRADO)
WASHER SPRING M8
WASHER FLAT M8
FIT CENTRE PANEL
6522826
6151303
6151022
4581046
4581044
1
1
3
3
3
CENTRE UVP ASSEMBLY
NUT CAGE M8
BOLT M8 X 25
WASHER SPRING M8
WASHER FLAT M8
FIT REAR BRACKET
3758230
3199915
6151022
4581046
4581044
6151357
6151304
1
1
2
2
2
1
1
BRACKET REAR MOUNT
CAGE NUT PLATE M10
BOLT M8 X 25
WASHER SPRING M8
WASHER FLAT M8
BOLT M10 SEMS
NUT M10 CAGE
FIT TRANS PANEL
6522820
6151022
4581046
4581044
6151132
1
5
5
5
4
TRANSMISSION UVP ASSEMBLY
BOLT M8 X 25
WASHER SPRING M8
WASHER FLAT M8
NUT FLANGE M8
FIT SPACER TO TRANS PANEL
3759302
4581046
4581044
6151021
6151132
3789203
1
2
2
2
2
1
TRANSMISSION SPACER
WASHER SPRING M8
WASHER FLAT M8
BOLT M8 X 20
FLANGE NUT M8 X 1.25
DRILLING TEMPLATE
FIT TRANSFER GUARD
3758370
1
TRANSFER CASE GUARD
Last Rev Date: 14/01/14
Page 4

Page 4 of 8
Fitting instructions# 3787952
Copyright © 2005 by ARB Corporation Limited. All rights reserved, this document must not be reproduced without the express authority of ARB Corporation Ltd
FITTING PROCEDURE
1. ALL VEHICLES: Remove O.E panels from
vehicle and retain bolts. If fitted with a bullbar
remove and retain two lower M6 bolts (M8 for
Prado 120) and loosen off the top four M6
bolts on the bullbar stone shield.
2. PRADO 150 WITH KINETIC. Fit two M6
cage nuts to front mounting bracket of panel
as shown.
3. Lift front panel into position while placing (if
fitted) the bullbar stone shield between the
panel and front mounting bracket. Secure
panel to chassis using original fasteners and
stone shield with M6 bolts removed in step 1.
Leave all fasteners finger tight.
4. FJ CRUISER. Fit two M6 cage nuts into front
panel as shown. NOTE: There are two types
of stone shields. Measure distance between
O.E stone shield and place cage nuts in
correct holes.
BULLBAR STONE SHIELD
TO FRONT UVP
STONE SHIELD
FRONT UVP
Page 5

Last Rev Date: 14/01/14
Page 5 of 8
Fitting instructions# 3787952
Copyright © 2005 by ARB Corporation Limited. All rights reserved, this document must not be reproduced without the express authority of ARB Corporation Ltd
FITTING PROCEDURE
5. Place panel onto chassis making sure it sits
under the bulbar stone shield as shown.
Secure to vehicle using original hardware
removed earlier leaving all bolts finger tight.
Secure stone tray to UVP using M6 bolts
removed in step 1.
6. 120 PRADO. As per image place spacer
tube between stone shield and UVP. Secure
using M8 x 70mm socket head cap screws,
spring washers and flat washers. Leave
finger tight.
7. 120 PRADO. Secure rear of front UVP to
chassis using original bolts in the two rear
most mounting points only. Leave finger tight.
8. ALL VEHICLES: Place 3 M8 cage nuts in
rear face of front panel.
STONE SHIELD
SPACER
FRONT UVP
USE REAR MOUNTING
HOLES ONLY
Page 6

Last Rev Date: 14/01/14
Page 6 of 8
Fitting instructions# 3787952
Copyright © 2005 by ARB Corporation Limited. All rights reserved, this document must not be reproduced without the express authority of ARB Corporation Ltd
FITTING PROCEDURE
9. Place centre panel on vehicle as shown and
secure rear outer mounts to chassis using
original fasteners. Leave finger tight.
10. Secure front of centre panel to rear of front
panel using three M8 x 25mm bolts, spring
washers and flat washers. Leave finger tight.
11. Place one M8 cage nut in middle hole of
centre panel.
12. Mount rear bracket to rear face of
transmission cross member using two M8 x
25mm bolts, spring washers and flat washers
on the LHS and one M10 SEMS bolt and M10
cage nut and nut plate on the RHS. V6
models use upper holes in bracket and
diesel models use lower holes (V6 models
can use lower holes if exhaust is modified).
Un-bolt the front shaft heat shield (petrol
only). Place bracket between it and cross
member. If you find clearances tight on these
models jacking up the exhaust may help.
Tighten these bolts now.
M8 - 22 Nm. M10 - 44 Nm.
M8
M10
Page 7

Last Rev Date: 14/01/14
Page 7 of 8
Fitting instructions# 3787952
Copyright © 2005 by ARB Corporation Limited. All rights reserved, this document must not be reproduced without the express authority of ARB Corporation Ltd
13. Using M8 x 20 bolts, spring washers, flat
washers and flange nuts attach spacer to
transmission panel.
NOTE: This must be done prior to fitting
transmission panel. If transmission panel does
not have the two mounting holes please use
attached drilling template (3789203) to drill
9mm holes.
M8 - 22 Nm.
14. Lift transmission panel into place and secure
to centre panel using three M8 x 25mm bolts,
spring washers, flat washers and flange nuts
(outer holes only). Leave finger tight.
15. NOTE: Use outer slots for 150 series and
inner slots for 120 and FJ. Secure rear of
panel to bracket using two M8 x 25mm bolts,
spring washers, flat washers and M8 flange
nuts. Tighten all panel bolts when done
including front stone shield bolts.
M8 - 22 Nm.
120 SERIES
AND FJ CRUISER
150 SERIES PRADO
Page 8

Last Rev Date: 14/01/14
Page 8 of 8
Fitting instructions# 3787952
Copyright © 2005 by ARB Corporation Limited. All rights reserved, this document must not be reproduced without the express authority of ARB Corporation Ltd
16. Remove original transfer case shield and
retain bolts. Remove four lower case bolts
and retain. Fit transfer panel as shown using
original bolts. Fit remaining bolts into original
mount positions at rear.
M8 - 22 Nm.
FITTED PRODUCT
PLUG USING
ORIGINAL BOLTS
PRADO 150 KINETIC SHOWN
 Loading...