

Page 1
New Features in Motion 3
This document explains the new features and enhancements released in Motion 3. For
more information about these features and their use, see the
the
Motion Supplemental Documentation
, available from the Motion Help menu.
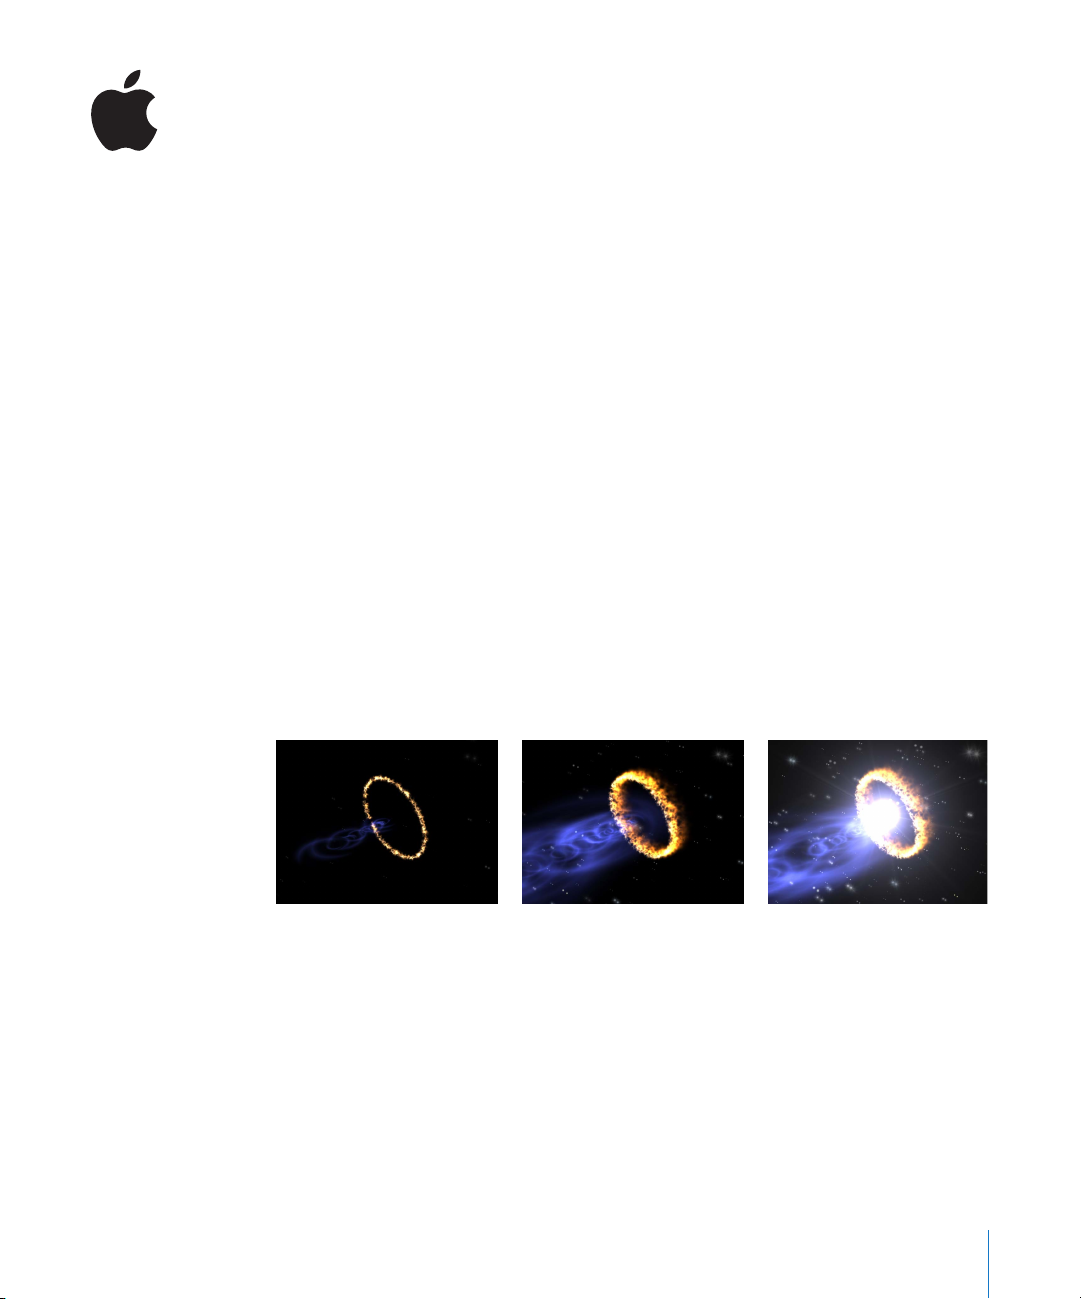
3D
Motion 3 now supports a three-dimensional, multiplane compositing environment,
allowing you to create sophisticated 3D motion graphics with depth and new levels of
realism. In the Motion 3D workspace, you can:
Â
Add and animate cameras, images, and text along paths in three dimensions.
Â
Create particle systems and replicators with height, width, and depth.
Â
Apply behaviors such as Throw, Spin, and Vortex in 3D space.
Â
Apply new camera behaviors that automate sweeping pans and dramatic zooms.
Â
Stylize your projects with a combination of blend modes and scene lights.
Motion User Manual
and
1
Page 2

Motion Tracking and Stabilization
Using the new Motion Tracking behaviors, you can stabilize handheld camera shots,
track the individual points of a shape or mask to background element, and more. The
new Motion Tracking behaviors include:
Â
Match Move
thereby “locking” them together. For example, you can match an image file of a logo
to the background video of a billboard so that the logo appears to be superimposed
on the billboard even when the camera moves. Additionally, you can apply the
transformation data of an animated source object to another destination object
without analysis. As a result, the destination object moves just like the source object.
Â
Stabilize
unwanted movement. For example, use the Stabilize behavior to smooth handheld
camera shots.
Â
Unstabilize
when you’ve stabilized a video clip in order to add a foreground effect but wish to
restore camera movement to the final composite. After you’ve completed the
foreground effects work, use the Unstabilize behavior to reapply the original motion
data to the both the original background element and also the new foreground
elements.
Â
Track Points:
moving elements in a clip. For example, you can draw a mask around a car in a movie
clip, then track the control points of the mask to the edges of the moving car,
thereby isolating the car from the rest of the clip. You can then apply effects to the
isolated car without affecting surrounding areas of the clip. The Track Points behavior
also allows you to apply existing tracking data recorded by the Analyze Motion,
Match Move, or Stabilize tracking behaviors to the control points of a shape or mask.
Â
Track Parameter:
example, you can make the center point of an applied Light Rays filter follow a
moving light in a clip. In this case, the tracking data is applied to a single parameter
of the filter (the Center parameter), rather than to the filter as a whole.
: Apply tracking data to from one element in the Canvas to another,
: Analyze a movie or image sequence with the Stabilize behavior to remove
: Restore movement to a previously stabilized clip. This behavior is useful
Track the control points of a shape or mask (including paint strokes) to
Track a parameter of a filter to single point in a movie clip. For
2
Page 3

Paint
Motion allows you to design painterly elements using customizable brushes and
vector-based strokes that weave through 3D space. You can create animated brush
strokes that respond to pressure, tilt, and speed when using a graphics tablet. You can
also design custom brushes using color, gradients, text, images, and QuickTime movies.
There are two new paint features in Motion:
Â
Paint Strokes:
Paint Stroke tool in the Toolbar, or by modifying the outline of an existing shape. The
Paint Stroke tool allows you to use a stylus and graphics tablet (or a mouse) to create
a paint stroke, rather than drawing the shape in a point-by-point fashion (like a
Bezier or B-Spline shape). In addition to sharing other shape outline parameters,
paint strokes have a unique tool set that allows you to change the look of the
paintbrush and to create particle-type effects with the stroke. Use the Write On
feature to record a stroke so that it draws across the Canvas over time.
Â
Sequence Paint:
dabs of a paint stroke in sequence over time. Using the Sequence Paint behavior, you
can customize a paint stroke to fade in, fade out, rotate, shrink, or grow over time.
A shape that is created by “painting” a stroke in the Canvas using the
A new behavior called Sequence Paint allows you to animate the
Final Cut Pro Integration
Motion now offers tighter integration with Final Cut Pro 6. Send timelines from
Final Cut Pro to Motion and retain more project detail than ever before. Send Timeline
information such as cuts, layers, and basic motion parameters. Send SmoothCam clips
from Final Cut Pro to Motion without having to reanalyze the clip. You can also send
retiming data from Final Cut Pro to Motion for further modification.
Â
You can add motion graphics created in Motion directly to your Final Cut Pro
sequence, without rendering.
Â
You can immediately see changes to a Motion project in your Final Cut Pro sequence.
Â
You can create new Motion projects based on a selection of clips or a sequence in
Final Cut Pro. You can use this feature to sketch a motion graphics sequence in
Final Cut Pro and then refine it in Motion. The new Motion project can then be
embedded in your Final Cut Pro sequence.
3
Page 4

Final Cut Pro Templates
You can now set up templates in Motion that can be used as masters in Final Cut Pro,
allowing changes to a single project to cascade to a number of Final Cut Pro projects
and sequences. Edit text from Motion templates directly in Final Cut Pro while retaining
layout, format, and animation. “Drop zones” created in Motion projects carry over to
Final Cut Pro so content can easily be replaced in editorial.
Â
You can create templates in Motion that can be used directly in Final Cut Pro.
Â
You can edit master templates into sequences and then customize parameters such
as text and video within drop zones. You can globally modify the look of all template
clips in your project by editing the original Motion template file.
Audio Behaviors
Several new behaviors in Motion allow you to generate audio-driven animations. Use
the Audio Parameter behavior to trigger and animate any parameter according to
audio amplitude or waveform transients. For example, make a particle system pulse to
the beat of music or have an audio track’s bass amplitude affect an object’s opacity. You
can also modify the threshold and frequency at anytime without having to recalculate
keyframes or type expressions.
Â
Audio Auto Pan
example, you can animate a car moving from right to left and have the audio in the
project move from right to left as well.
Â
Audio Fade In/Fade Out:
Â
Audio Parameter:
applies an animation curve to an object parameter based on that analysis.
: Automates commonly used panning effects in an audio track. For
Automates fading in and fading out an audio track.
Performs an analysis of a specific property of an audio track, then
Retiming Behaviors
The new Retiming behaviors in Motion let you create sharp, clean speed changes in
video clips. Some of the new Retiming behaviors allow you to make a clip speed up,
slow down, strobe, repeat, flash random frames, stutter, scrub, or reverse. The Set Speed
behavior allows fine control over how variable speed is applied to a clip. You can also
access retiming data form Final Cut Pro and use traditional keyframes for variable speed
effects.
4
Page 5

Advanced Keyframe Editor
New, advanced Keyframe Editor tools let you animate with more keyframing precision
and speed. Use keyboard shortcuts to display only the animation curves you need.
Â
Sketch tool:
Editor, creating keyframes as you go, for any parameter.
Â
Box tool:
reposition them by adjusting onscreen handles.
Drag an intuitive pen tool to sketch animation curves in the Keyframe
Drag this tool to select multiple of keyframes, then squish, stretch, or
Copyright © 2007 Apple Inc. All rights reserved.
Apple, the Apple logo, Final Cut, Final Cut Pro, Final Cut Studio, and QuickTime are trademarks of Apple Inc.,
registered in the U.S. and other countries. Other company and product names mentioned herein are trademarks
of their respective companies.
 Loading...