

Amana ACF3335A Quick Reference Guide
IMPORTANTSAVE for consumer to remove from range and retain for use.
Quick Start Reference Guide
Covering
Refer to Installation Instructions and Owners Manual for safety statements
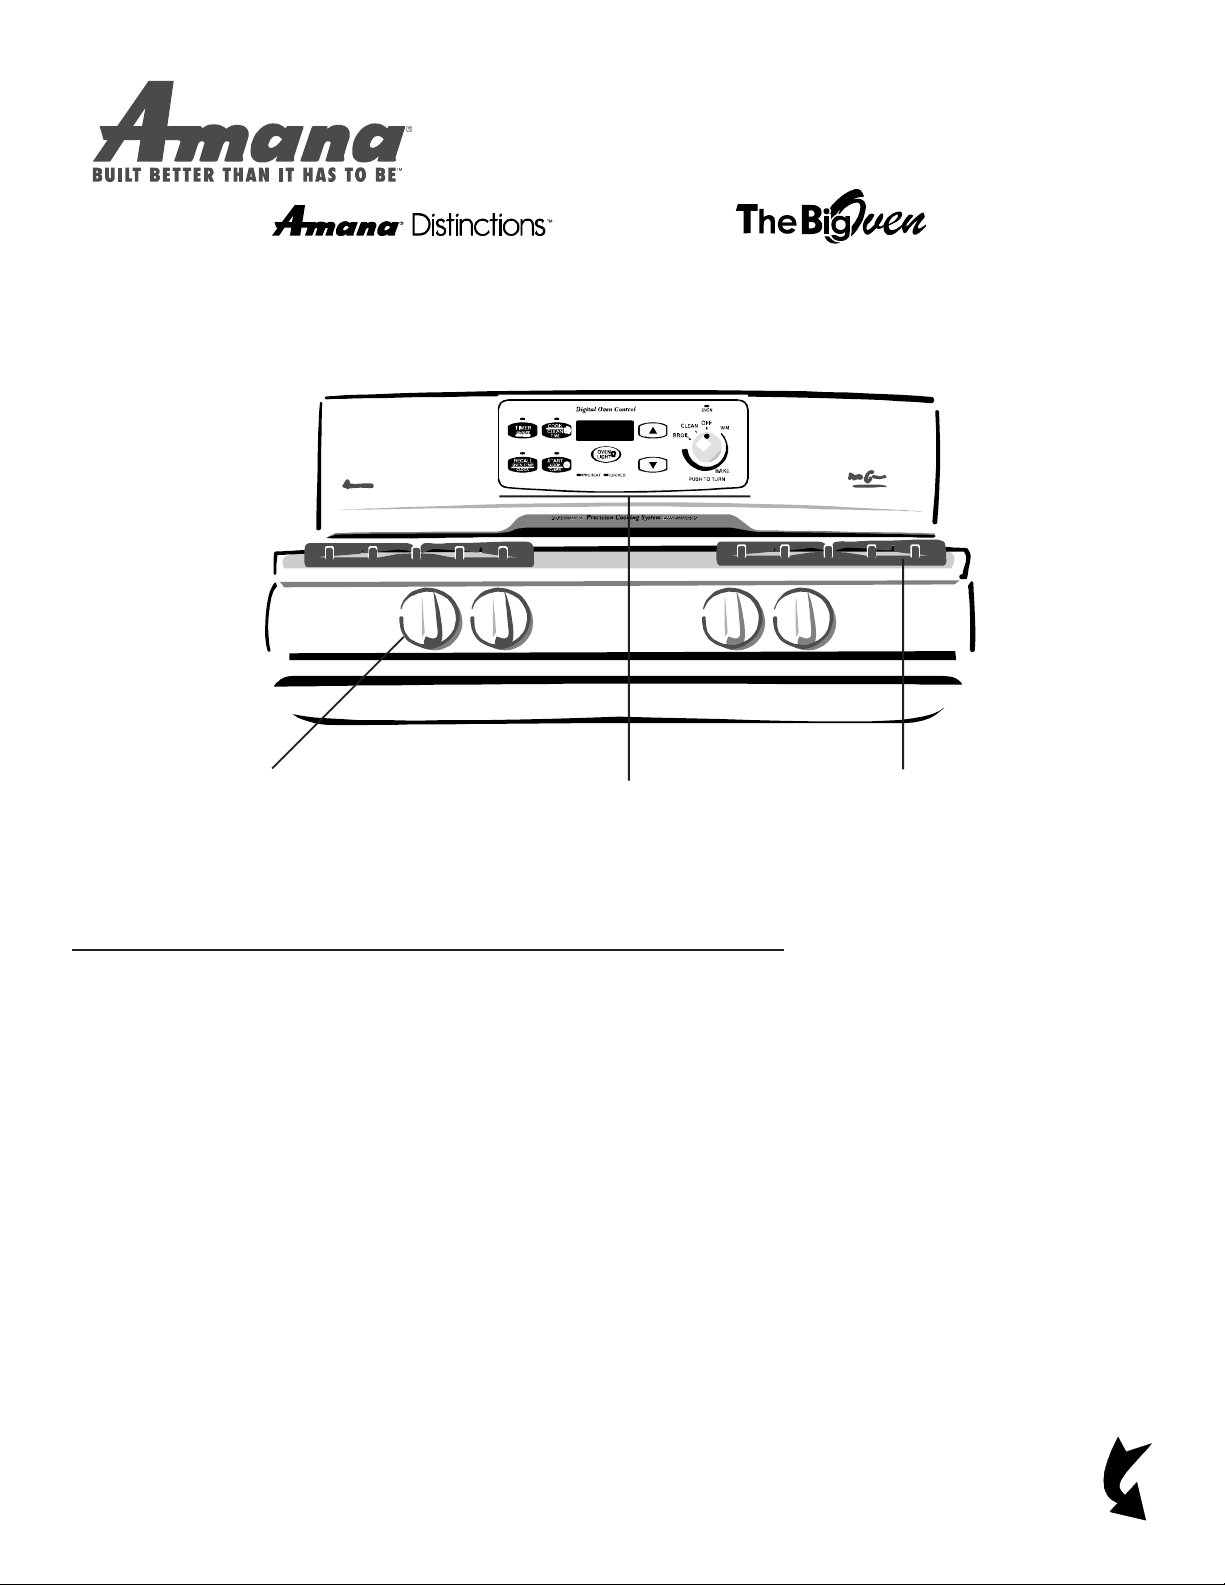
Surface Burner Knob
With this knob you can utilize an
infinite number of flame settings.
ACF3315A and
and complete product information.
Electronic Control
The electronic control provides precise
temperatures for fine baking and
broiling as well as features such as
delayed bake.
TM
ACF3335A
Surface Burners
Surface burner flames will not be a
uniform size around the cap. This
uneven distribution around the cap and
grate allows for optimal heating.
So...how do I use it?
Setting the Clock
1. Press RECALL CLOCK pad.
• The light above the pad will glow,
indicating clock can be adjusted.
2. Use the arrow keys to set the clock to
the correct time of day.
3. To lock in the time of day, press
RECALL CLOCK pad again.
Setting Minute Timer
1. Press TIMER ON/OFF pad.
• The light above the pad will glow,
indicating timer can be set.
2. Use arrow keys to set the timer in
hours and minutes.
• Timer can be set up to 11 hours and
59 minutes.
3. Timer begins after 5 seconds of
inactivity.
4. To cancel the timer, press and hold
TIMER ON/OFF pad for five seconds.
Bake
1. Arrange racks to desired position.
2. Push and turn temperature knob.
3. When oven reaches selected
4. To shut off oven, turn temperature
Broil
NOTE: Oven door MUST be closed
during broiling.
1. Arrange racks to desired position.
2. Place food in oven.
3. Close door.
4. Push and turn temperature knob to
5. To shut off oven, turn temperature
temperature, signal sounds and
preheat light will shut off.
knob to OFF position.
• Preheating is not required.
BROIL.
knob to OFF position.
Your new range is also equipped
with such features as Timed Bake,
Delayed Bake, Self-clean, and
Delayed Self-clean. For information
about these and other features, please
refer to your Owners Manual.
READ OTHER
SIDE
Quick Start Reference Guide
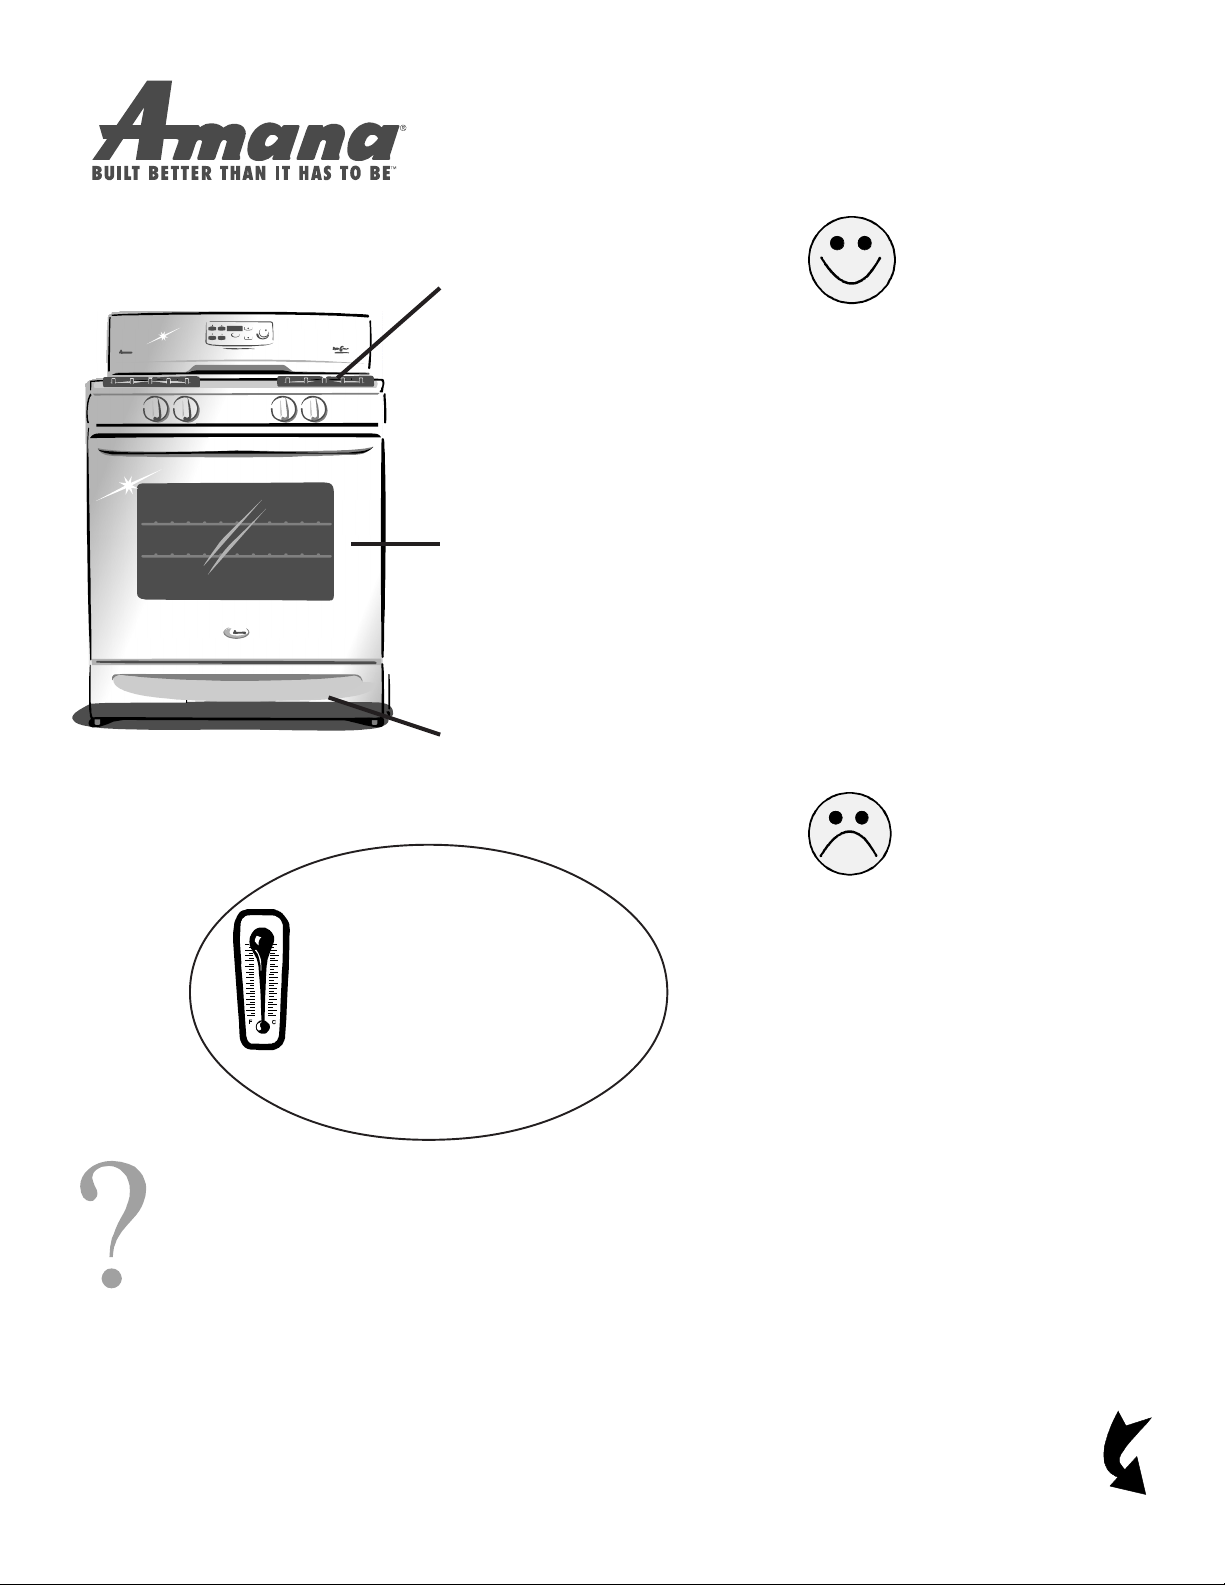
Place burner caps and grates correctly.
Burner caps should match the size of the
burner base. Once caps are positioned,
grate needs to be placed over the
burners. Refer to Adjusting Burner Flame
section in the Owners Manual.
Remove all hanging tags and papers
from the range. Check the inside oven
cavity for paper. Remove any residue
with non-abrasive cleanser. Do not
store flammable items on range, in
oven or storage drawer, or around
range. For more information, refer to
Care and Cleaning section in the
Owners Manual.
Remove storage drawer and verify that
the anti-tip bracket has been installed
and is engaged. Refer to Installation
Instructions for details.
Range
SHOULD...
have all four burner
electrodes sparking when one
burner is turned on.
have burners ignite within
4 seconds. IF NOT refer to
Adjusting Burner Flame in
Owners Manual.
have unevenly distributed
flames around the burner cap.
Refer to Adjusting Burner Flames
in Owners Manual.
make sounds during a heating or
cooling cycle, especially during
self-clean.
generate smoke the first few times
operated. If possible, ventilate odors.
Range
SHOULD NOT....
Your oven temperatures are
factory set for the best
performance. However, to provide
the flexibility to change these
settings, a temperature
adjustment feature has been
added for your convenience.
Refer to your Owners Manual for
instructions.
Questions on cooking, cleaning or usage?
Refer to Owners Manual
or
Product Assistance at www.amana.com
or
call Consumer Affairs at 1-800-843-0304
have flames that extend up the
sides of the cooking utensil.
be self-cleaning with small birds
or animals in the room. Refer to
Self-cleaning in Owners Manual.
have surface burners in use
during a self-clean cycle. Refer to
Self-cleaning in Owners Manual.
Did you purchase our
stainless steel model?
Love that shine? Keep your surface
that polished and glossy by following
Amanas recommended cleaning
instructions in your Owners Manual.
READ OTHER SIDE
Part No. 36-32063301-0
Printed in U.S.A.06/01
Ó 2001 Amana Appliances
Amana, Iowa 52204
 Loading...